This DIY Time Server Is More Accurate Than You Need

You almost certainly don’t have an application for the sort of accurate timekeeping that’s made possible by this enhanced version of [Cristiano Monteiro]’s satellite-backed time server. By his own admission, the vast majority of users will be more than happy to have their system’s time synchronized by the traditional Network Time Protocol (NTP). But if you’re really chasing those last few microseconds, that’s where the Precision Time Protocol (PTP) comes in.

With NTP, you can get within 10 milliseconds or so of your upstream time source — but PTP is accurate down to nanoseconds. Unless you’re performing some kind of scientific research, running a robotic assembly line, or perhaps doing high-speed financial trading, there’s no reason for this level of accuracy. In fact, PTP is such a niche technology that until the release of the ESP32-P4, [Cristiano] couldn’t even find an affordable enough chip that supported it.

Hardware-level support for PTP is important as there’s no way to achieve this level of accuracy with software alone, the capability needs to be baked into the Ethernet controller. As you might expect, it takes a highly accurate time source to make the most of PTP, and that’s where the navigation-grade Global Navigation Satellite System (GNSS) receiver comes in. All told the cost of the build is unsurprisingly higher than that of its predecessor, but [Cristiano] says it’s still a couple zeros shy of what a commercial offering would run.

As with his original time server from 2021, [Cristiano] made sure this build was as friendly as possible for hackers and makers. We especially like the 3D printed case designed in OpenSCAD, and his insistence that the gadget have a front panel with blinking status LEDs. Again, the vast majority of us don’t need our clocks to be accurate down to the nanosecond…but it’s nice to know we have the option.

Time Never Moves Slowly With This Clock

A clock is by its very nature a device for measuring time, and thus it moves forward at a constant rate. But how about in a theatrical setting, where time runs at the whim of the director? For the stage, a clock with more flexibility is required. To this endeavor [Playful Technology] has you covered, with a larger than life stage clock whose hands are independently controllable by DMX.

Behind the clock is a very unusual part, not the modified clock mechanism one might expect, but a dual stepper motor with a concentric shaft. This is driven by an Arduino with a stepper driver shield more familiar from the world of 3D printers, and an RS485 interface for DMX interfacing. The hands are built in OpenSCAD, and 3D printed to be an interference fit on the shafts. The DMX controller software has a handy rotating knob style interface, allowing easy hand manipulation.

You can see the results in the video below, complete with an exhaustive dissection of the Arduino code. Meanwhile DMX is itself a fascinating subject, and in the past we’ve taken a deep dive into RS485.

Continue reading “Time Never Moves Slowly With This Clock”

VFD Clock Runs On A Single AA

There are lots of different ways to build a clock. [Sciter_] came into the possession of some old calculator parts, and decided to reuse them for just such a project.

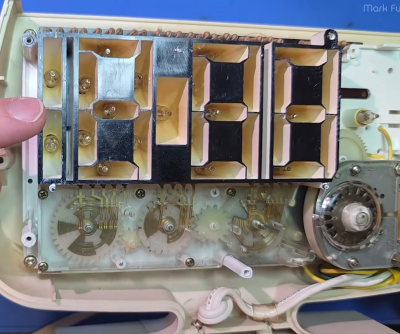
The heart of the build is an ATmega328P microcontroller, running off of a 32.768 kHz crystal. This allows the chip’s counters to neatly divide down the frequency to get a steady 1 Hz pulse for accurate timekeeping. Time is displayed on a vacuum fluorescent display (VFD) harvested from an old calculator. These displays need rather high voltages to run, which in this case are produced by a HV5812 driver chip and supporting circuitry. The display itself is neatly cradled in a pair of copper pipe elbows for a stylish look, with some addressable RGB LEDs present to provide some charming underglow.

Power for the device comes from a single AA battery, using a transformer-based low voltage converter. Alternatively, it can run off a USB 5 V power supply, which also charges the NiMH AA cell while available with the aid of an LM2576-ADJ buck converter.

Overall, it’s a neat homebrew clock that taught [Sciter_] plenty during its construction, and not the first time we’ve seen somebody put together a clock with second-hand VFDs. If you’re finding fun ways to reuse old display tech, don’t hesitate to let us know on the tipsline.

This Alarm Clock Has The Capacity To Wake You

Every now and then a project comes into the Hackaday feed that has so many levels of wrong about it that you really shouldn’t do it at home, but is amusing enough to feature anyway with a warning. So it is with [ArcaEge]’s Capacitor Alarm Clock, which wakes up its unfortunate owner by blowing up electrolytic capacitors with reverse voltage. If you survive, you’ll certainly be awake!

It’s inspired unsurprisingly by an [ElectroBoom] video, and the premise is simple enough. An ESP32 serves as the clock, and triggers a relay for the alarm, which in turn overloads a suitably low-voltage electrolytic capacitor in a socket. The resulting explosion which appears in a video we’ve placed below the break, wakes the slumberer.

We don’t have to tell you that this is not the safest of hacks, and is presented here only for your entertainment. But it does provide a few points of interest, for example in identifying the difference between capacitors with a vent, and those without.

This isn’t the first time we’ve seen a project based around exploding capacitors, and that one maybe was a don’t-do-this-at-home too.

Continue reading “This Alarm Clock Has The Capacity To Wake You”

A Diffraction Grating Makes This Clock Readable

We’ve seen just about every possible way to make a clock here at Hackaday over the years. So it’s rare to have a first, but here we are with [Twisted & Tinned], who’s made a novel clock with a diffraction grating.

The display of the clock looks for all the world like a jumble of LEDs, that is, until you place the grating in front of it. Those LEDs are addressable multi-color parts, and each digit is generated at a different color all on top of each other. The grating splits out these colors, resulting in a magical set of floating LED figures.

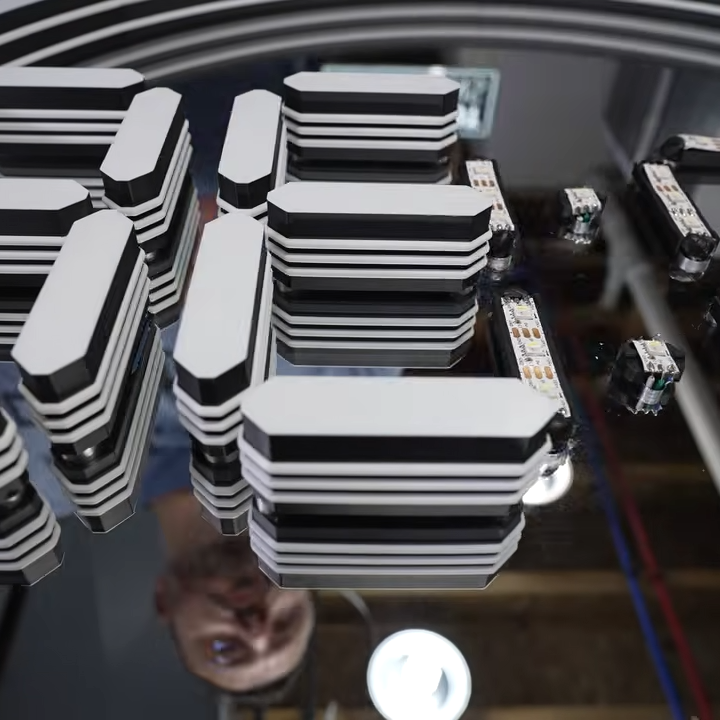
Behind those LEDs is a Pi Pico, but that’s just one of many microcontrollers that could have powered this project. It’s the use of the diffraction grating in a novel way with those LEDs that makes the difference, and we rather like it. He’s also managed to get the grating pattern in the 3D printed surround for a shimmering look, by printing directly onto a diffraction grating sheet. That in particular is a technique we’ve looked at before in detail.

Continue reading “A Diffraction Grating Makes This Clock Readable”

A black-and-white clock face is shown. The numerals are ranged around the right edge of the clock. One pointer extends from the center of the clock, and one is on the left side of the face.

A Clock Inspired By Failed Cognitive Tests

One simple screening tool for cognitive impairment is the clock-drawing test (CDT): the patient is provided with a printed circle and asked to draw a clock face with the hands pointing to a certain time. Depending on how the clock is drawn, this could indicate a variety of different disorders, particularly dementia, with a particular deformity in the drawing sometimes pointing to a specific issue. These failed tests inspired [John Silvia] to create a clock with a unique, disordered face.

The numerals in this clock face are placed exclusively along the right half of the clock (in the test, this can be a sign of damage to the right parietal lobe, or of executive dysfunction caused by dementia), and out of order. The hour hand is controlled by a servo motor, and the minute hand is mounted on a separate, commercially-purchased clock mechanism on the left-hand side of the face.

The frame for the clock and the face are 3D-printed, and the servo motor is controlled by an ESP32-C3 with an RTC module. To minimize power draw, a MOSFET disconnects the servo motor from power except for the once-per-hour position update. Once per month, the ESP32 connects to Wi-Fi to synchronize to NTP time, otherwise remaining in a low-power state – even its indicator LEDs are disconnected to save power. These efforts paid off: when the servo isn’t active, it draws only about 160 µA, and a set of three AA NiMH cells lasts about a year.

Since the servo motor draws most of the power budget, it wouldn’t make much difference, but the ESP32’s co-processor can also be used for ultra-low-power projects. For a happier take on a drawing-related clock, check out one of these projects.

Building An Analog Meter Watch

Most conventional analog watches have two or three hands, covering hours, minutes, and seconds (where present). [Sahko] has built a different kind of analog watch that creatively displays the time with just one. 

The build is based around a simple analog coil meter, which, at its heart, just sweeps its needle across a scale based on the voltage input to the device. A Raspberry Pi Pico is employed to drive the meter through a digital-to-analog converter. Pressing the buttons on the outside of the device tells the watch to display hours, minutes/seconds, or the current month or day of the week. With a single needle, only one parameter can be displayed at a time, but that’s just a compromise you accept for having a cool unique analog dial watch.

Another cool touch in the design is that the dial backer isn’t just a printed piece of paper—it’s a custom PCB, which has a much nicer, hardier finish. The case of the watch is also CNC milled out of aluminum and bead blasted for a quality surface finish, adding a nice industrial touch to the build.

This is a great example of a custom watch with quality fit and finish. The attention to detail really pays off in terms of feel. We’ve seen other watch projects use similar construction techniques before, too.

Continue reading “Building An Analog Meter Watch”