
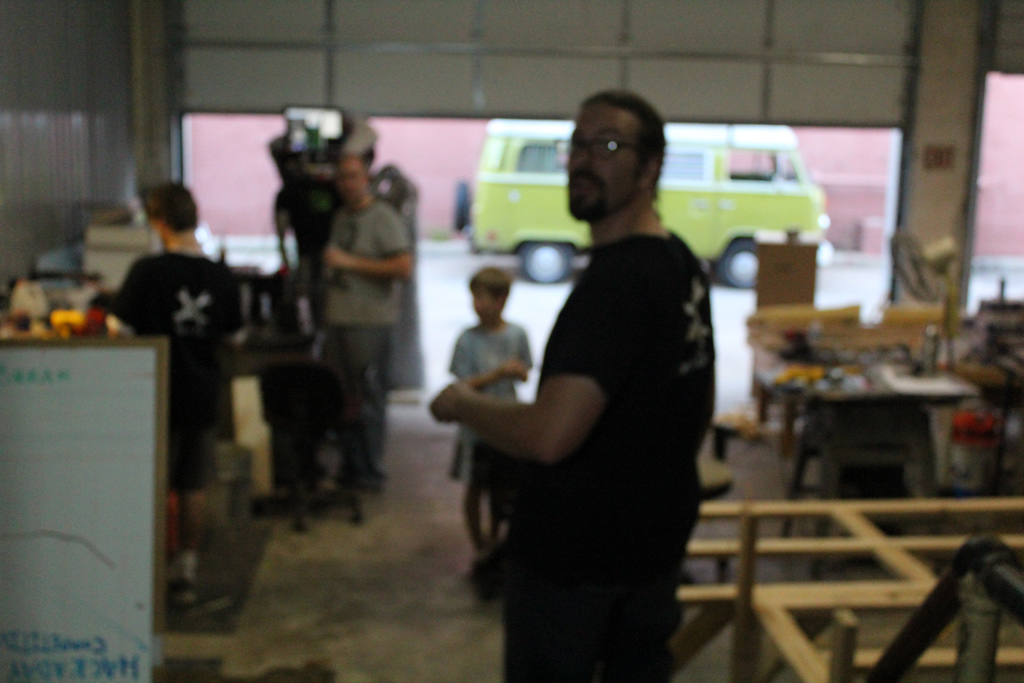
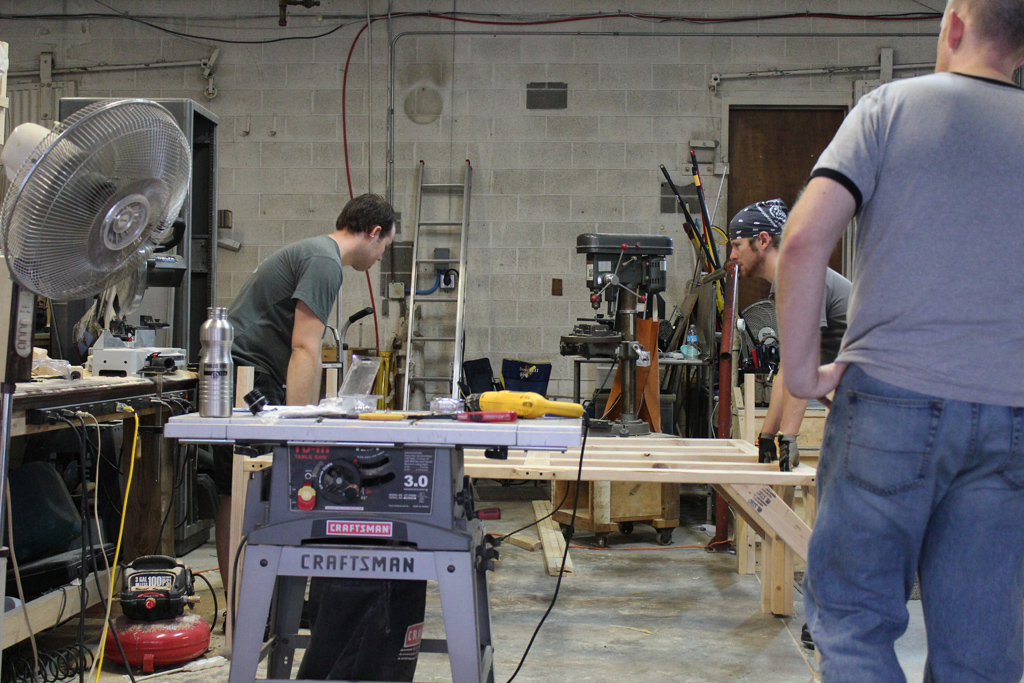
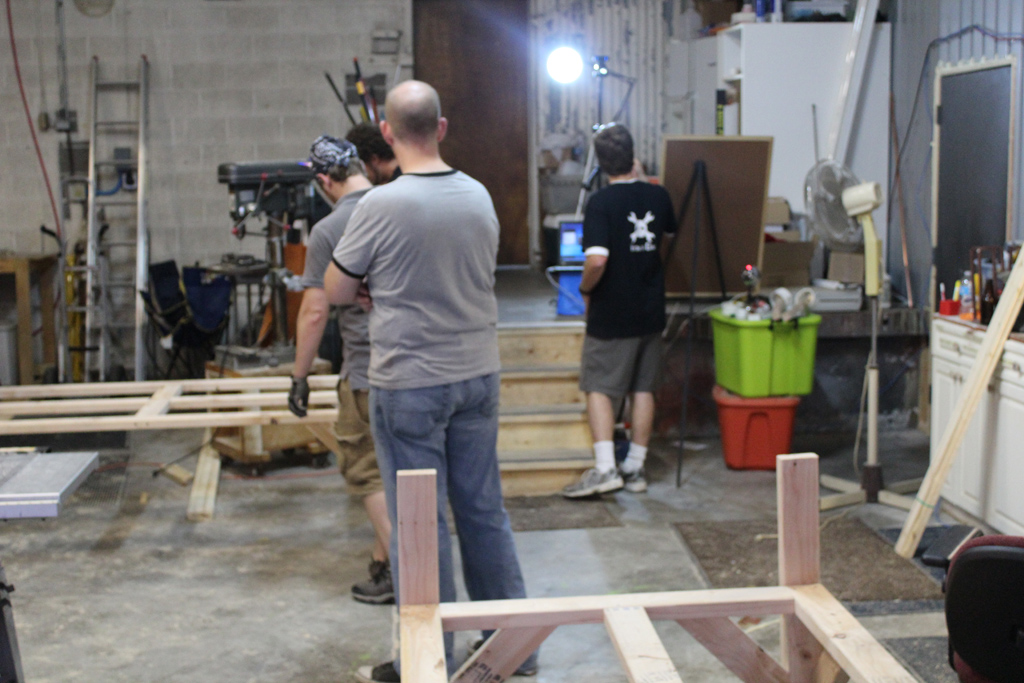
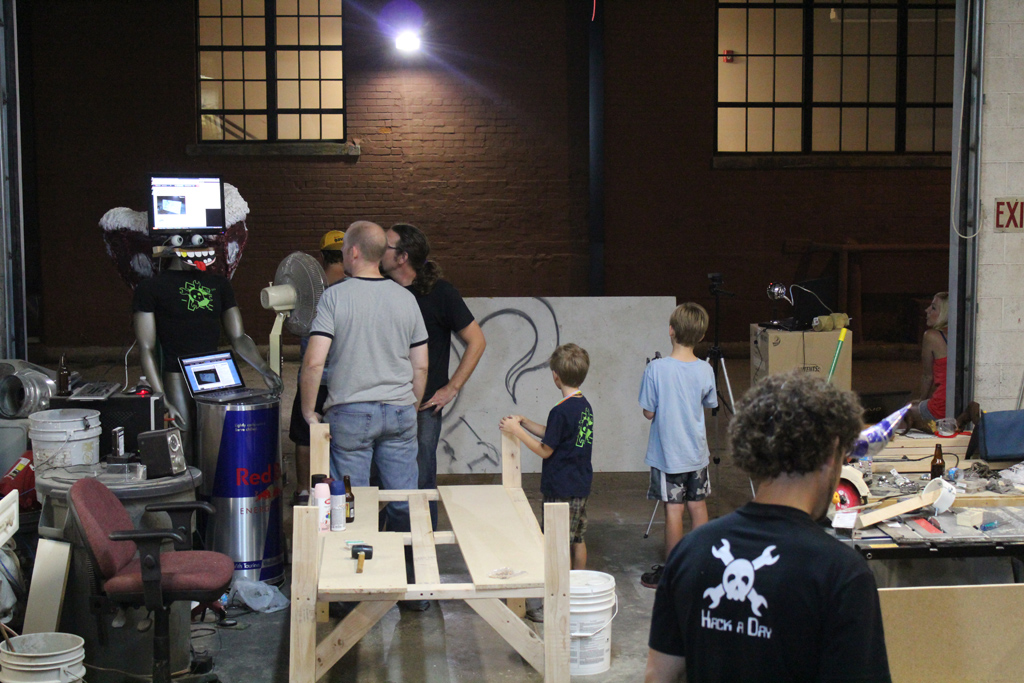
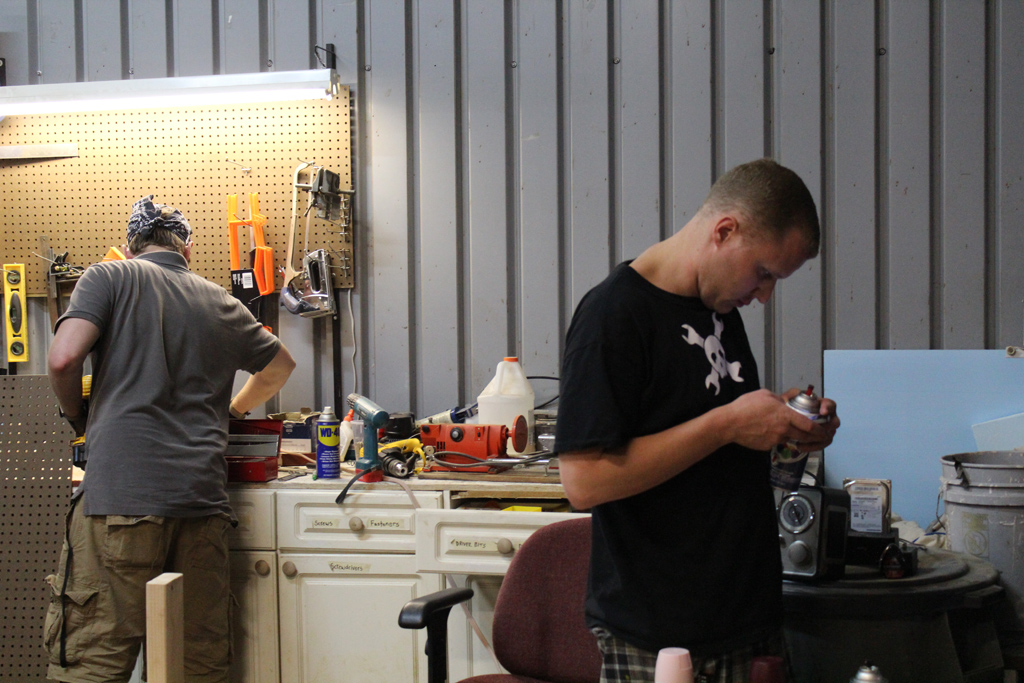
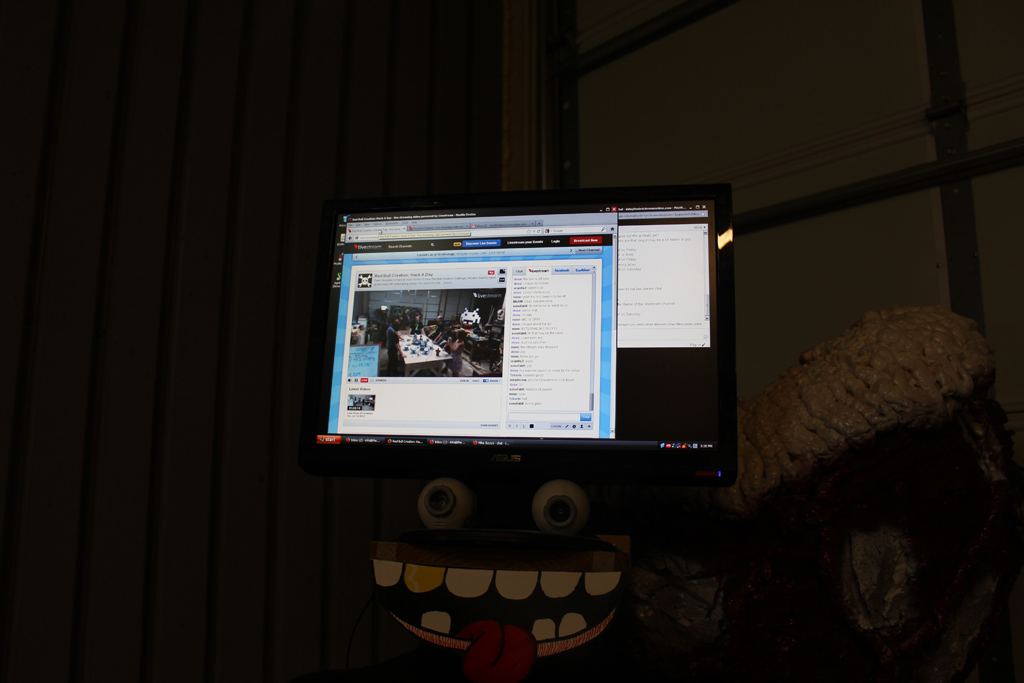
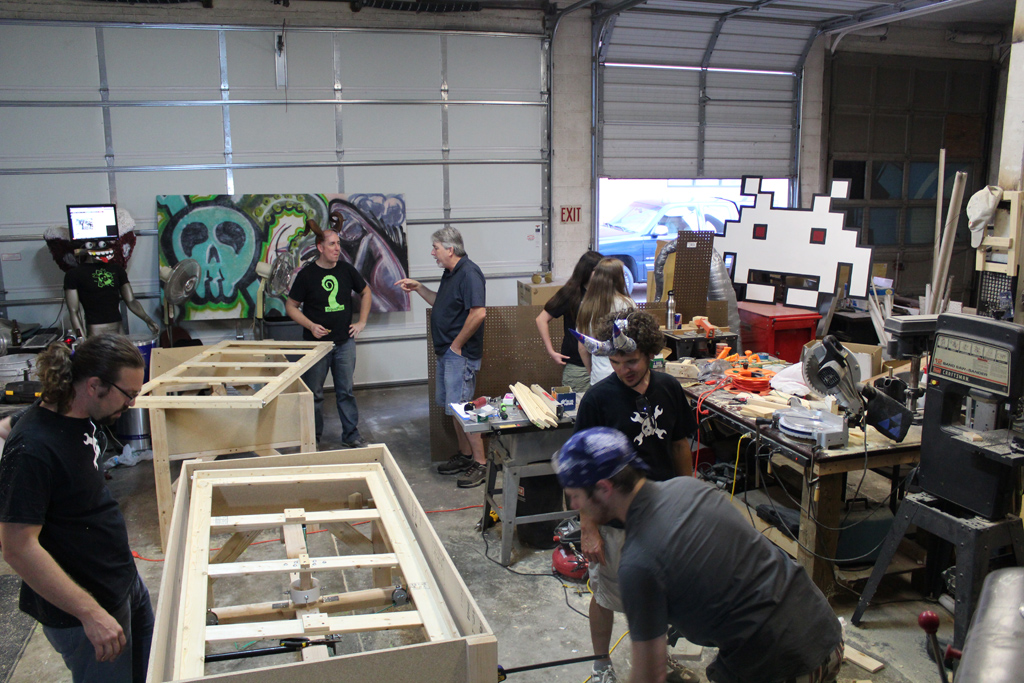
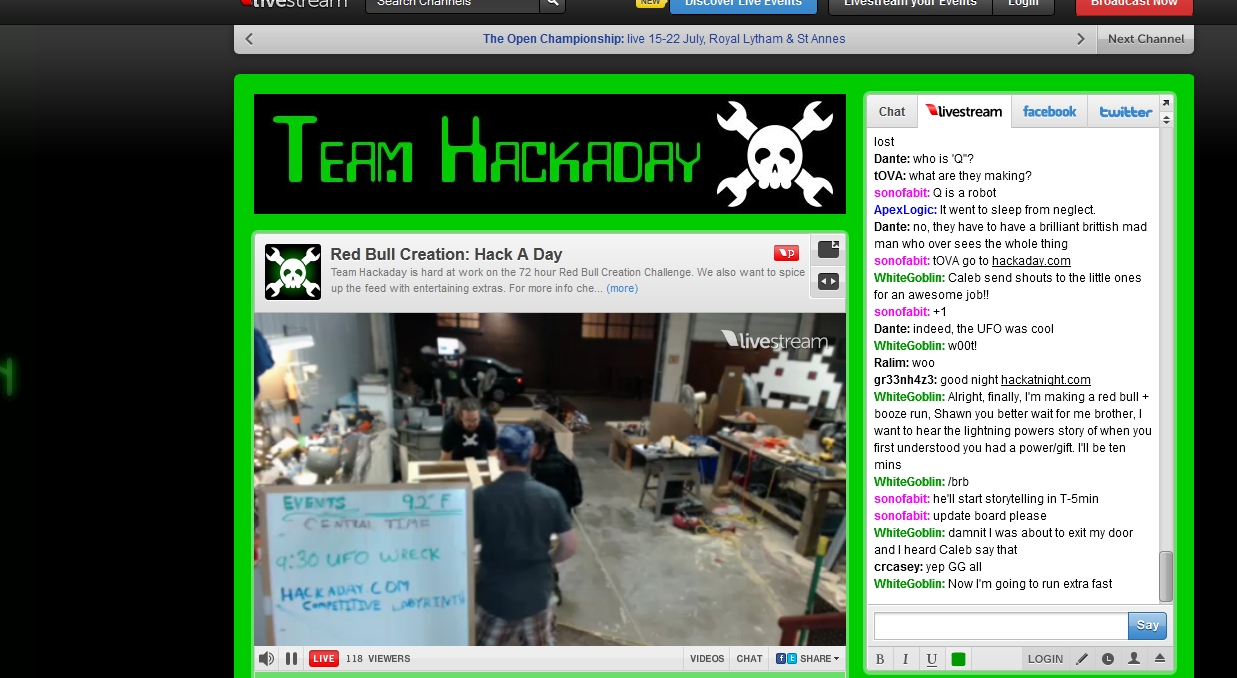
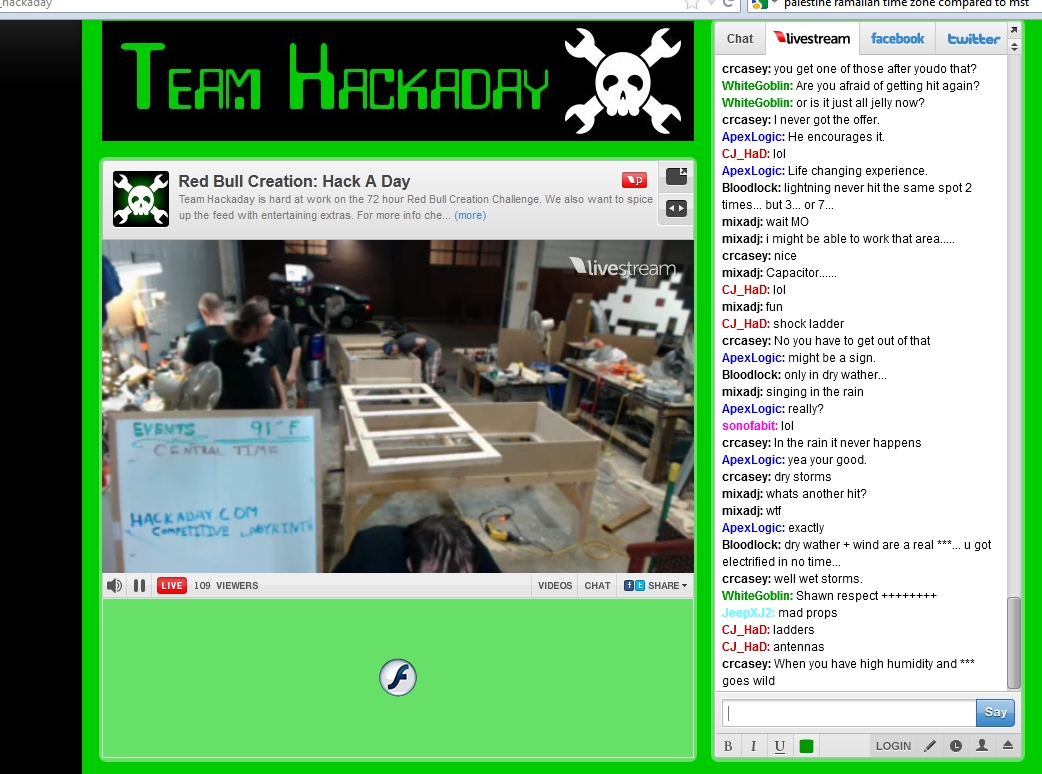
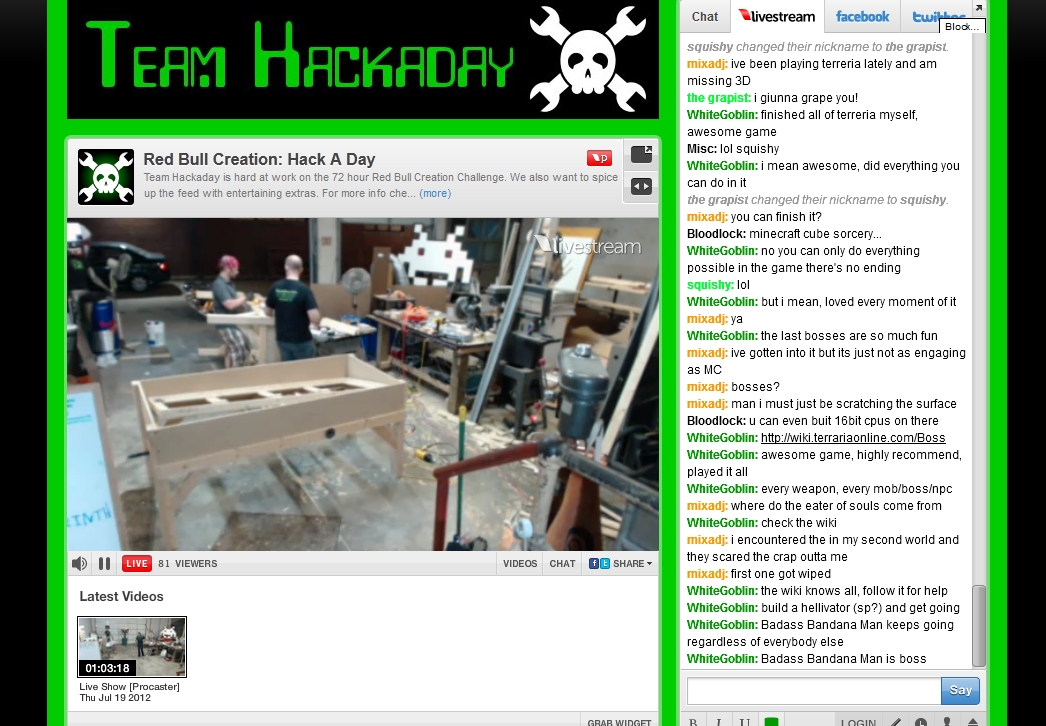
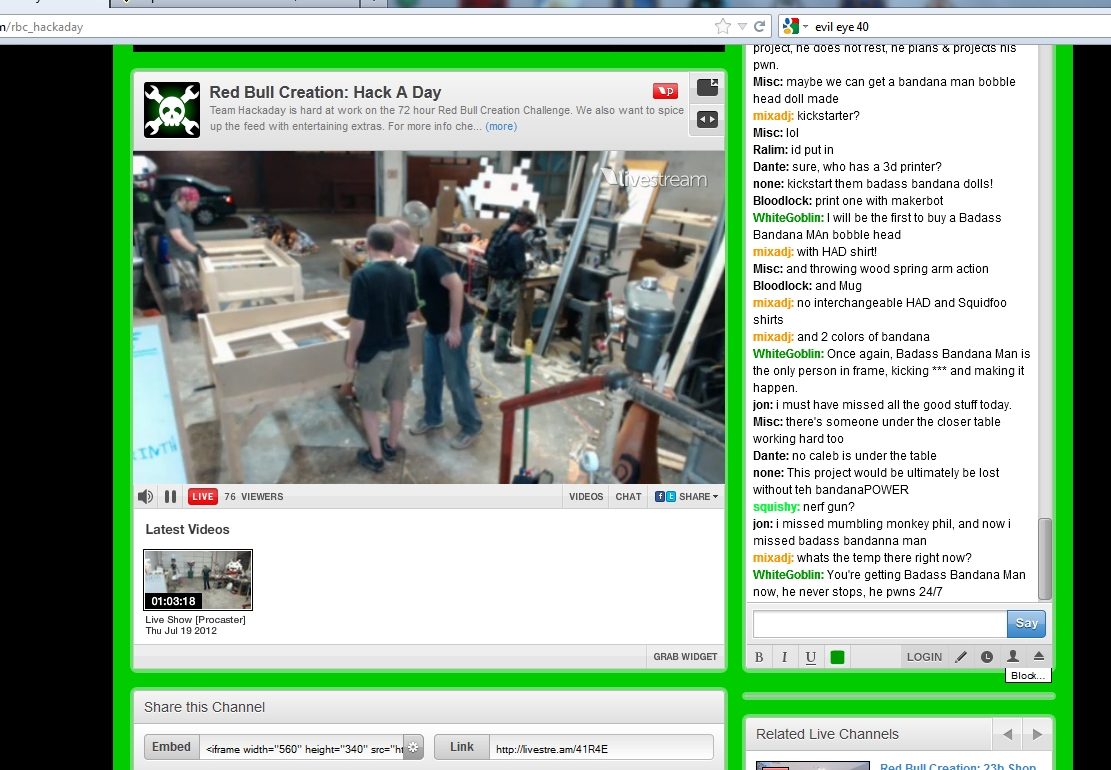
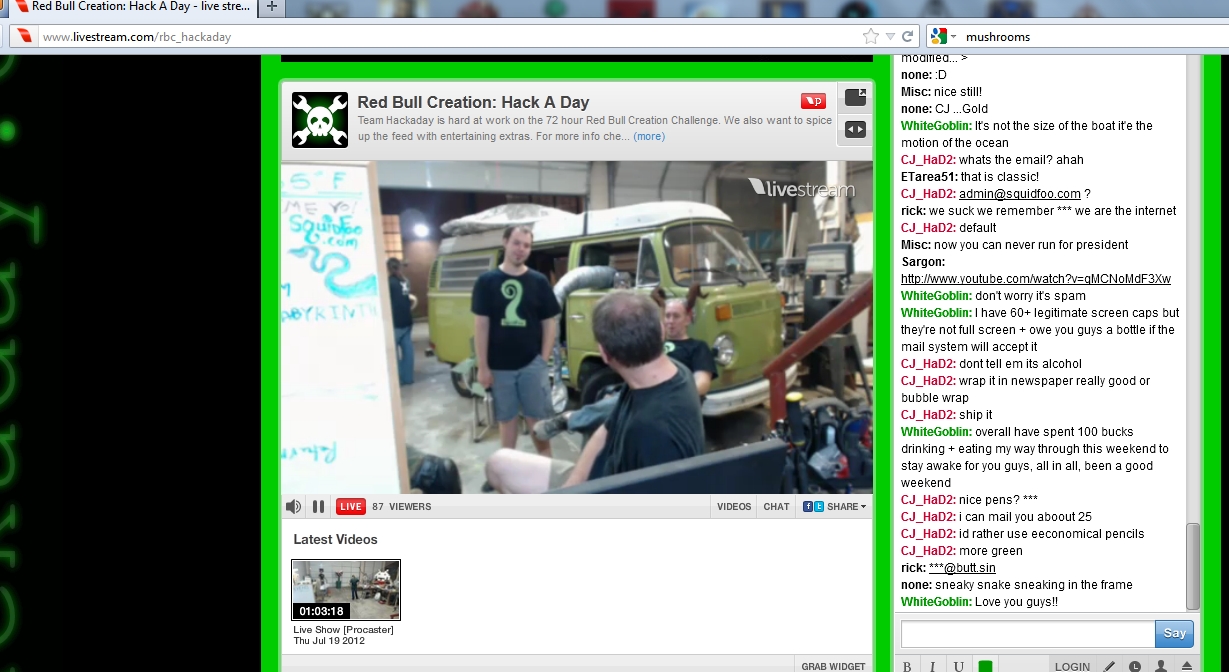
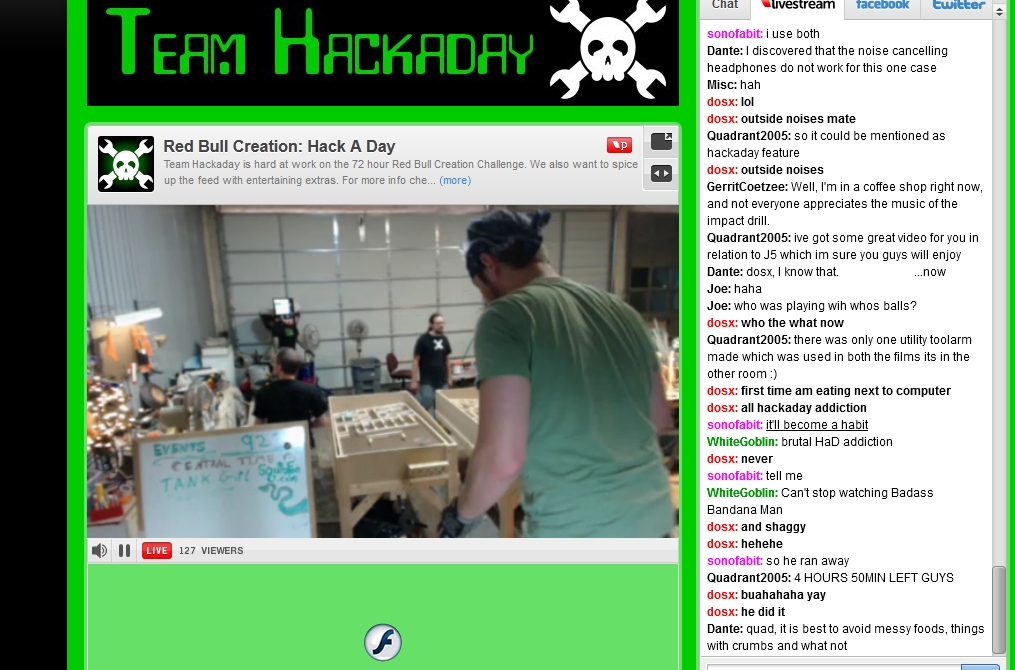
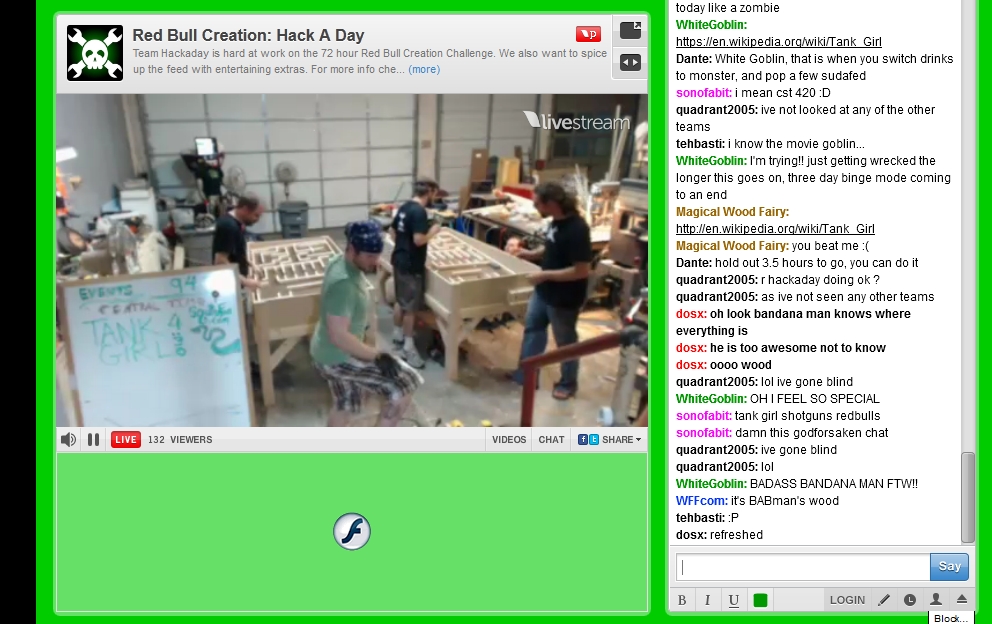
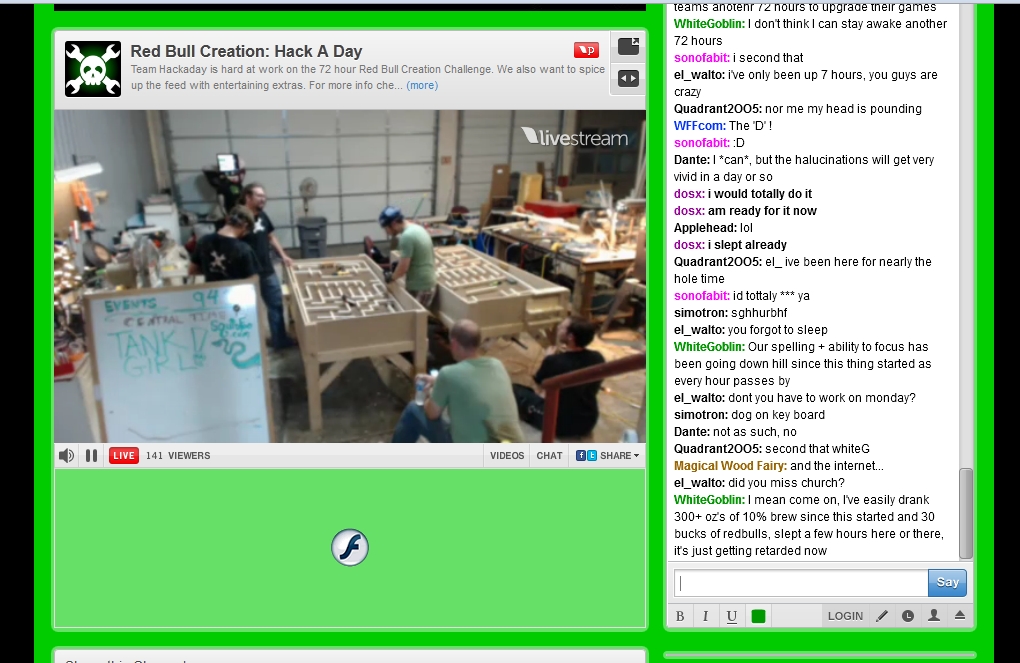
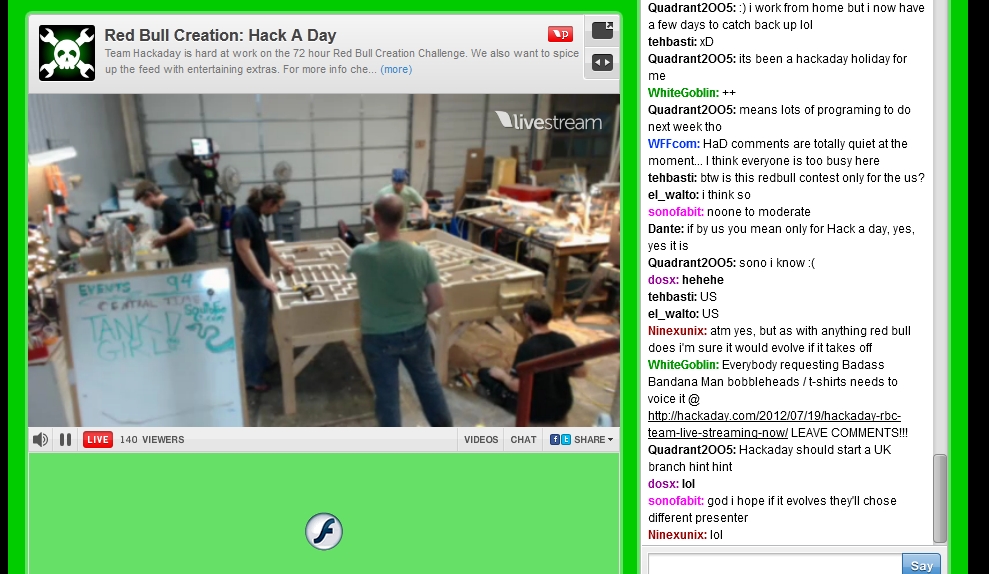
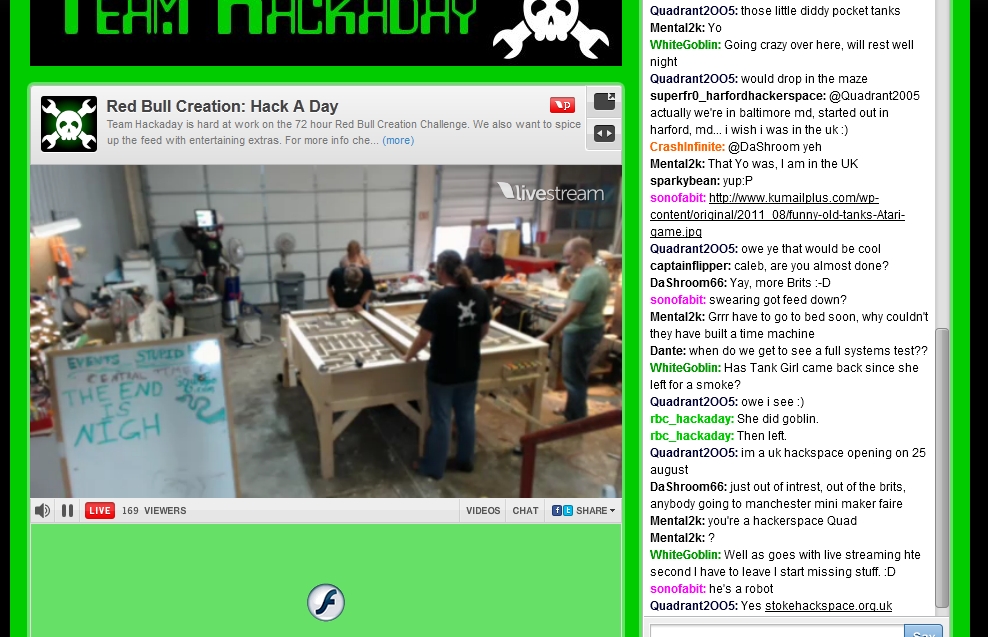
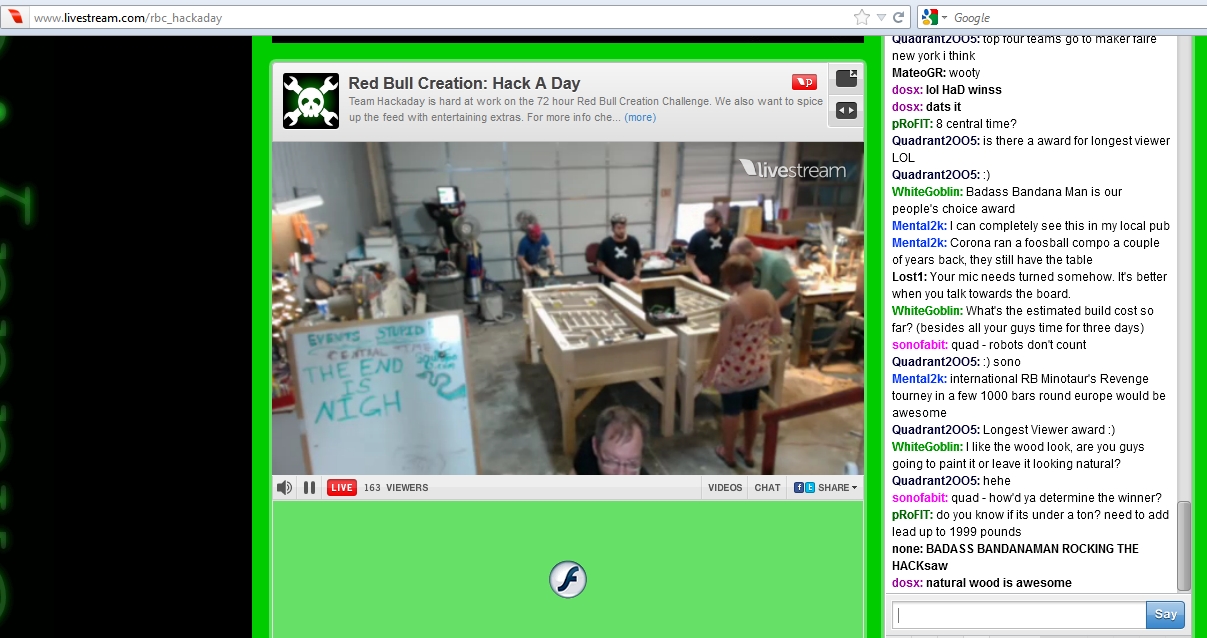
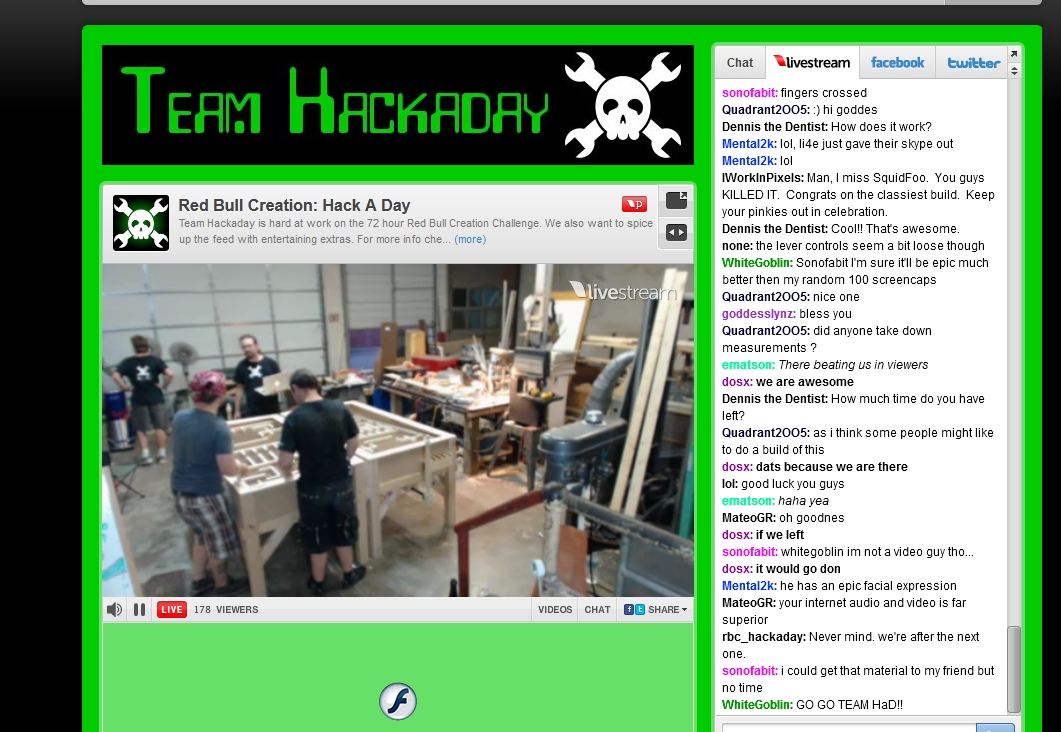
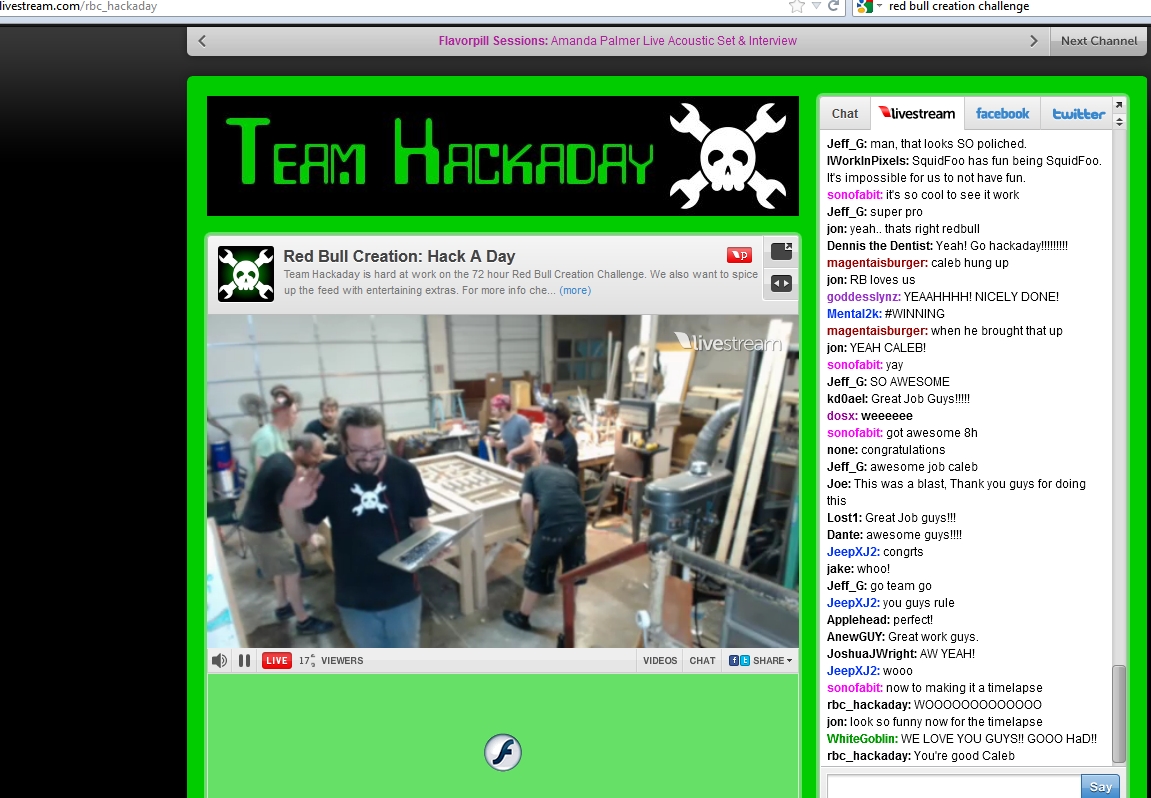
In case you hadn’t noticed, we participated in a contest recently. The RedBull Creation contest. The basic idea was that they gave us 72 hours to build something based on a theme. The whole thing would be streamed live as the 12 teams competed. The theme was “game of games” and the rules were pretty basic. It had to be a game with a clear winner (nothing too general), it had to be safe, and it had to fit in their shipping container.
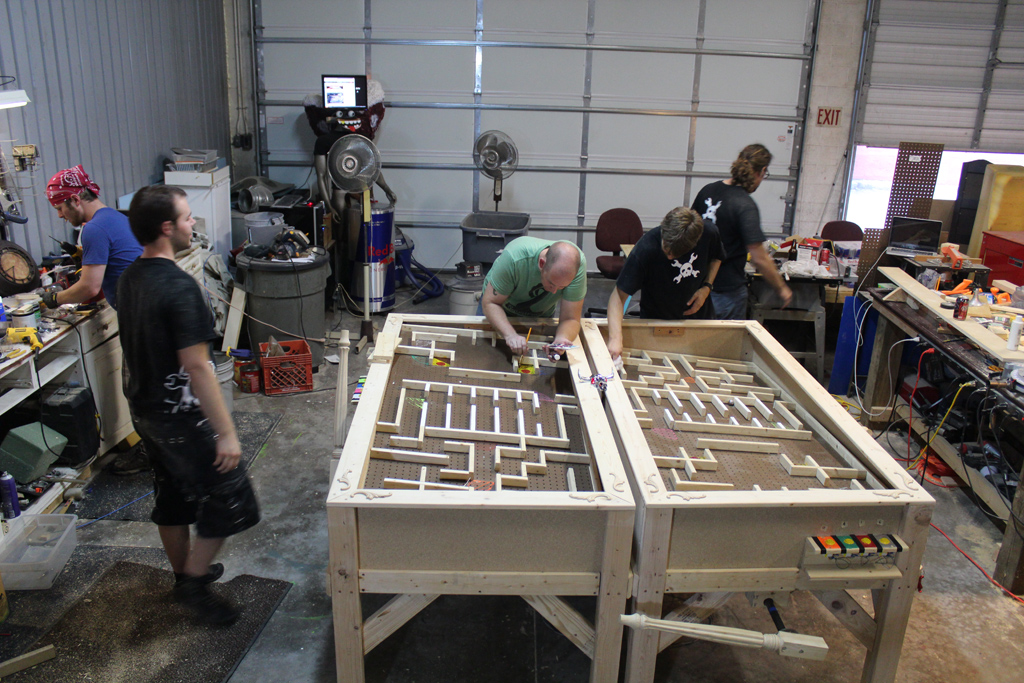
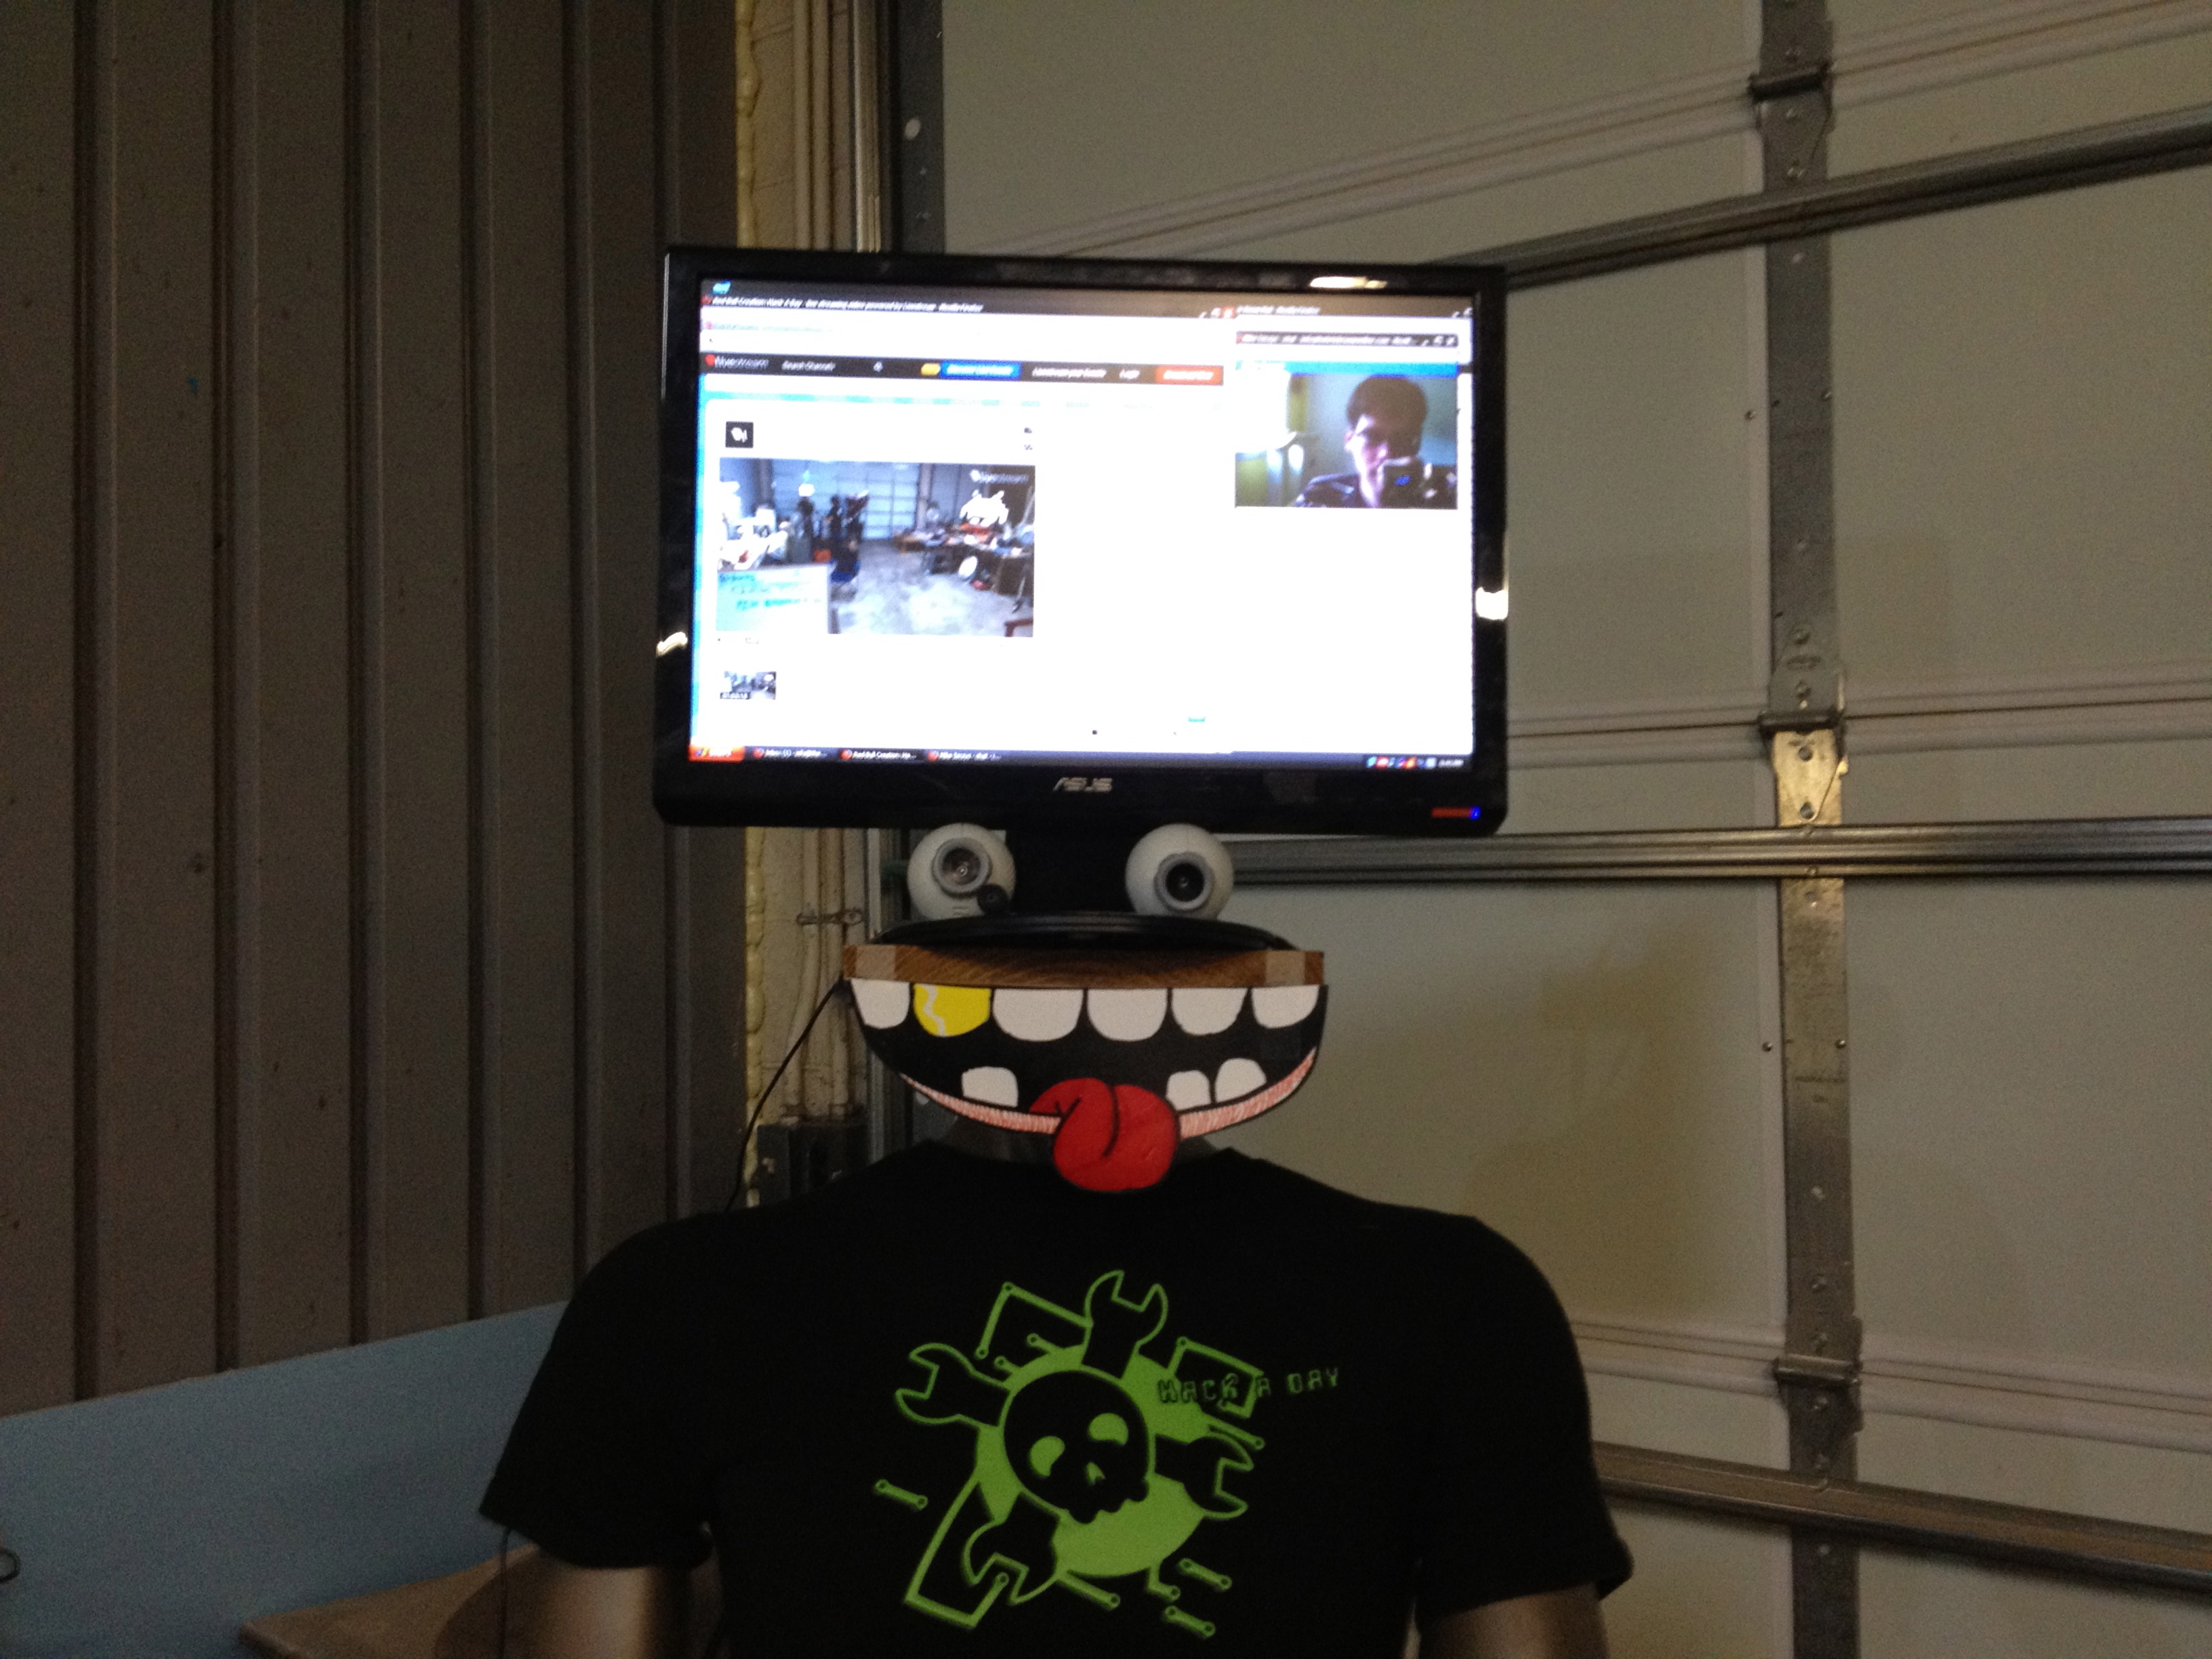
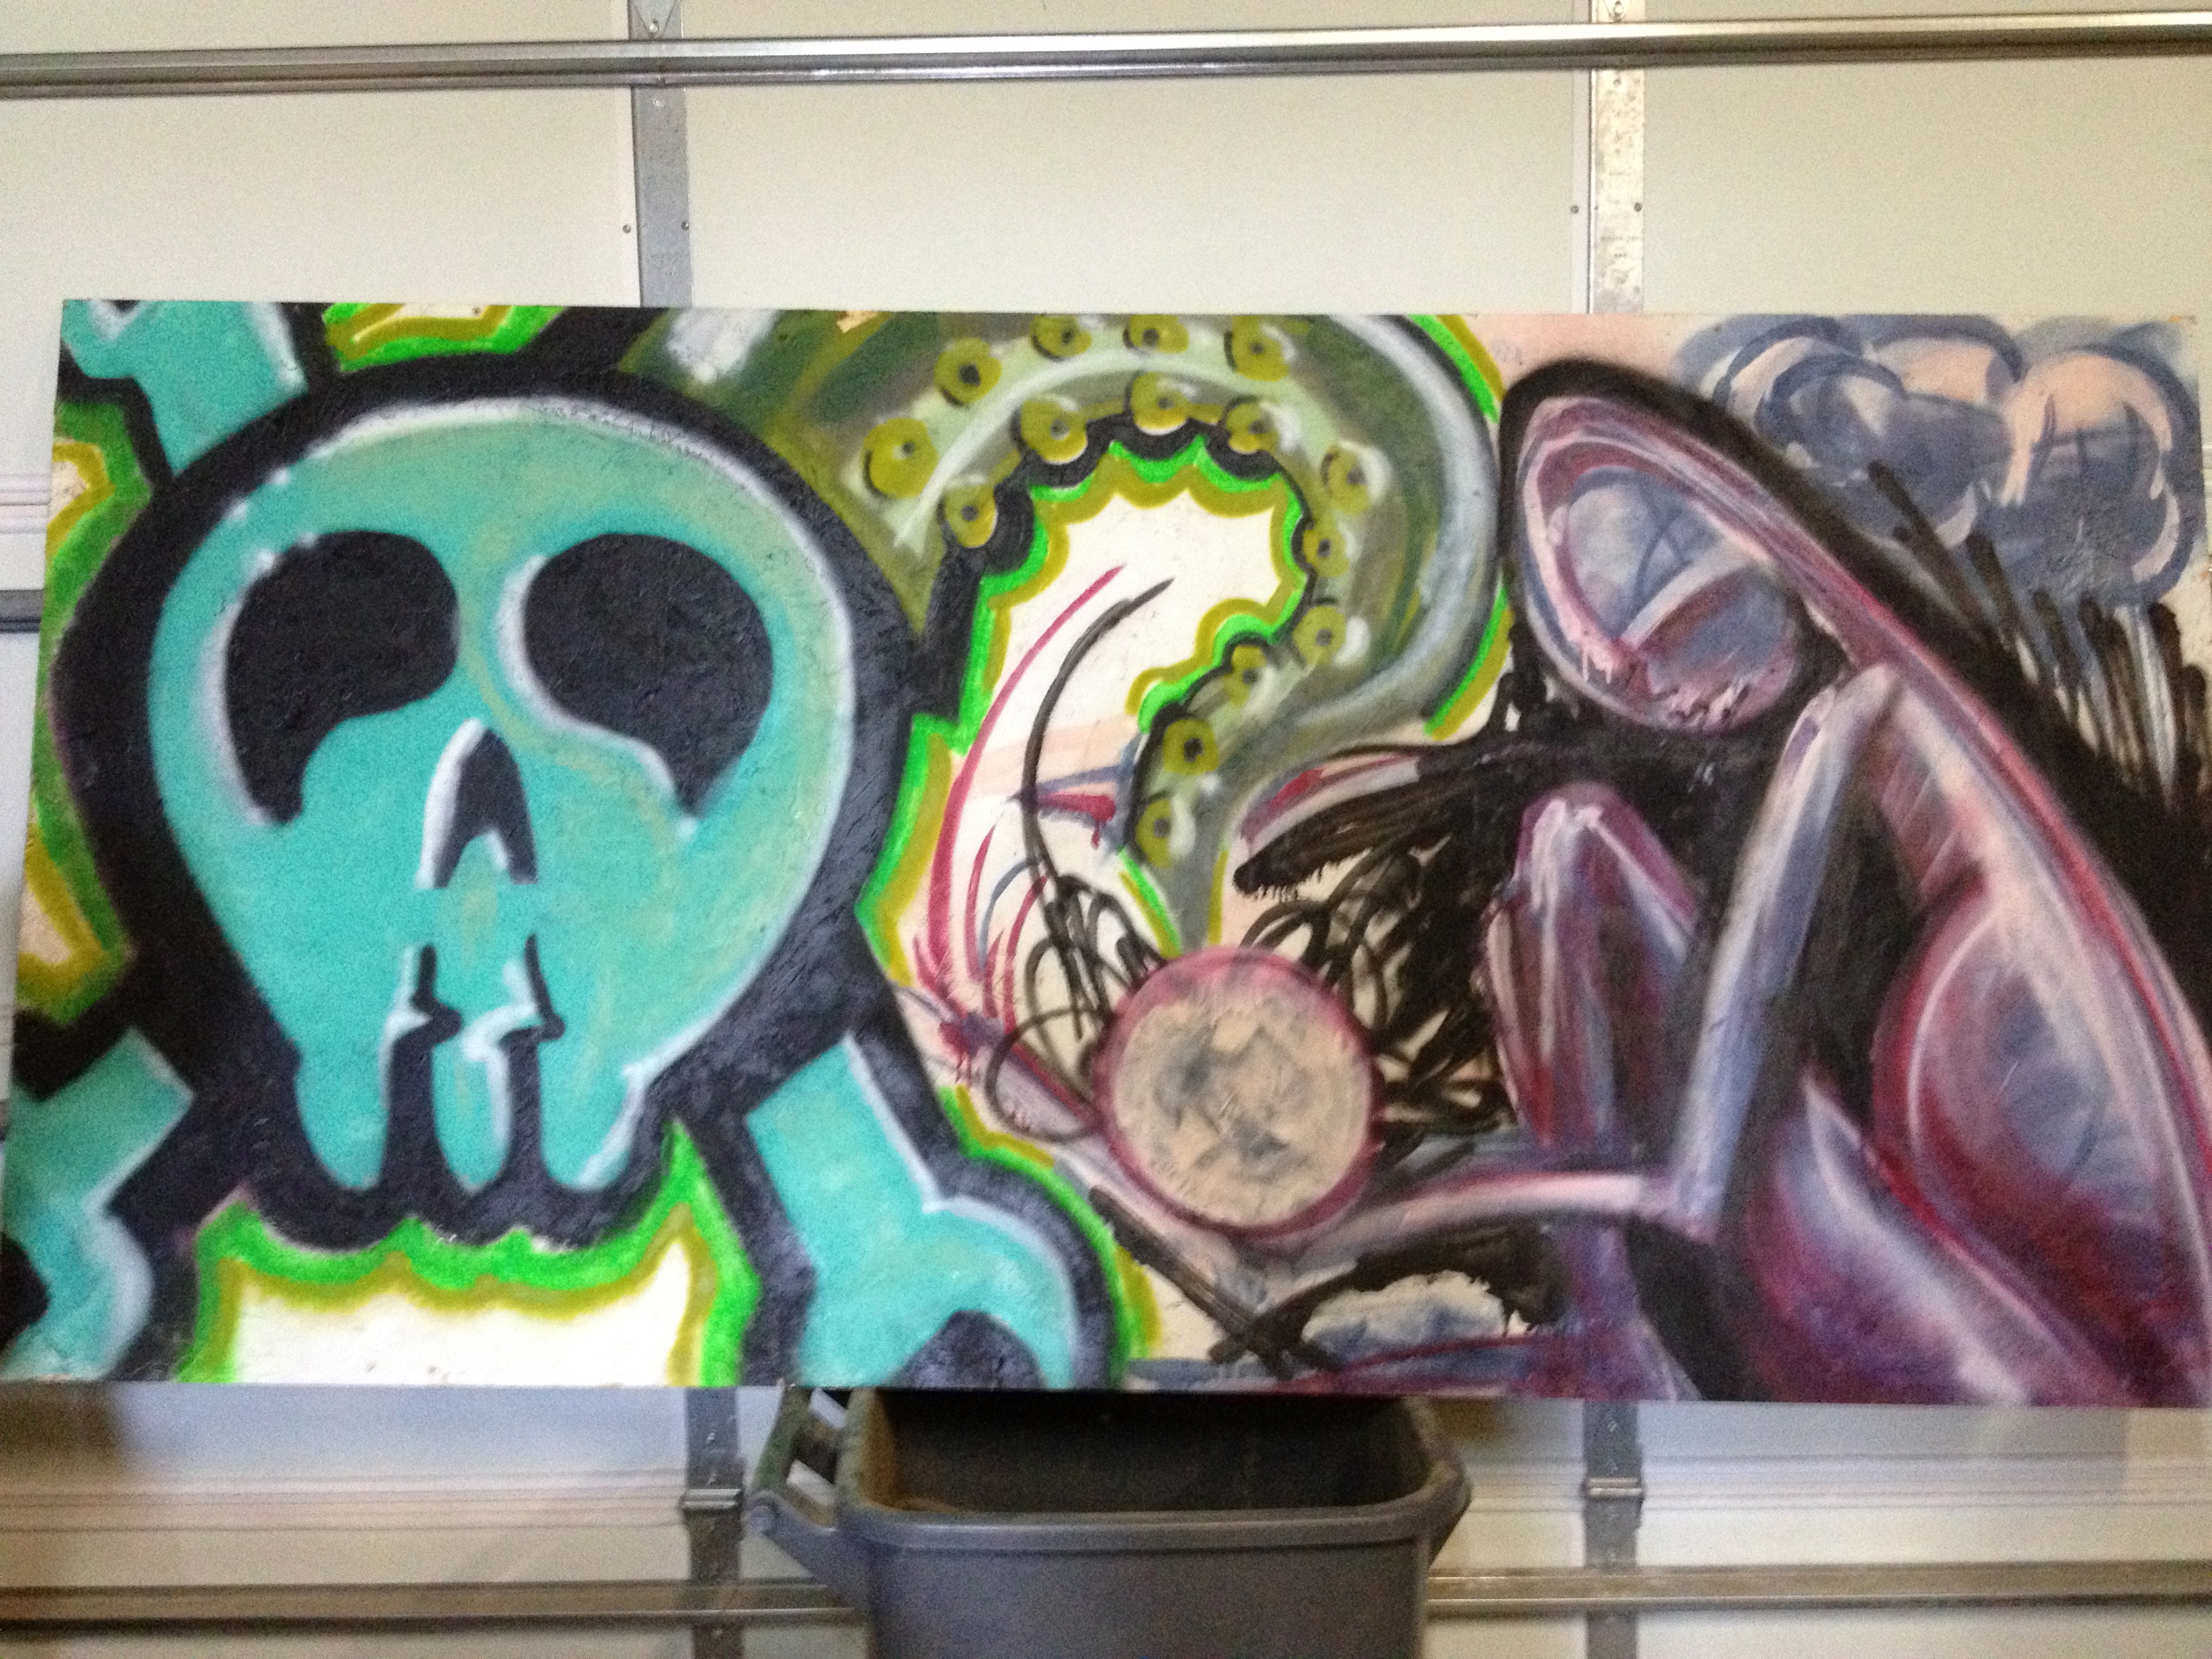
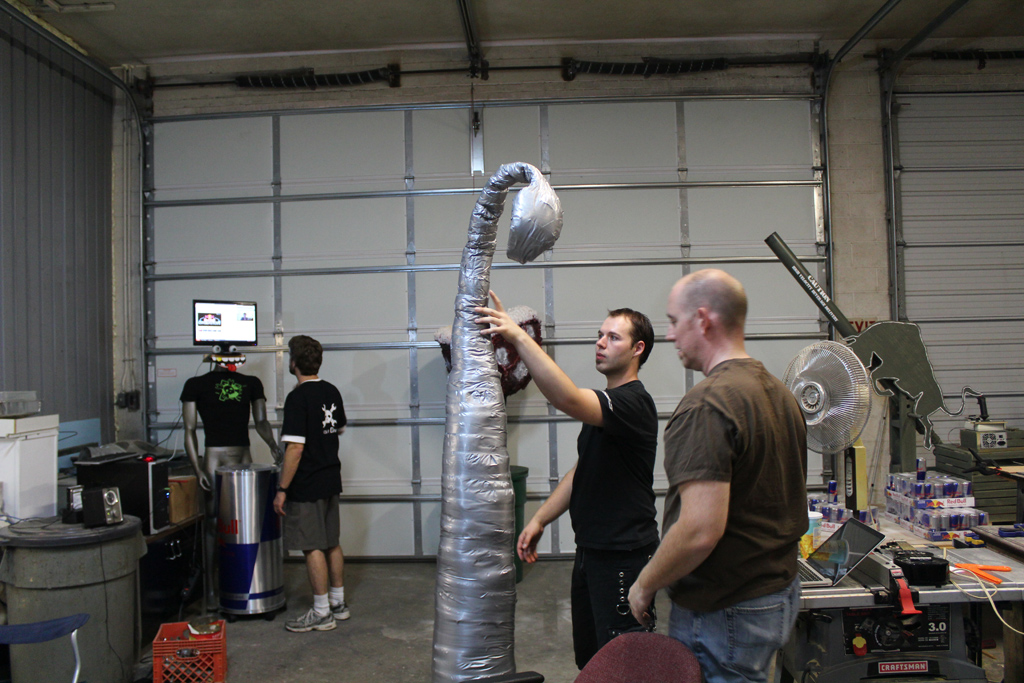
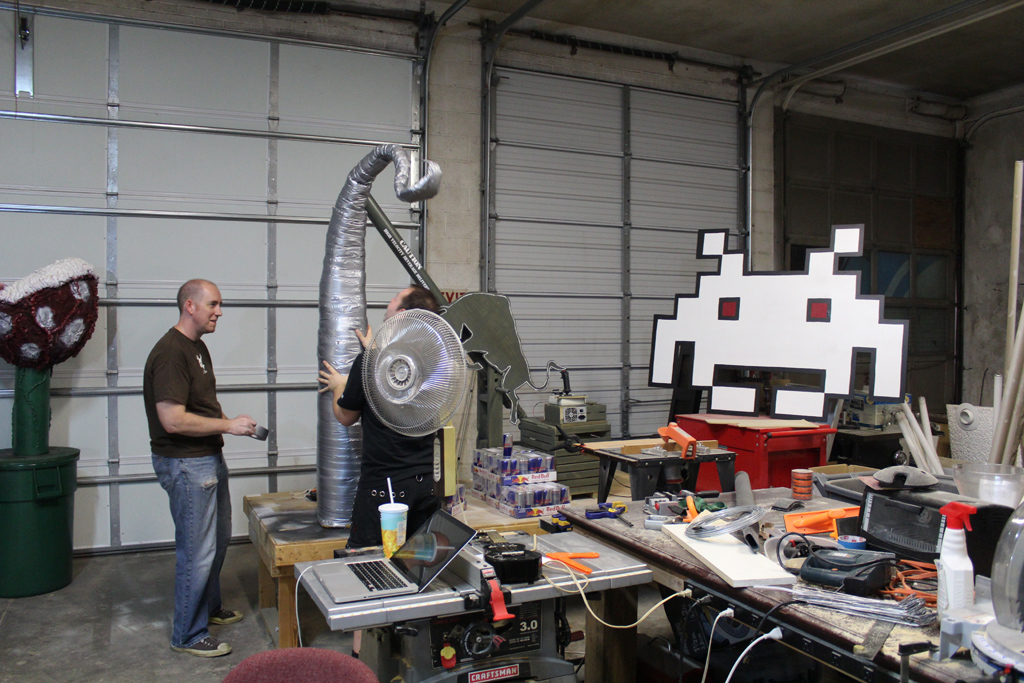
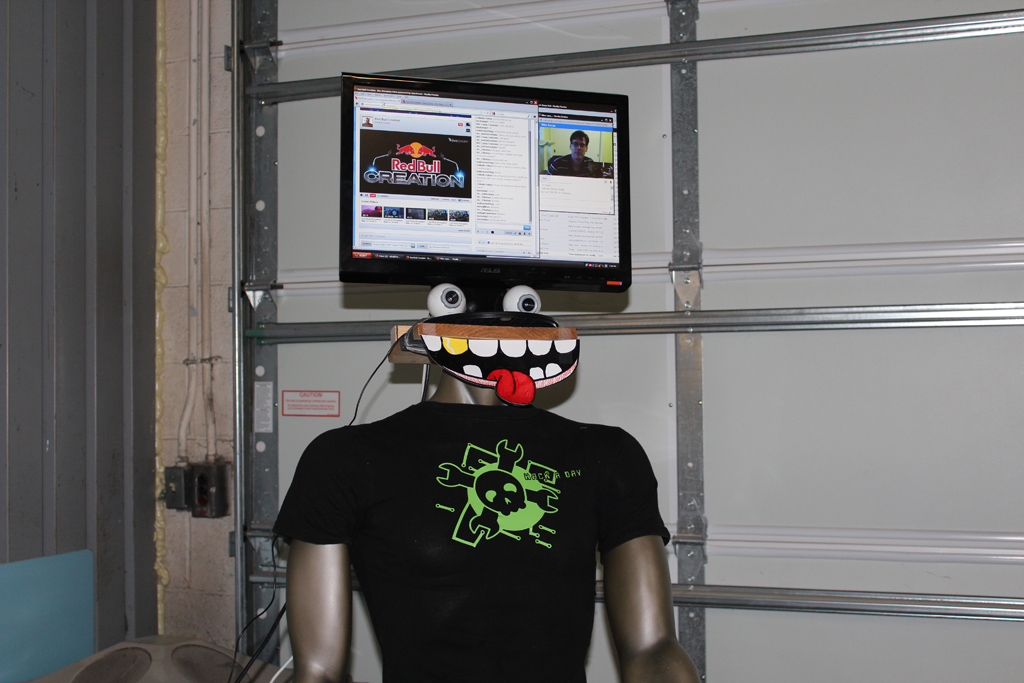
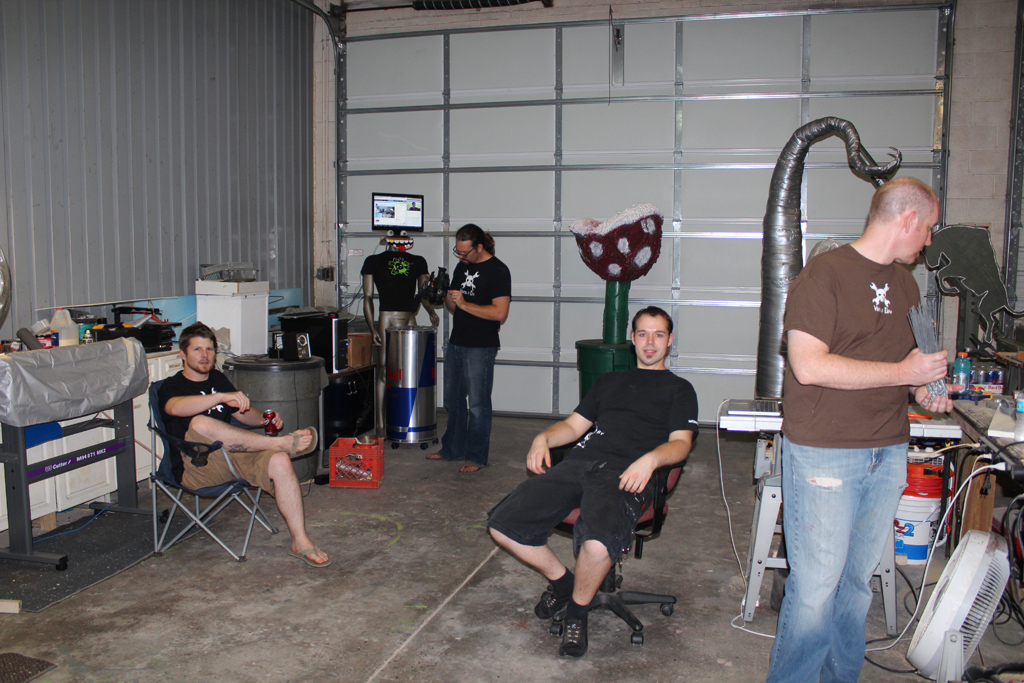
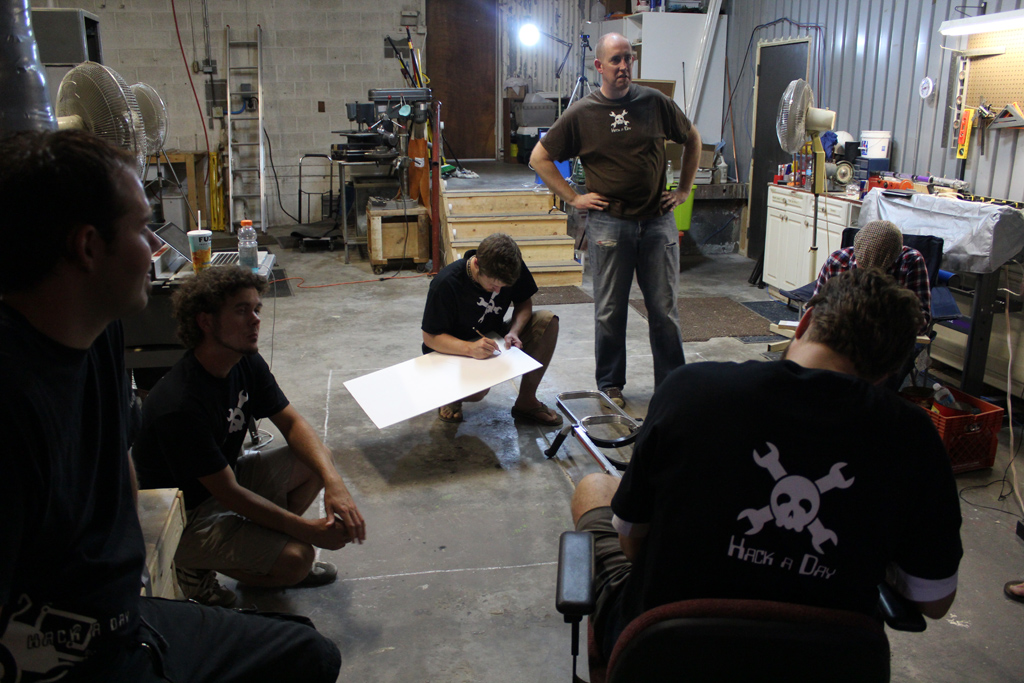
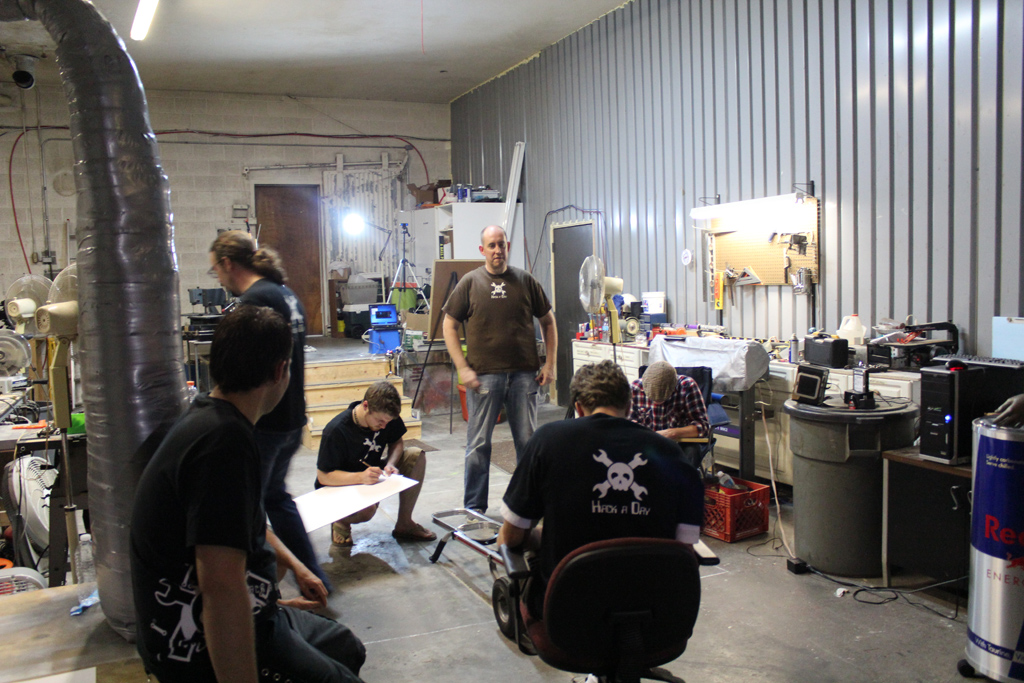
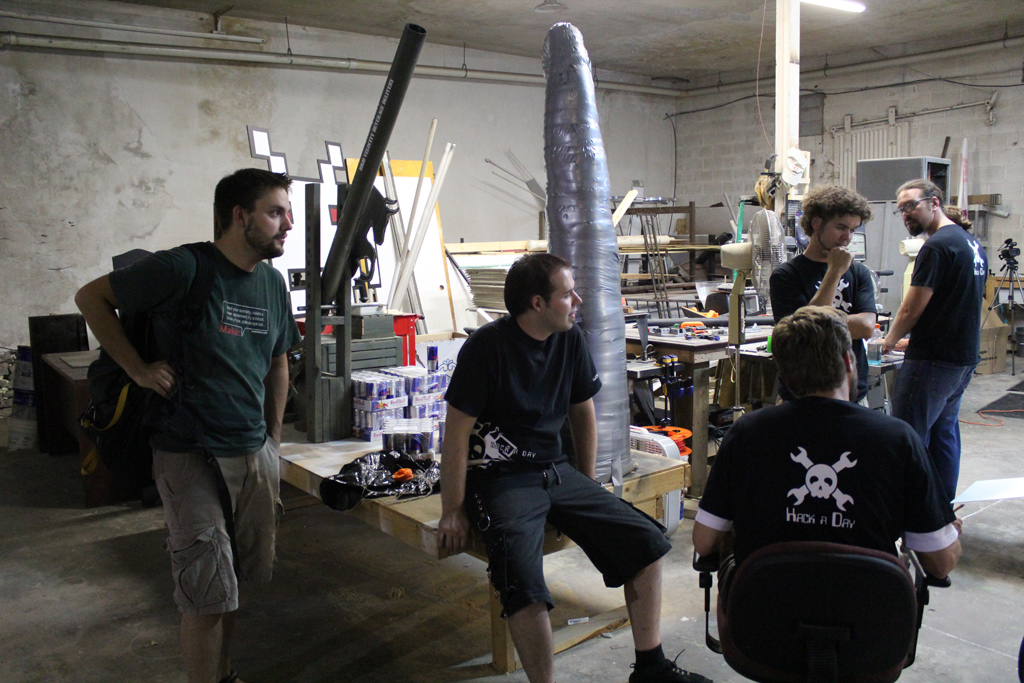
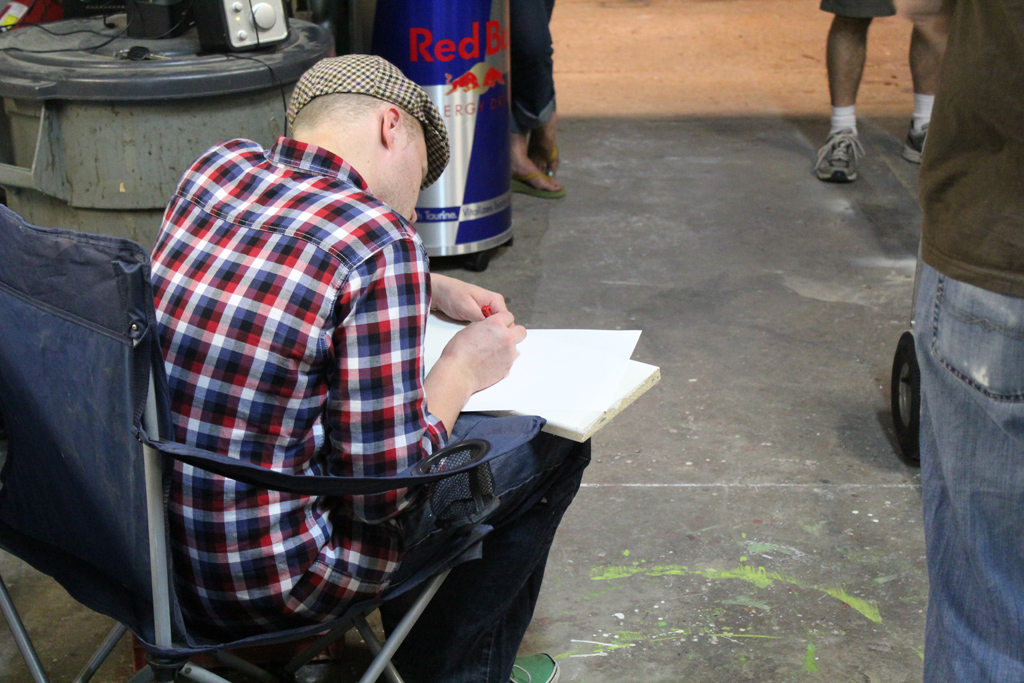
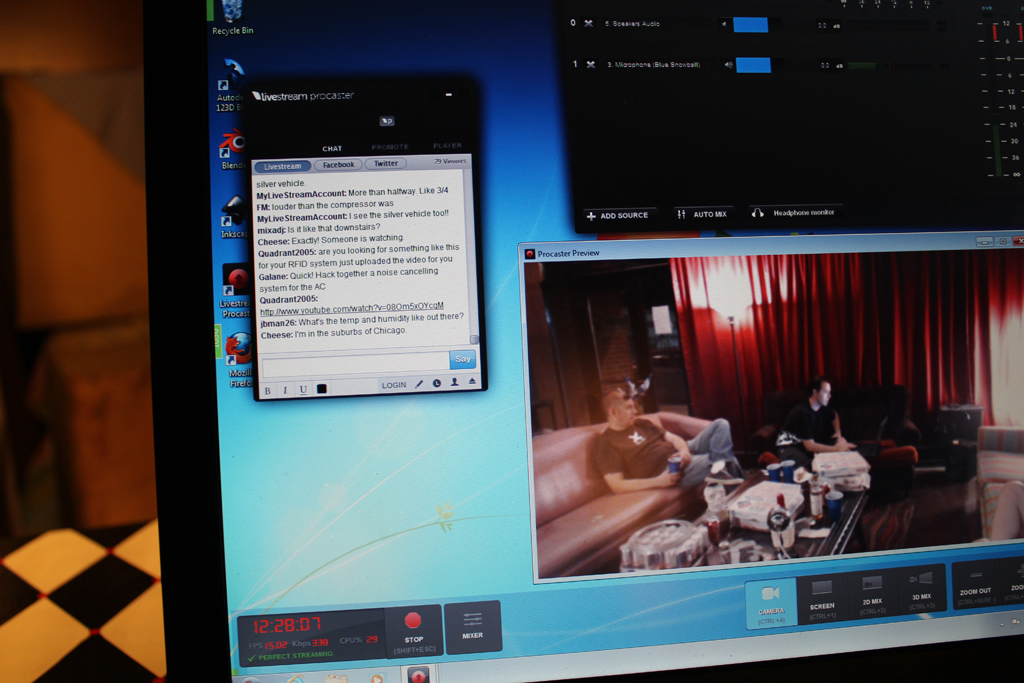
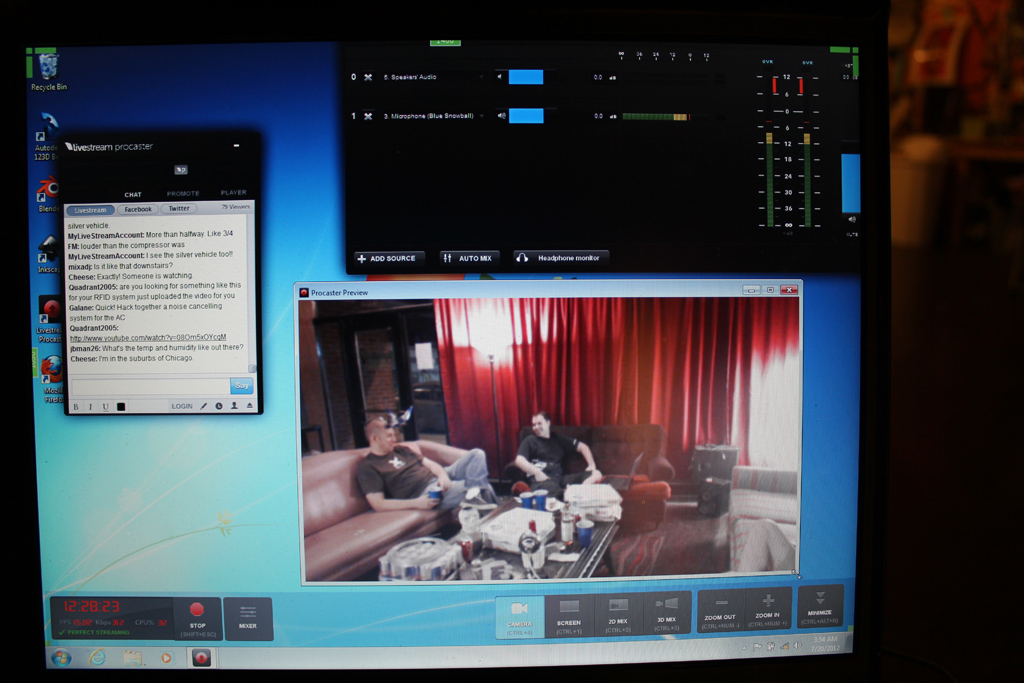
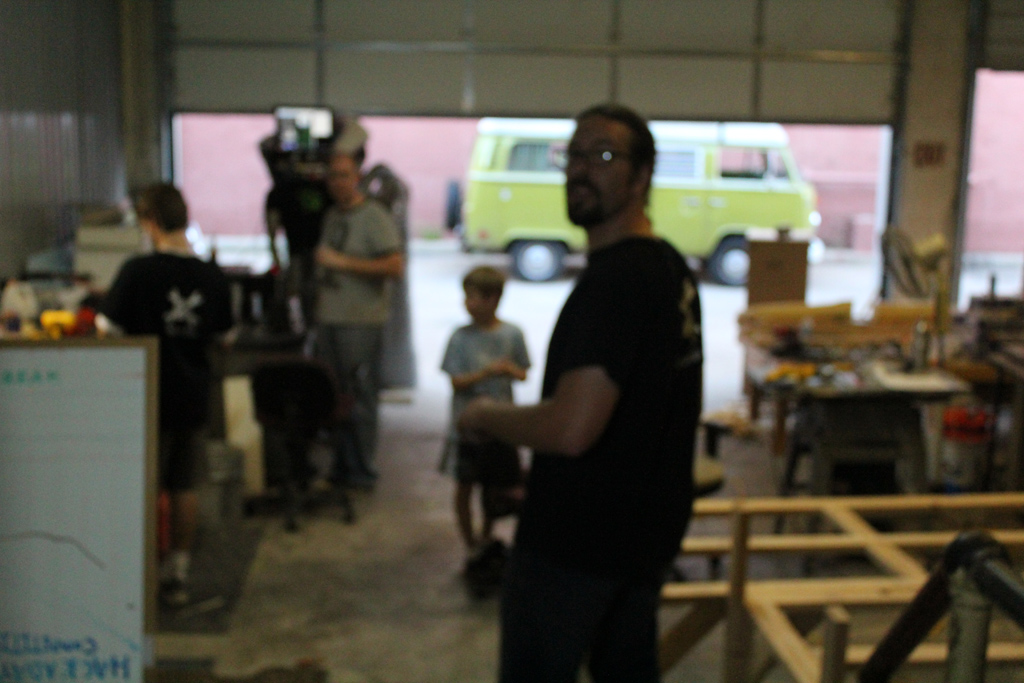
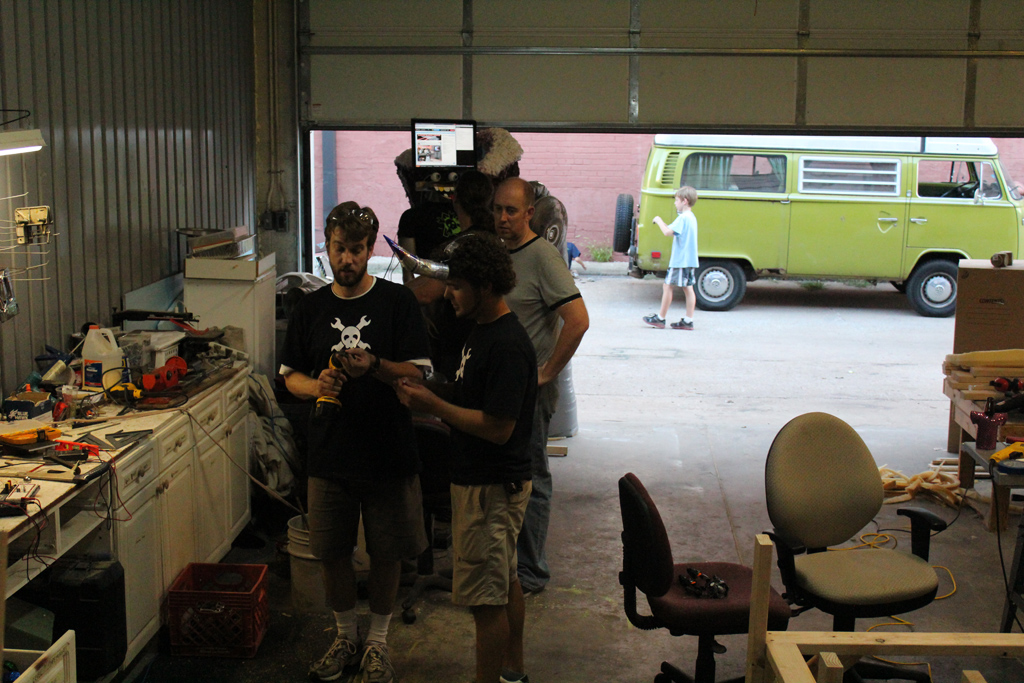
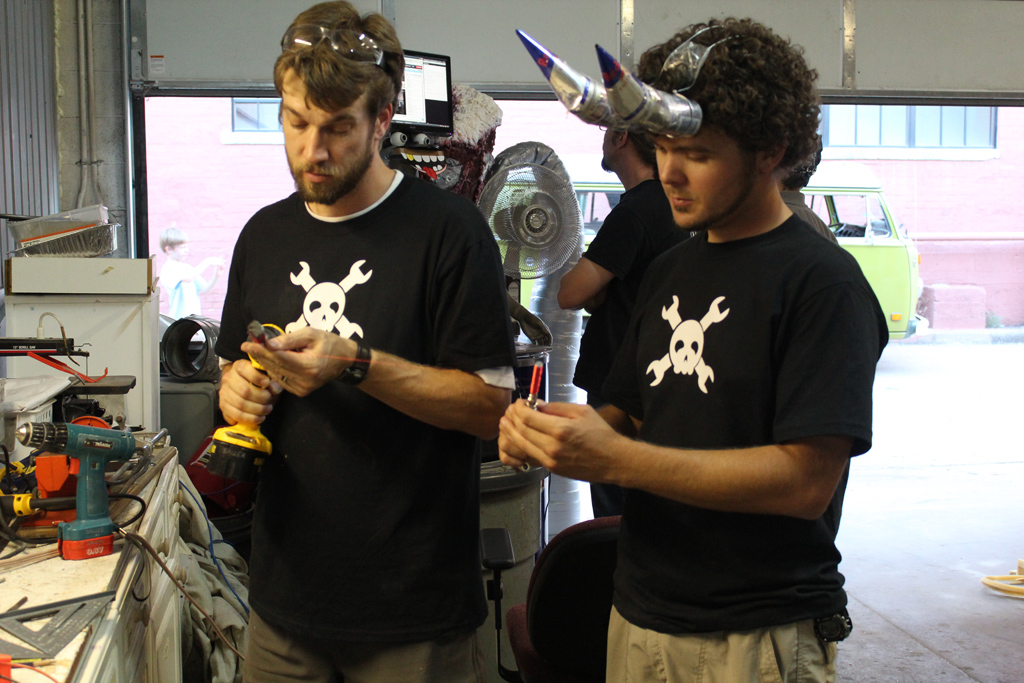
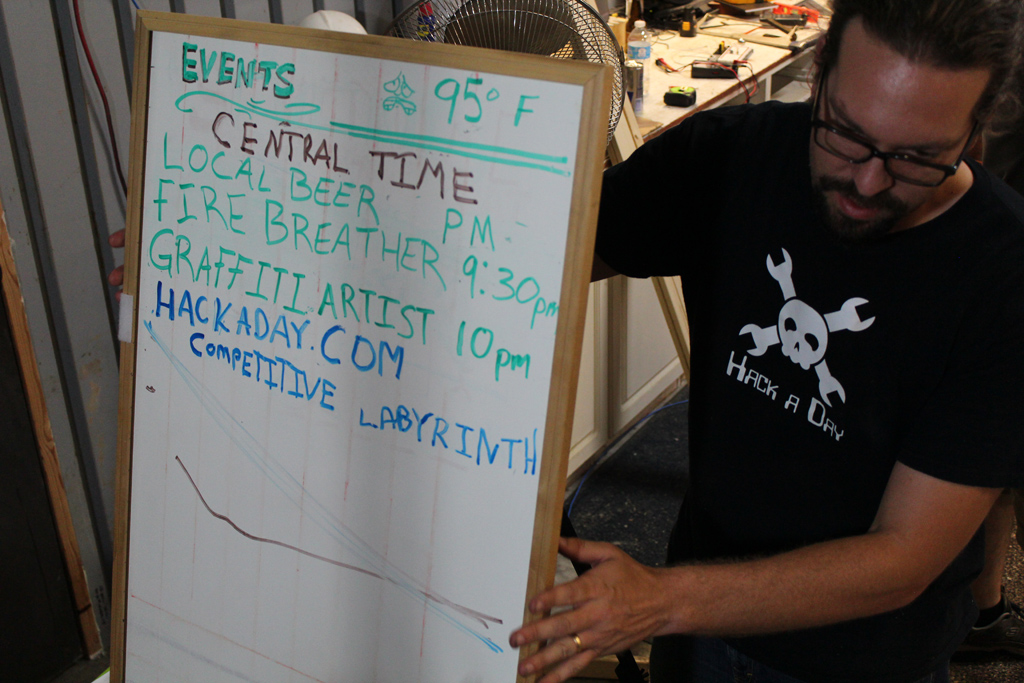
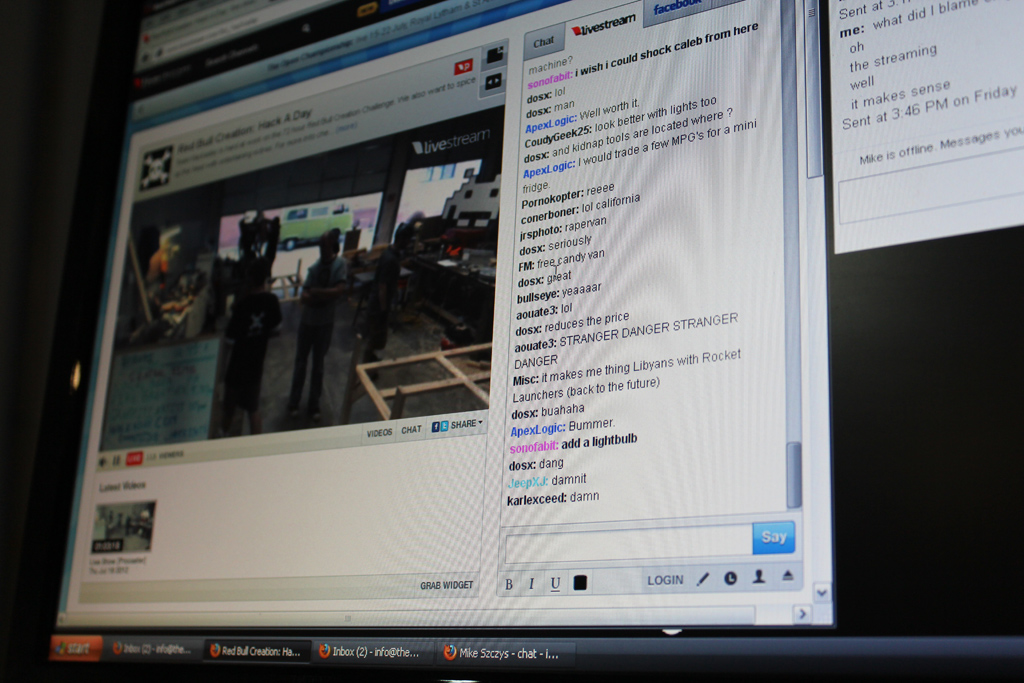
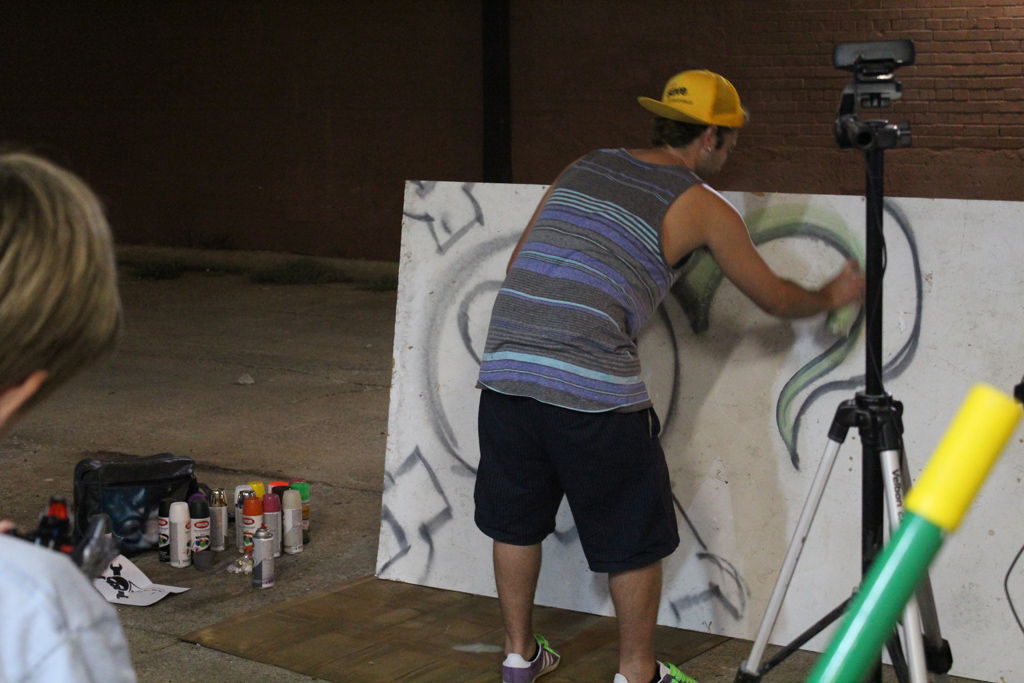
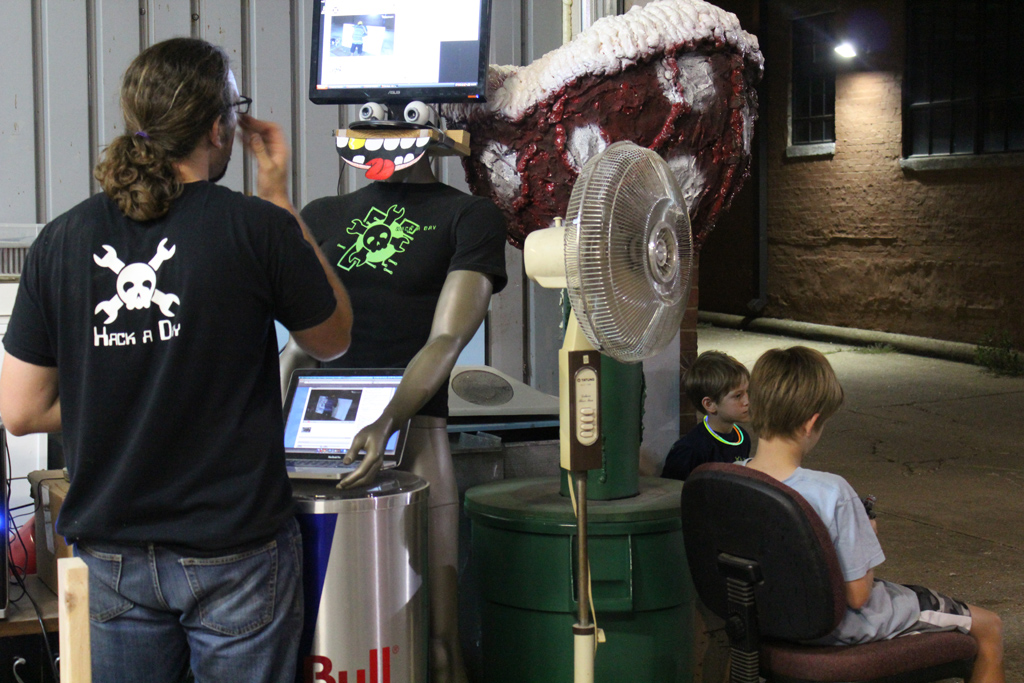
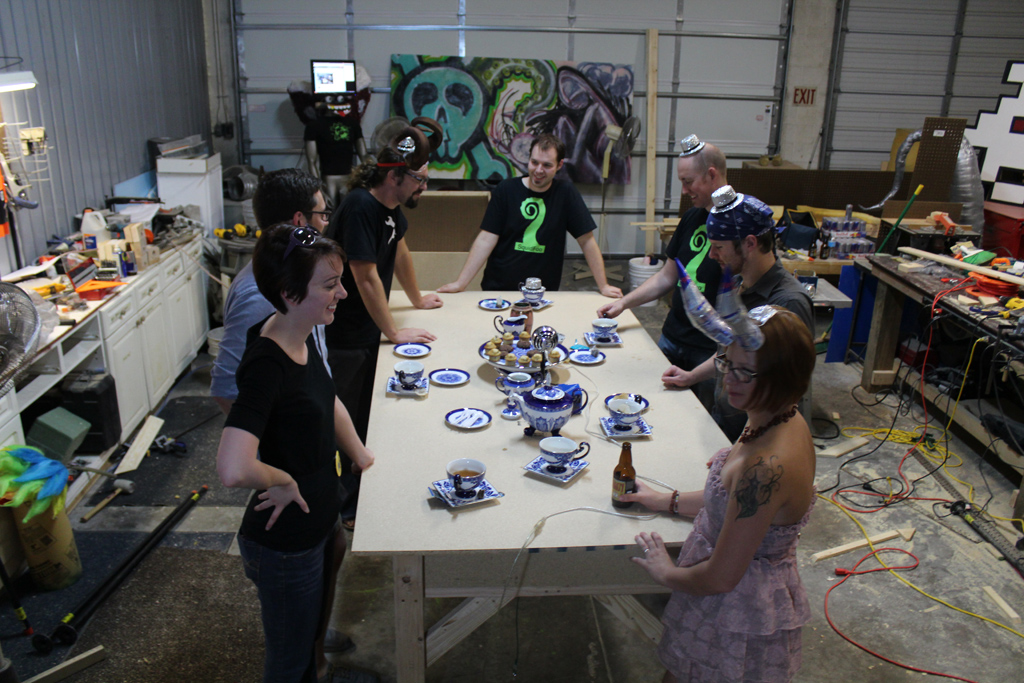
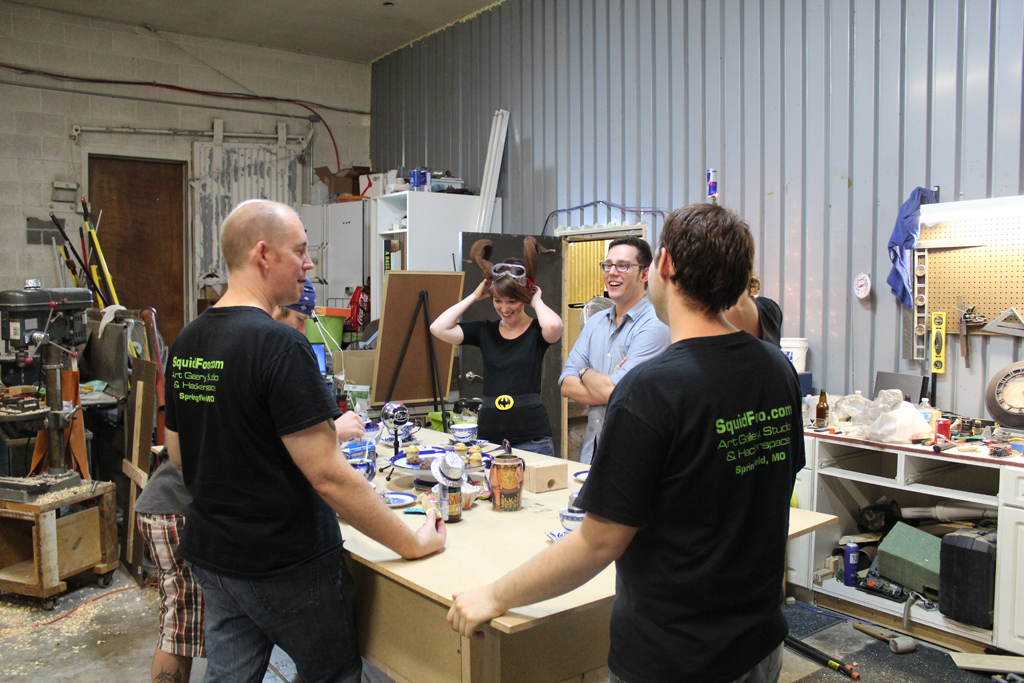
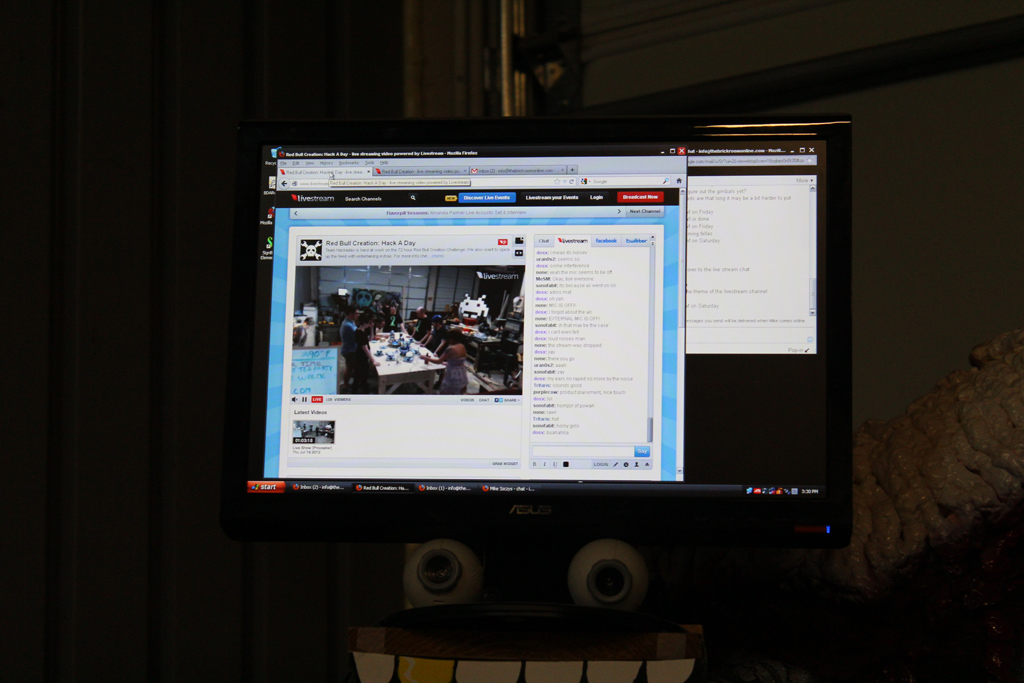
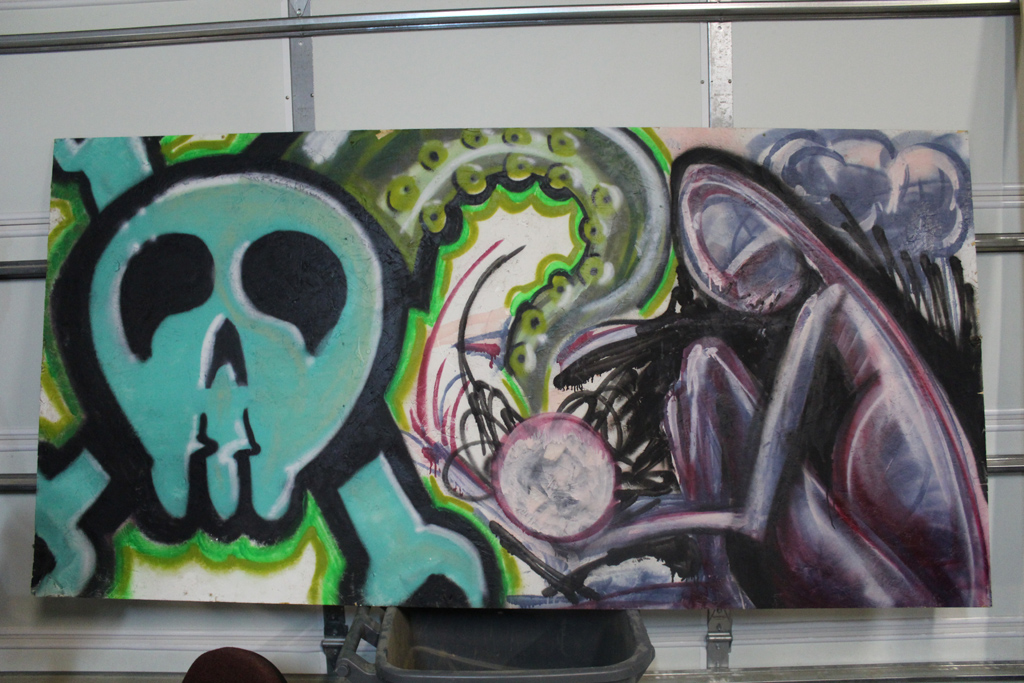
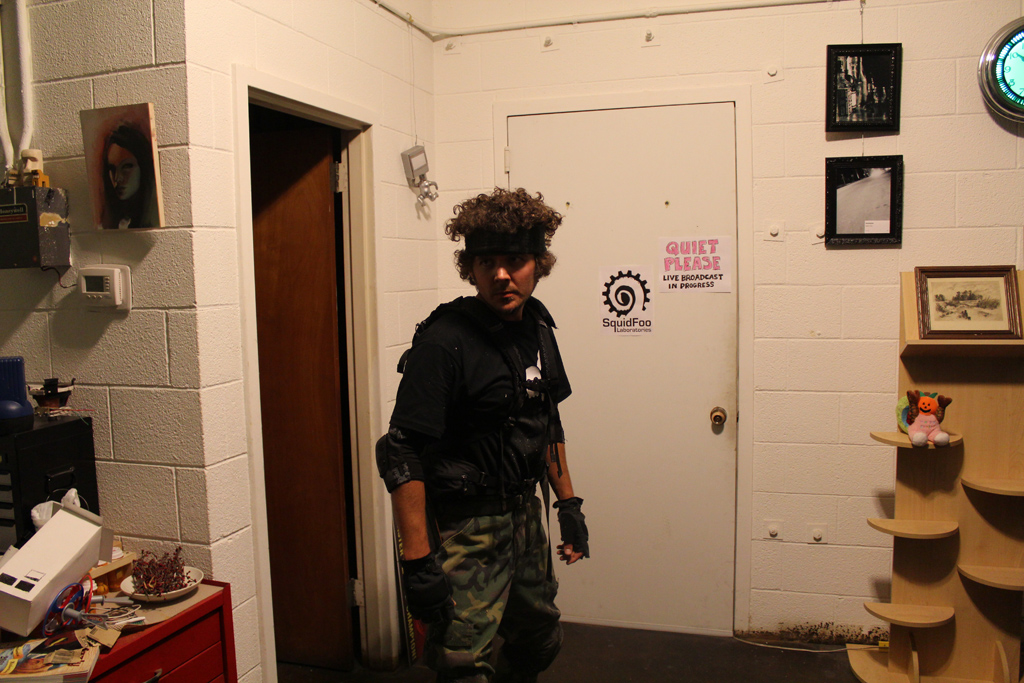
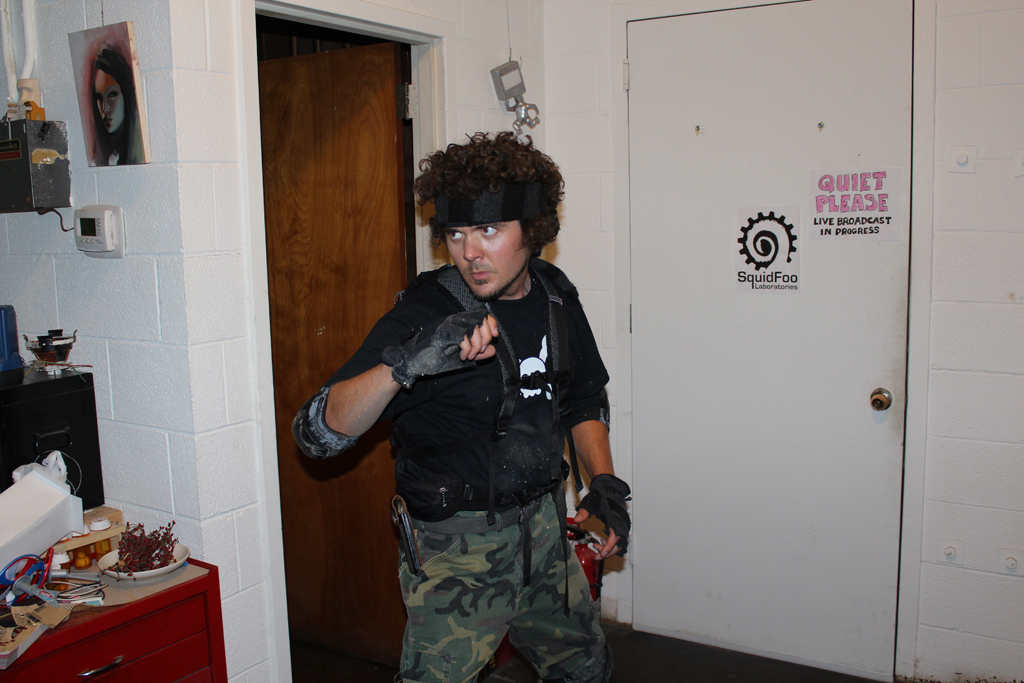
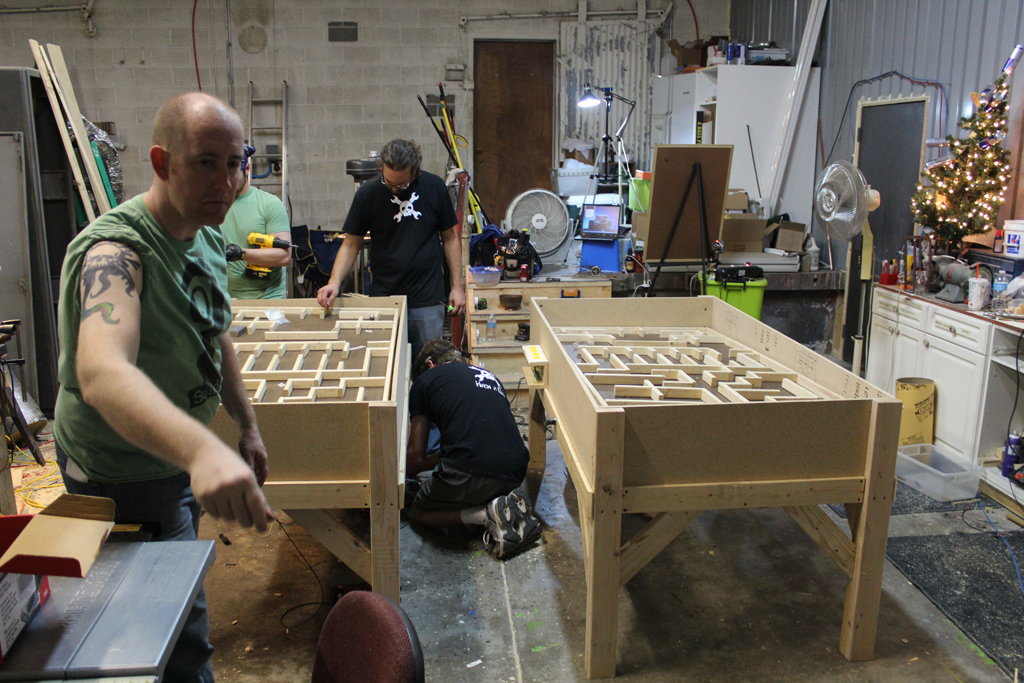
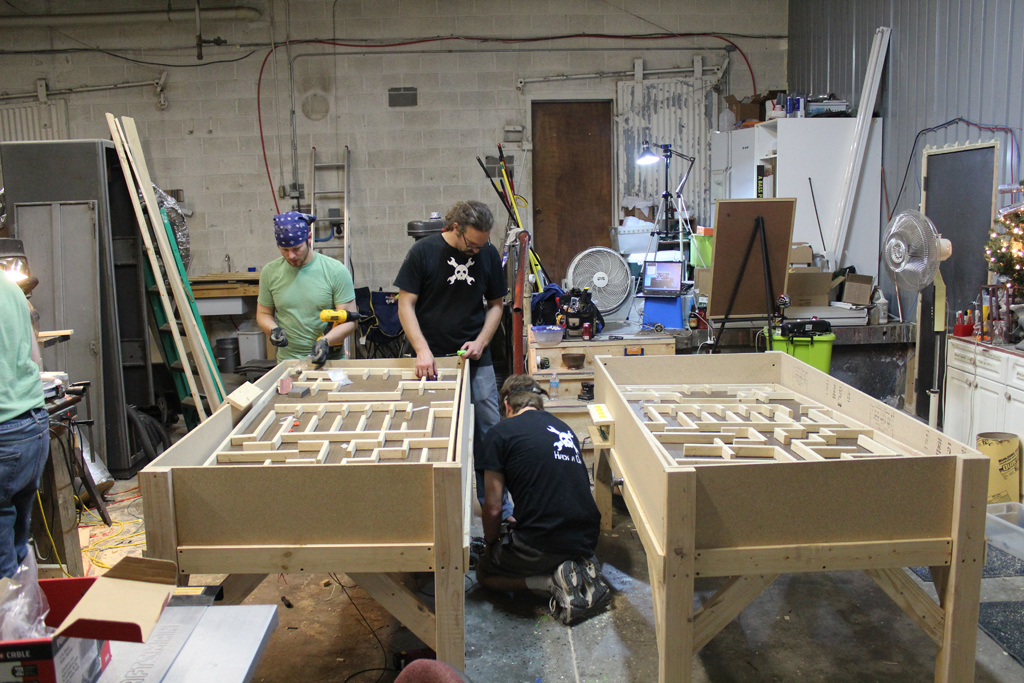
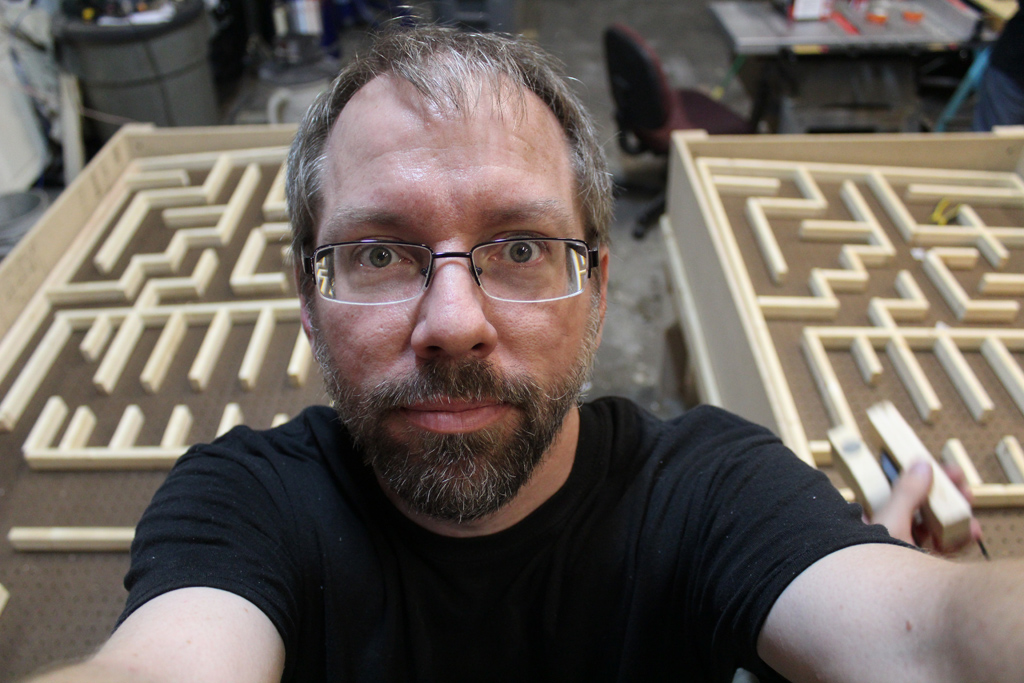
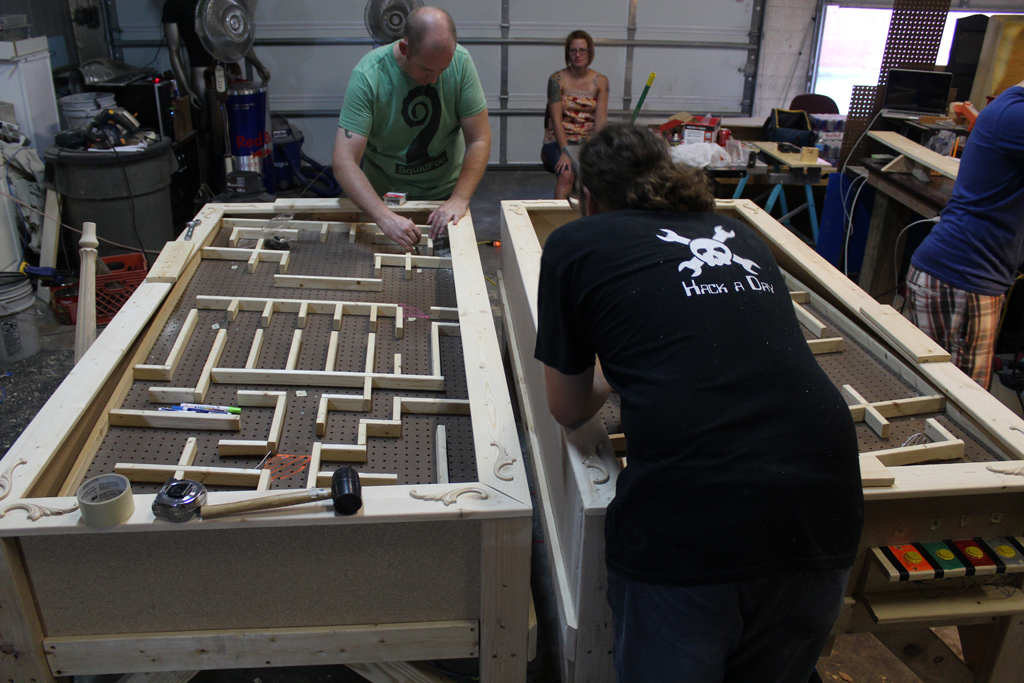
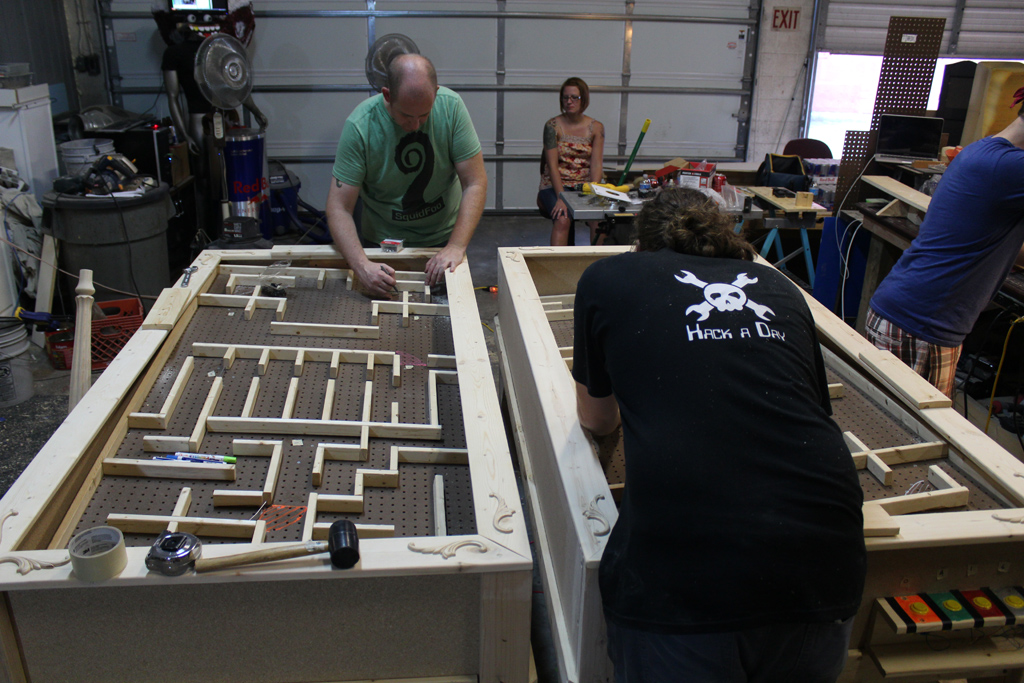
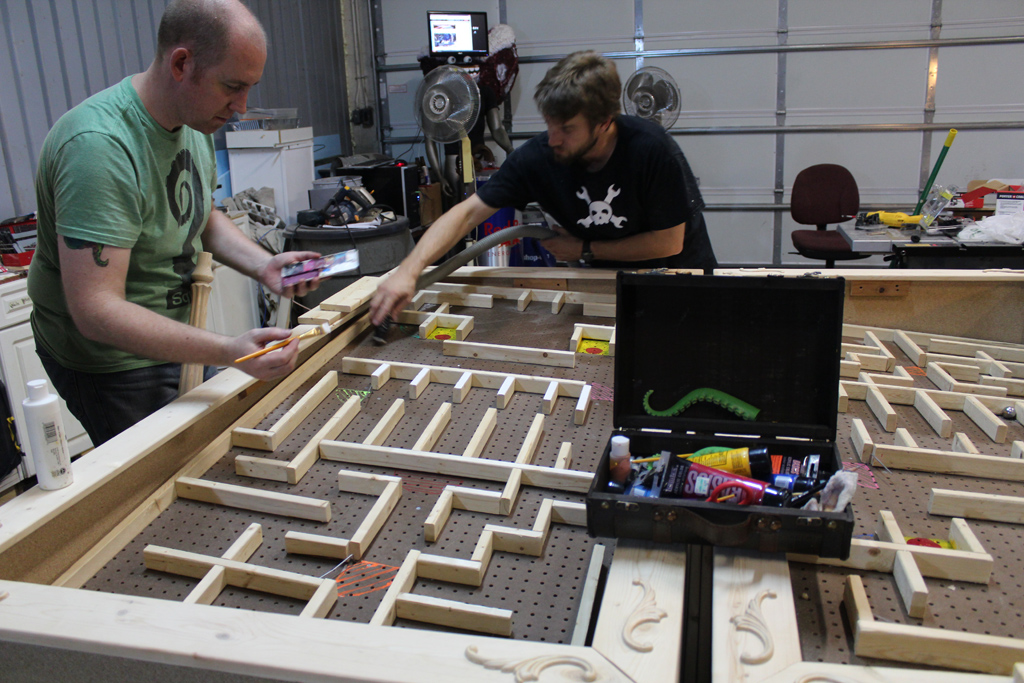
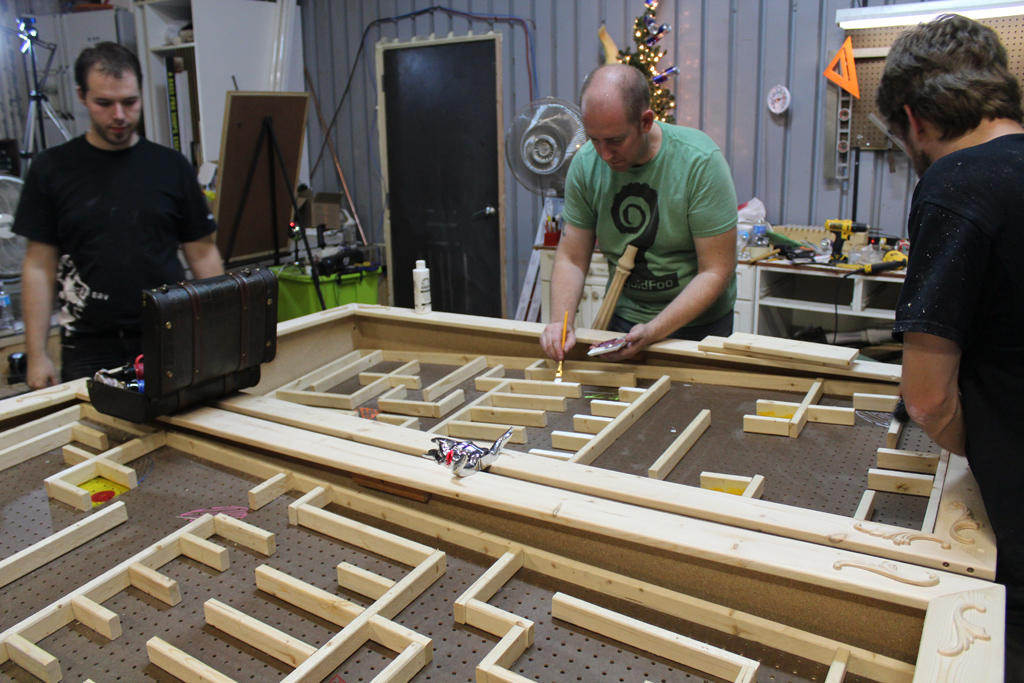
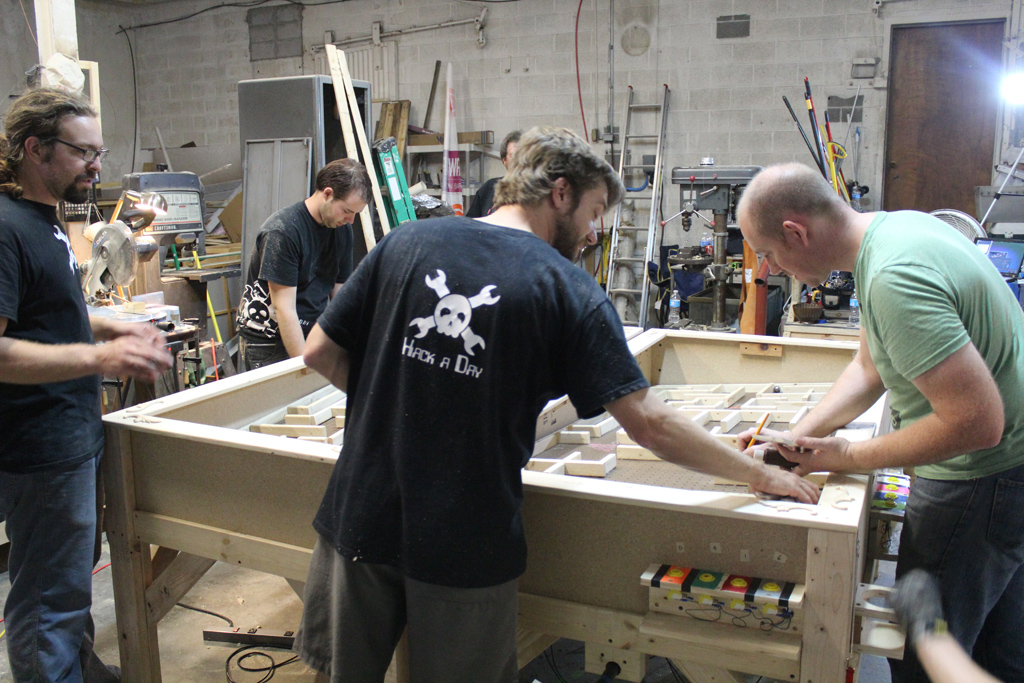
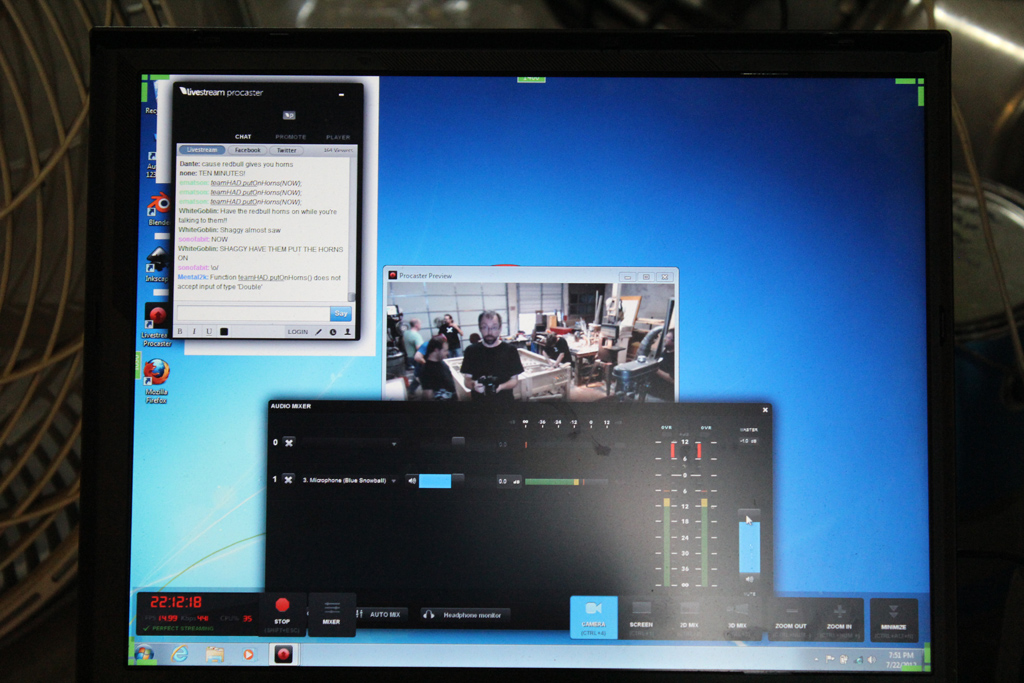
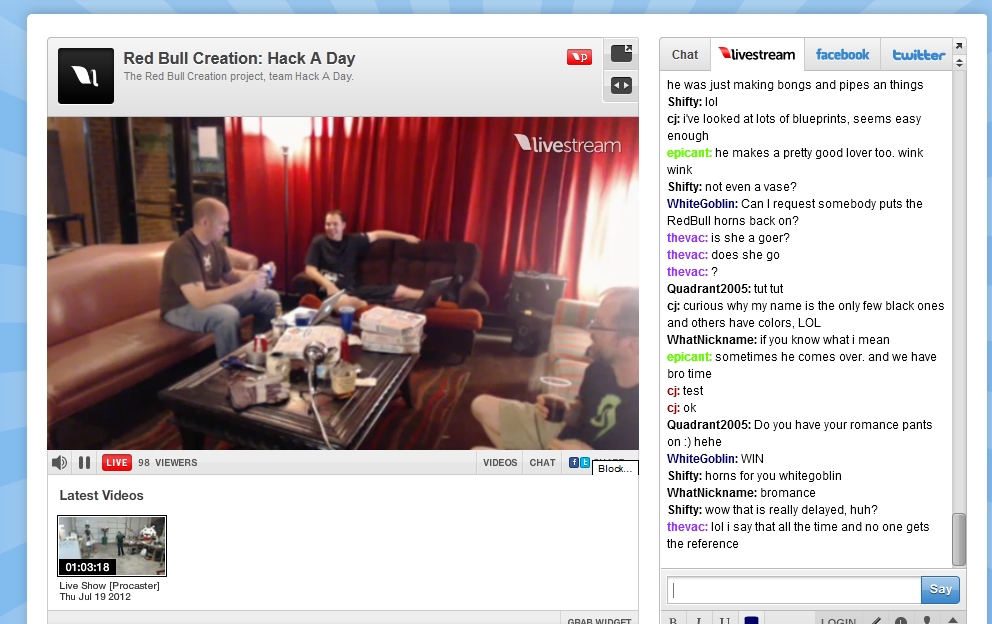
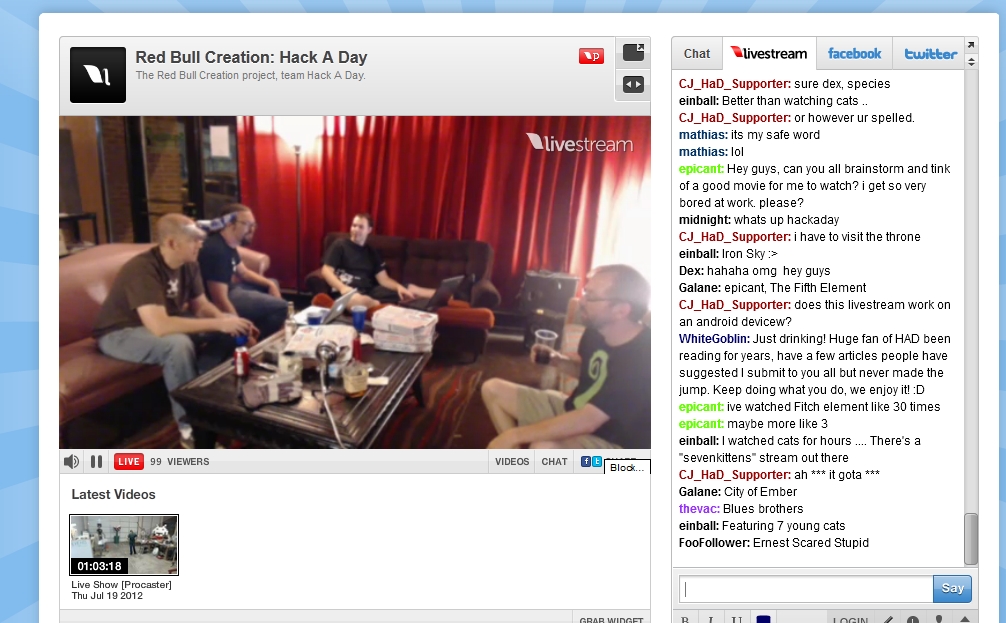
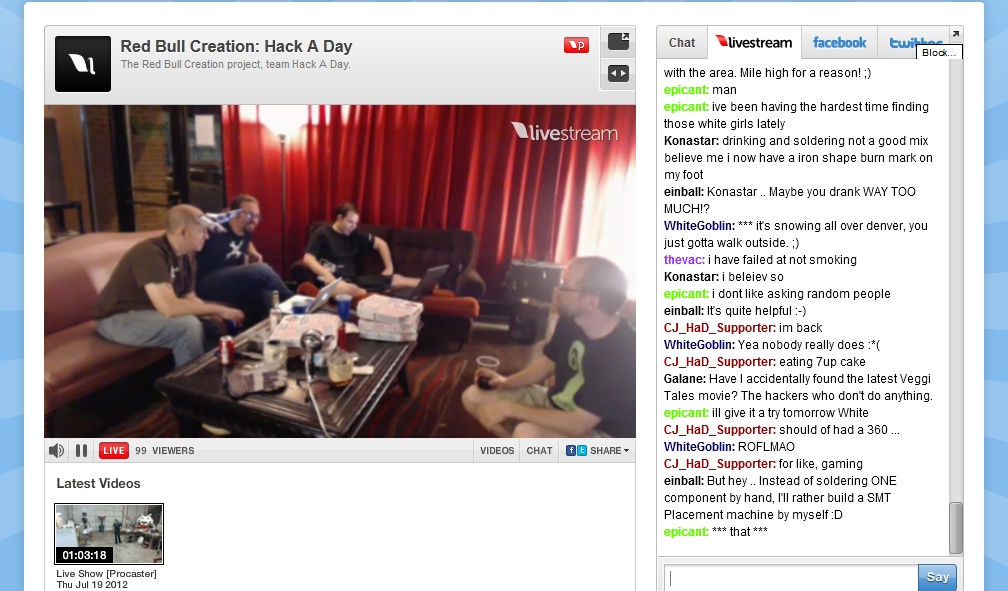
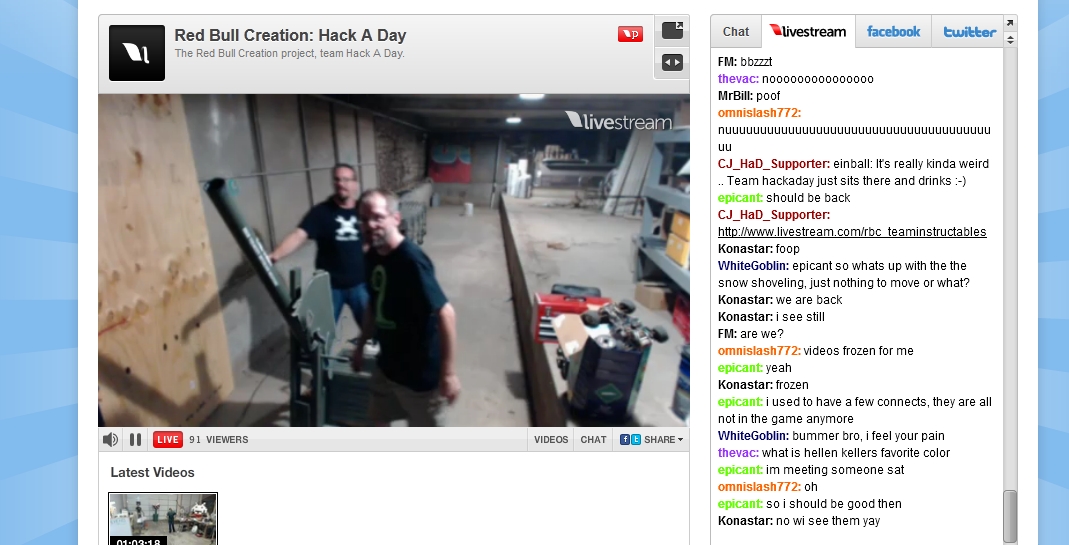
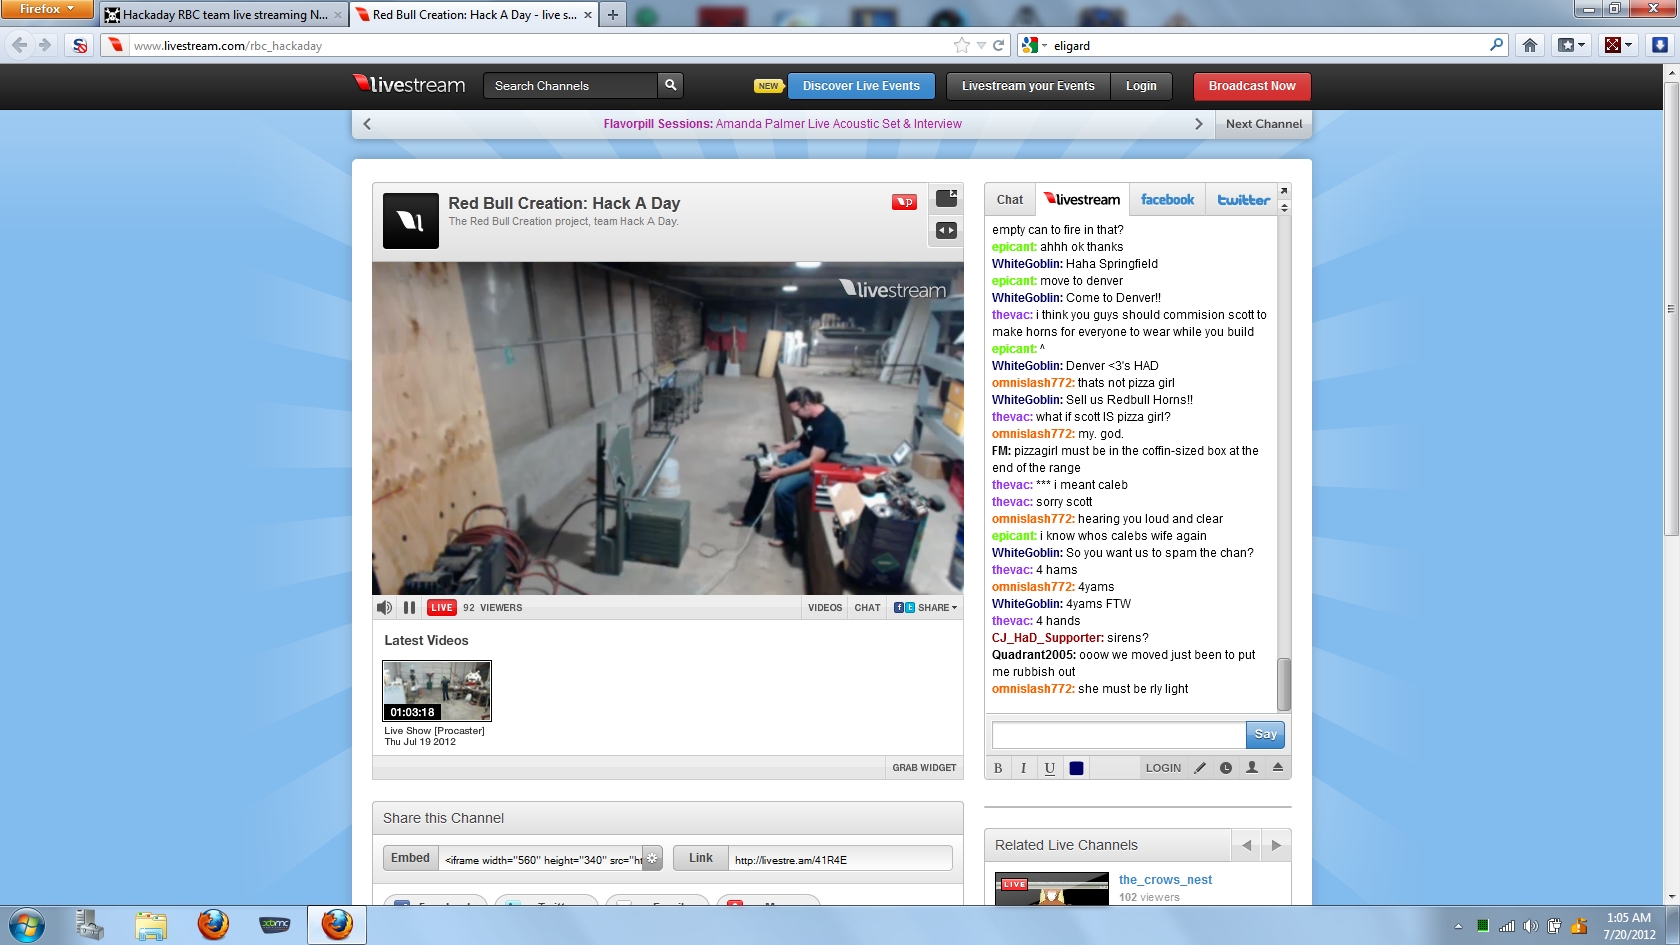
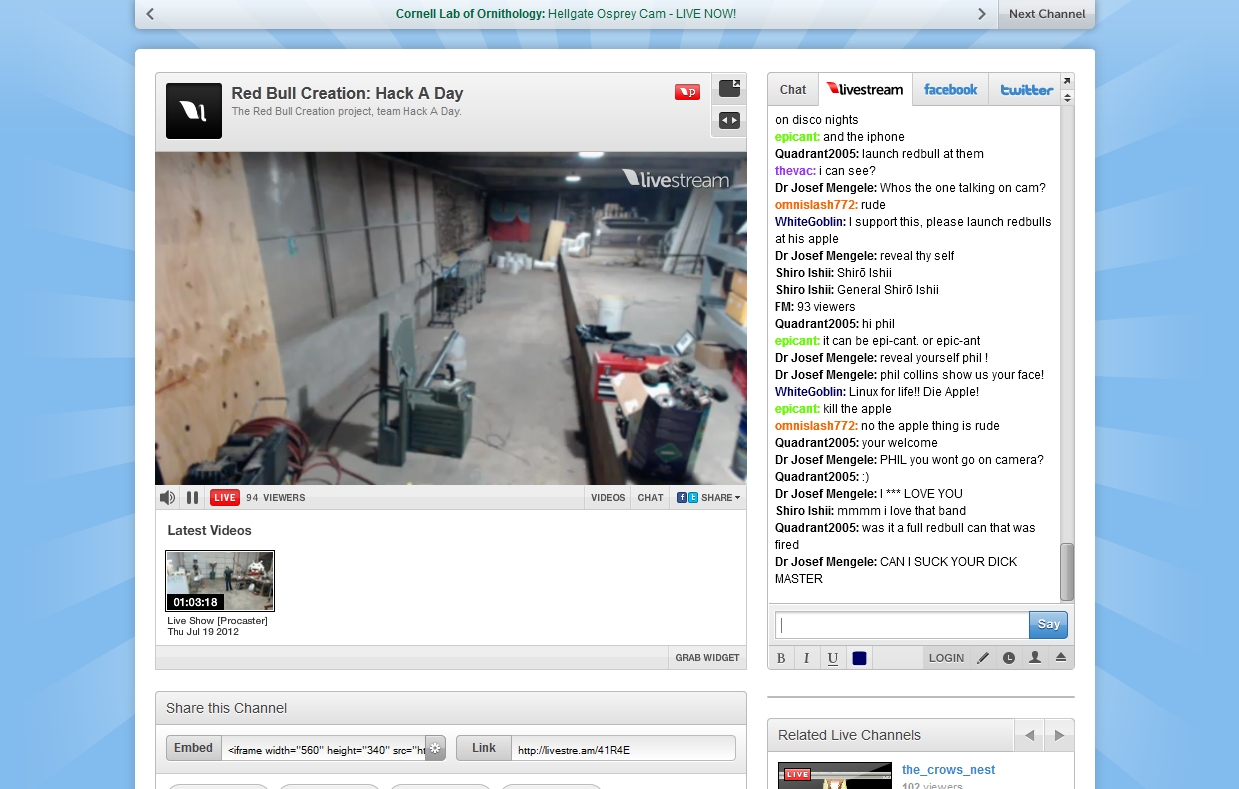
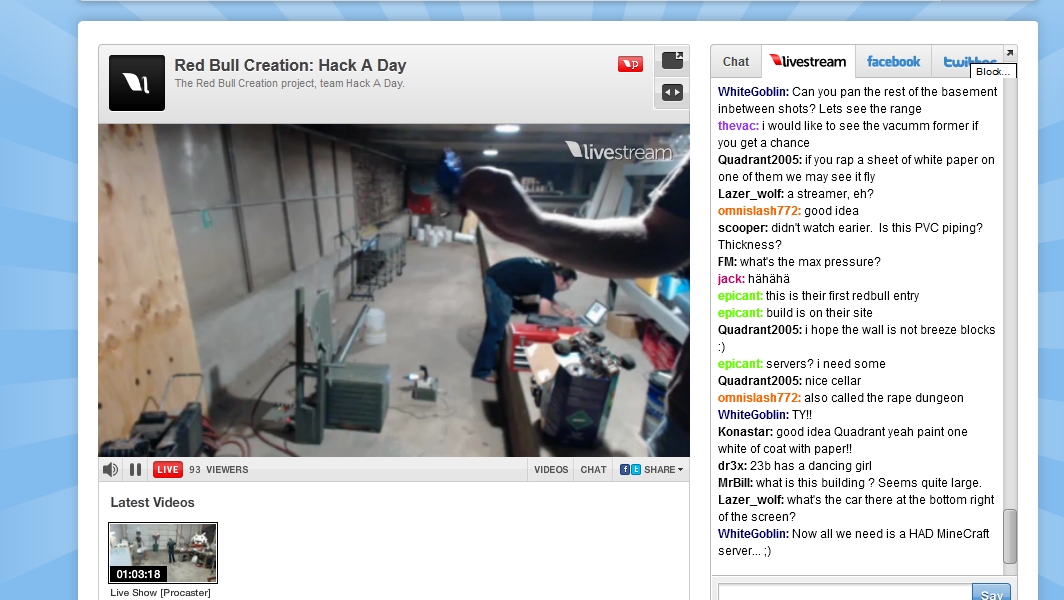
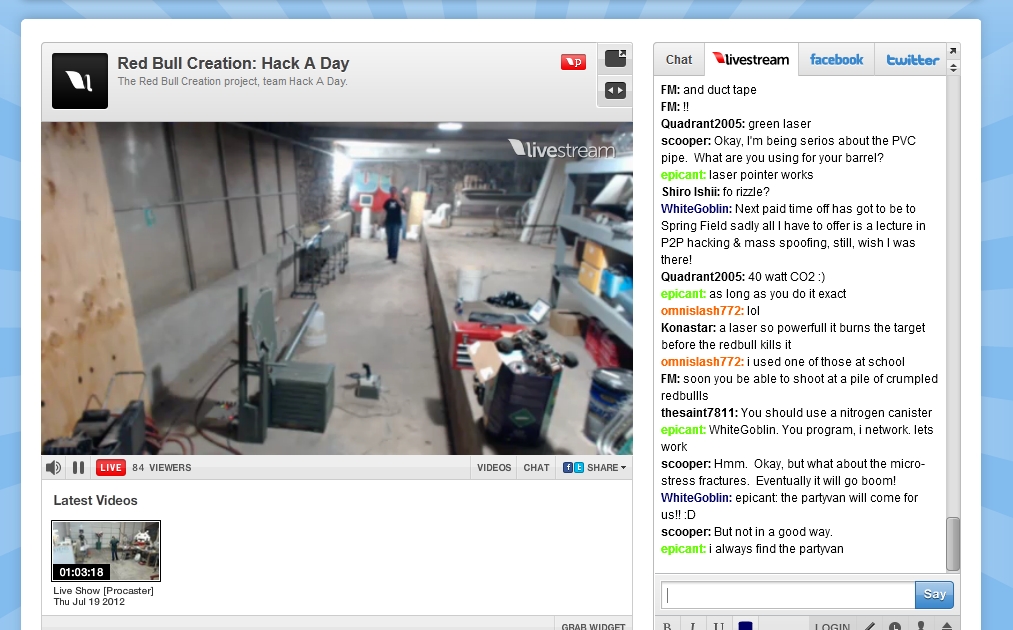
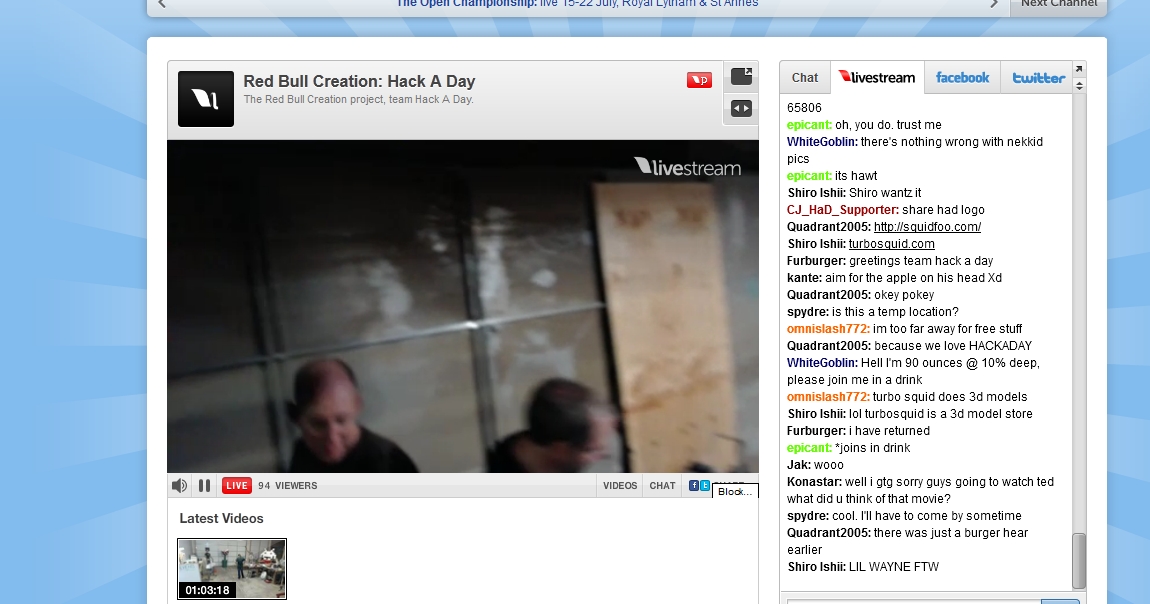
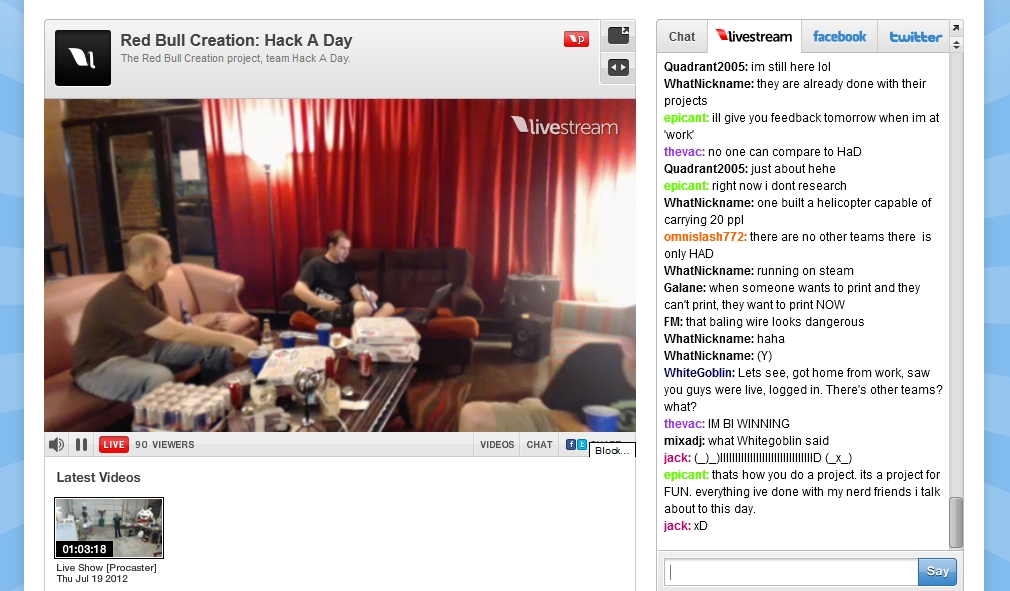
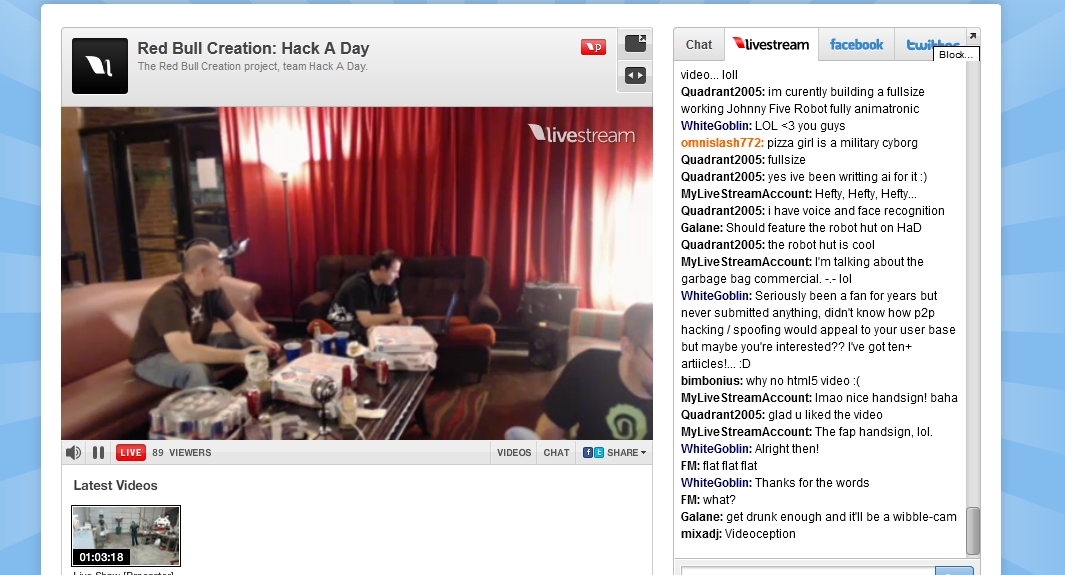
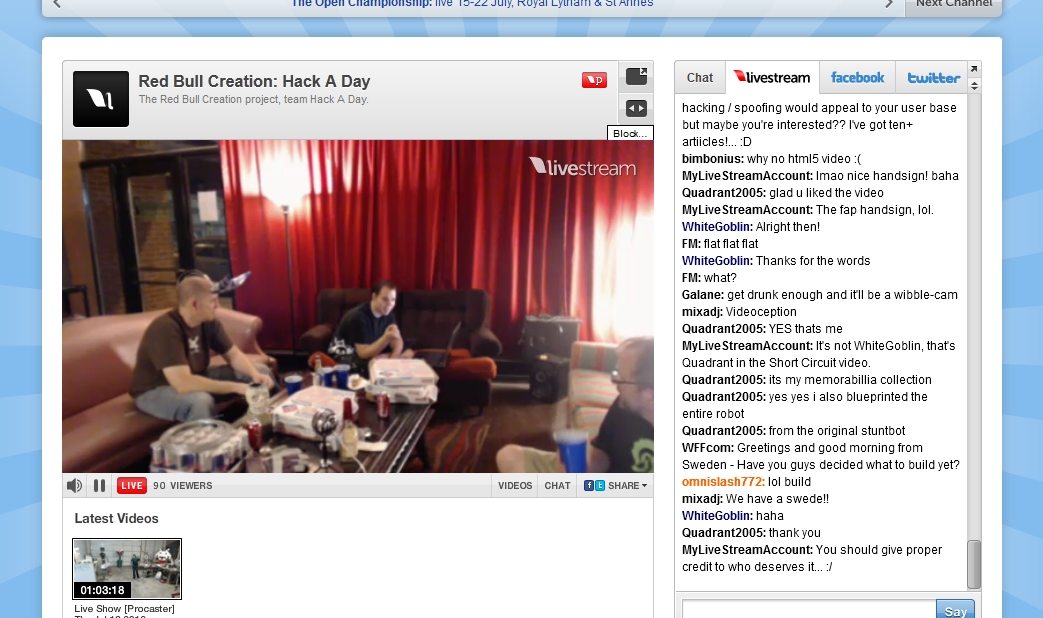
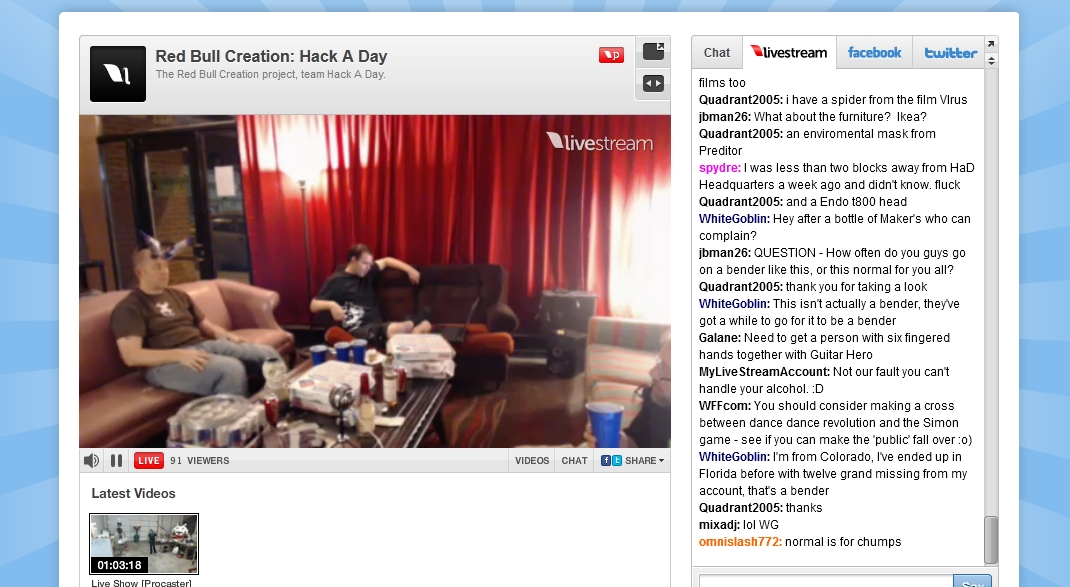
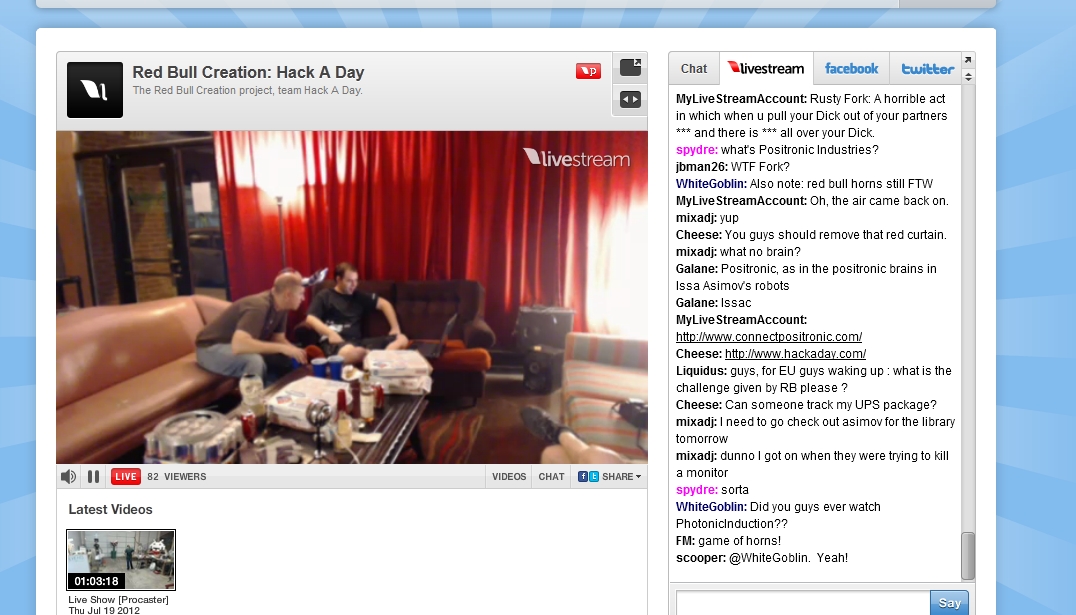
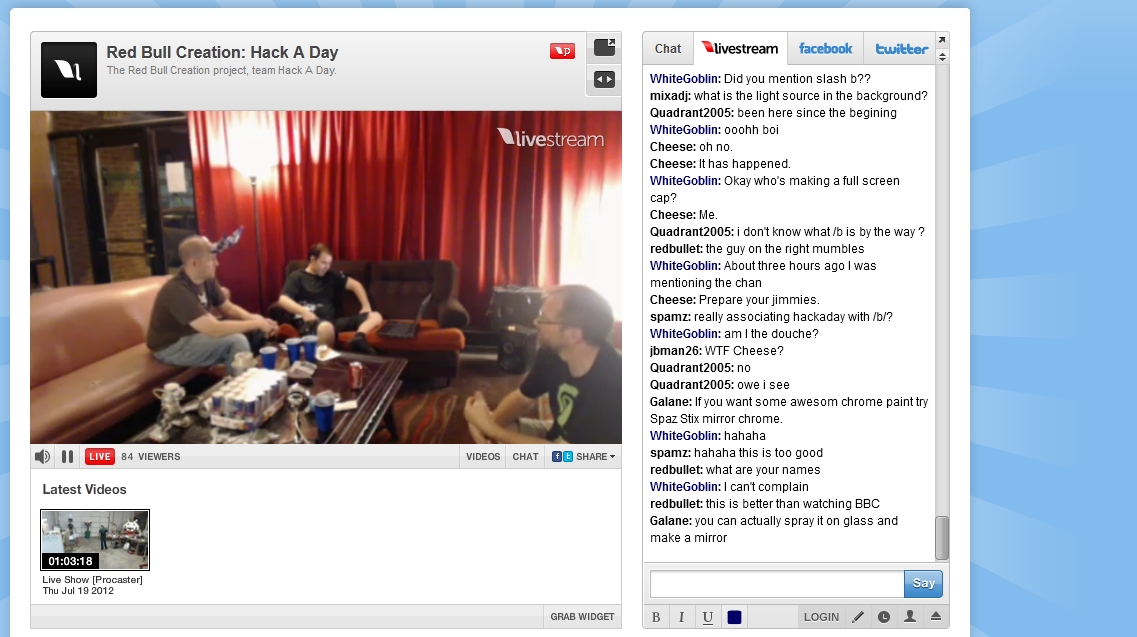
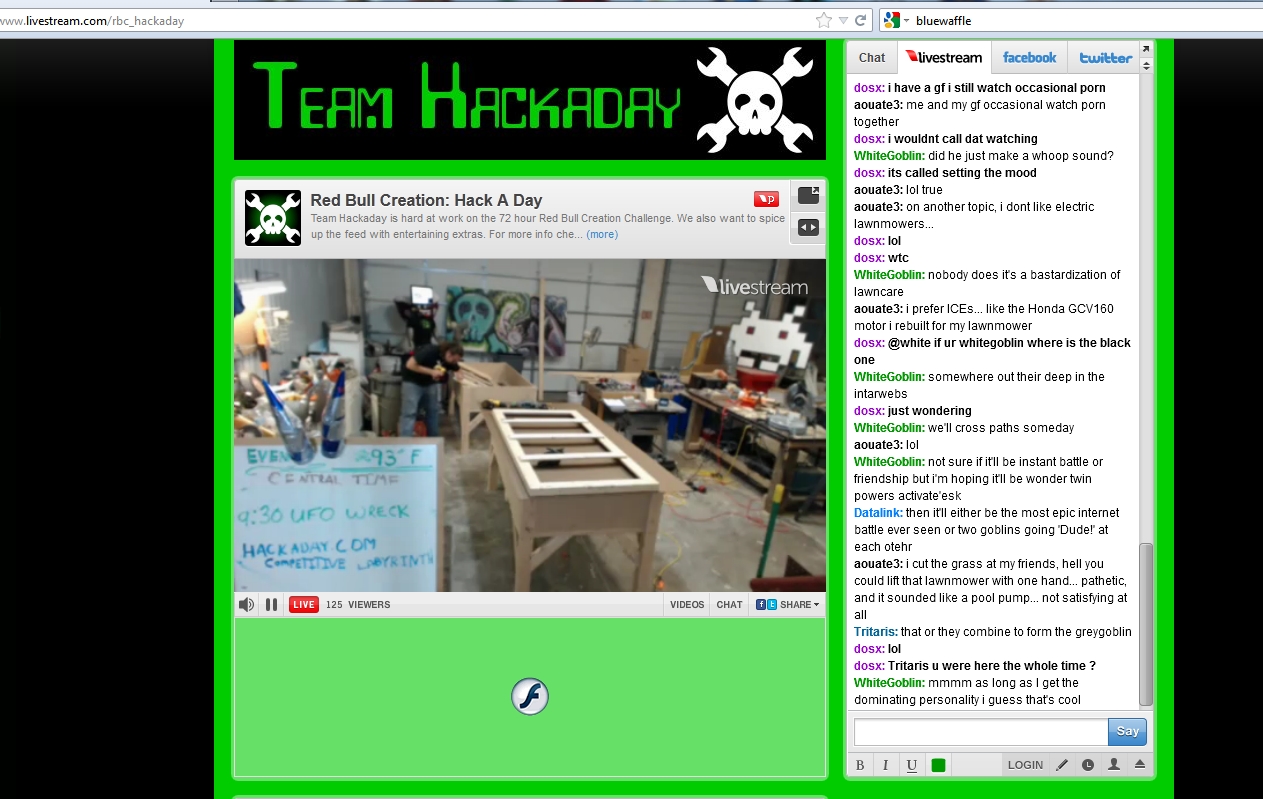
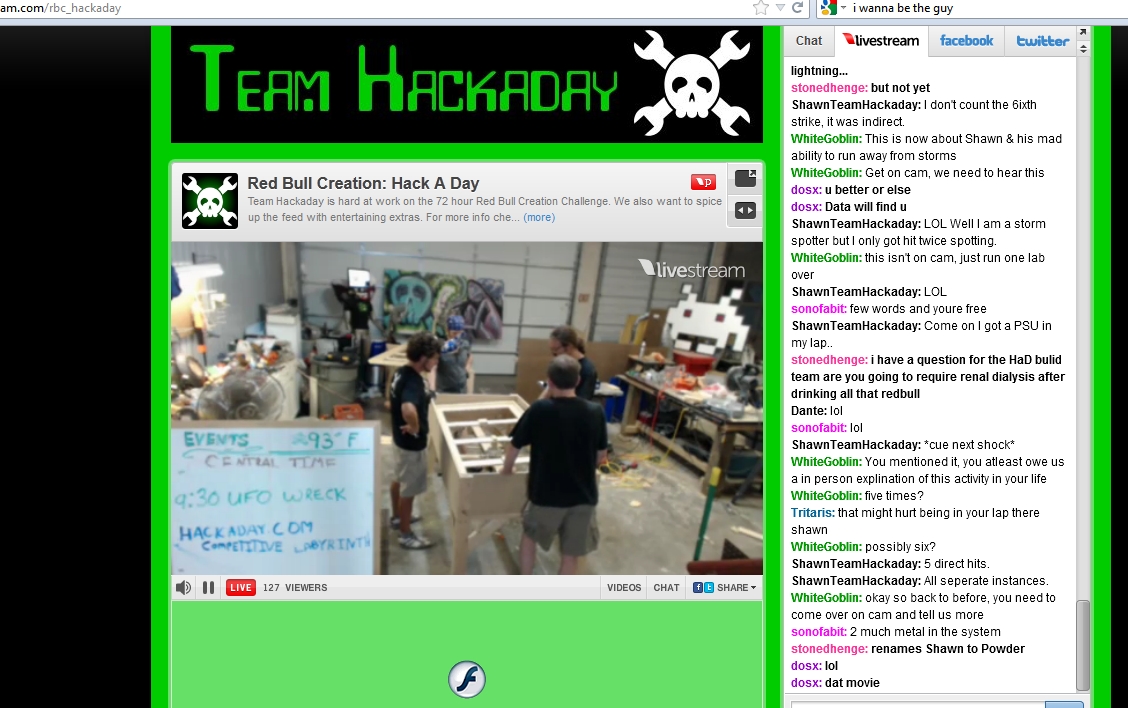
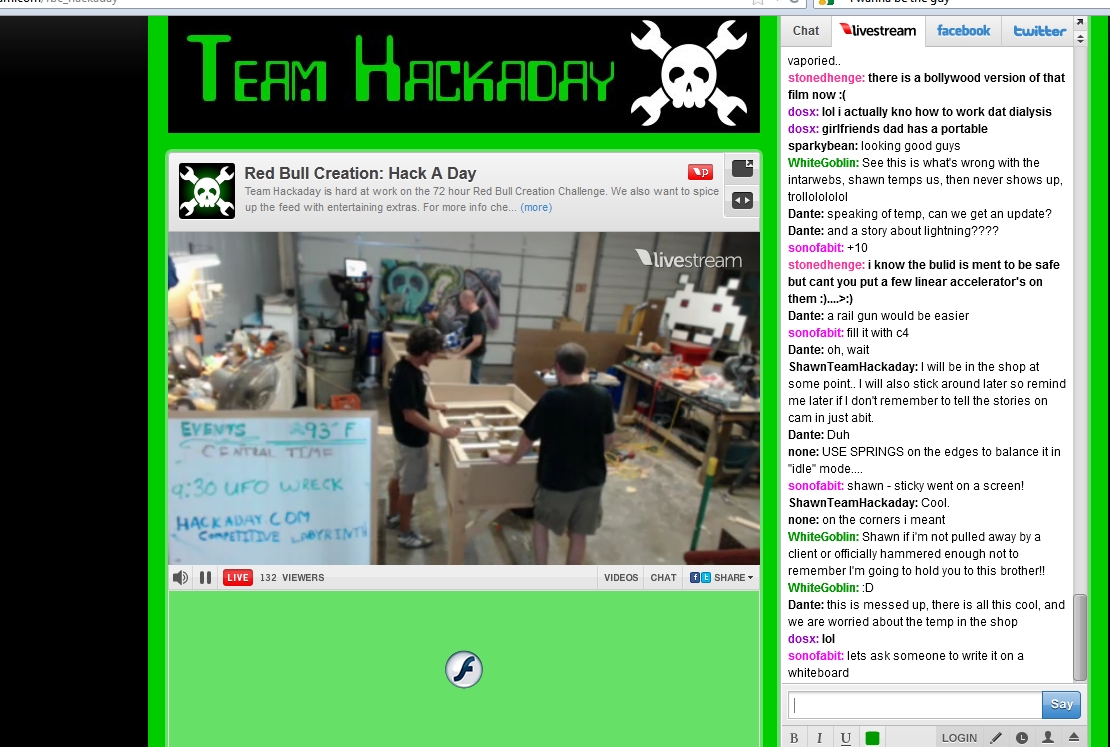
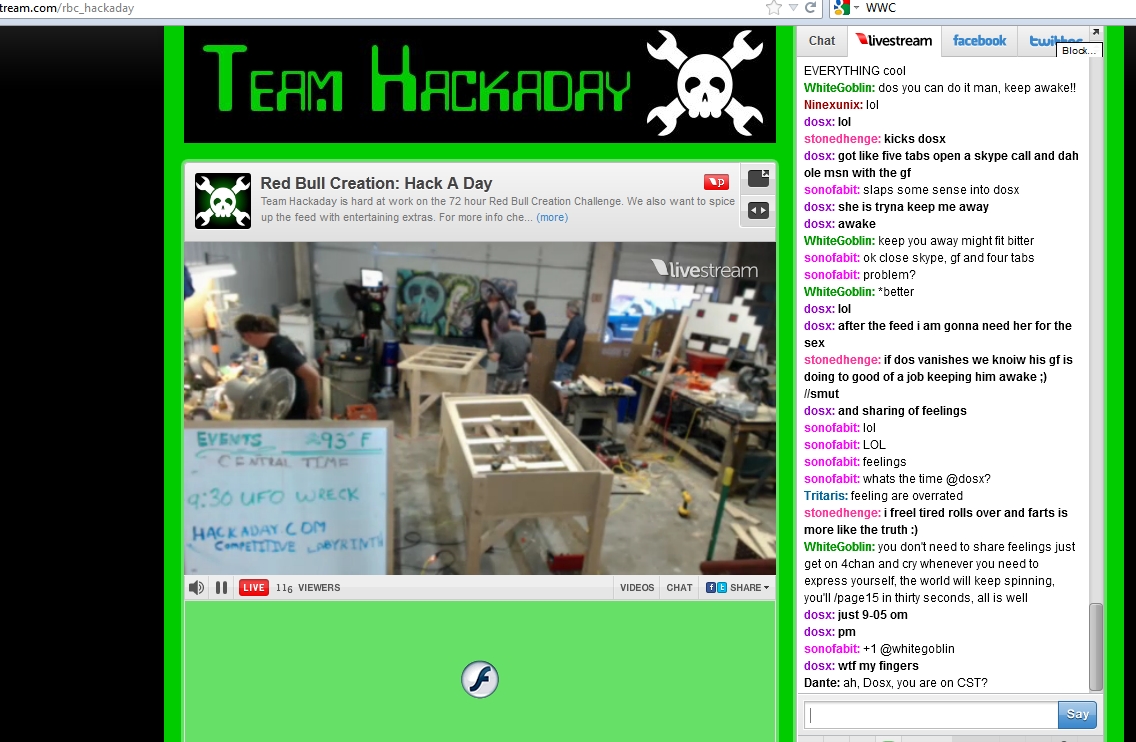
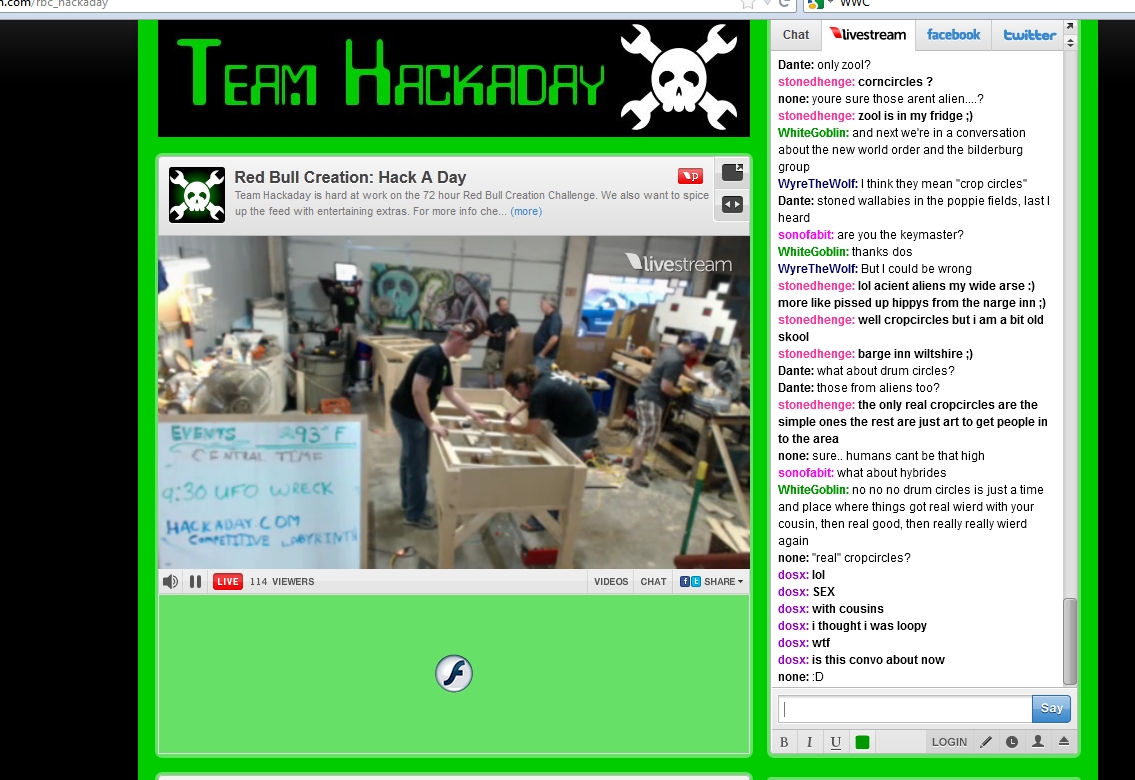
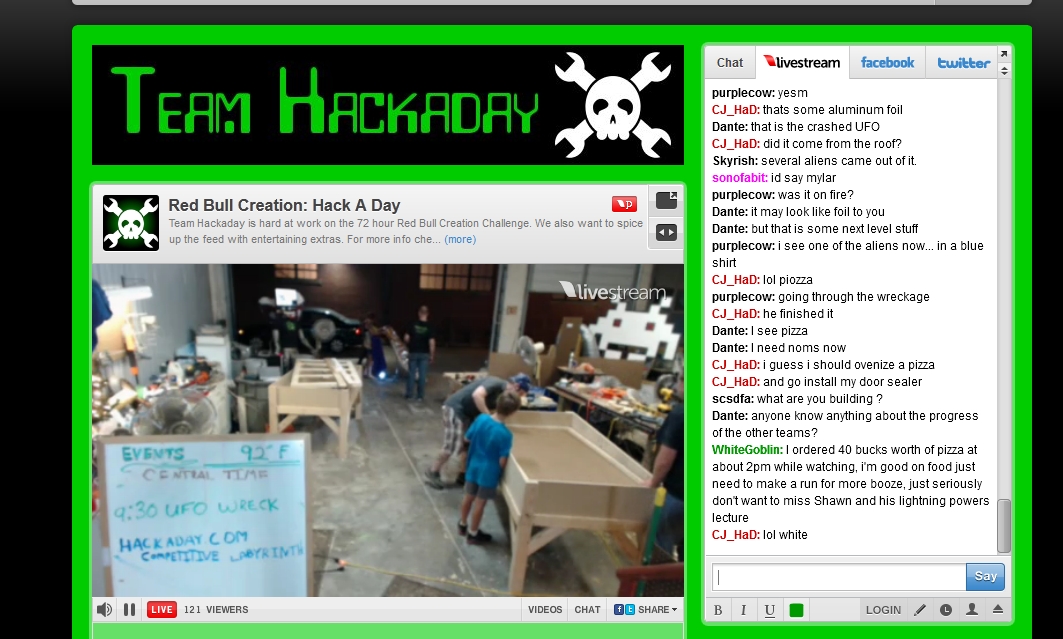
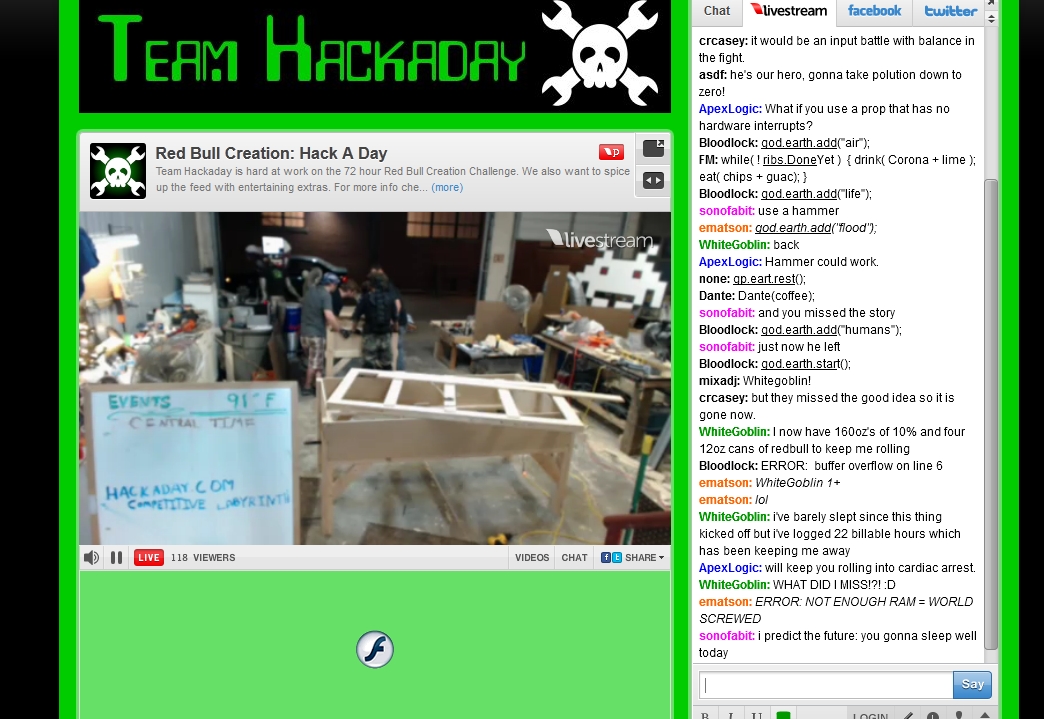
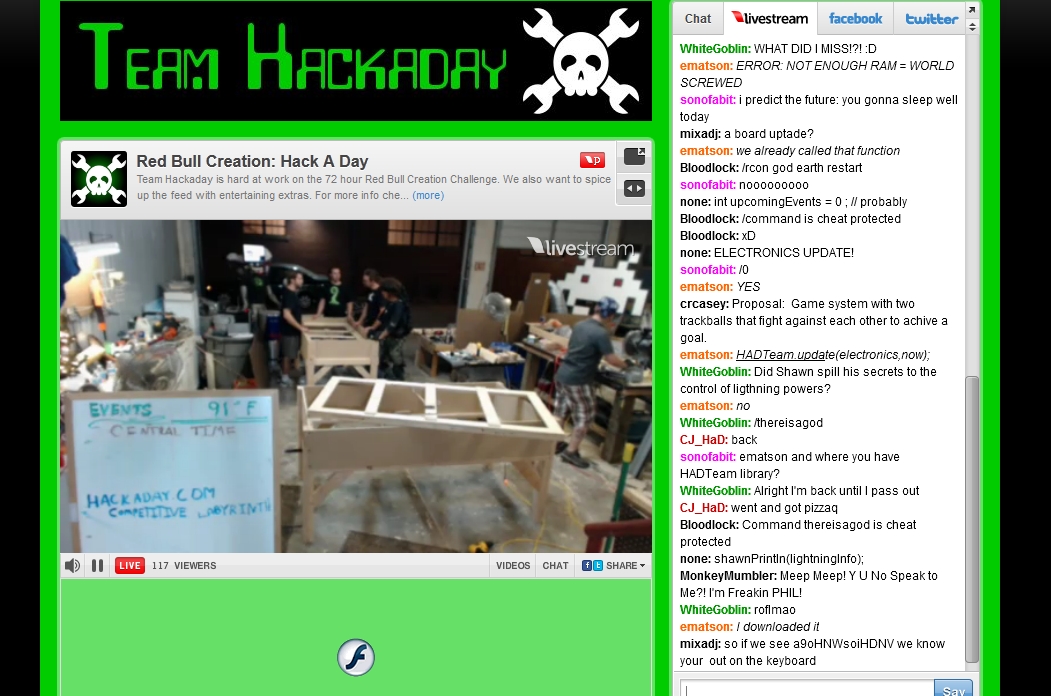
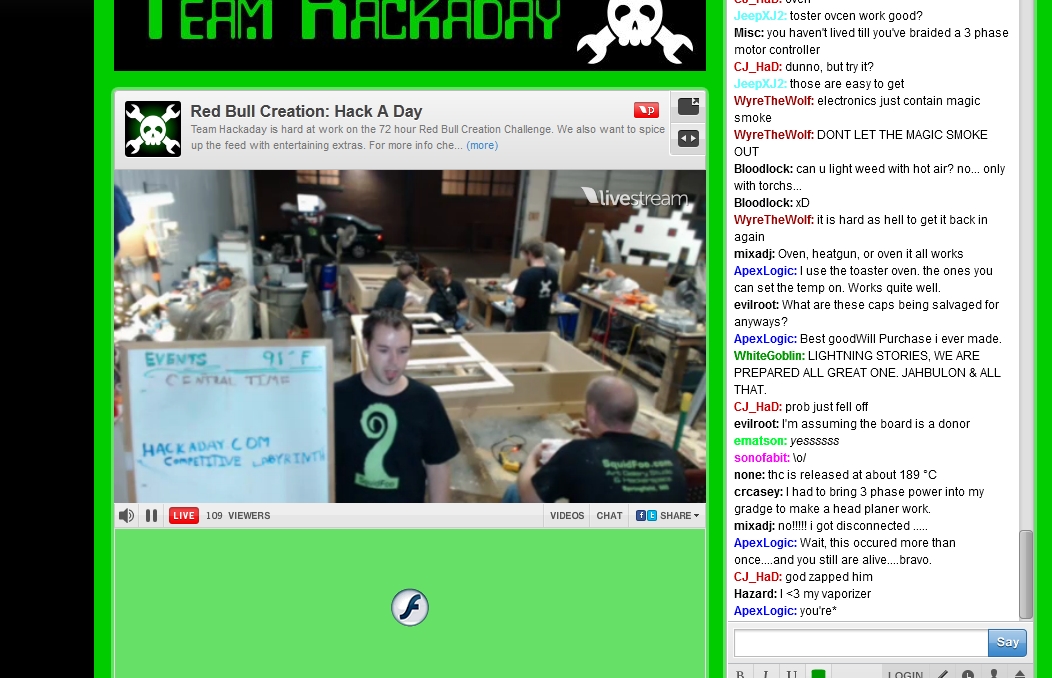
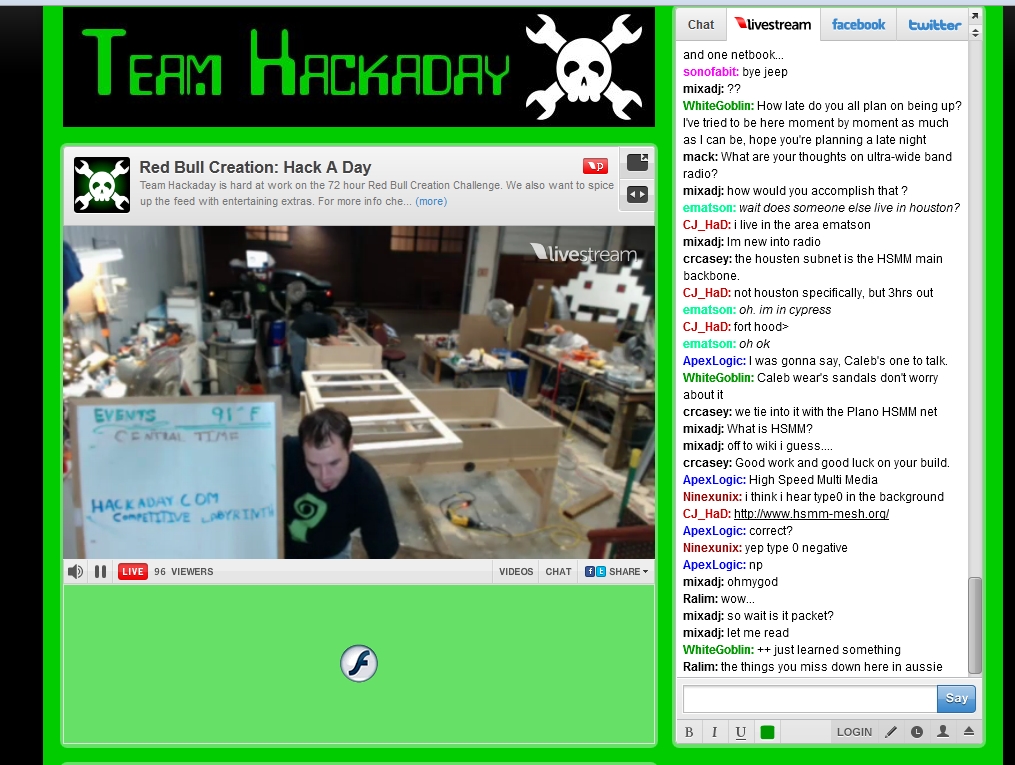
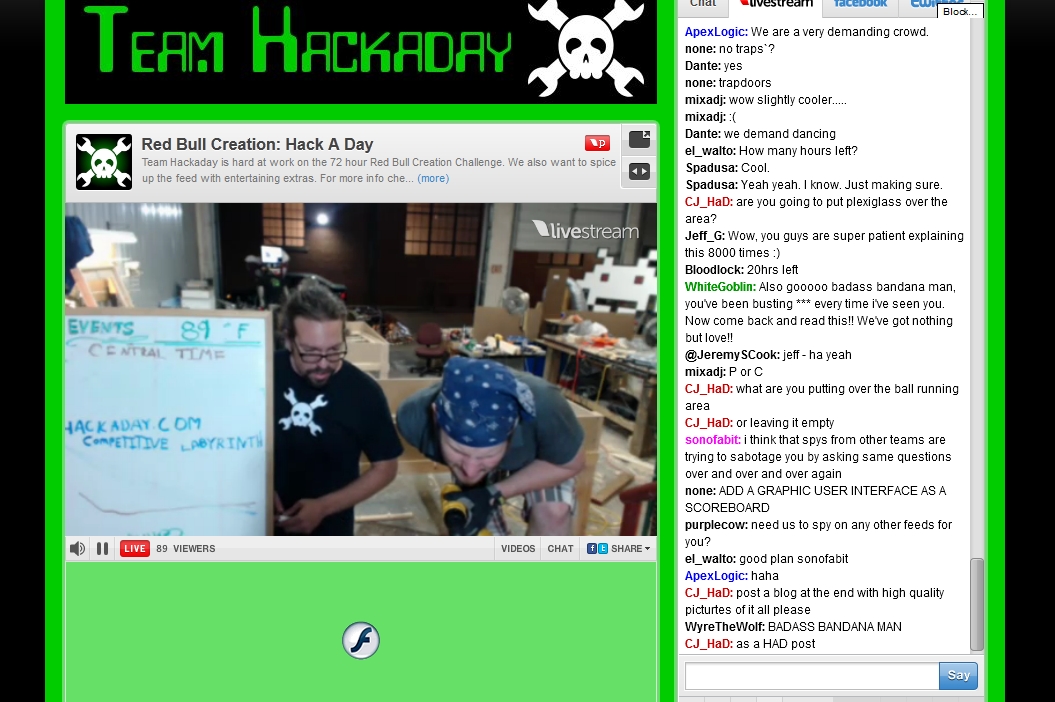
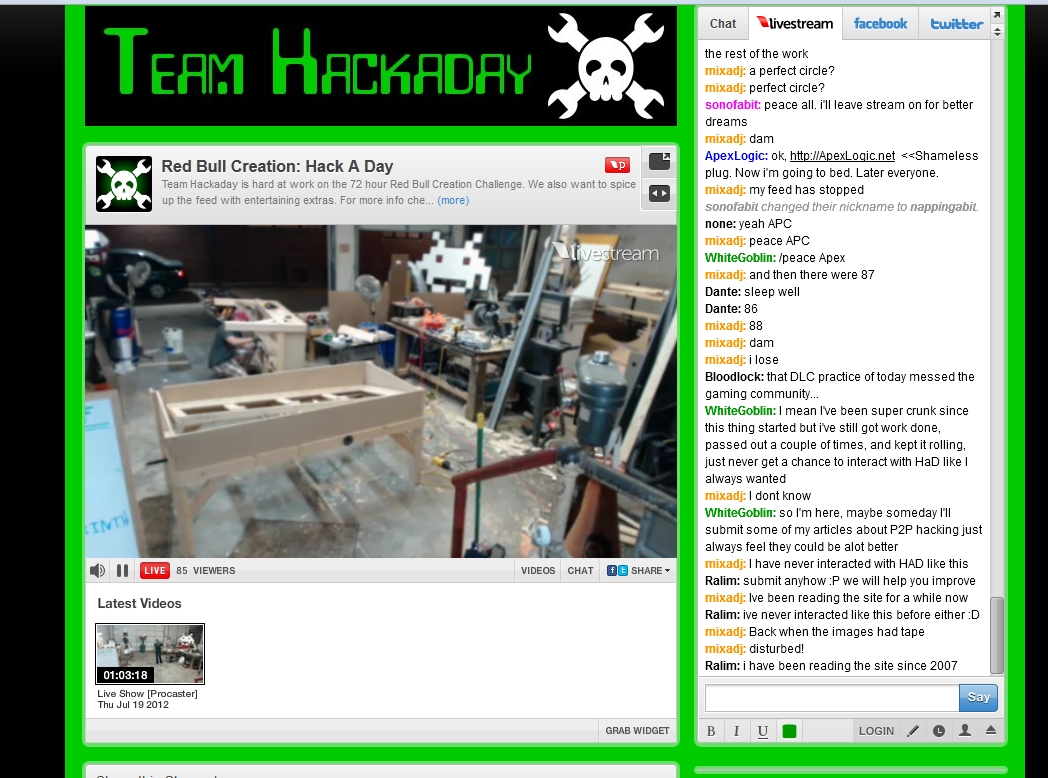
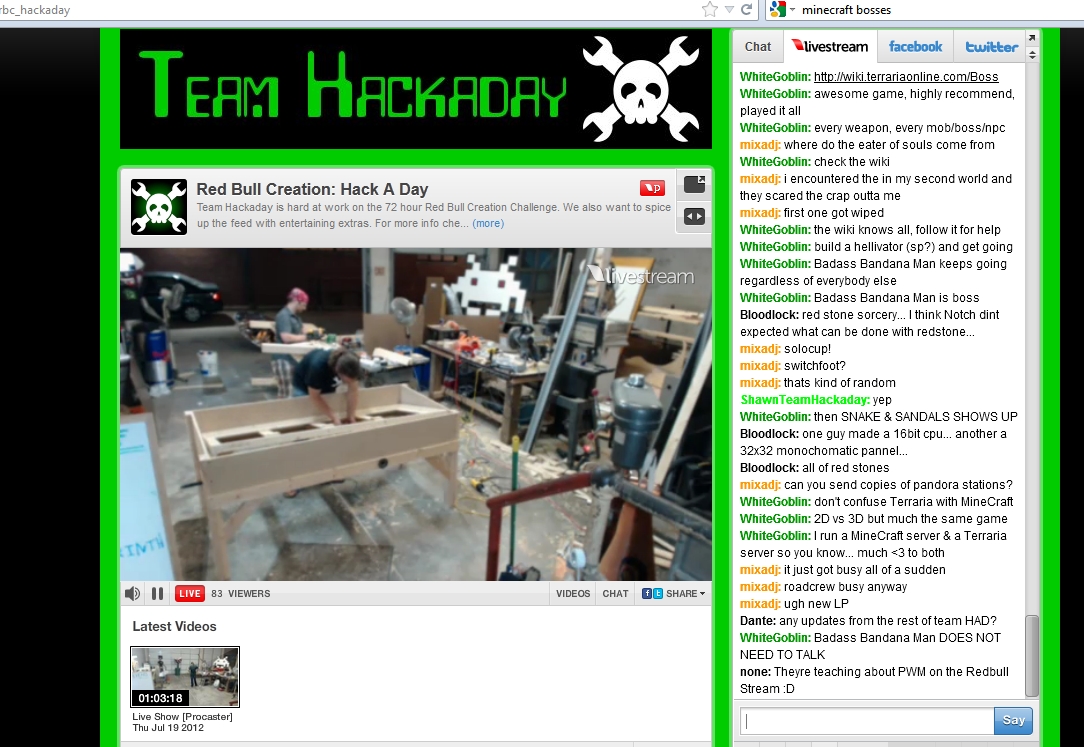
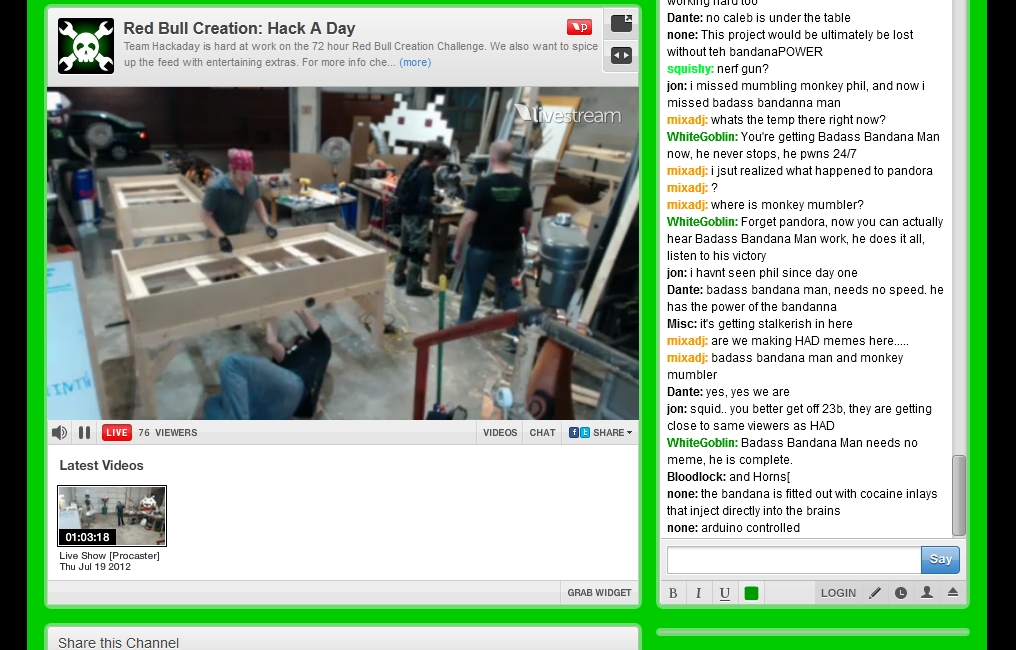
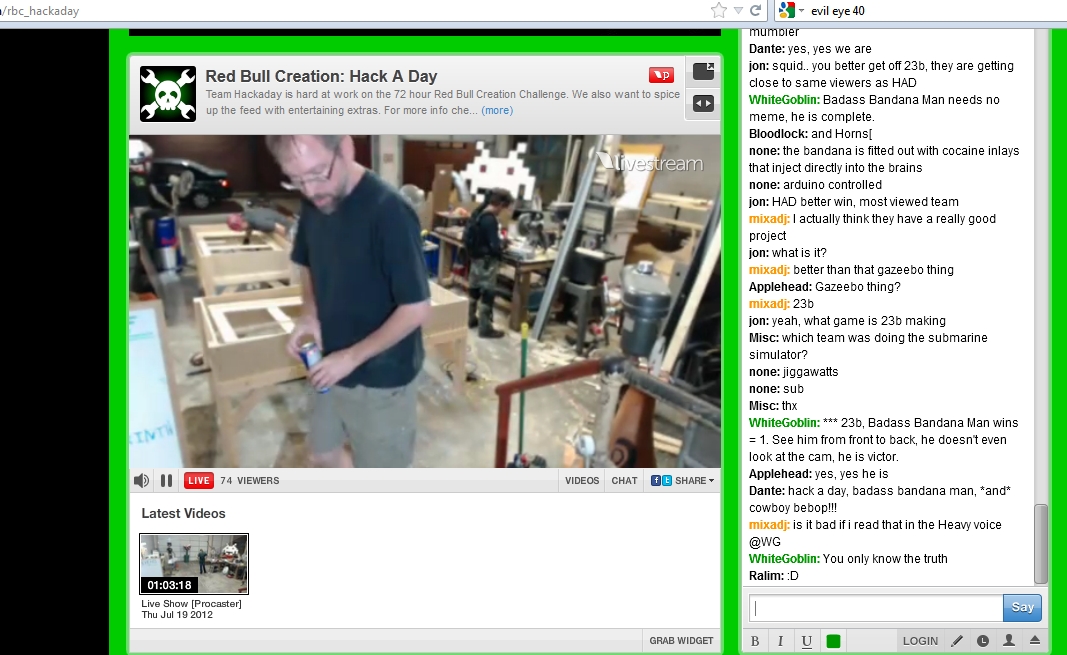
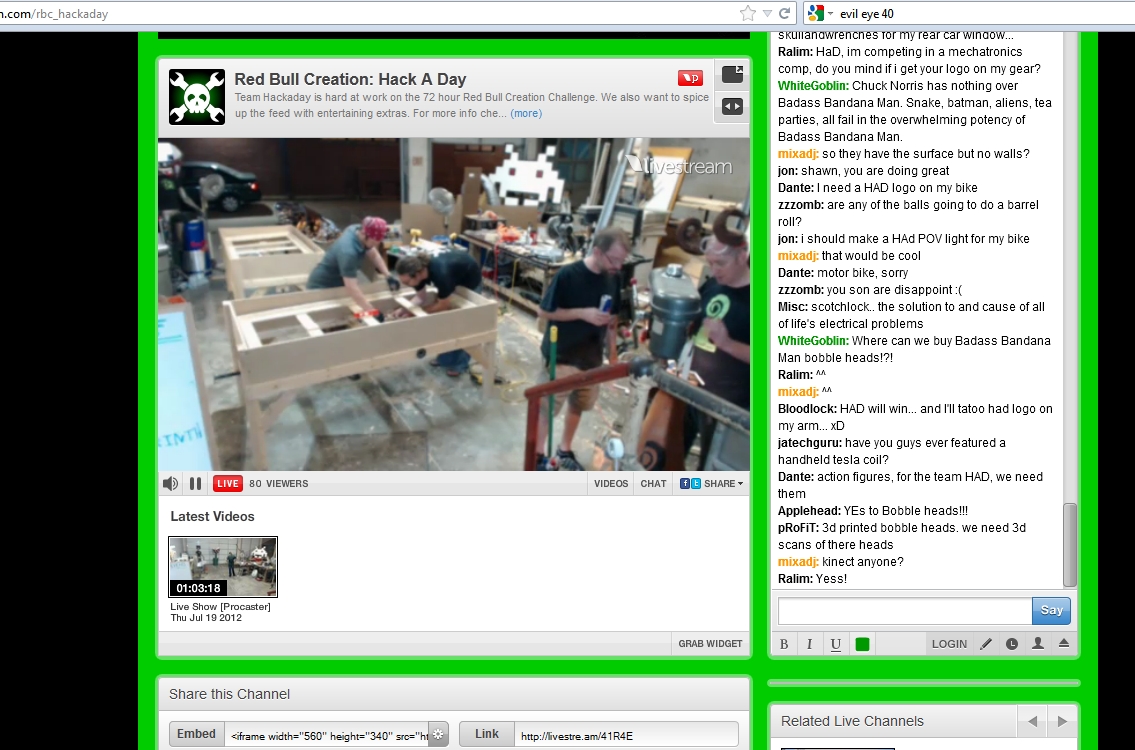
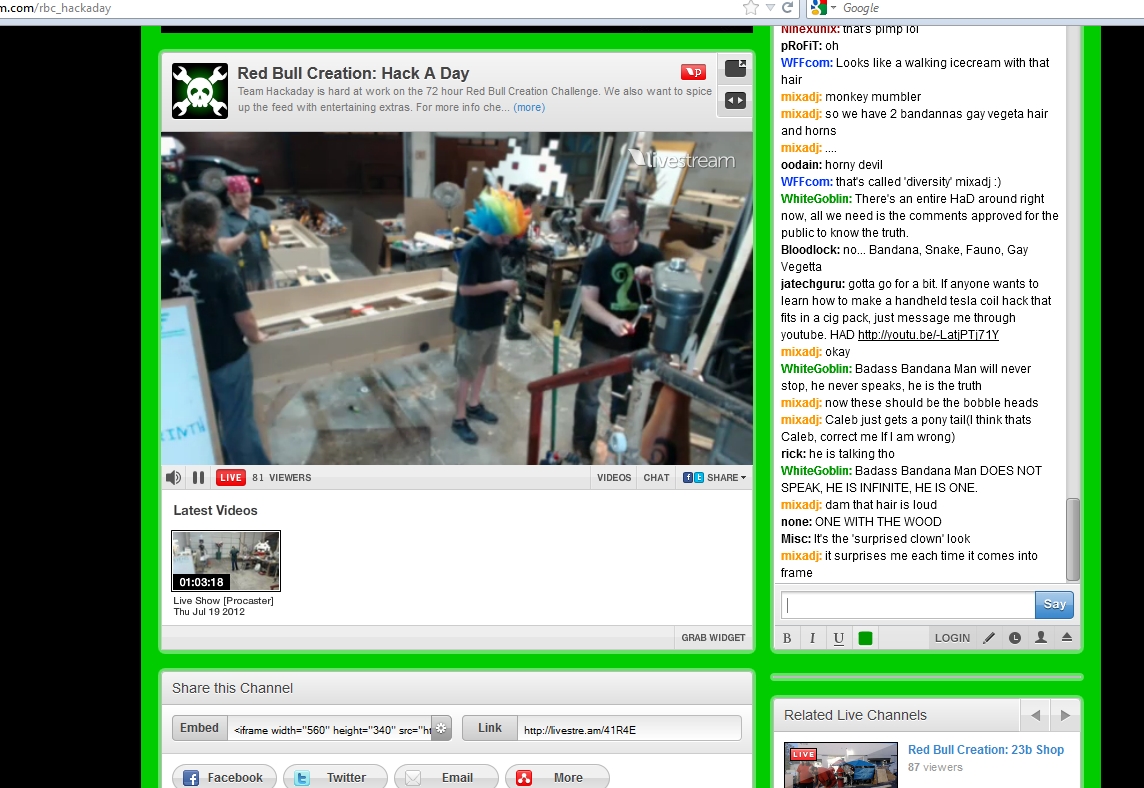
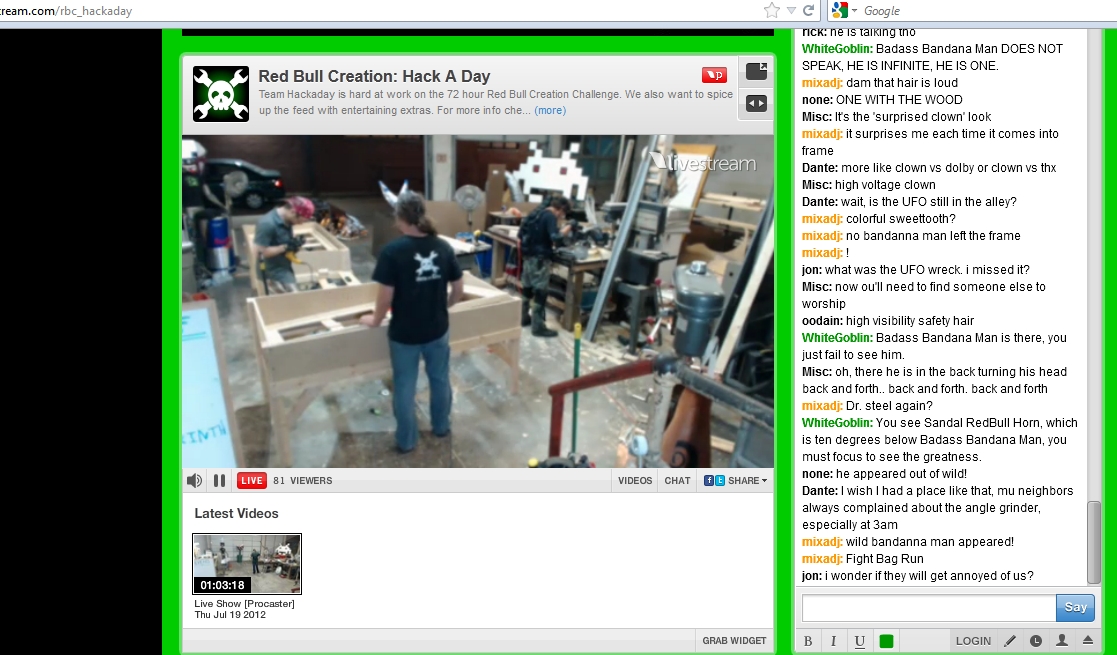
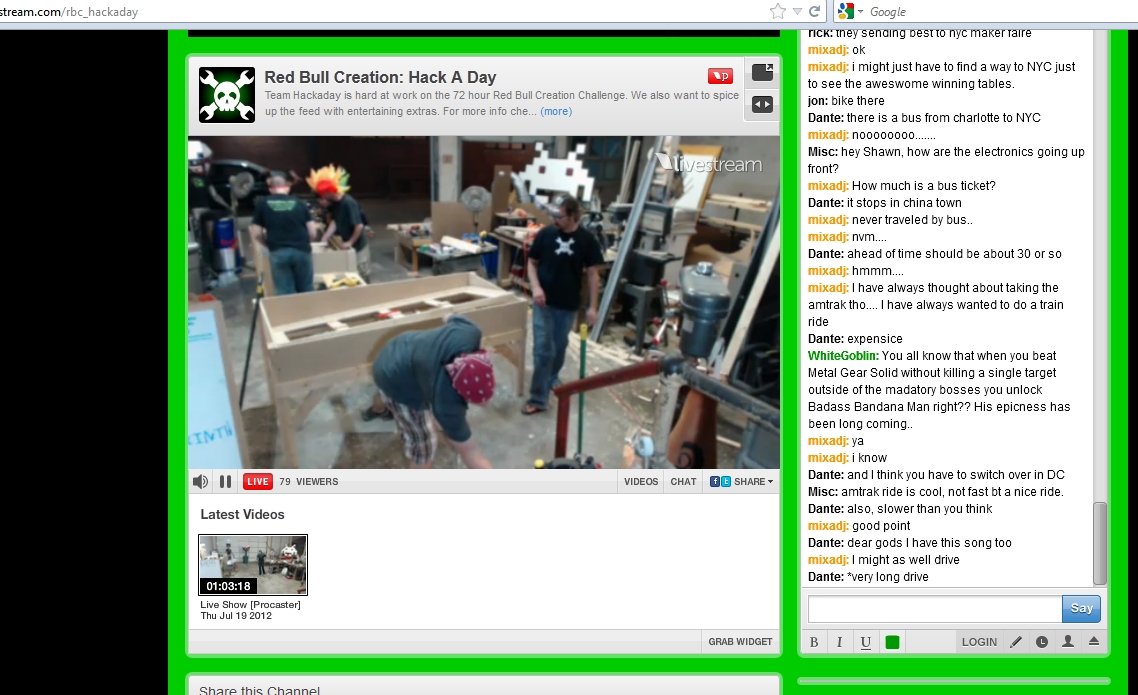
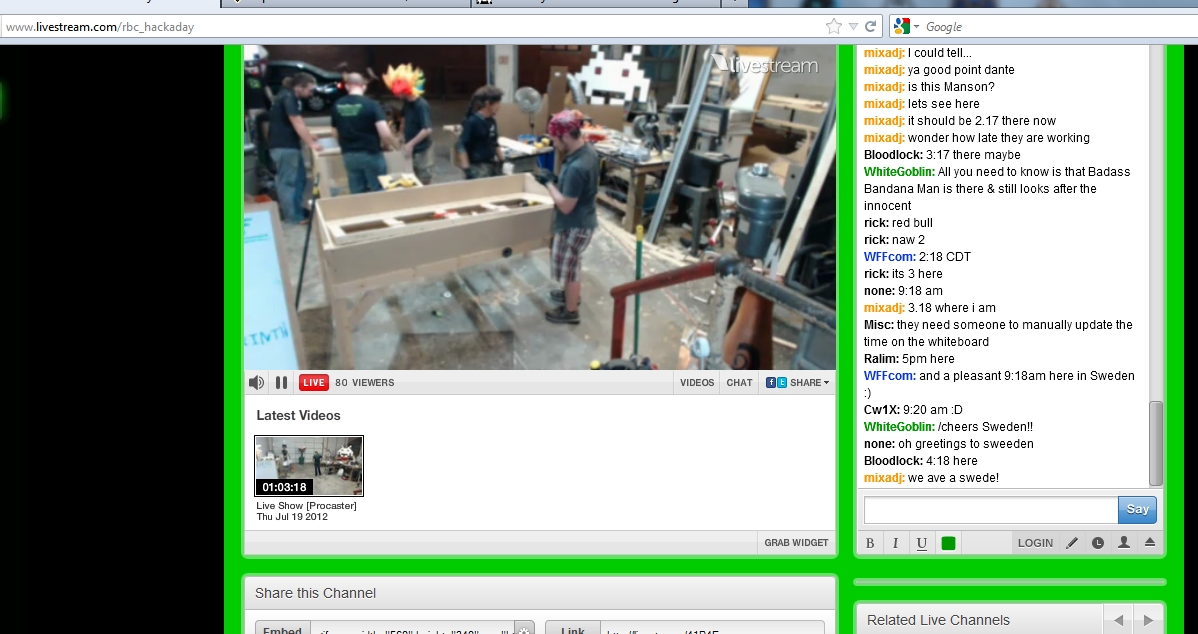
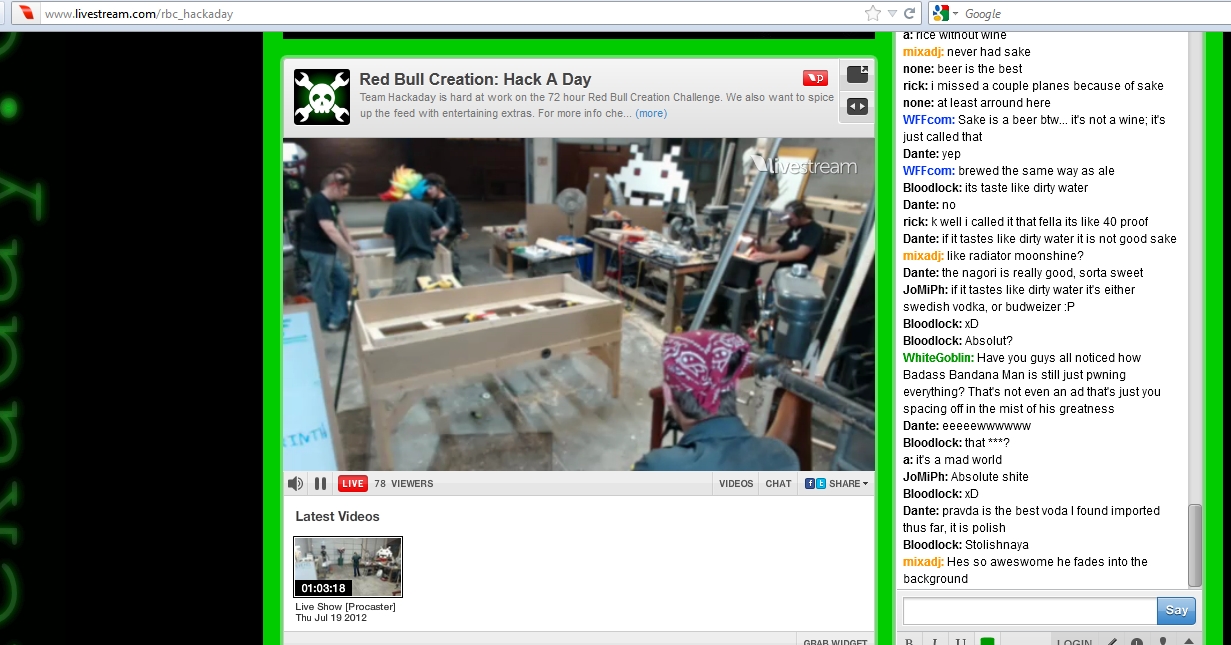
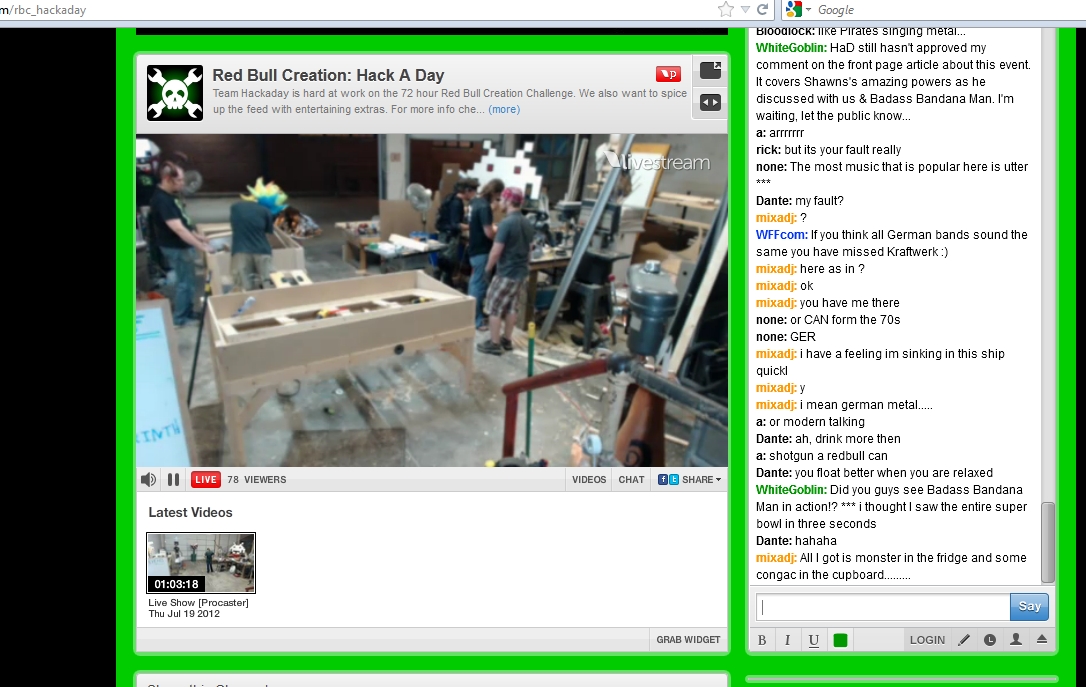
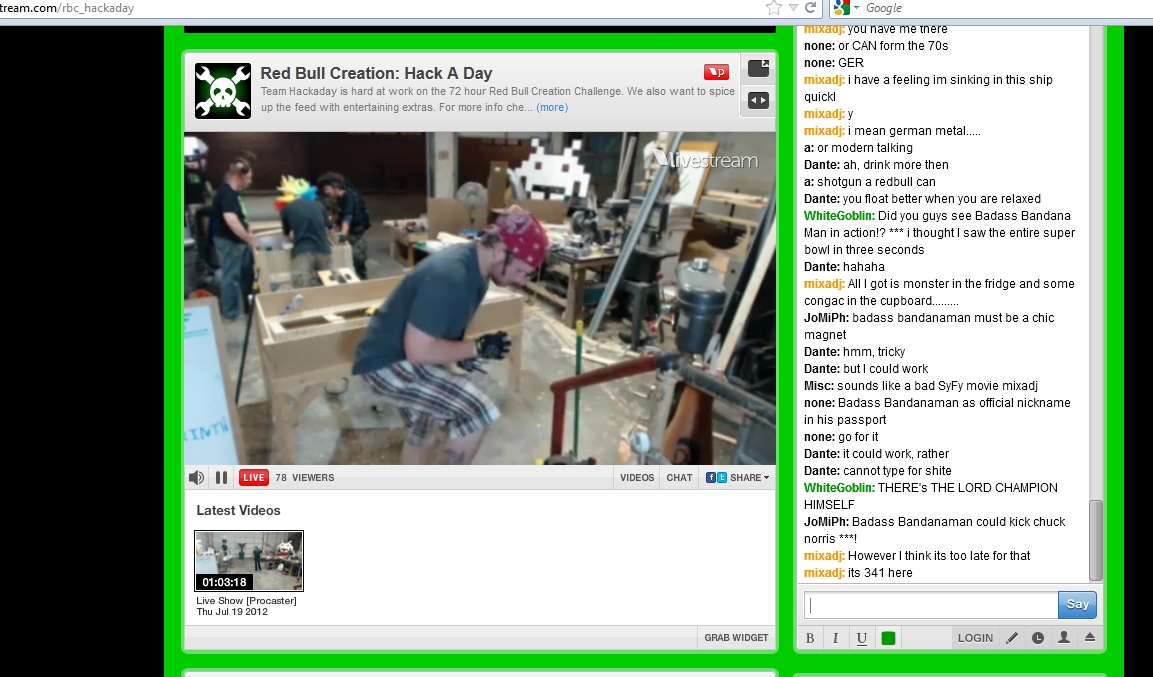
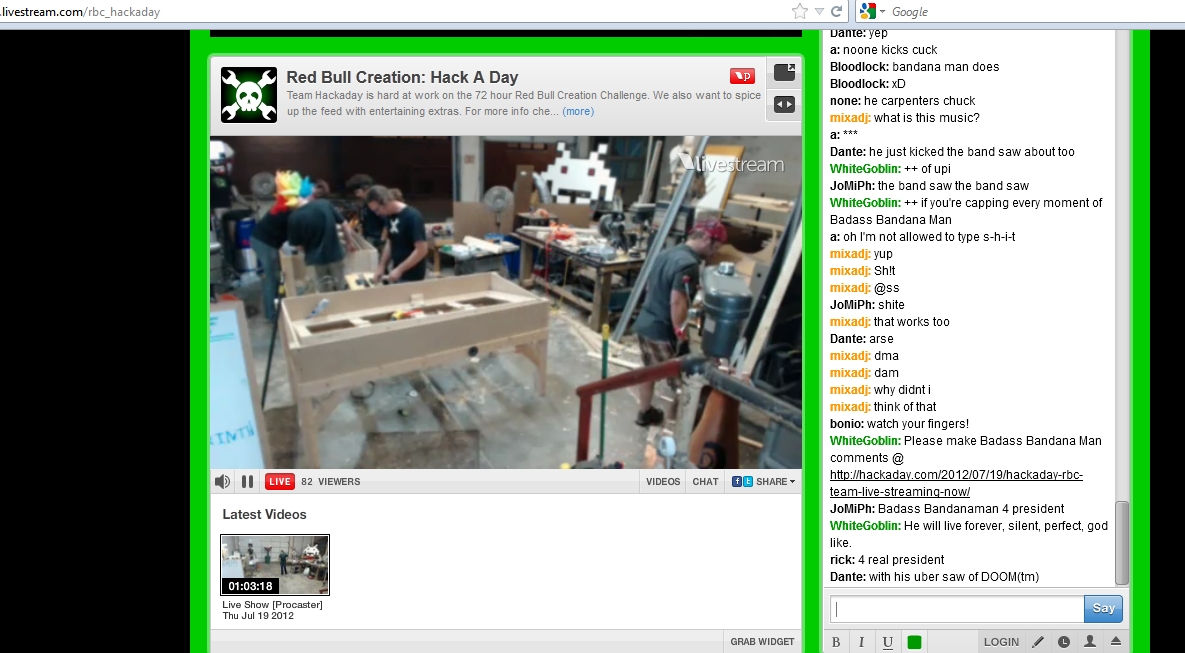
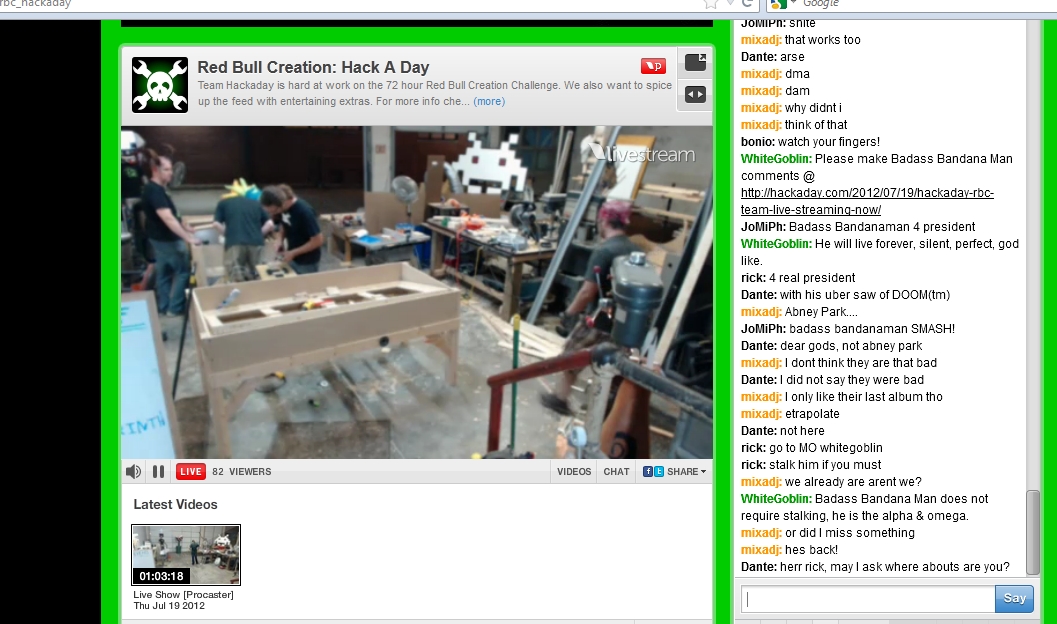
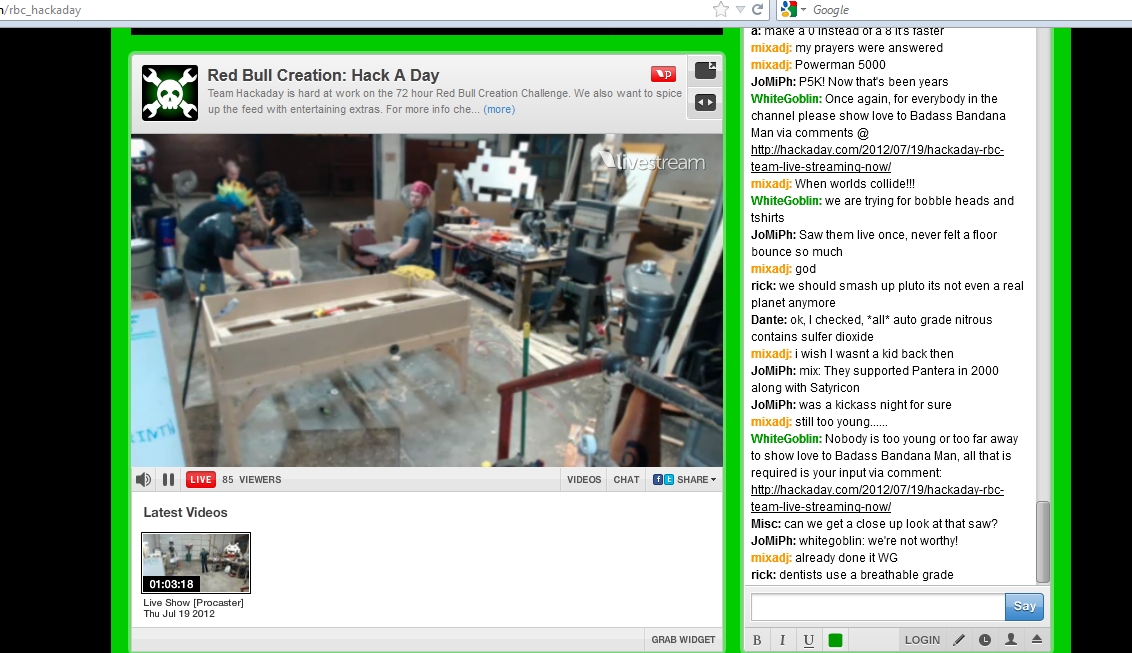
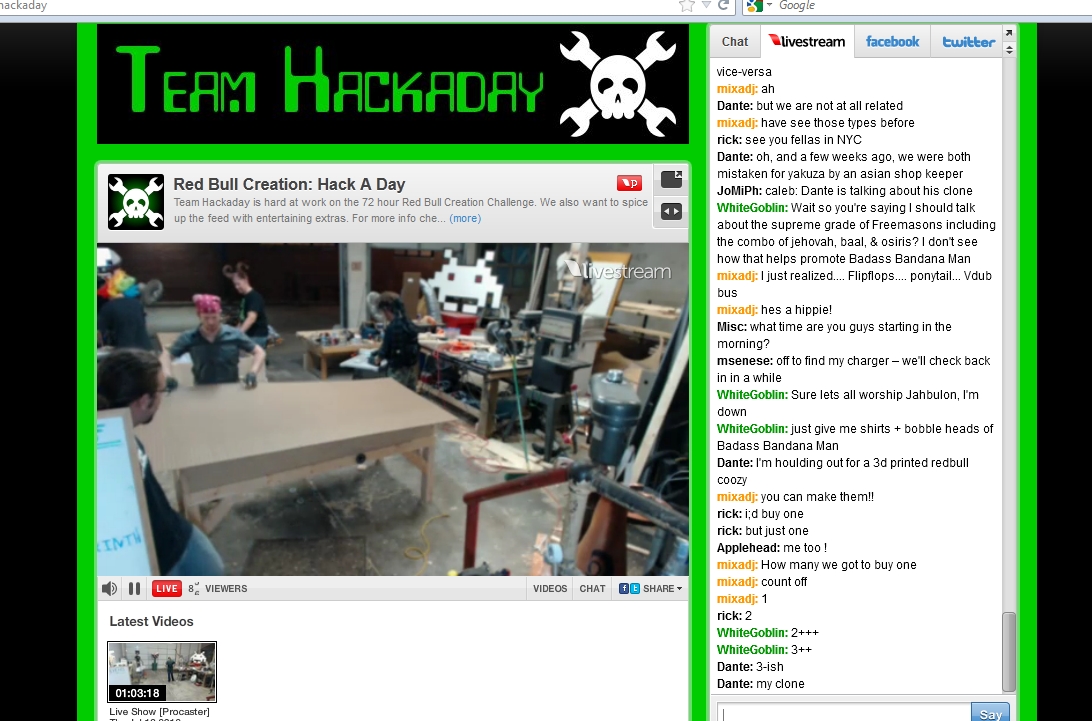
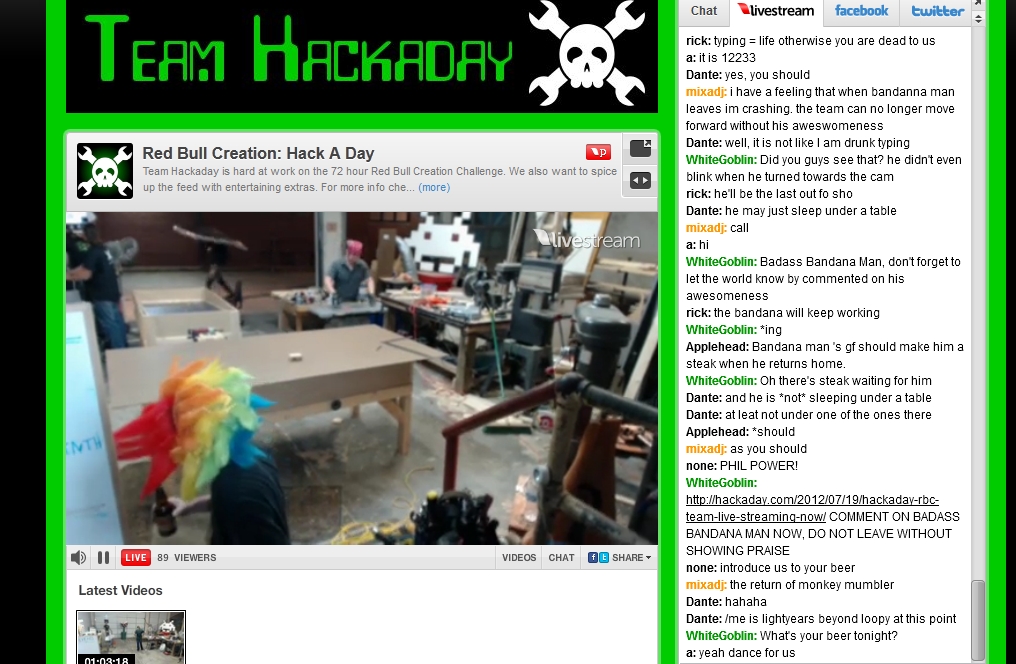
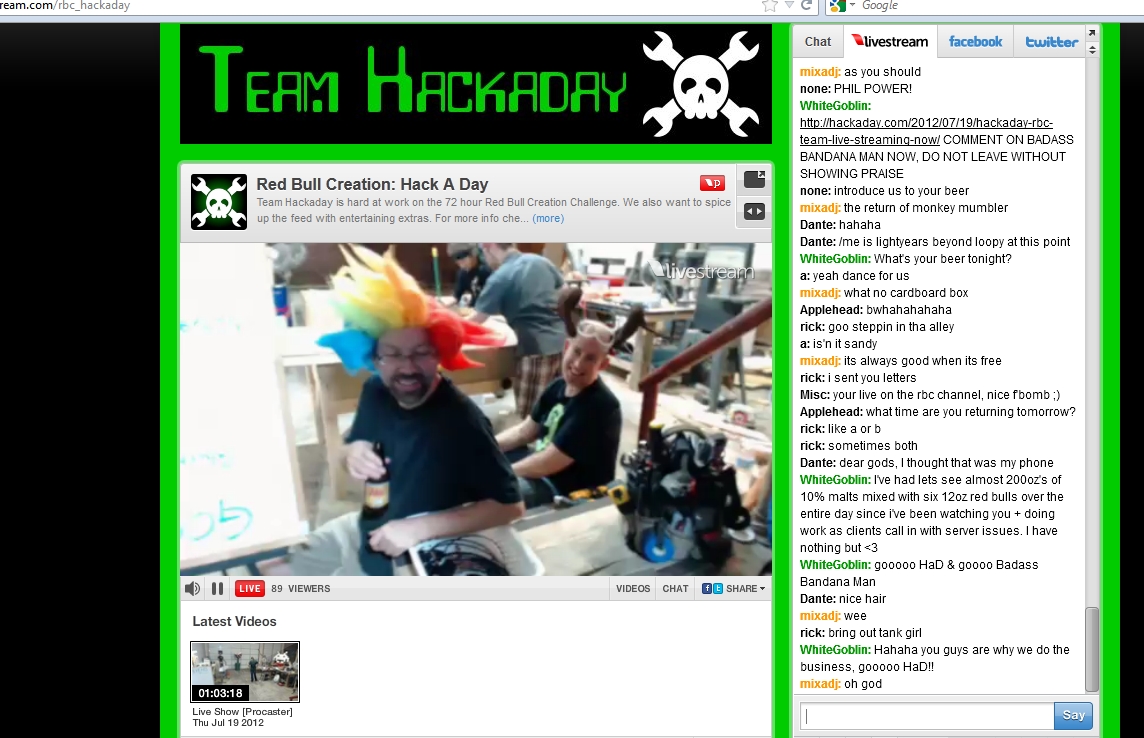
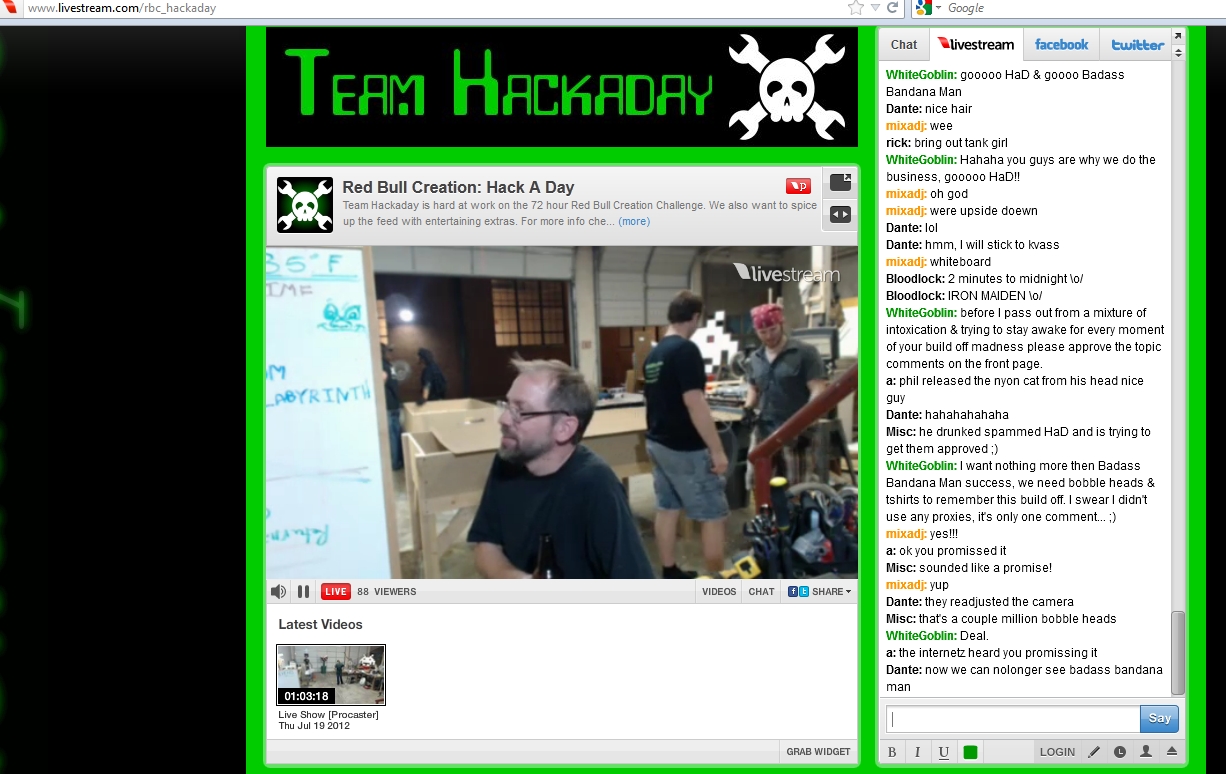
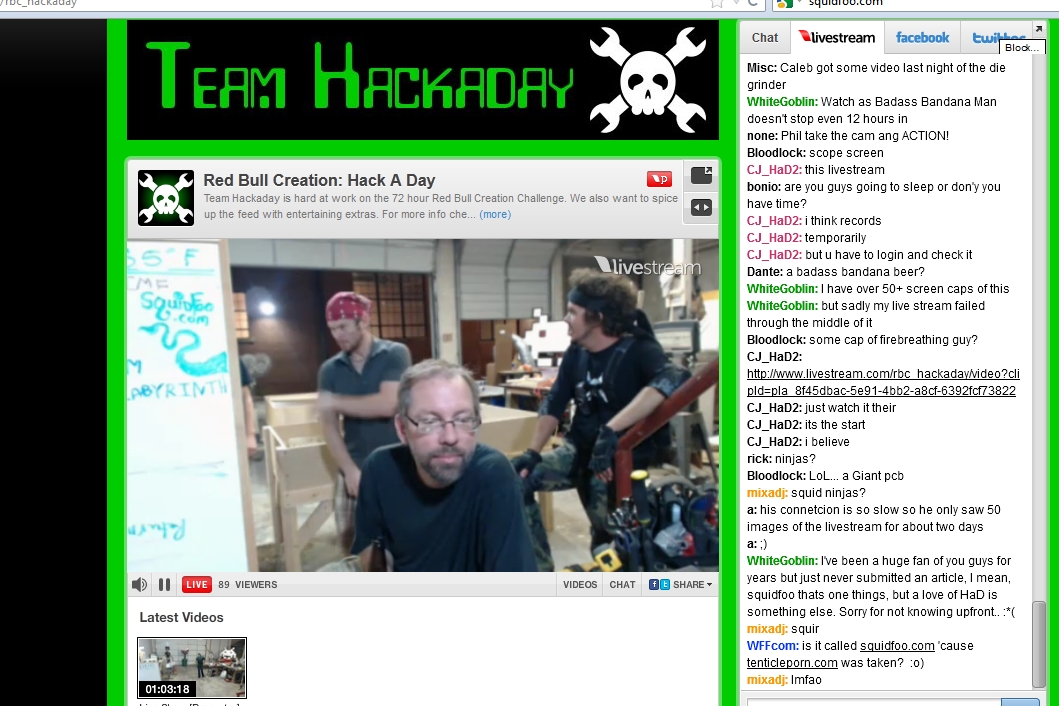
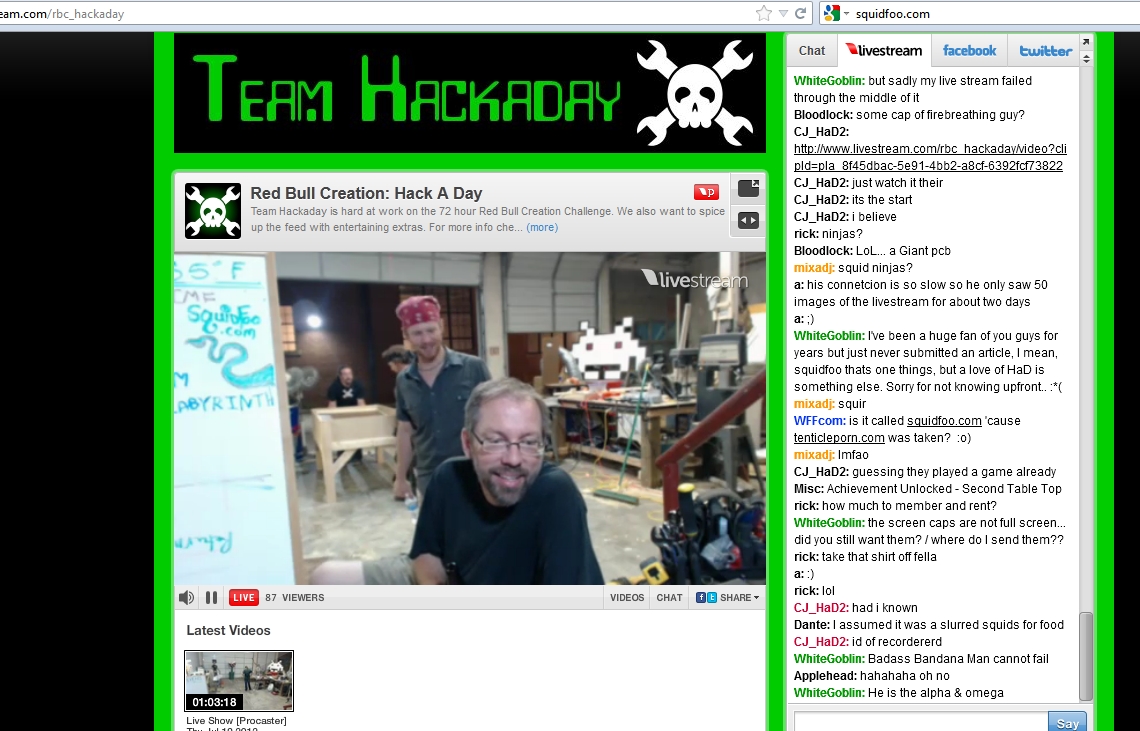
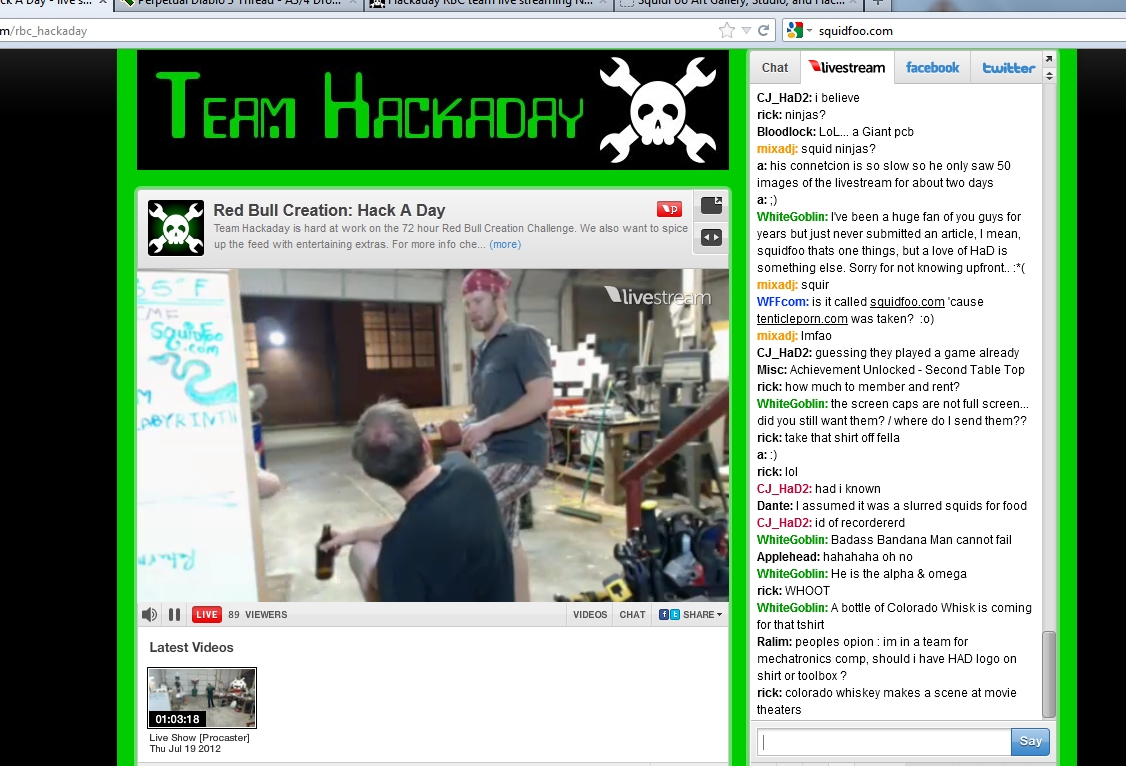
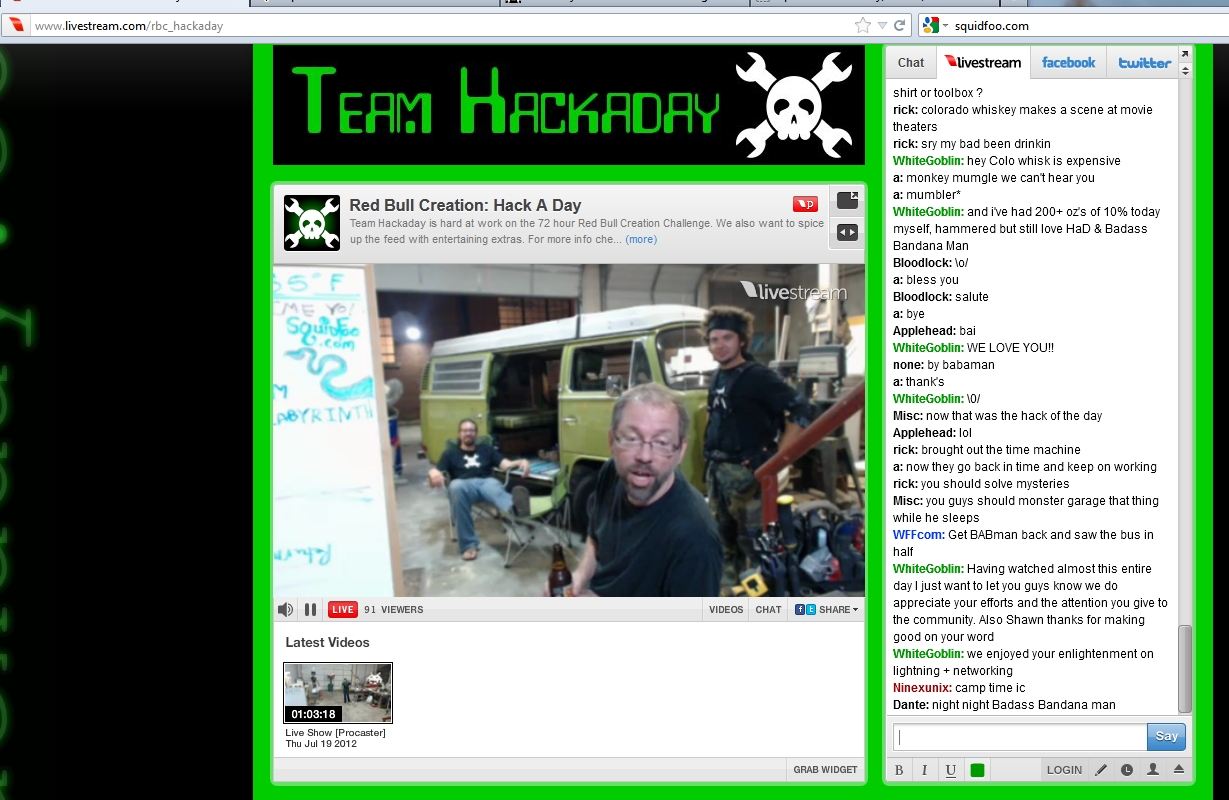
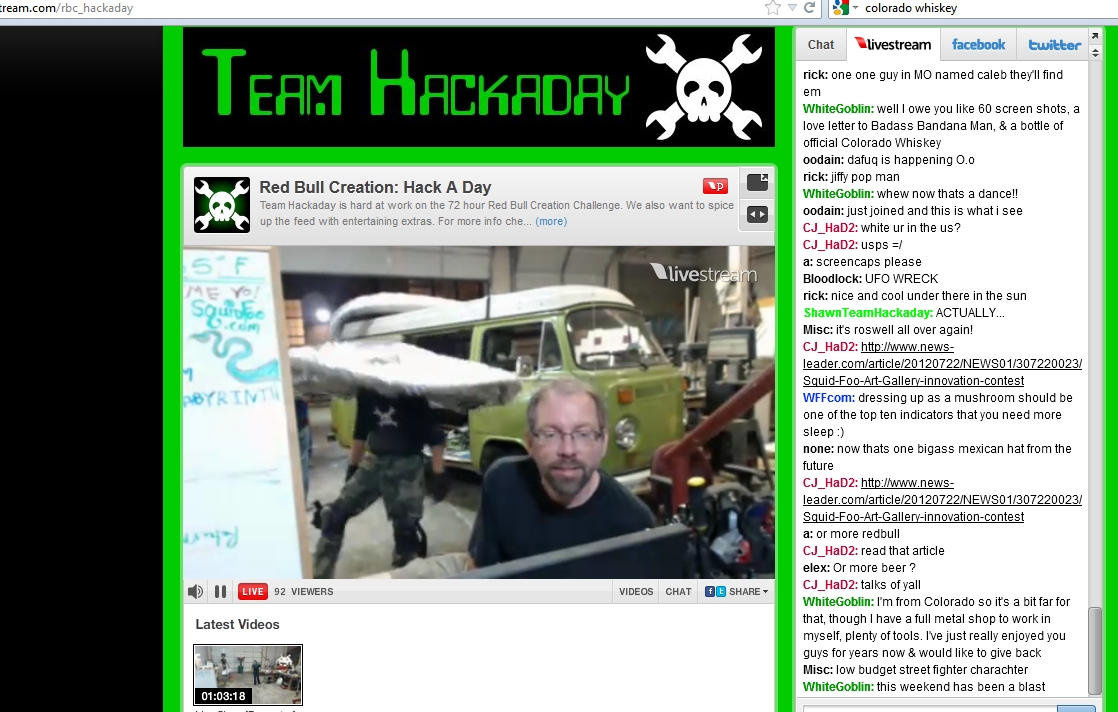
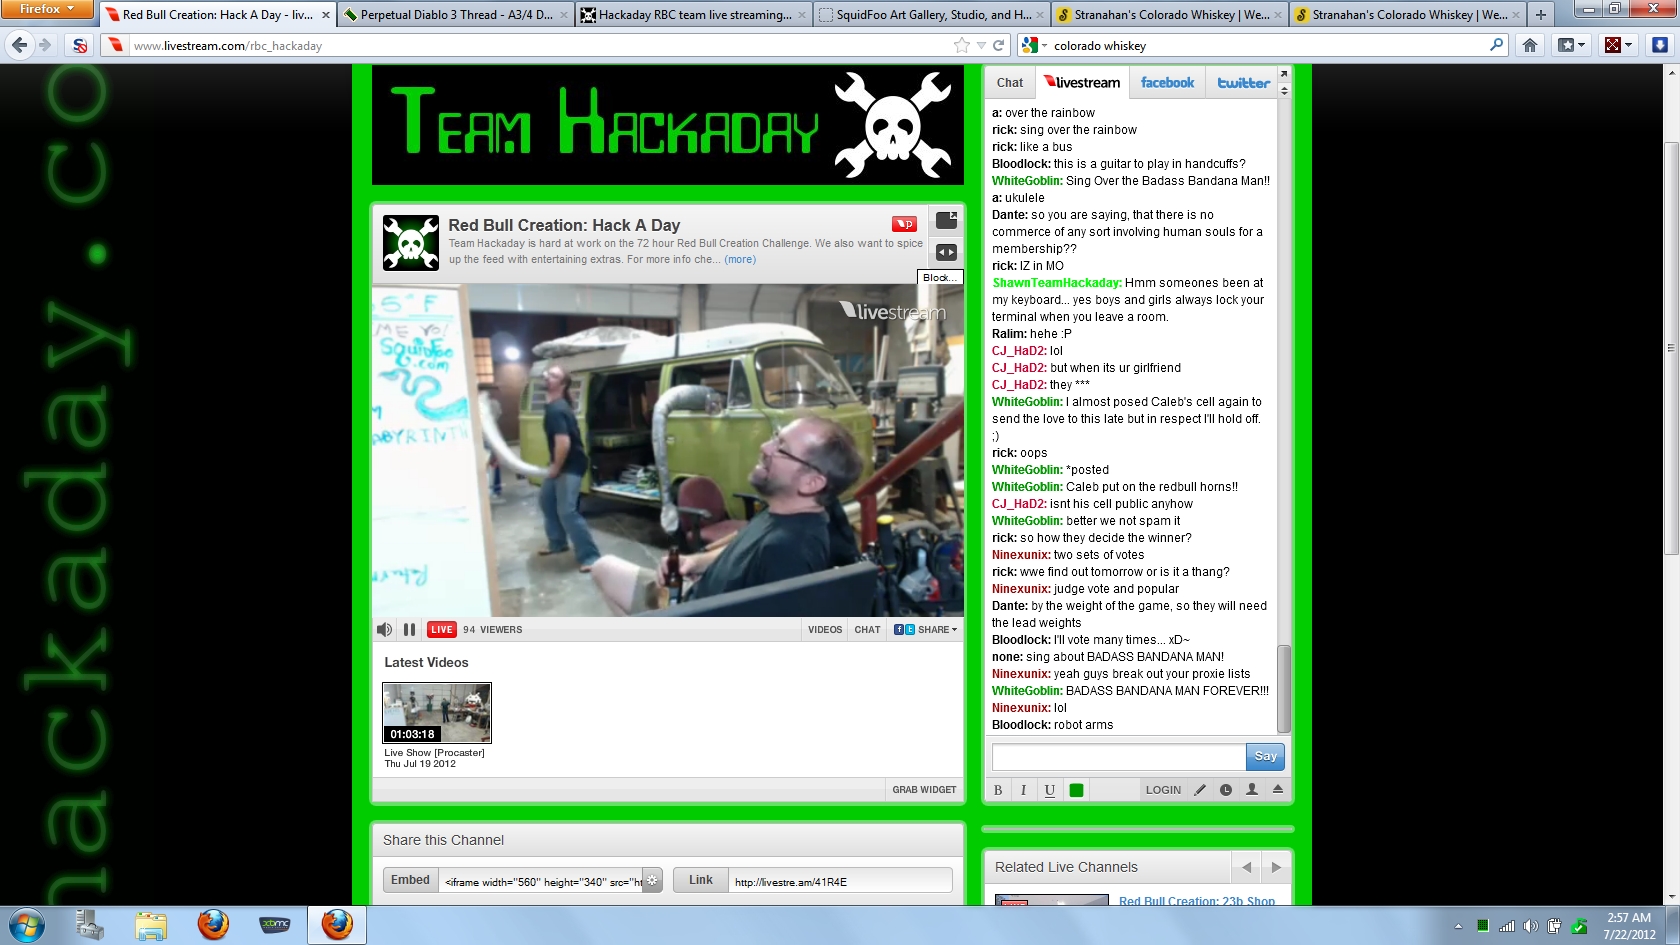
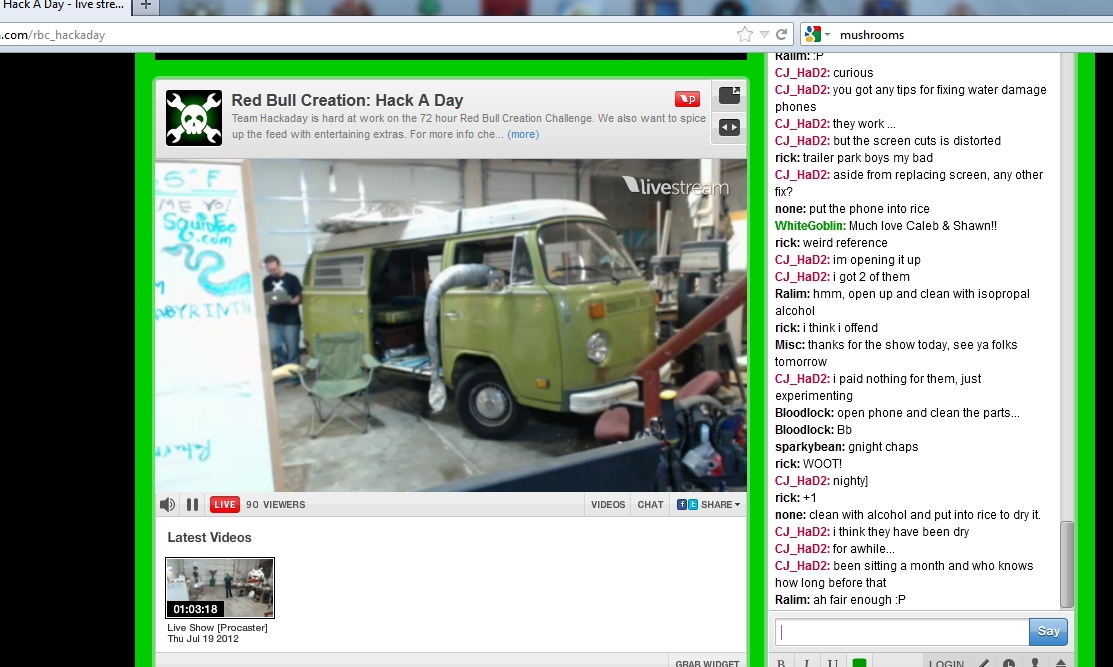
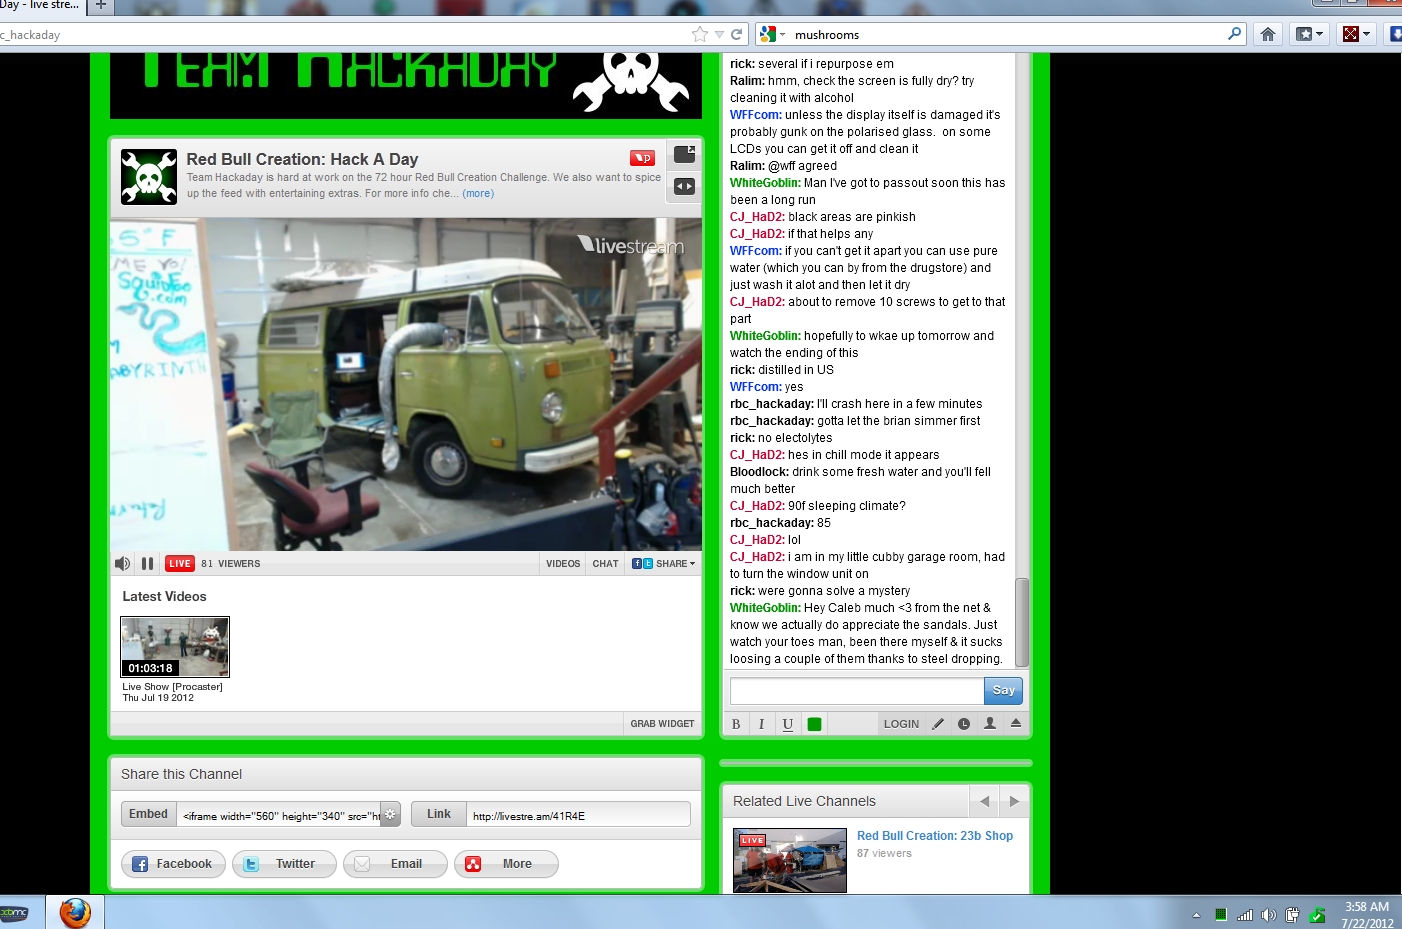
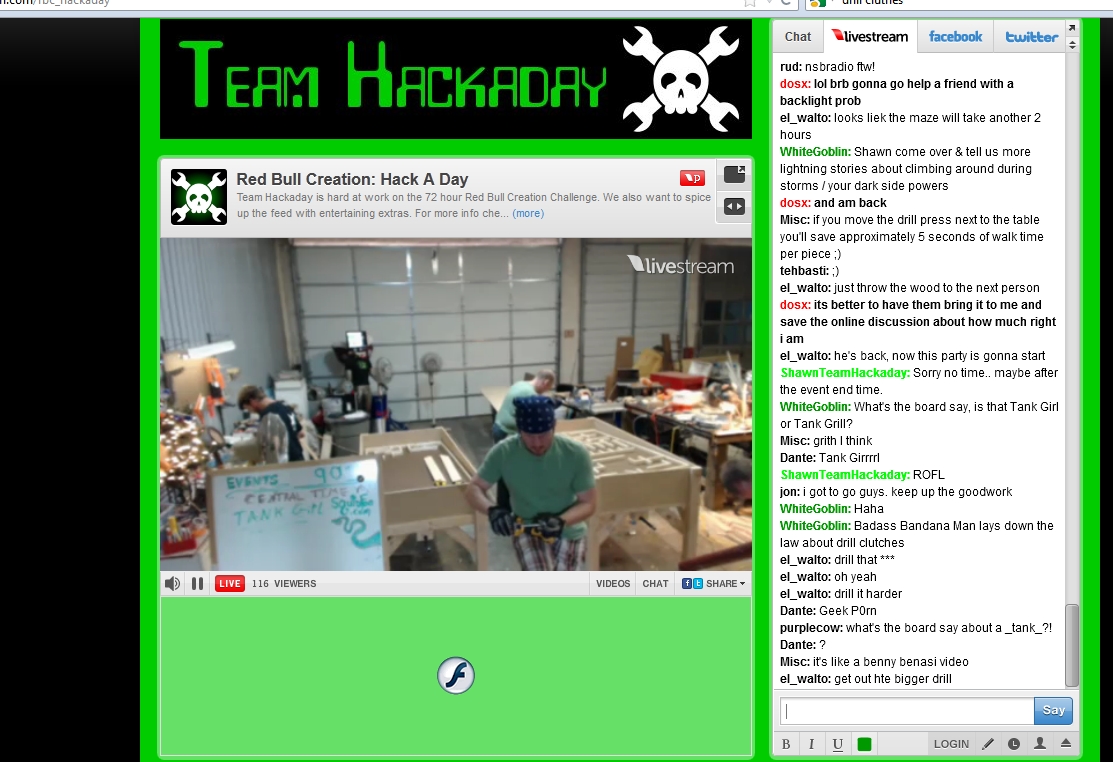
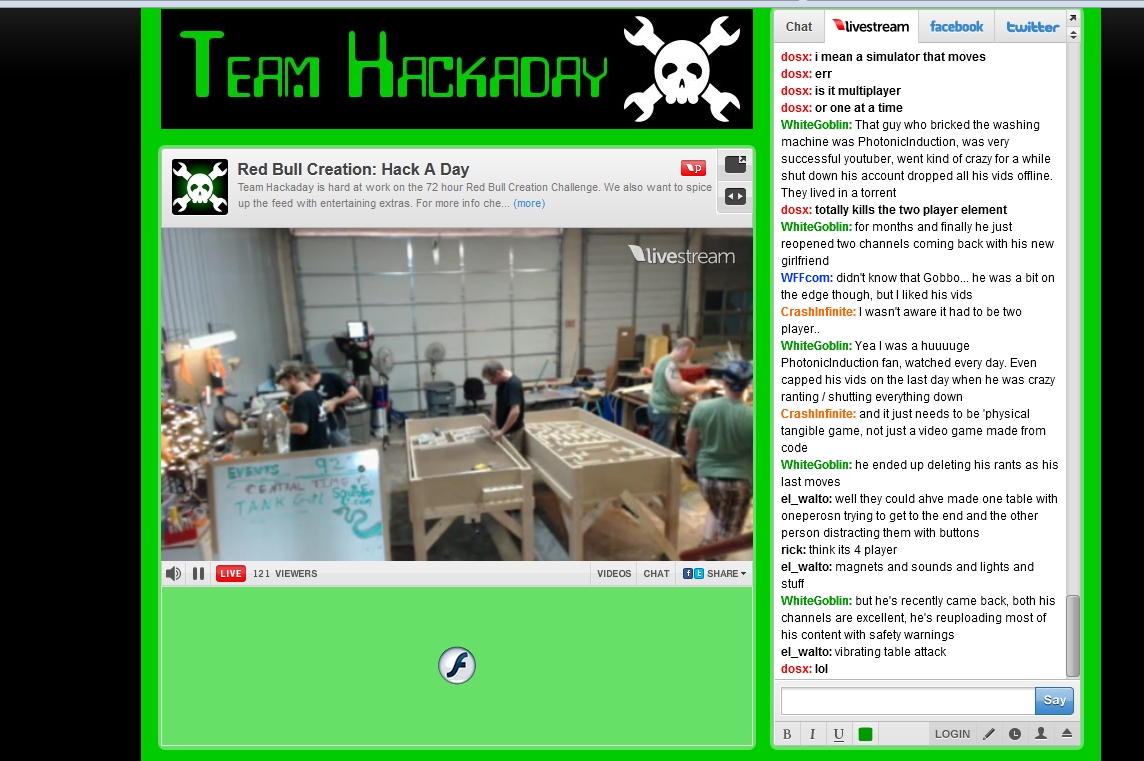
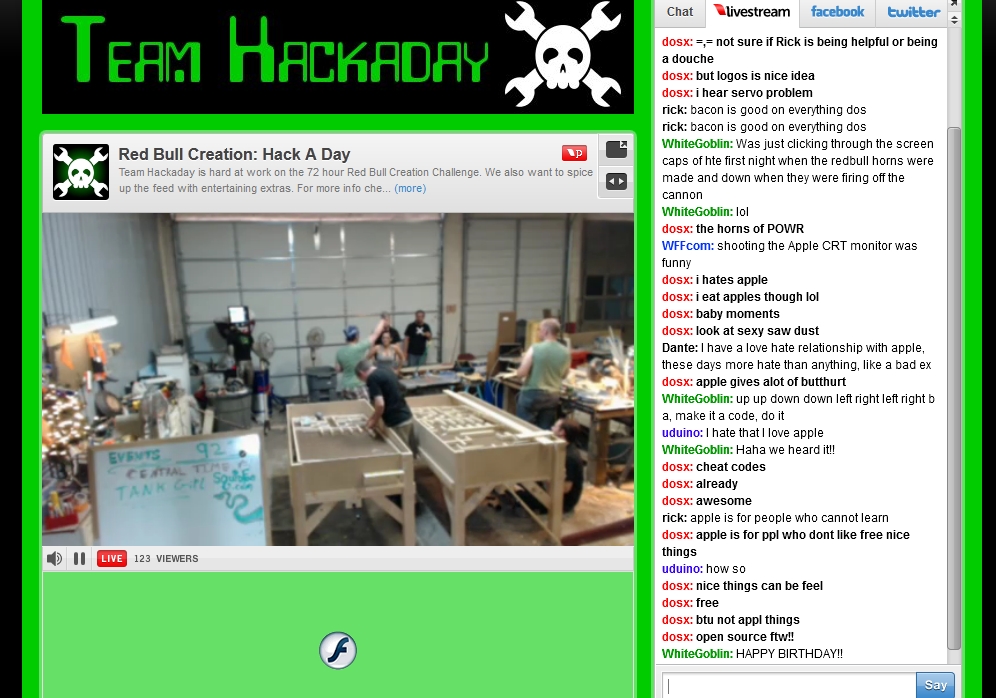
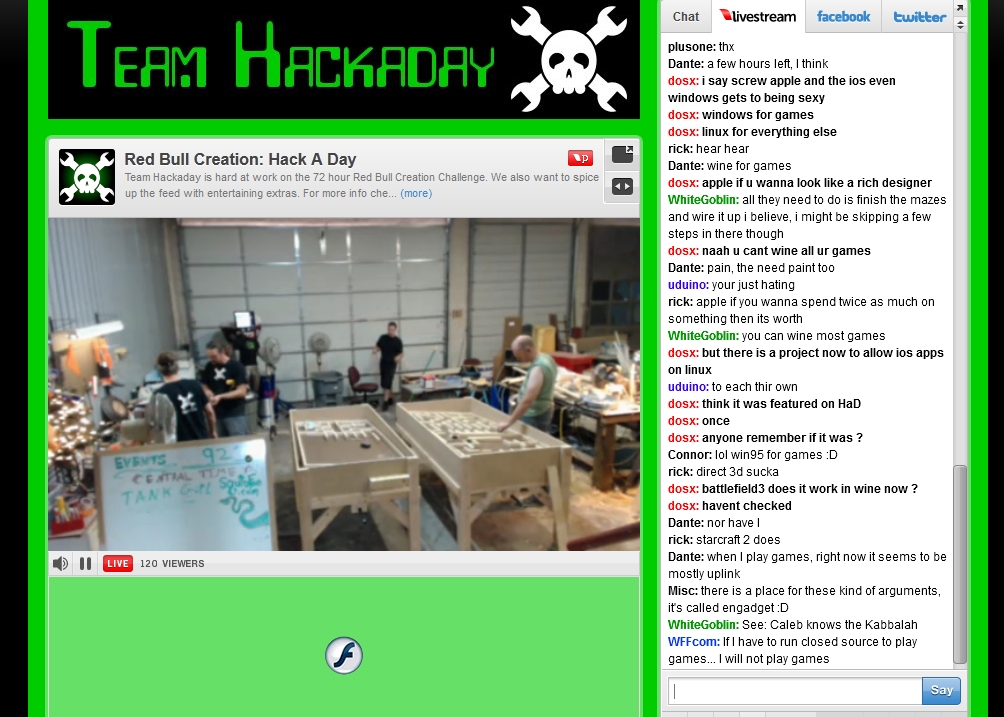
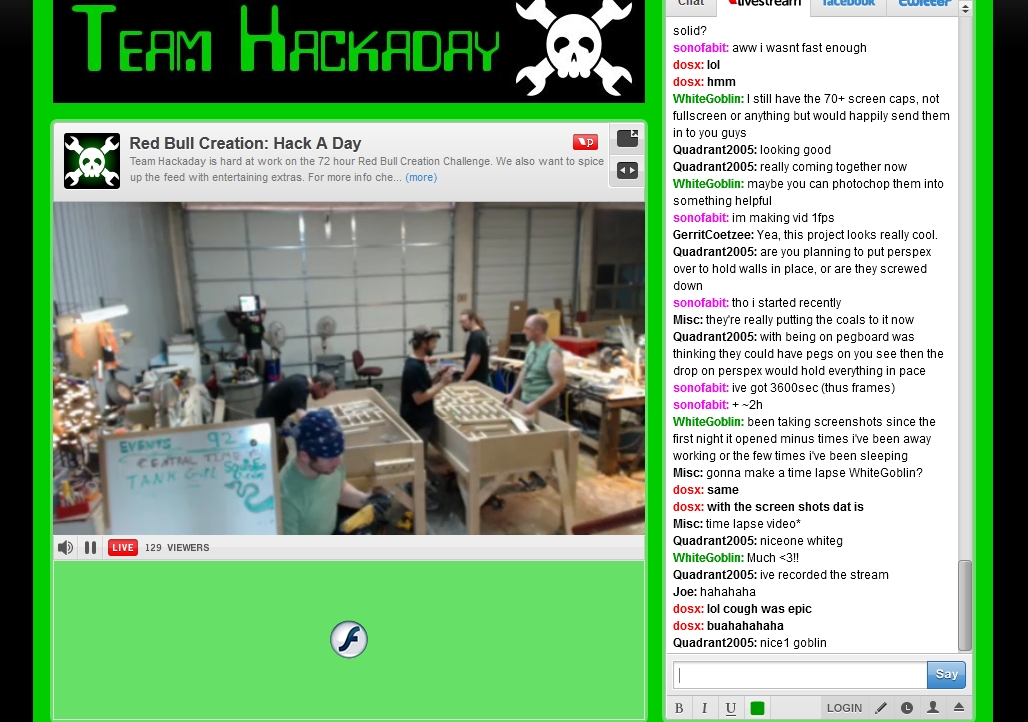
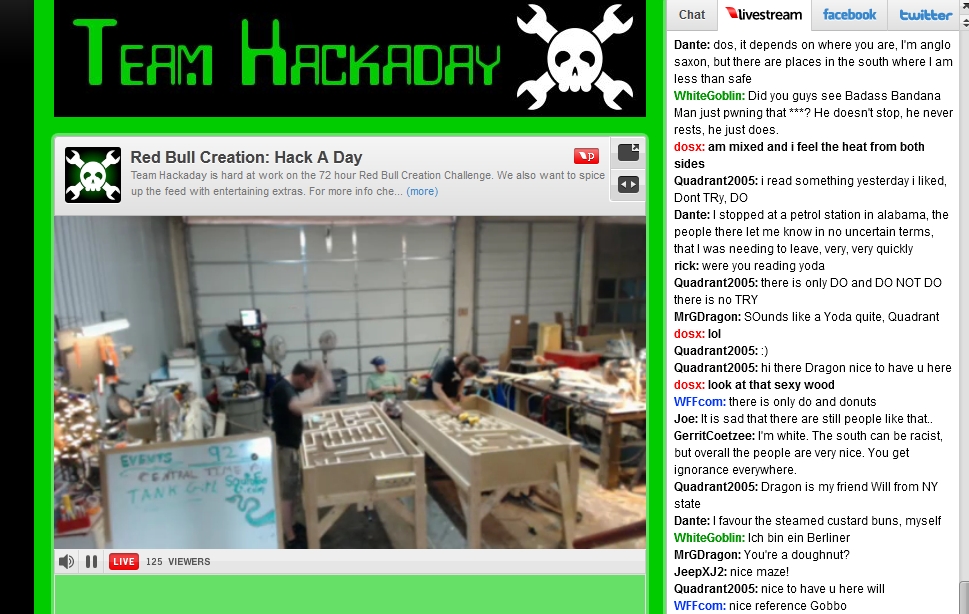
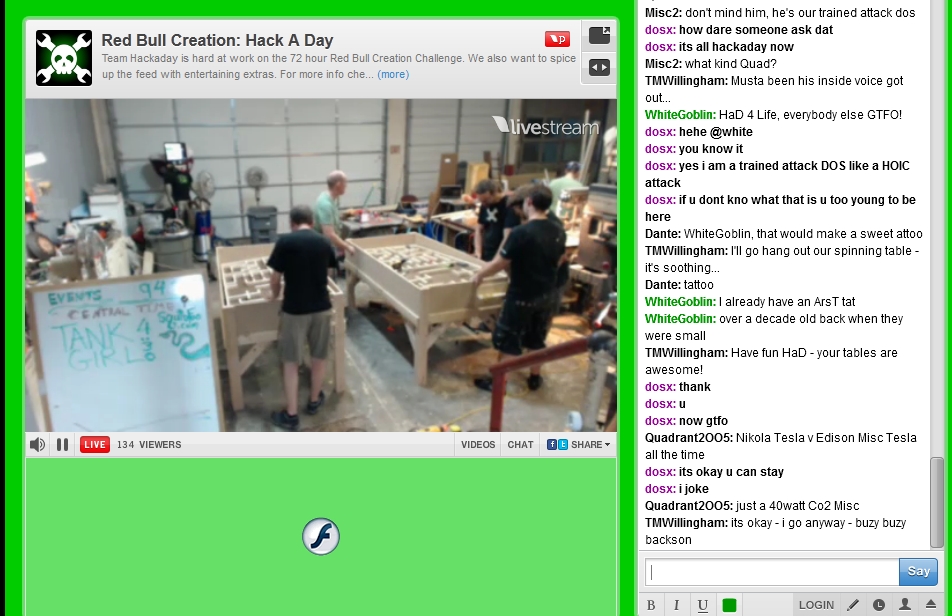
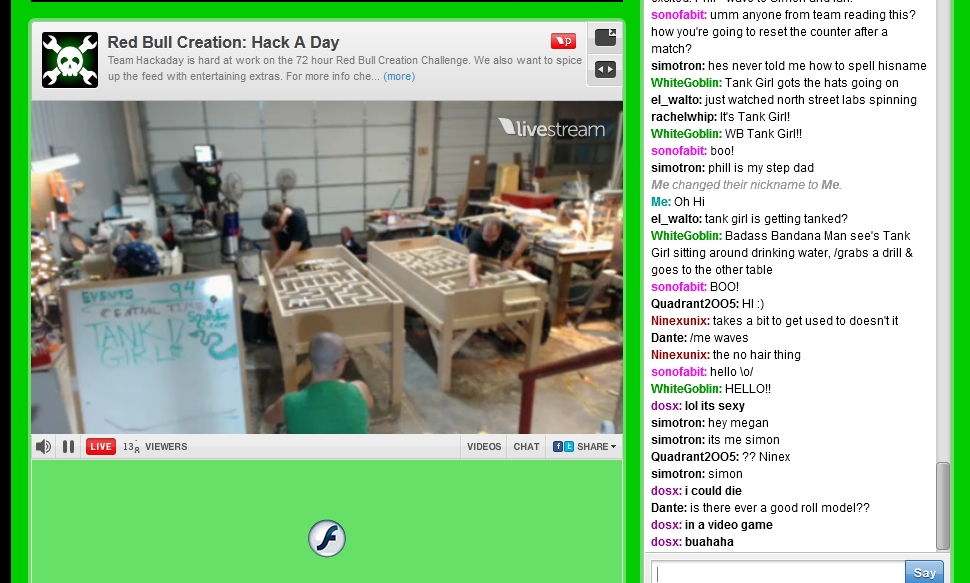
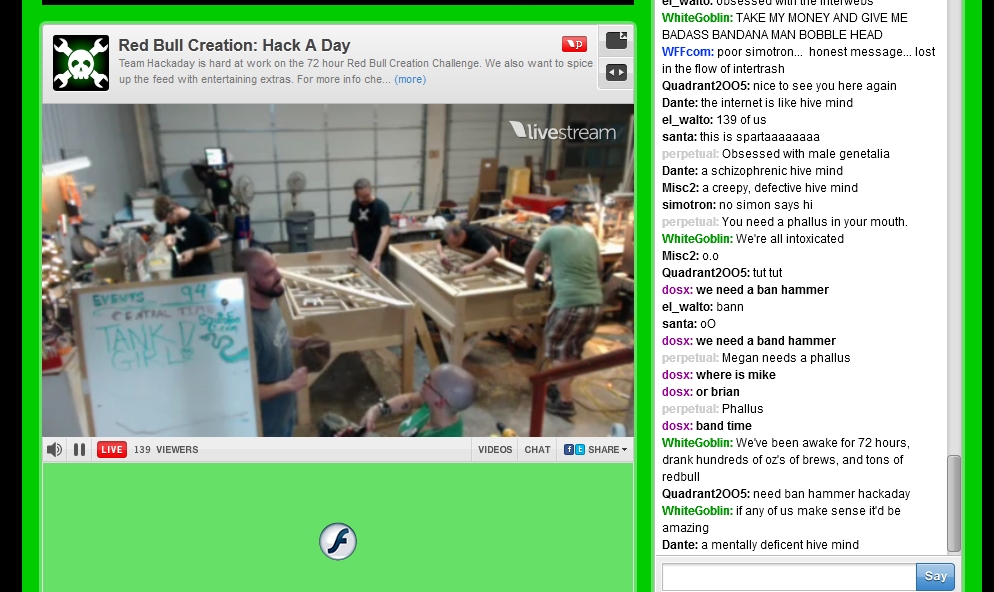
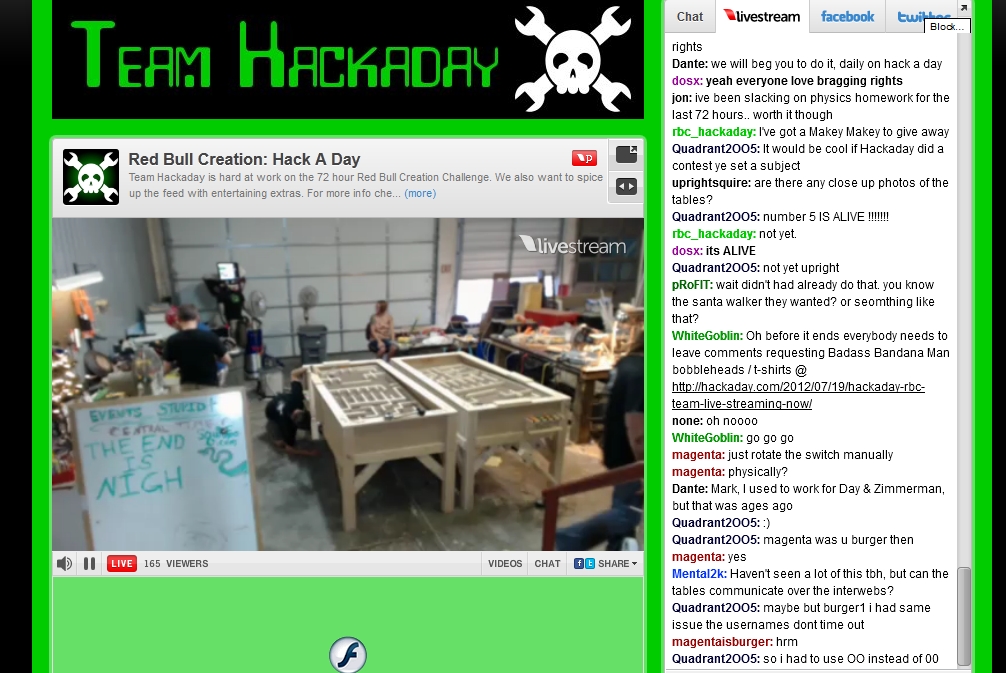
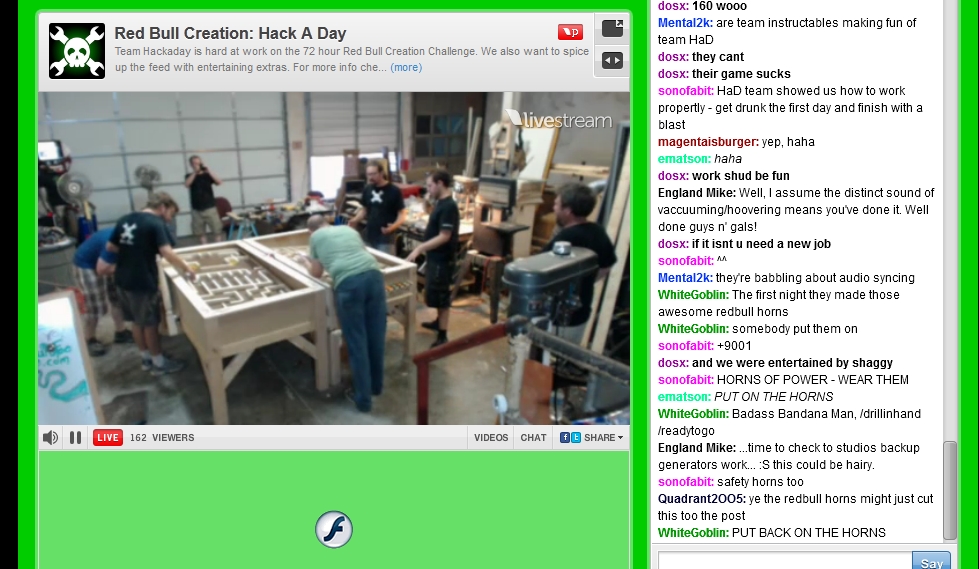
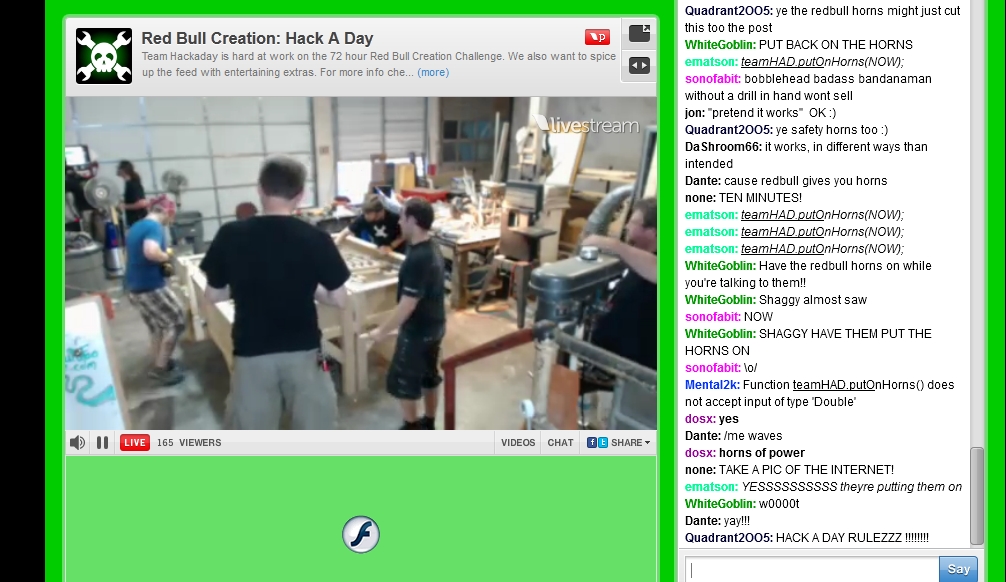
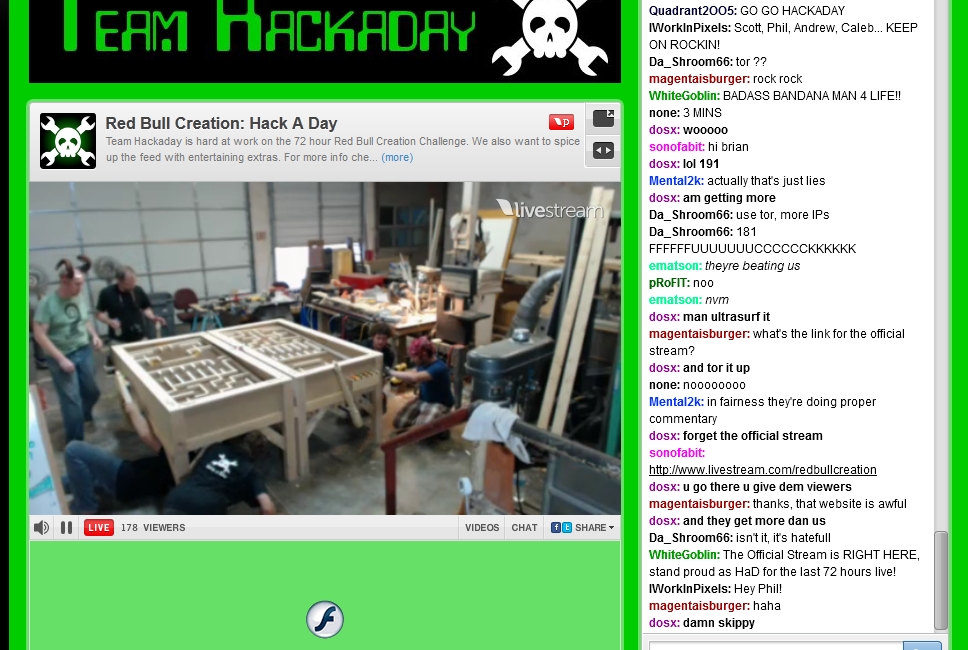
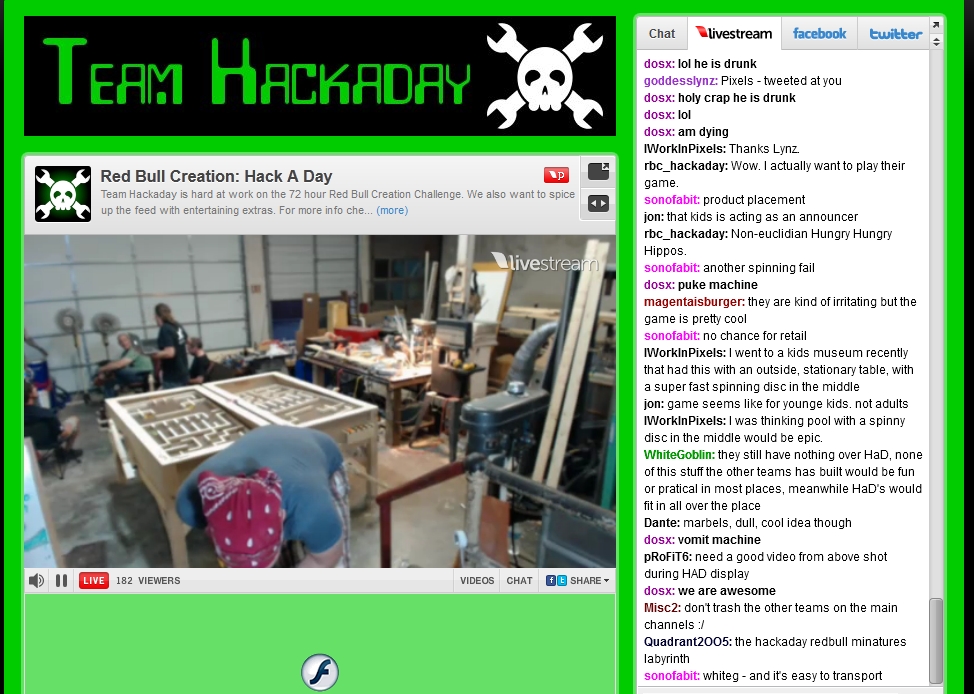
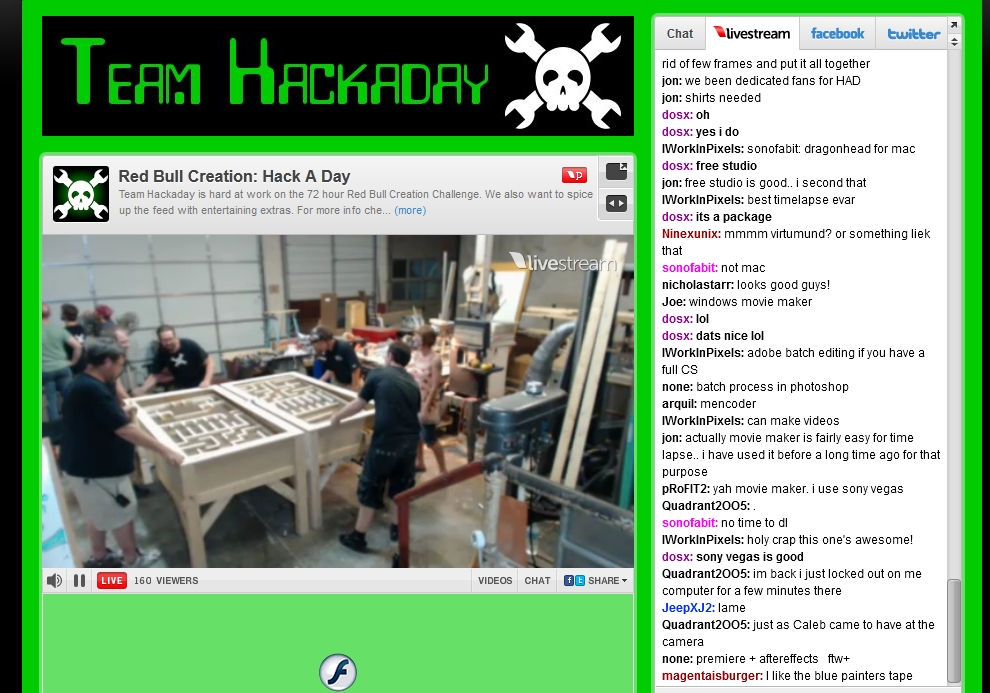
Our project is called “the minotaur’s revenge”, and is basically a set of dueling labyrinths. A pair of giant tilting mazes that have to be controlled while attempting to trigger traps on your opponents table. We knew that watching us screw some wood together for 3 days would be painfully dull, so we put extra effort into keeping our feed amusing. We had scheduled events like a fire breather, grafitti artists, people in costume, and strange things happening all the time. We took time to answer questions and converse with our watchers. It paid off, our feed was usually host to double the viewers of any other feed.
Keep reading for a full writeup on how everything was made, along with a ton of pictures and some video.
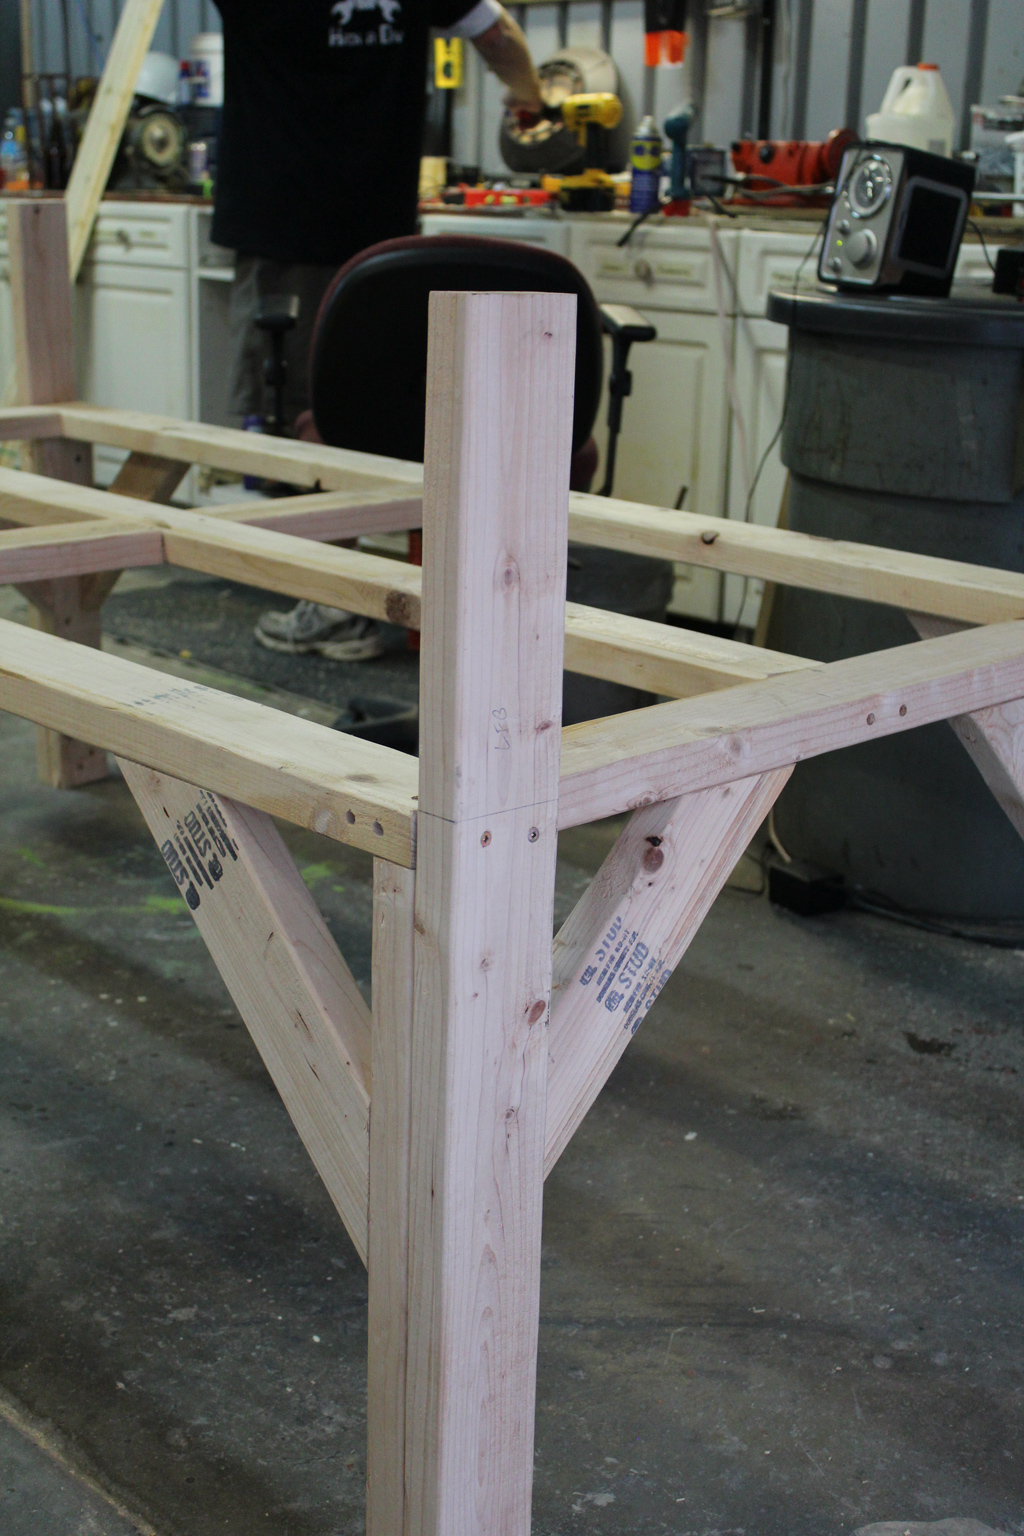
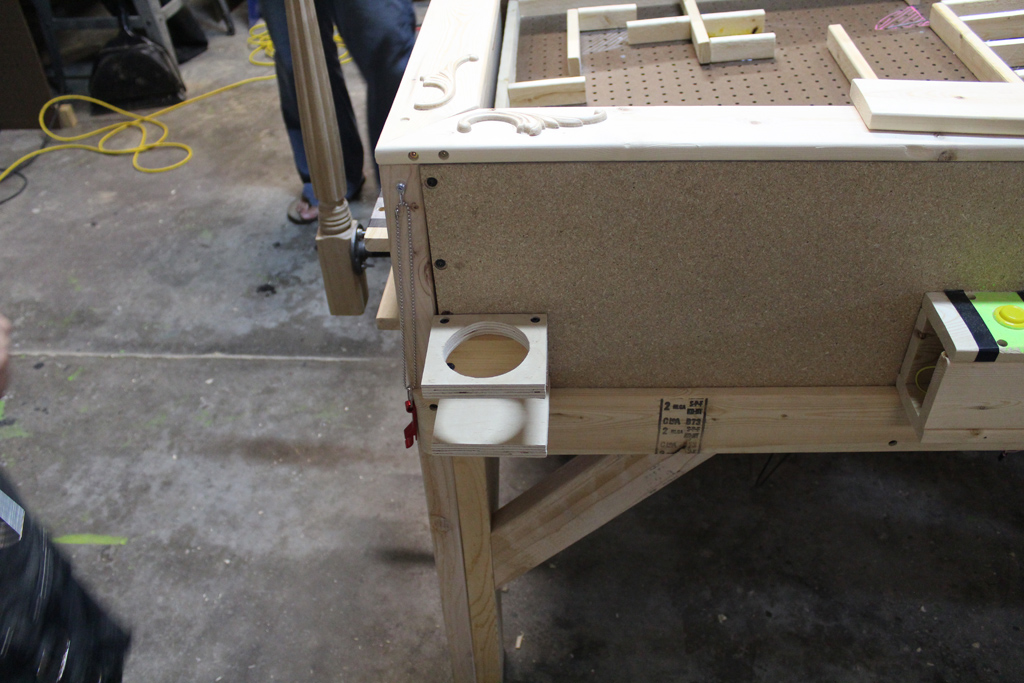
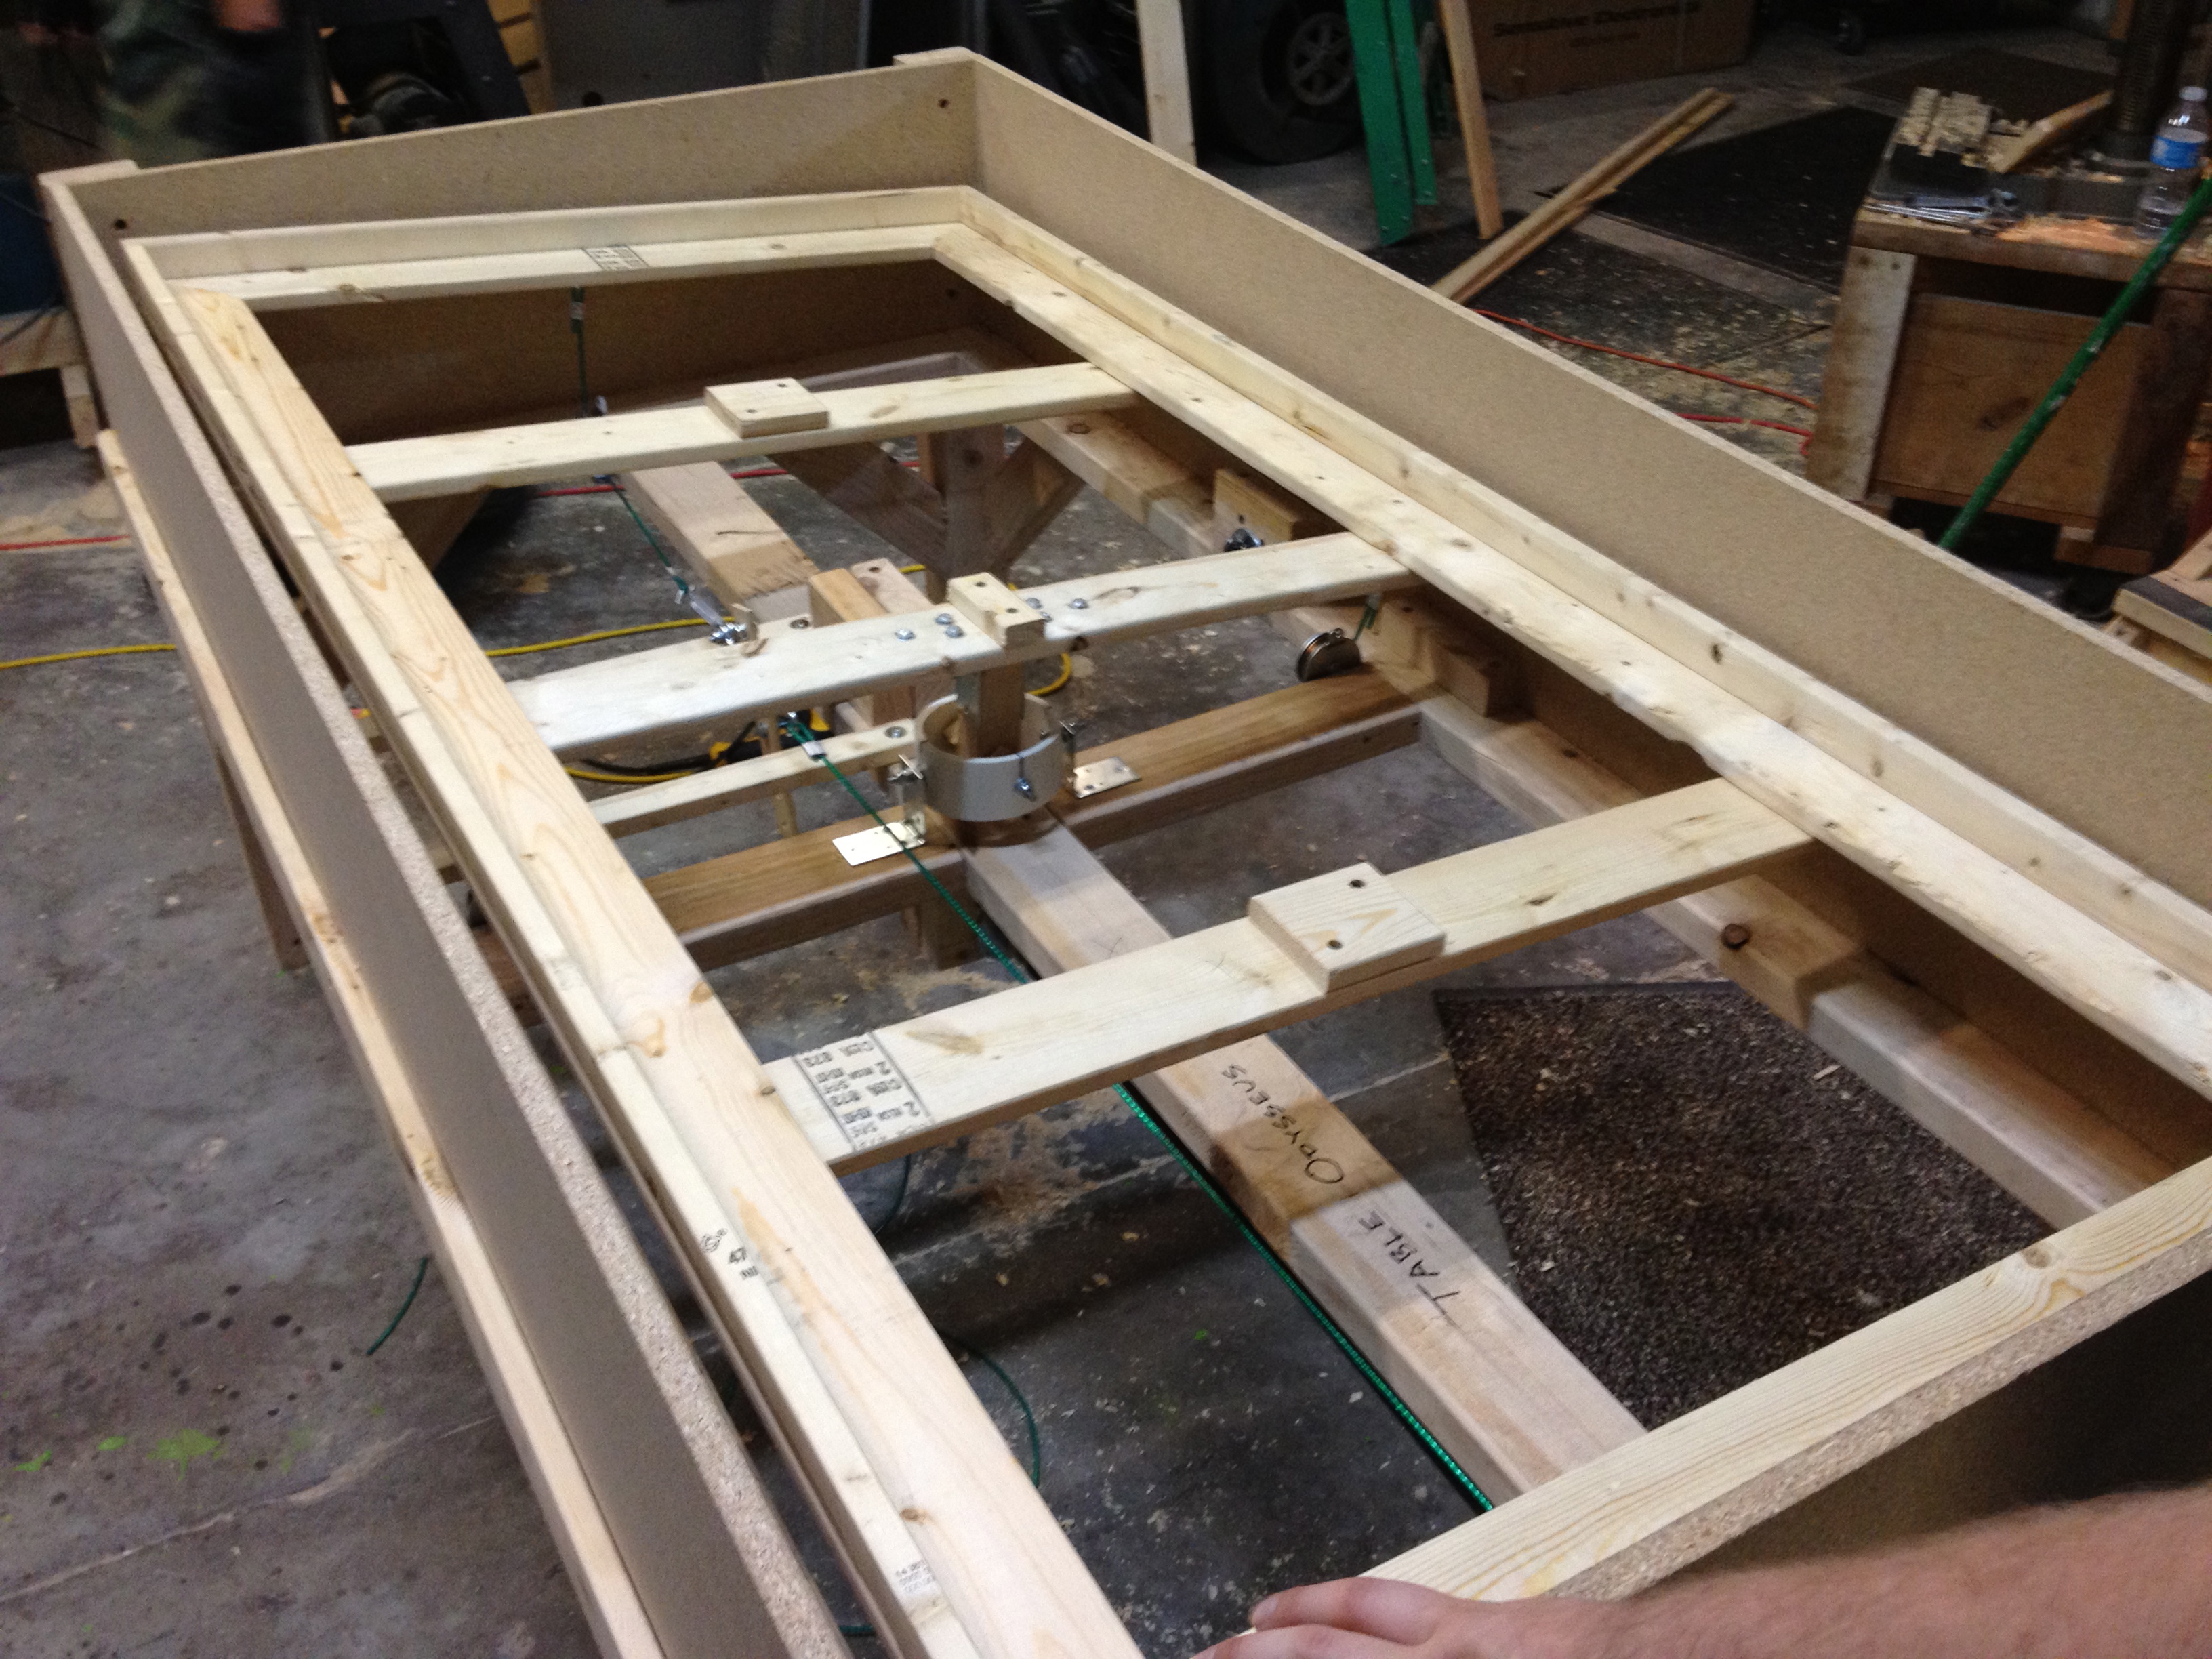
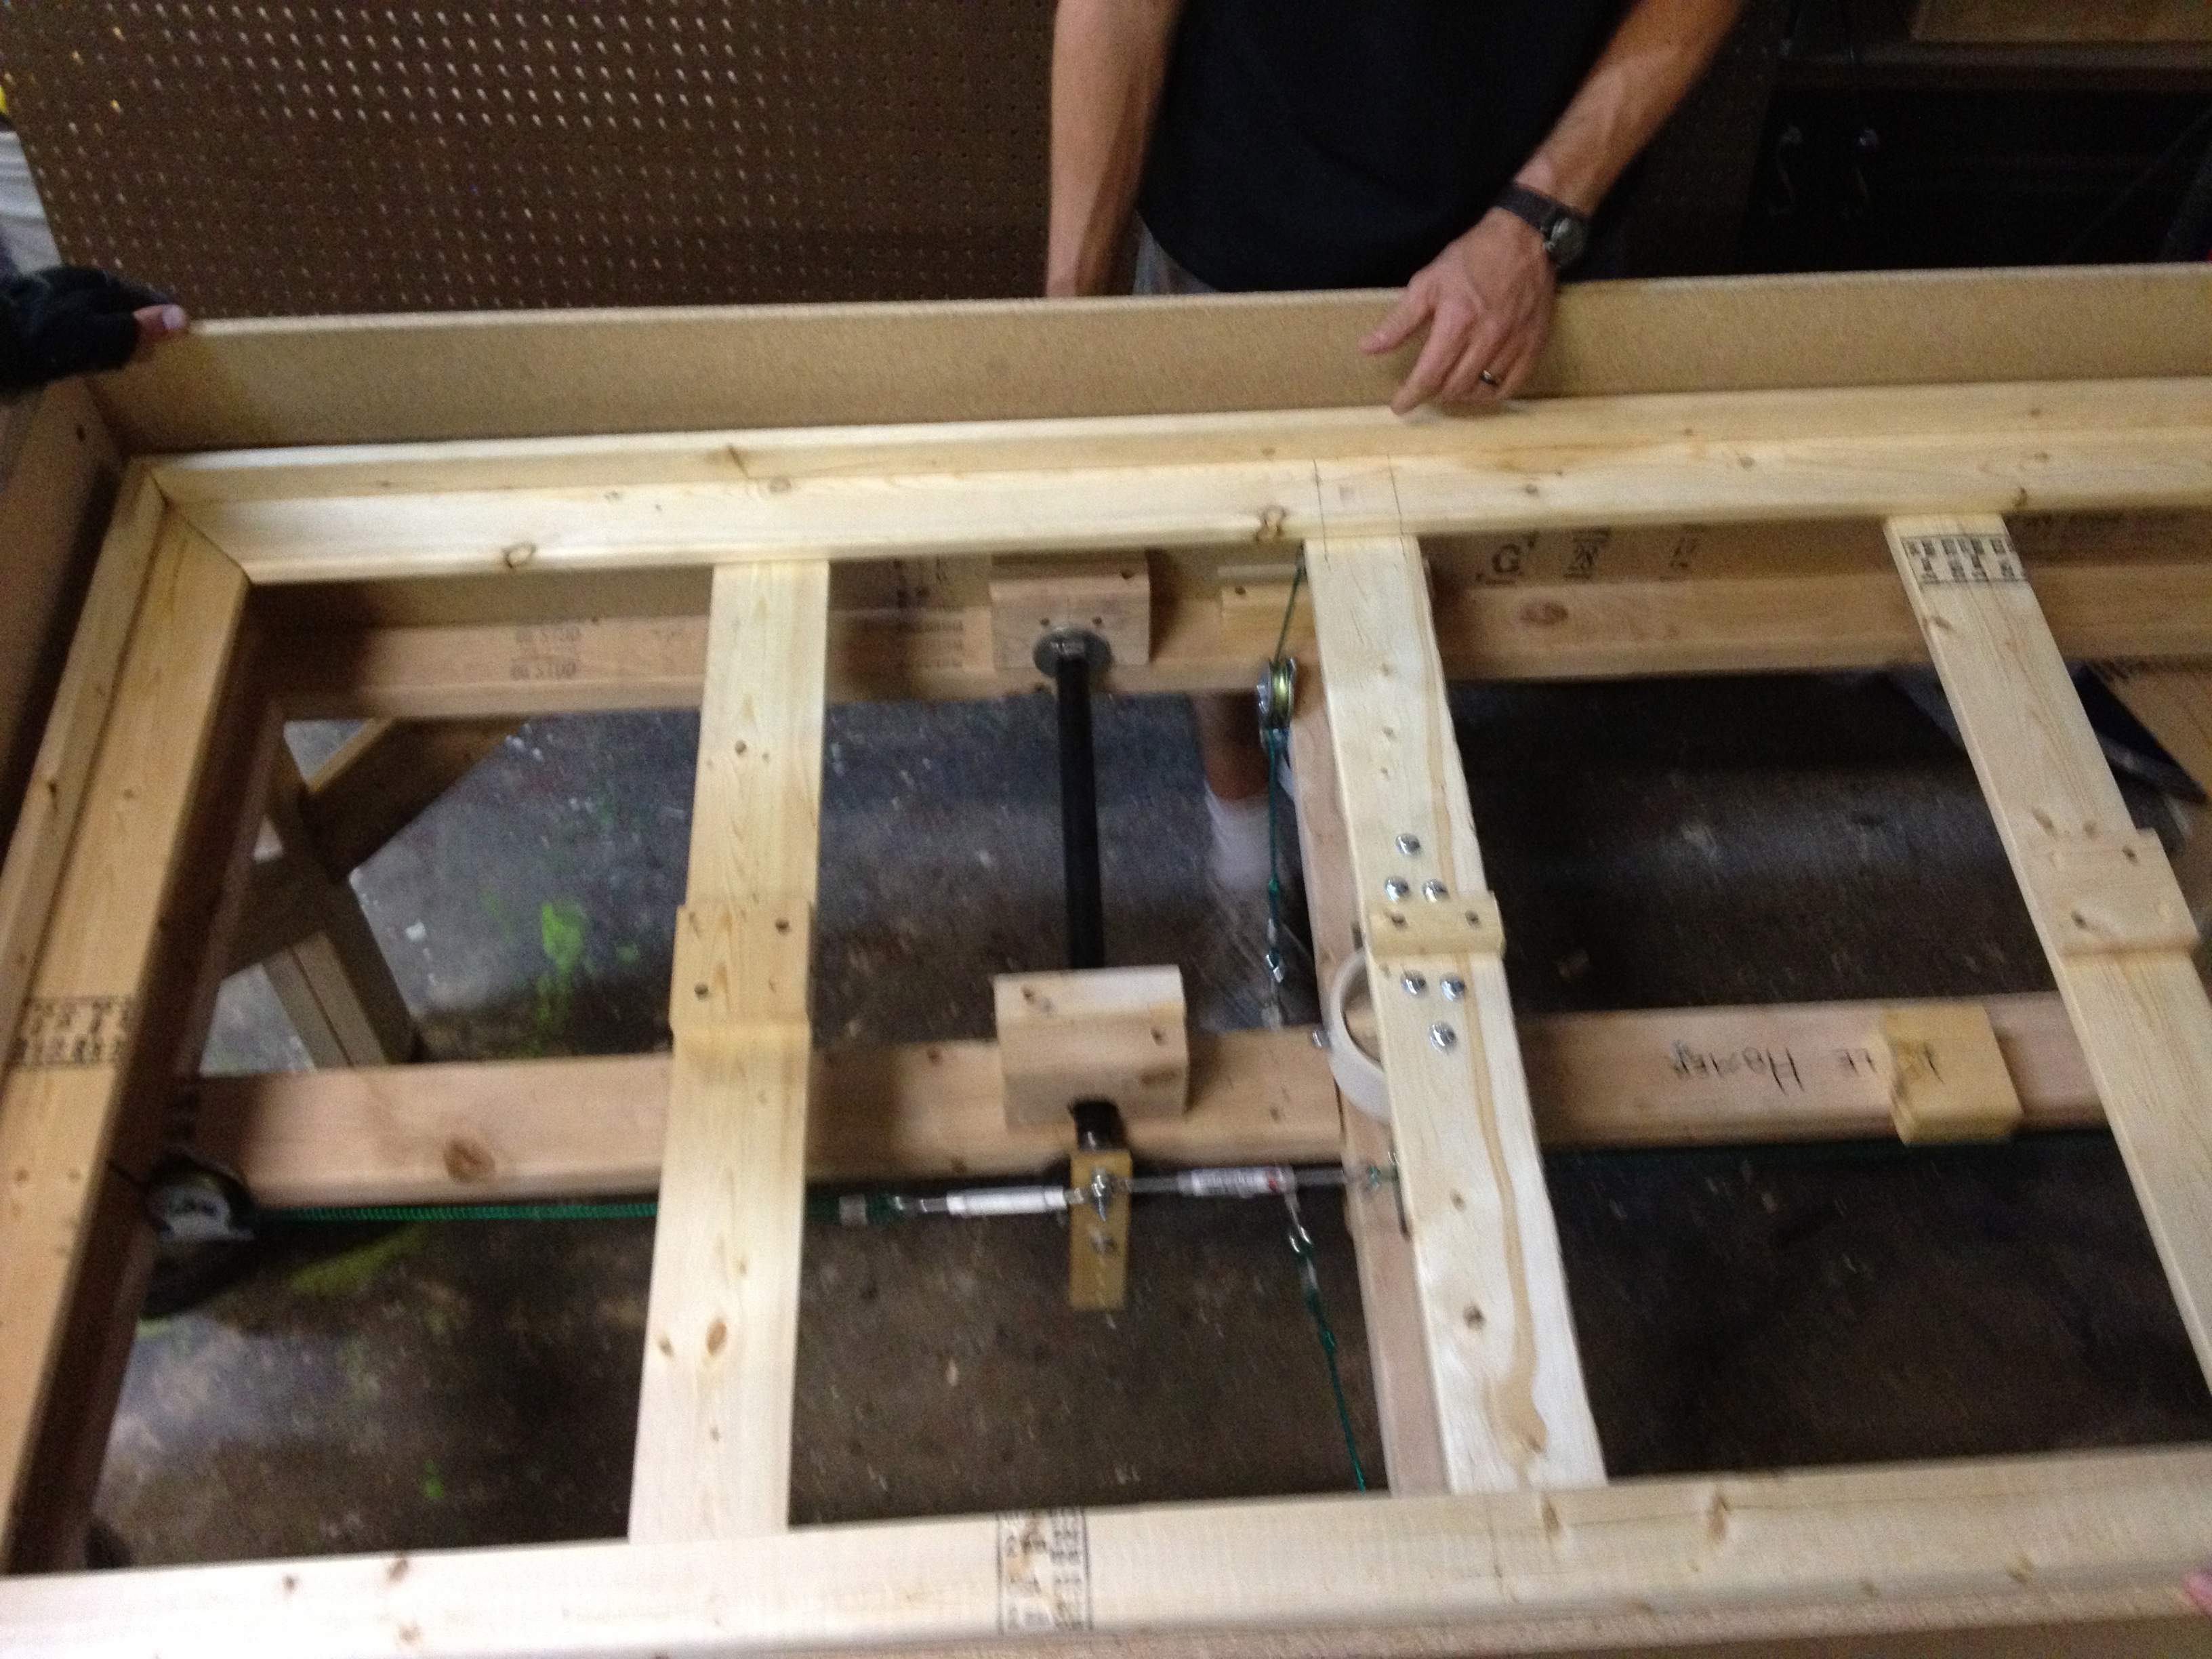
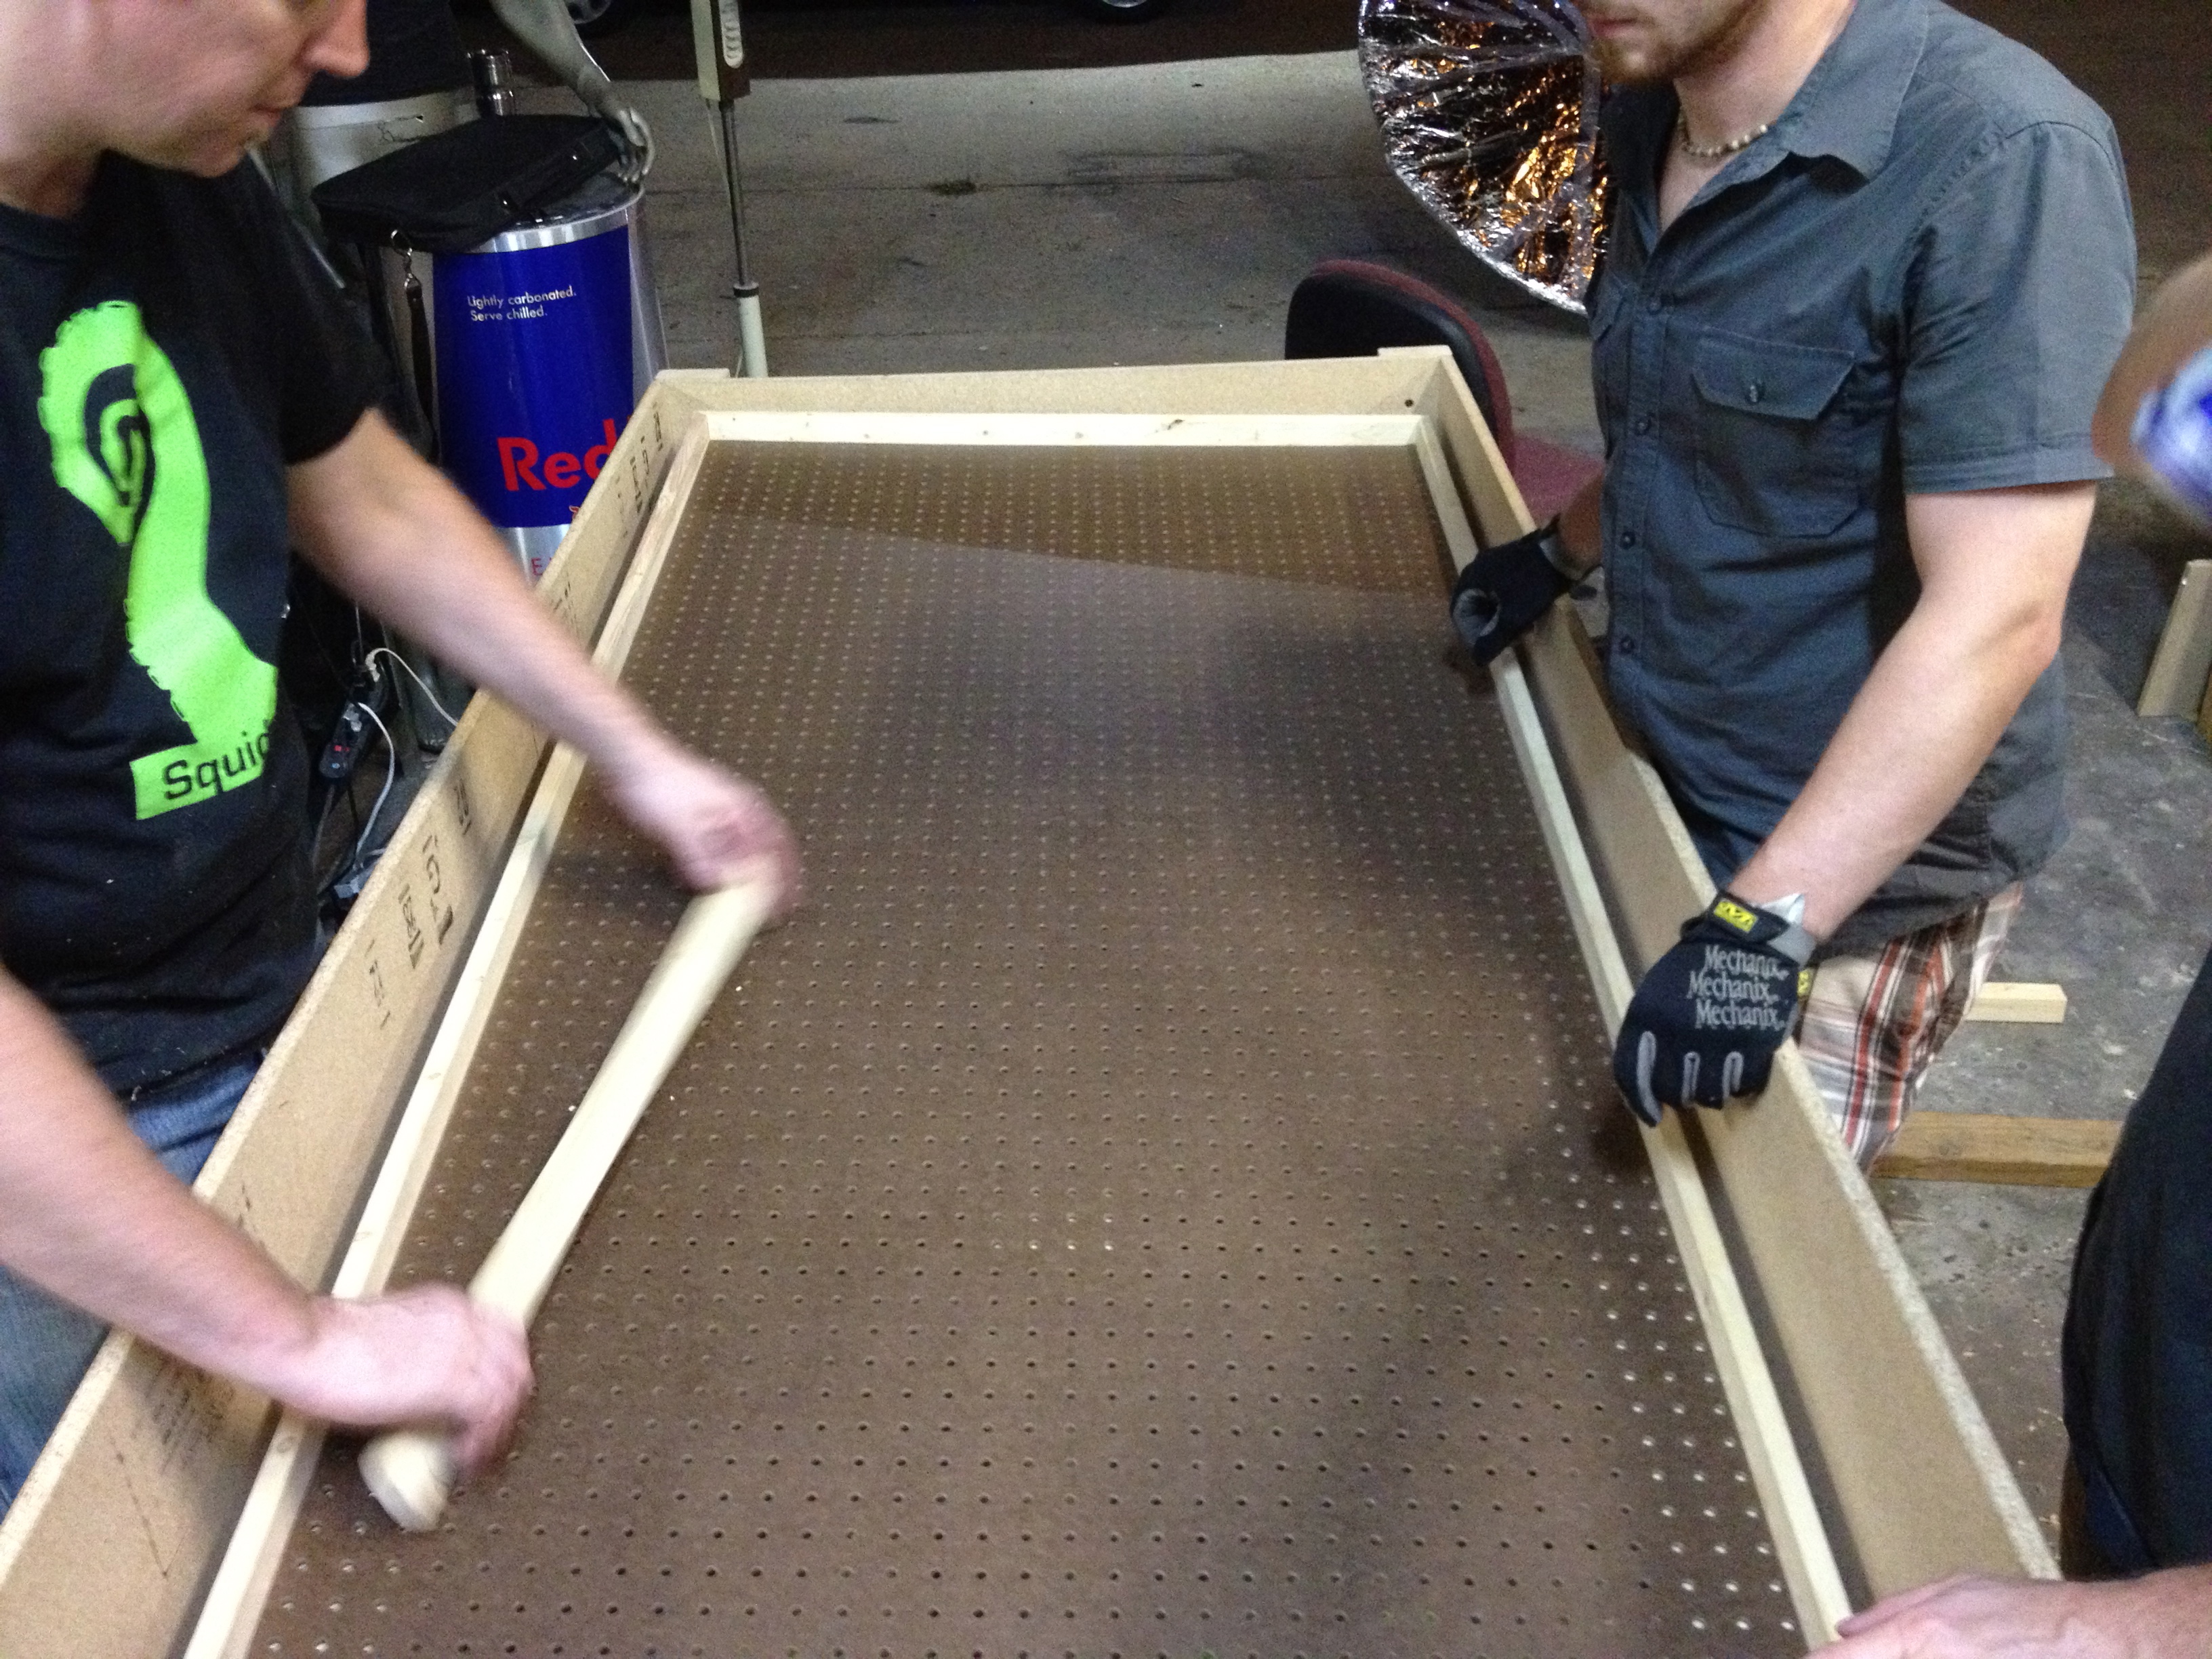
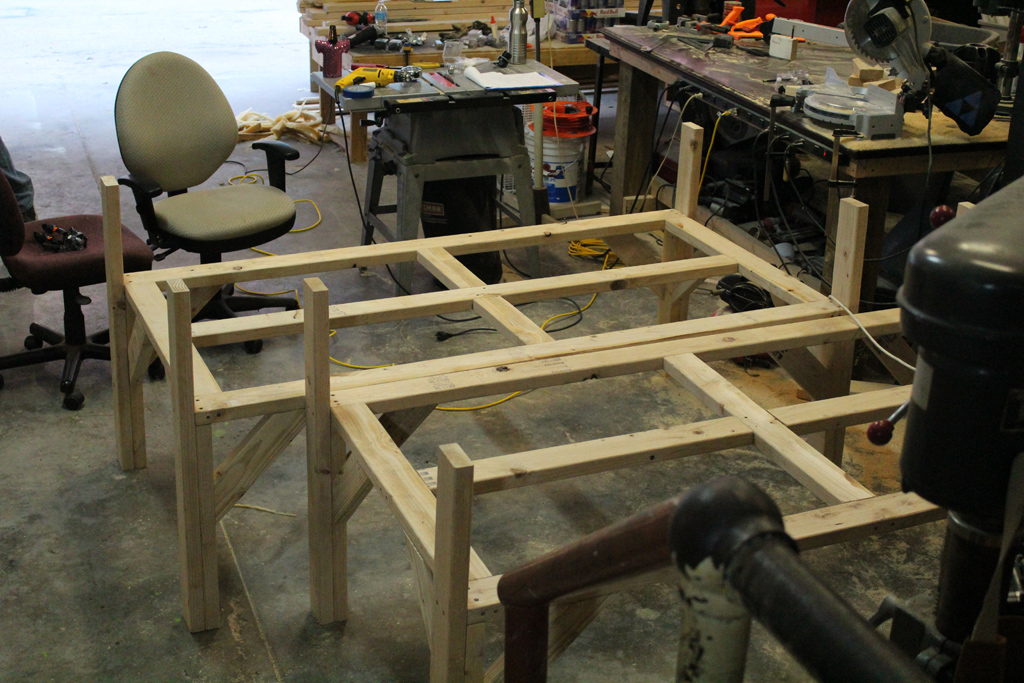
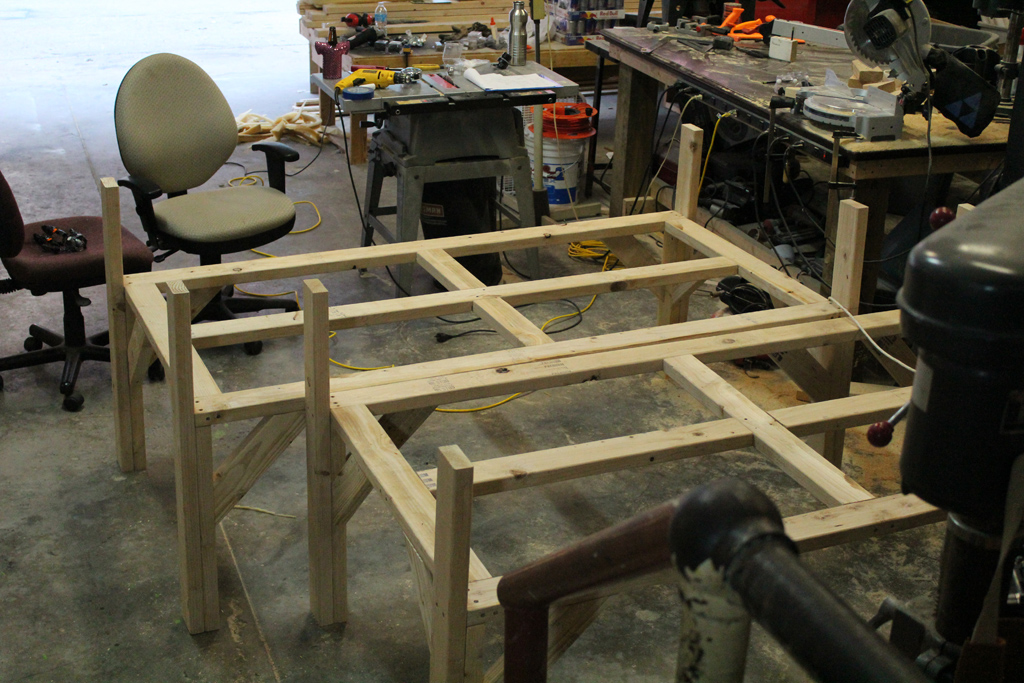
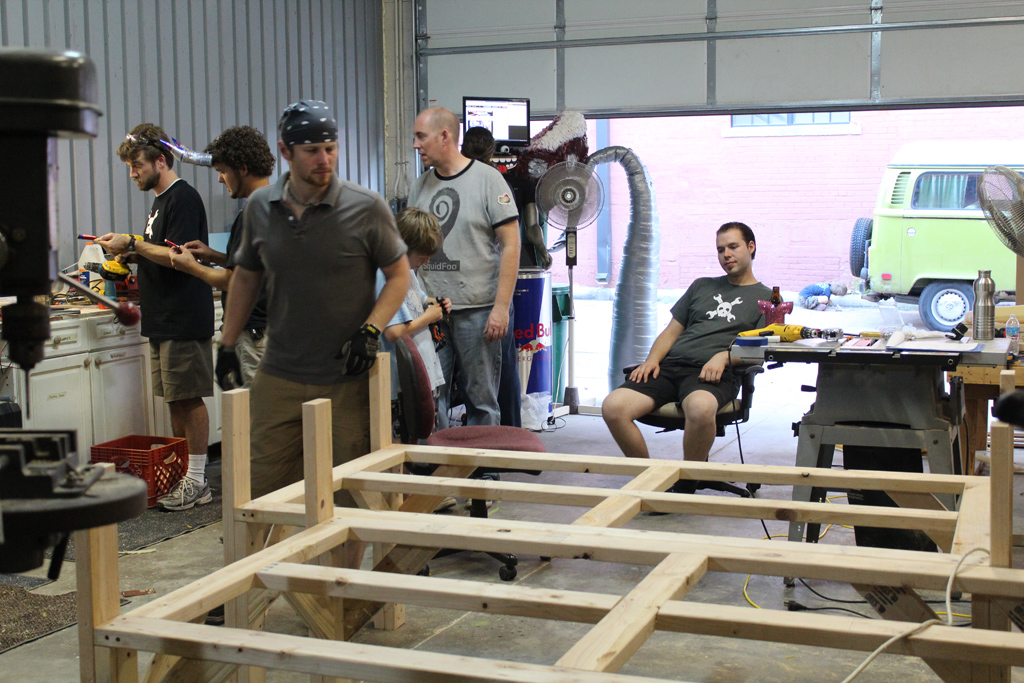
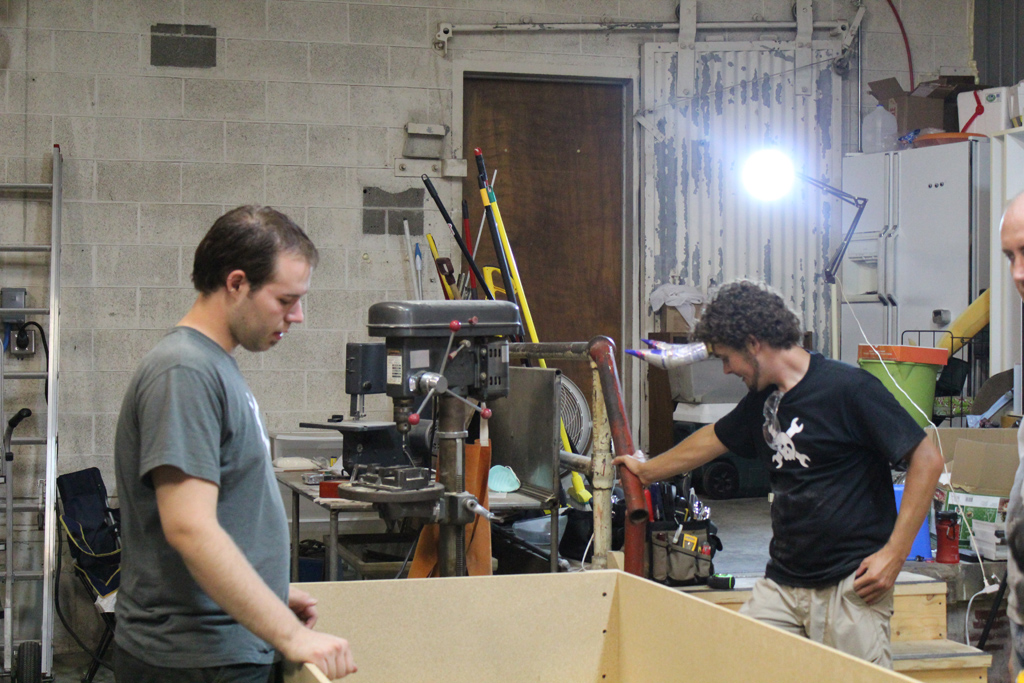
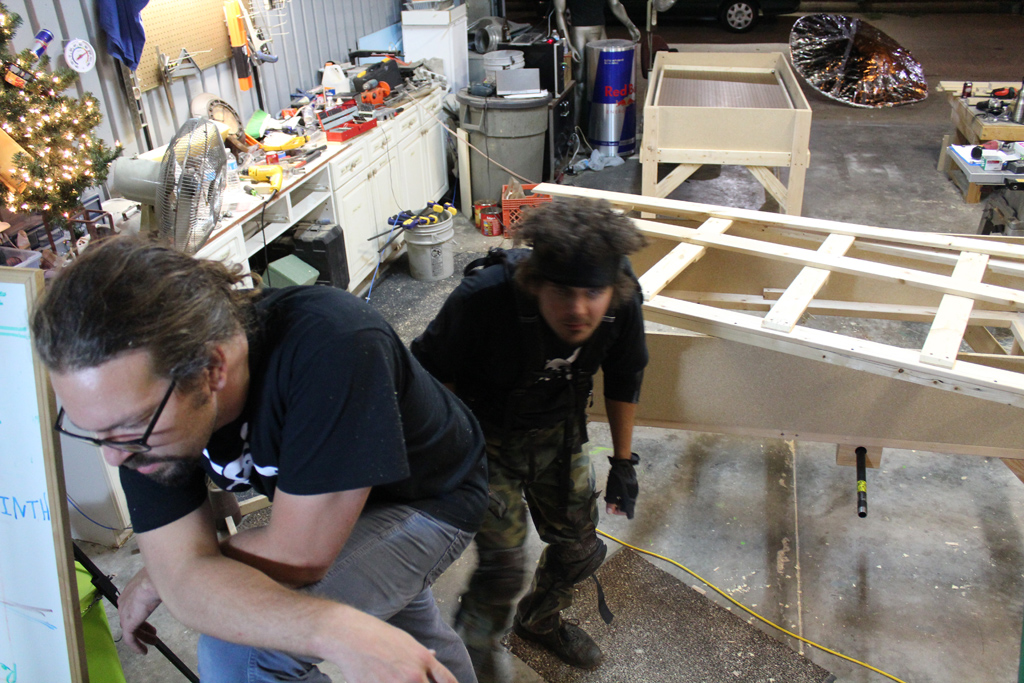
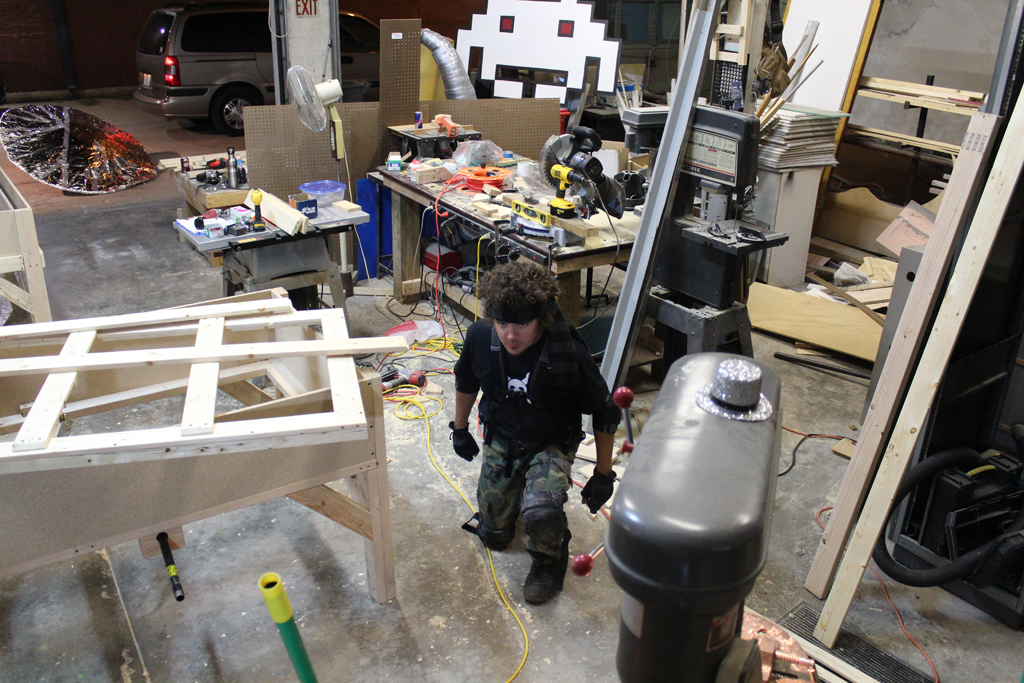
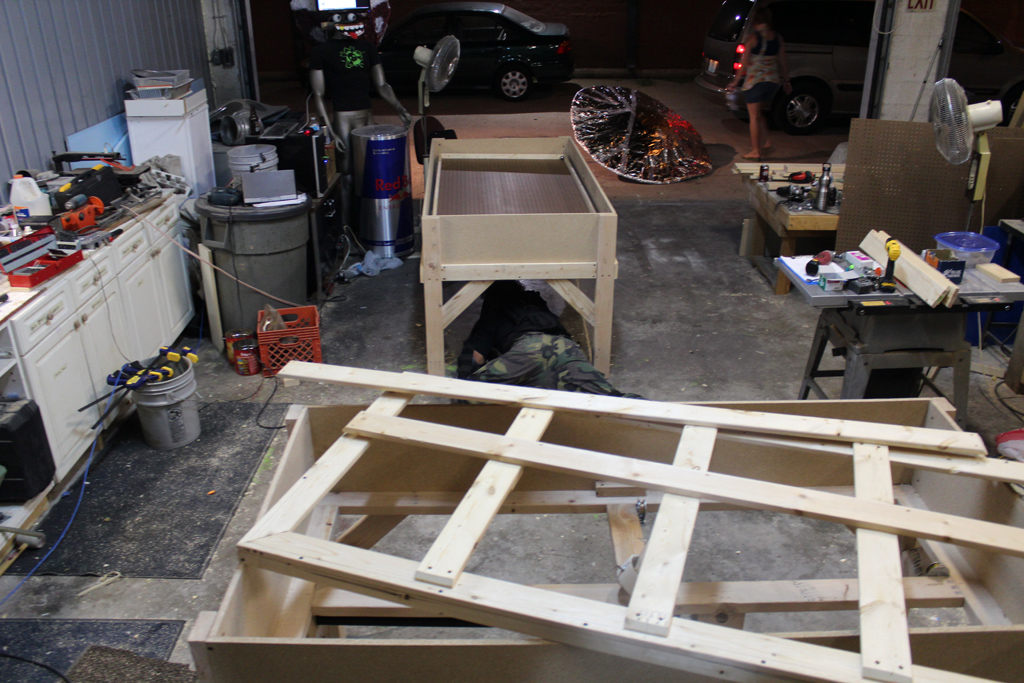
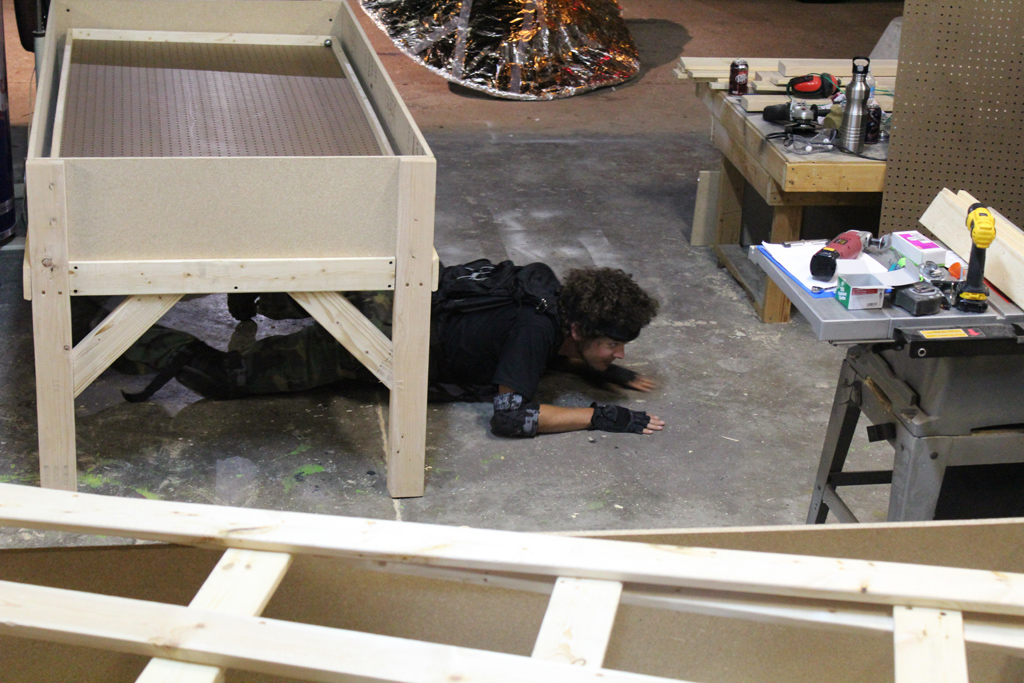
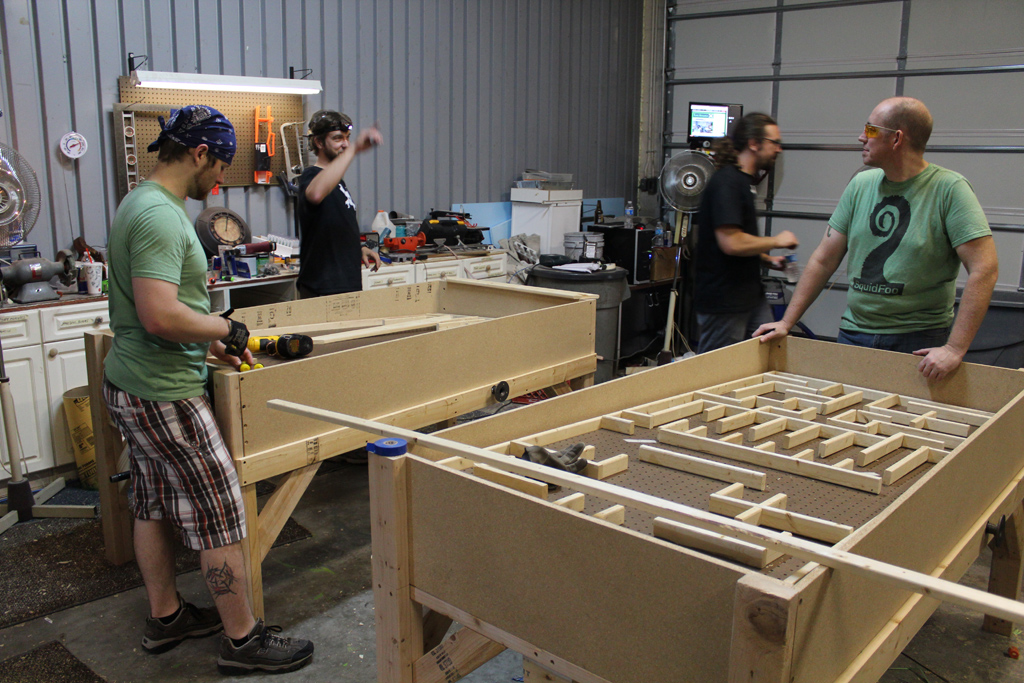
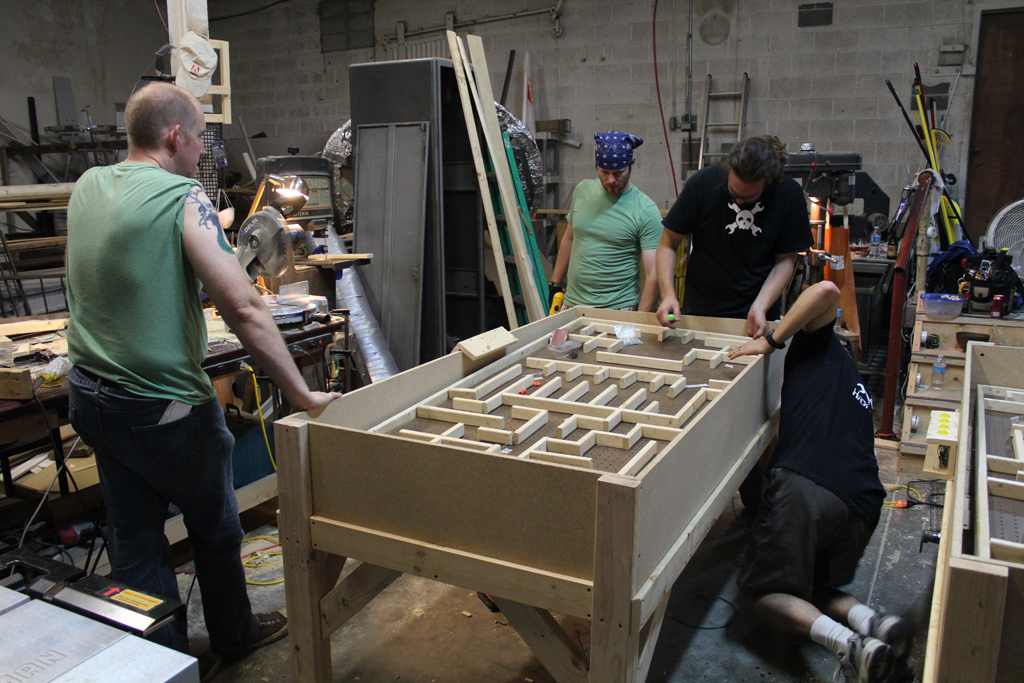
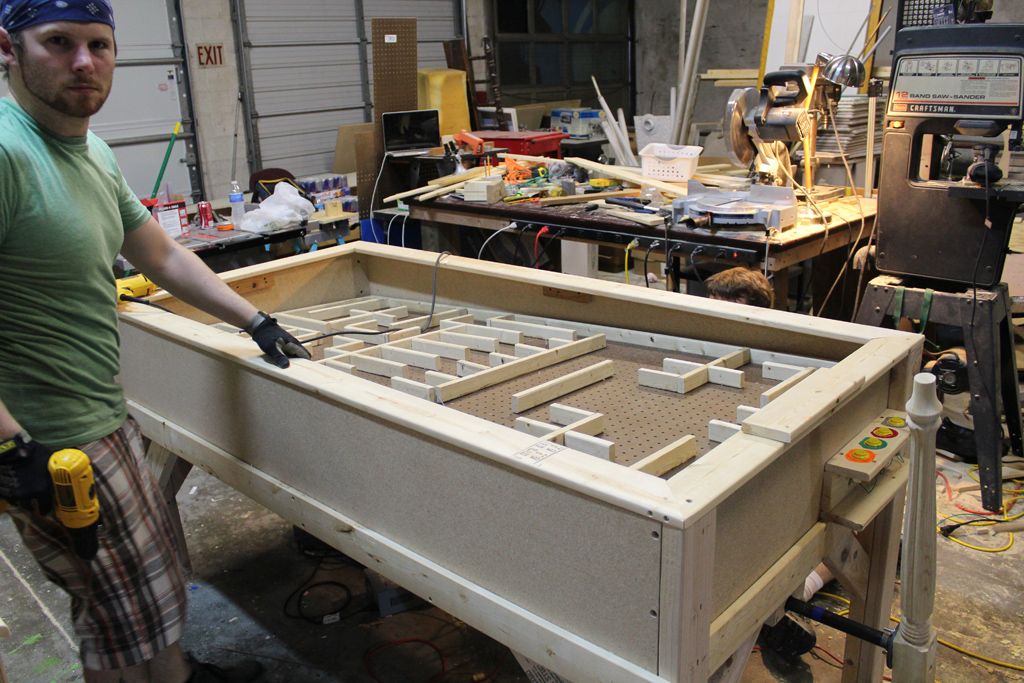
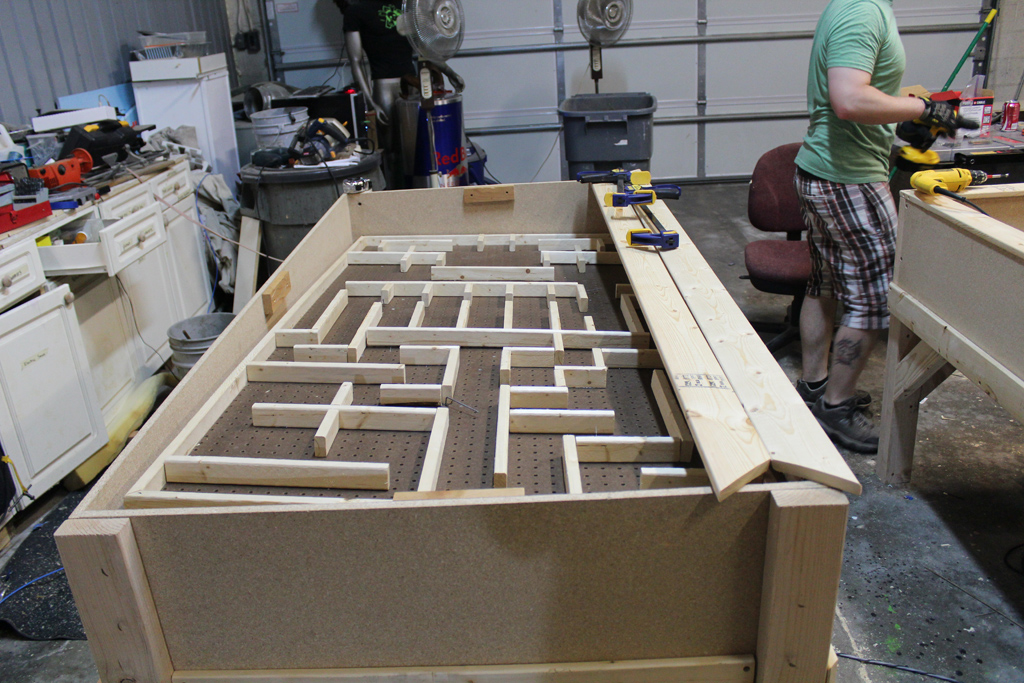
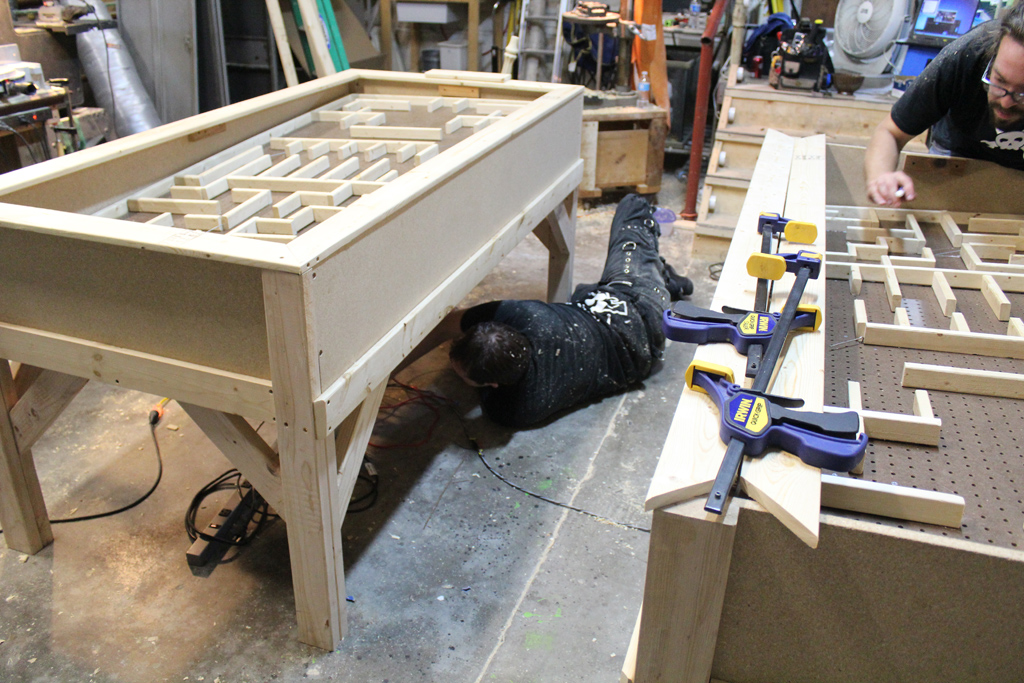
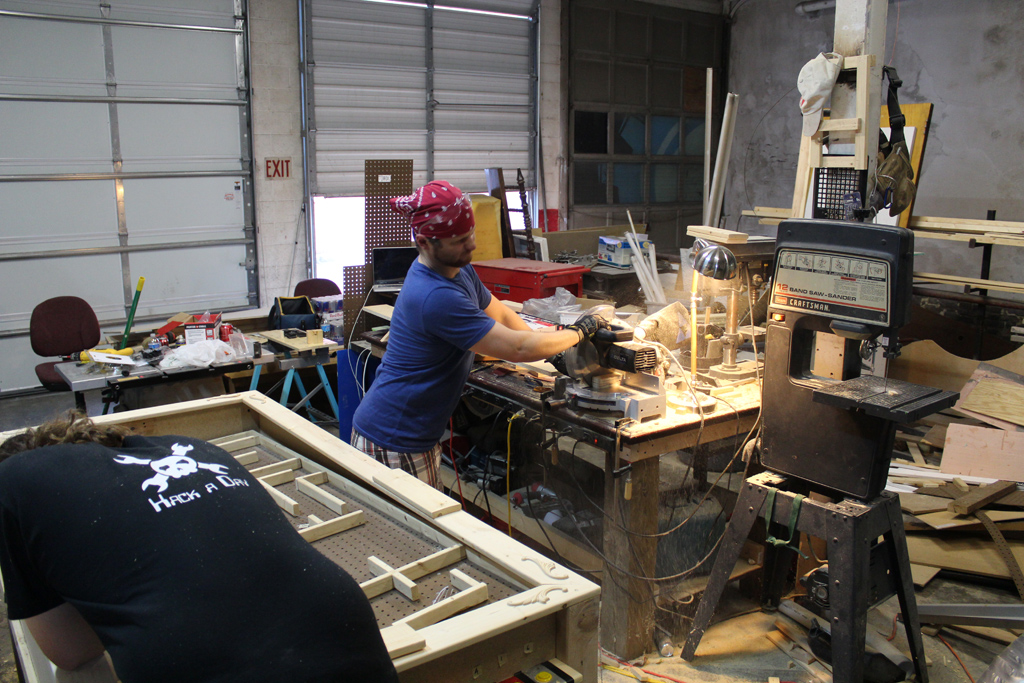
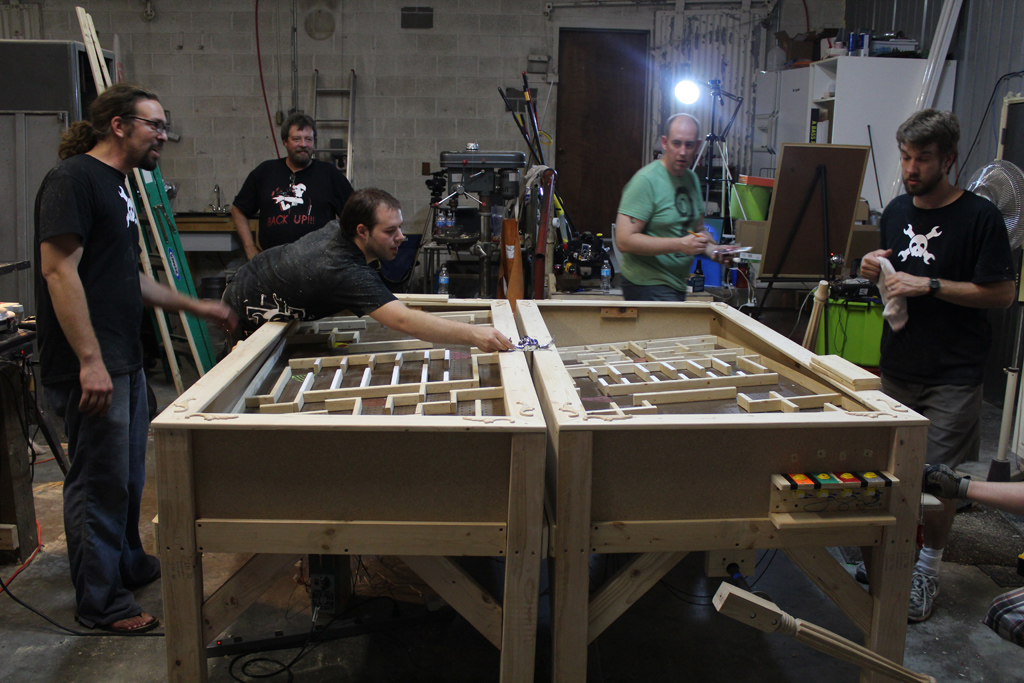
The basic construction began with a sturdy frame. Built mainly from plywood and MDF, the frame had to be strong enough to handle the weight of the table, the banging from the people playing it, and the possible effects of shipping.

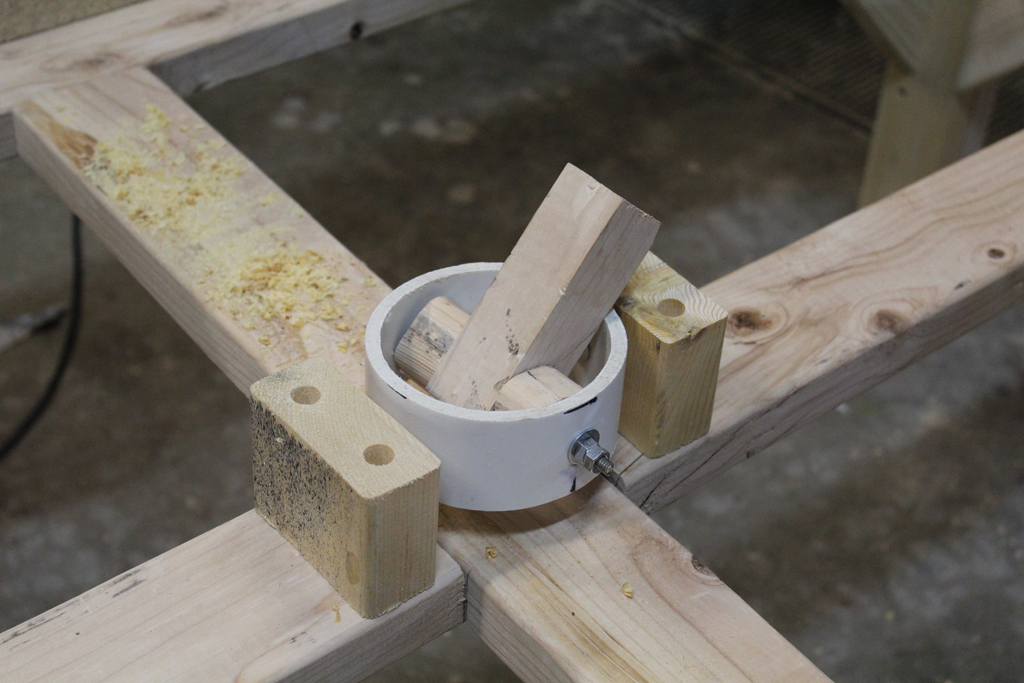
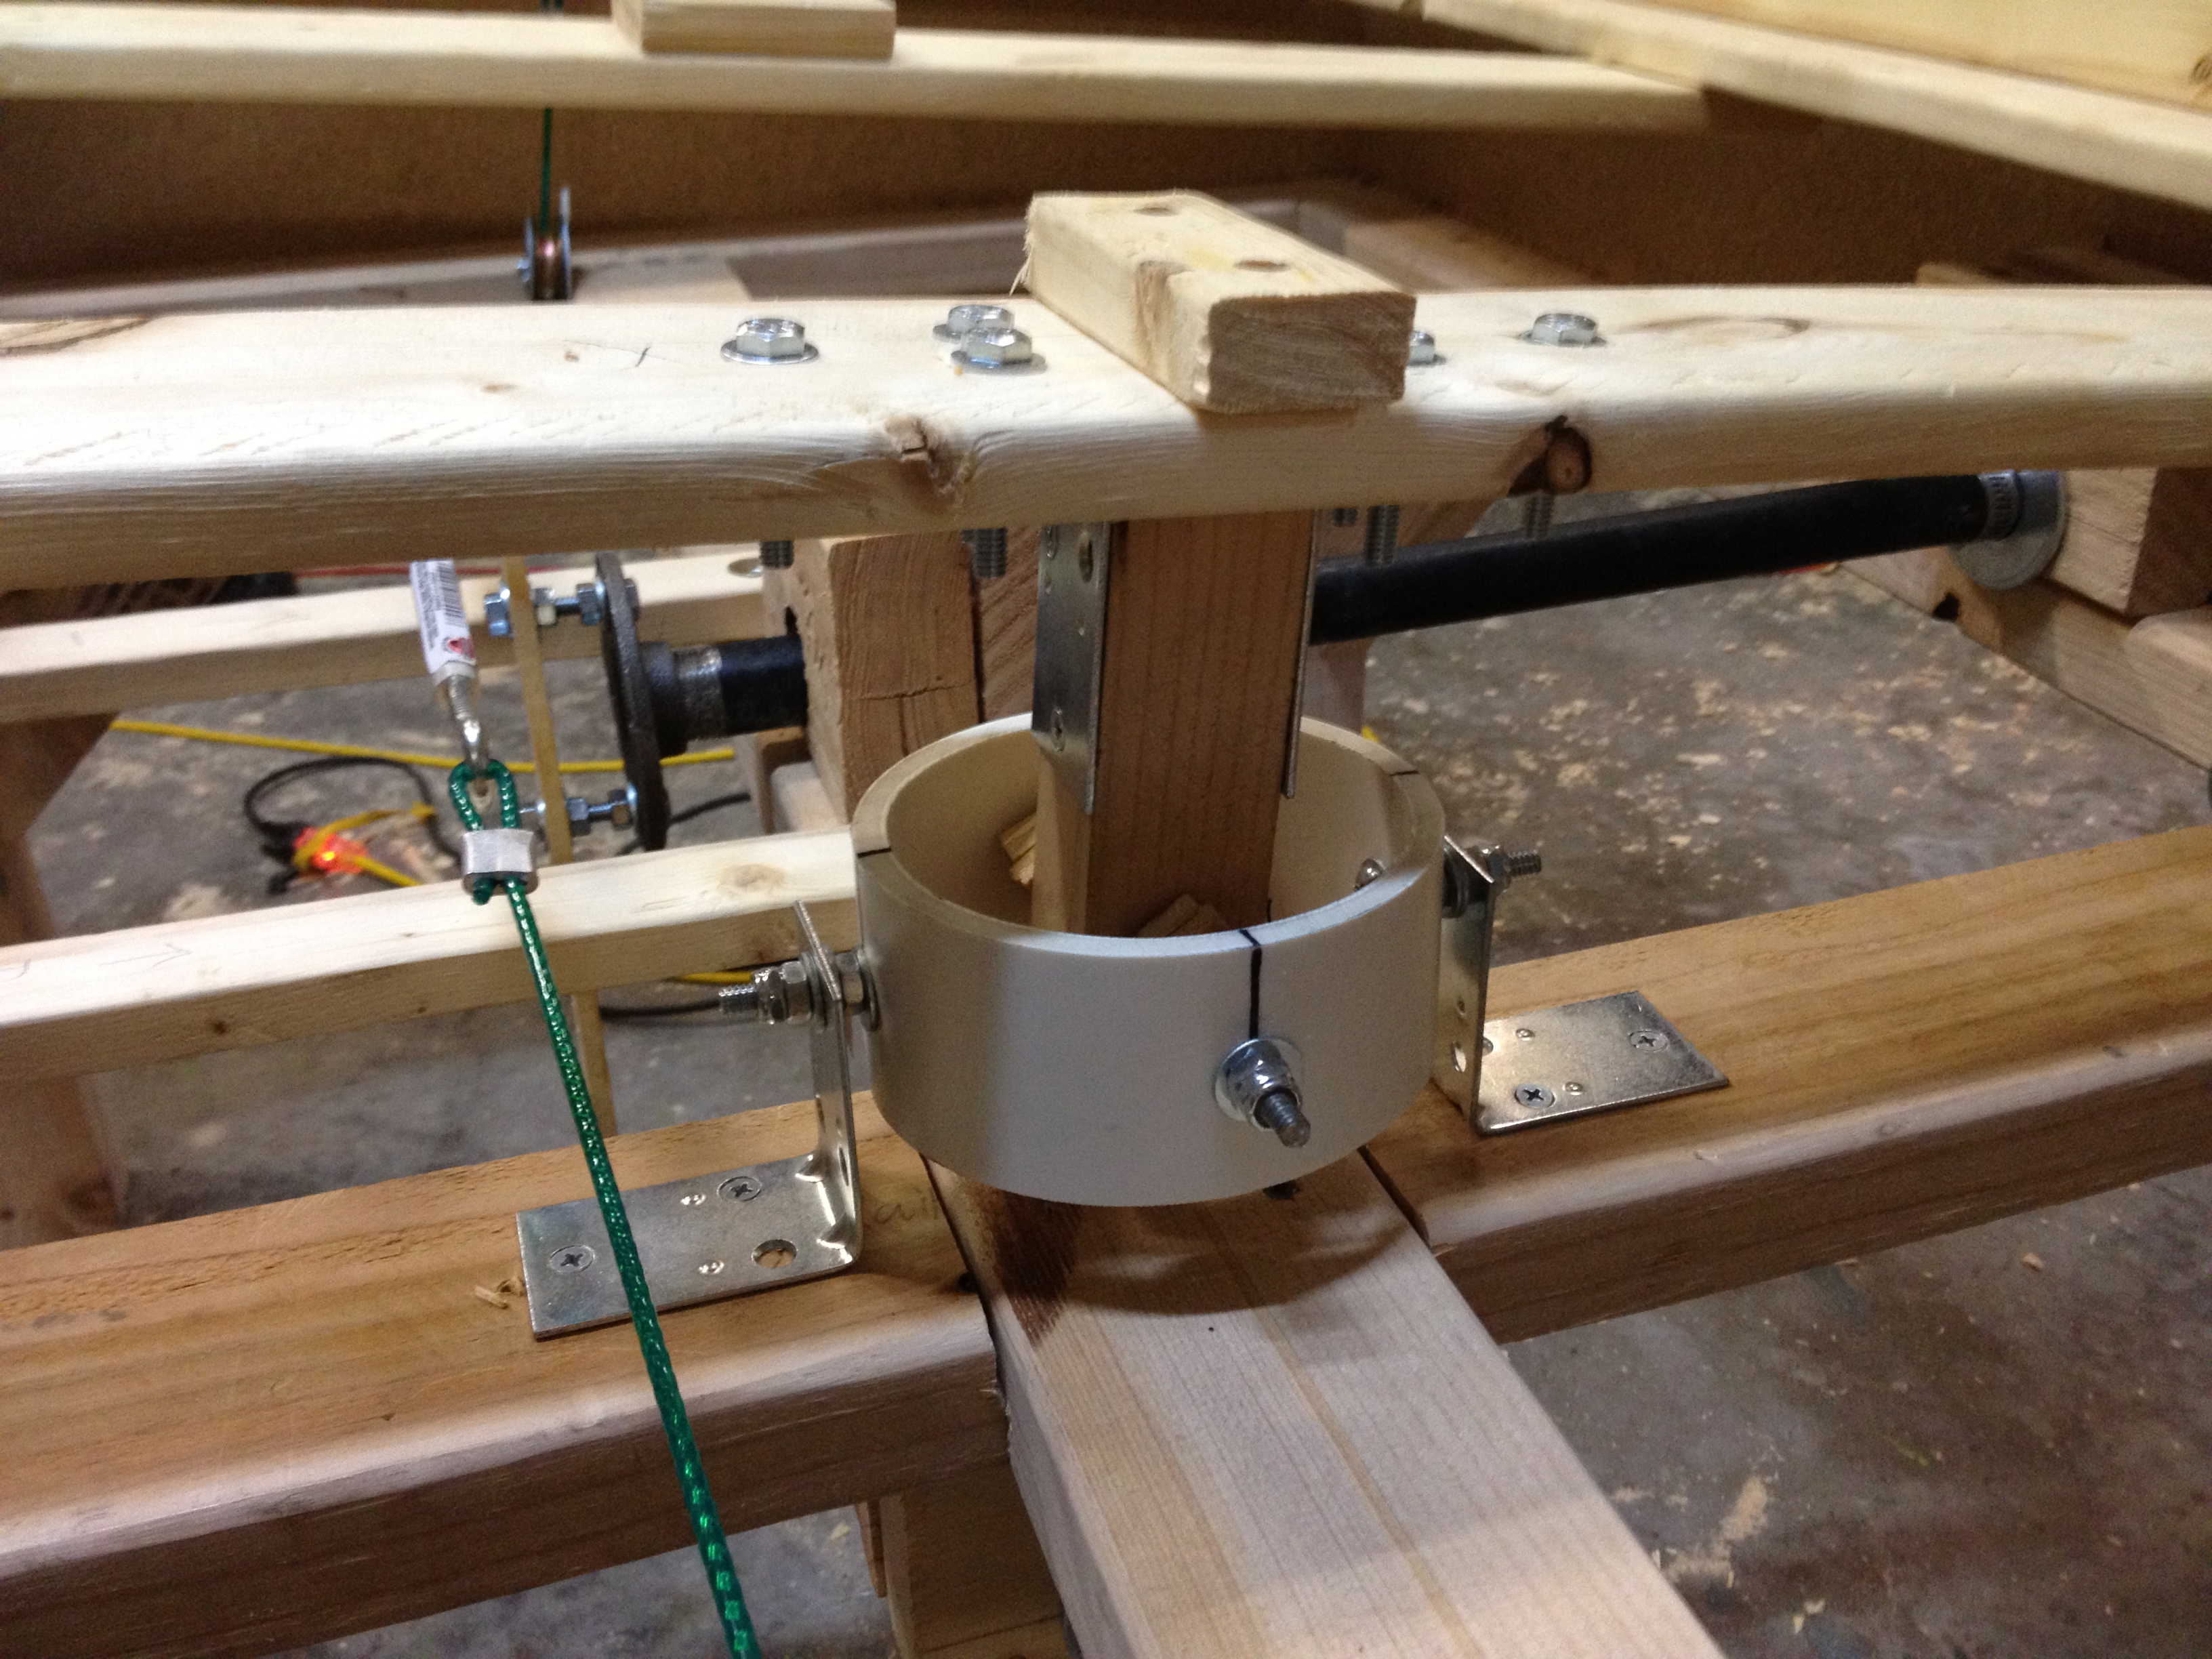
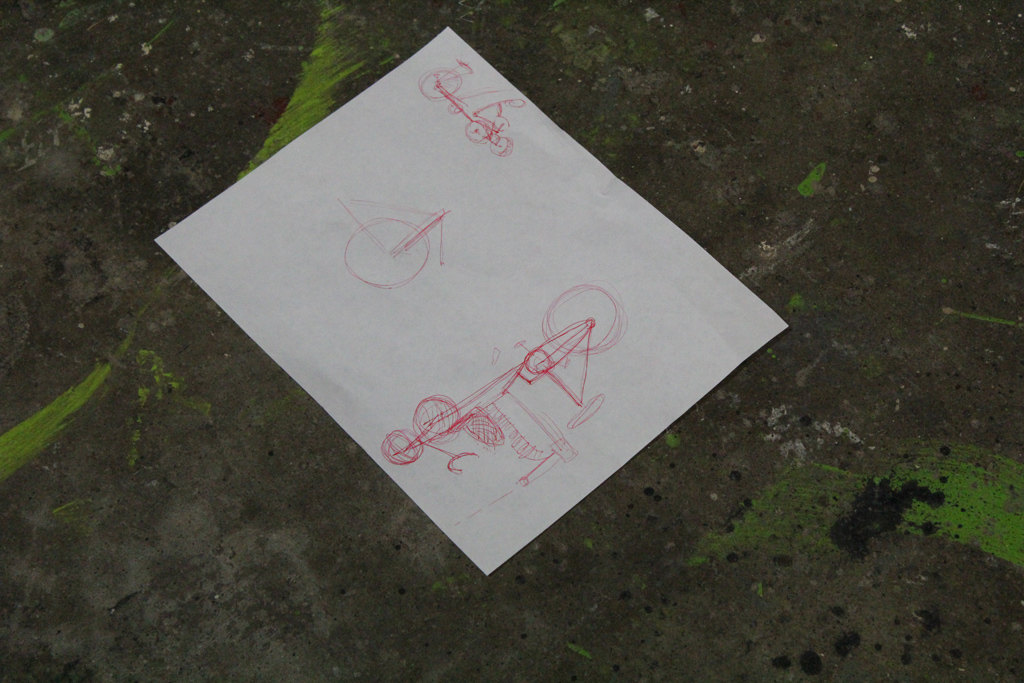
The “play field” had to be able to rotate on x and y axis just like the table top versions. We looked at how some of those are constructed and ultimately decided to go with a two part system. Theres a gimbal at the central point of the table to act as a pivot and a cable system to pull the sides the direction we need them to go. The gimbal in the middle allows for the table to support even more weight and still have full x and y mobility.

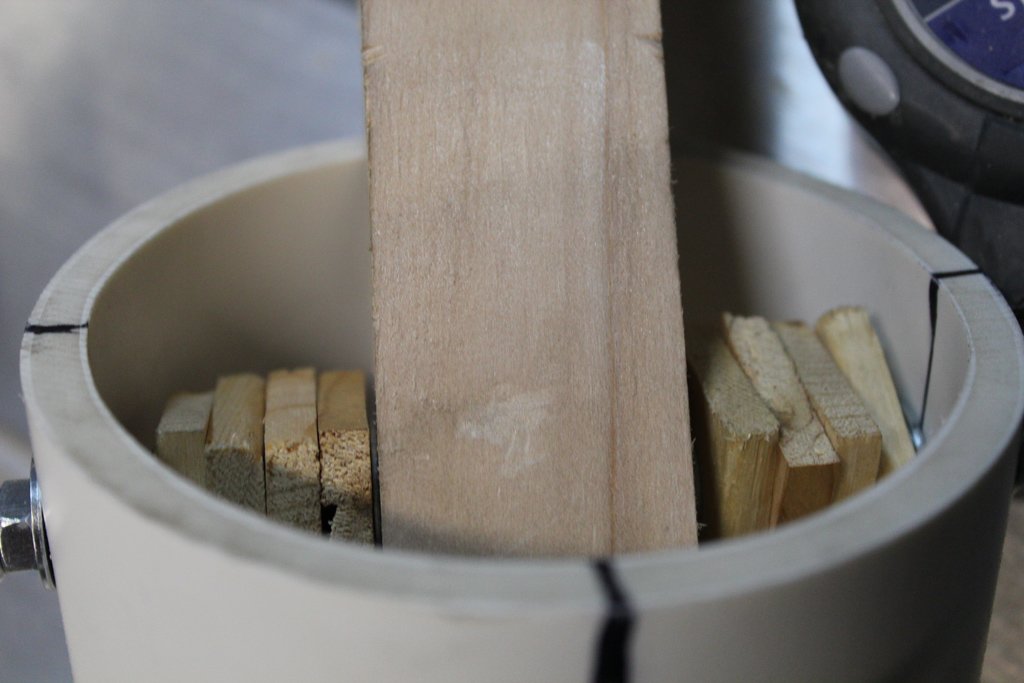
The gimbal is constructed from a single piece of 4 inch PVC. We simply drilled 4 opposing holes in the PVC and used those as our hinge points. As you can see in the picture, this gave us more of a range of motion than we needed.

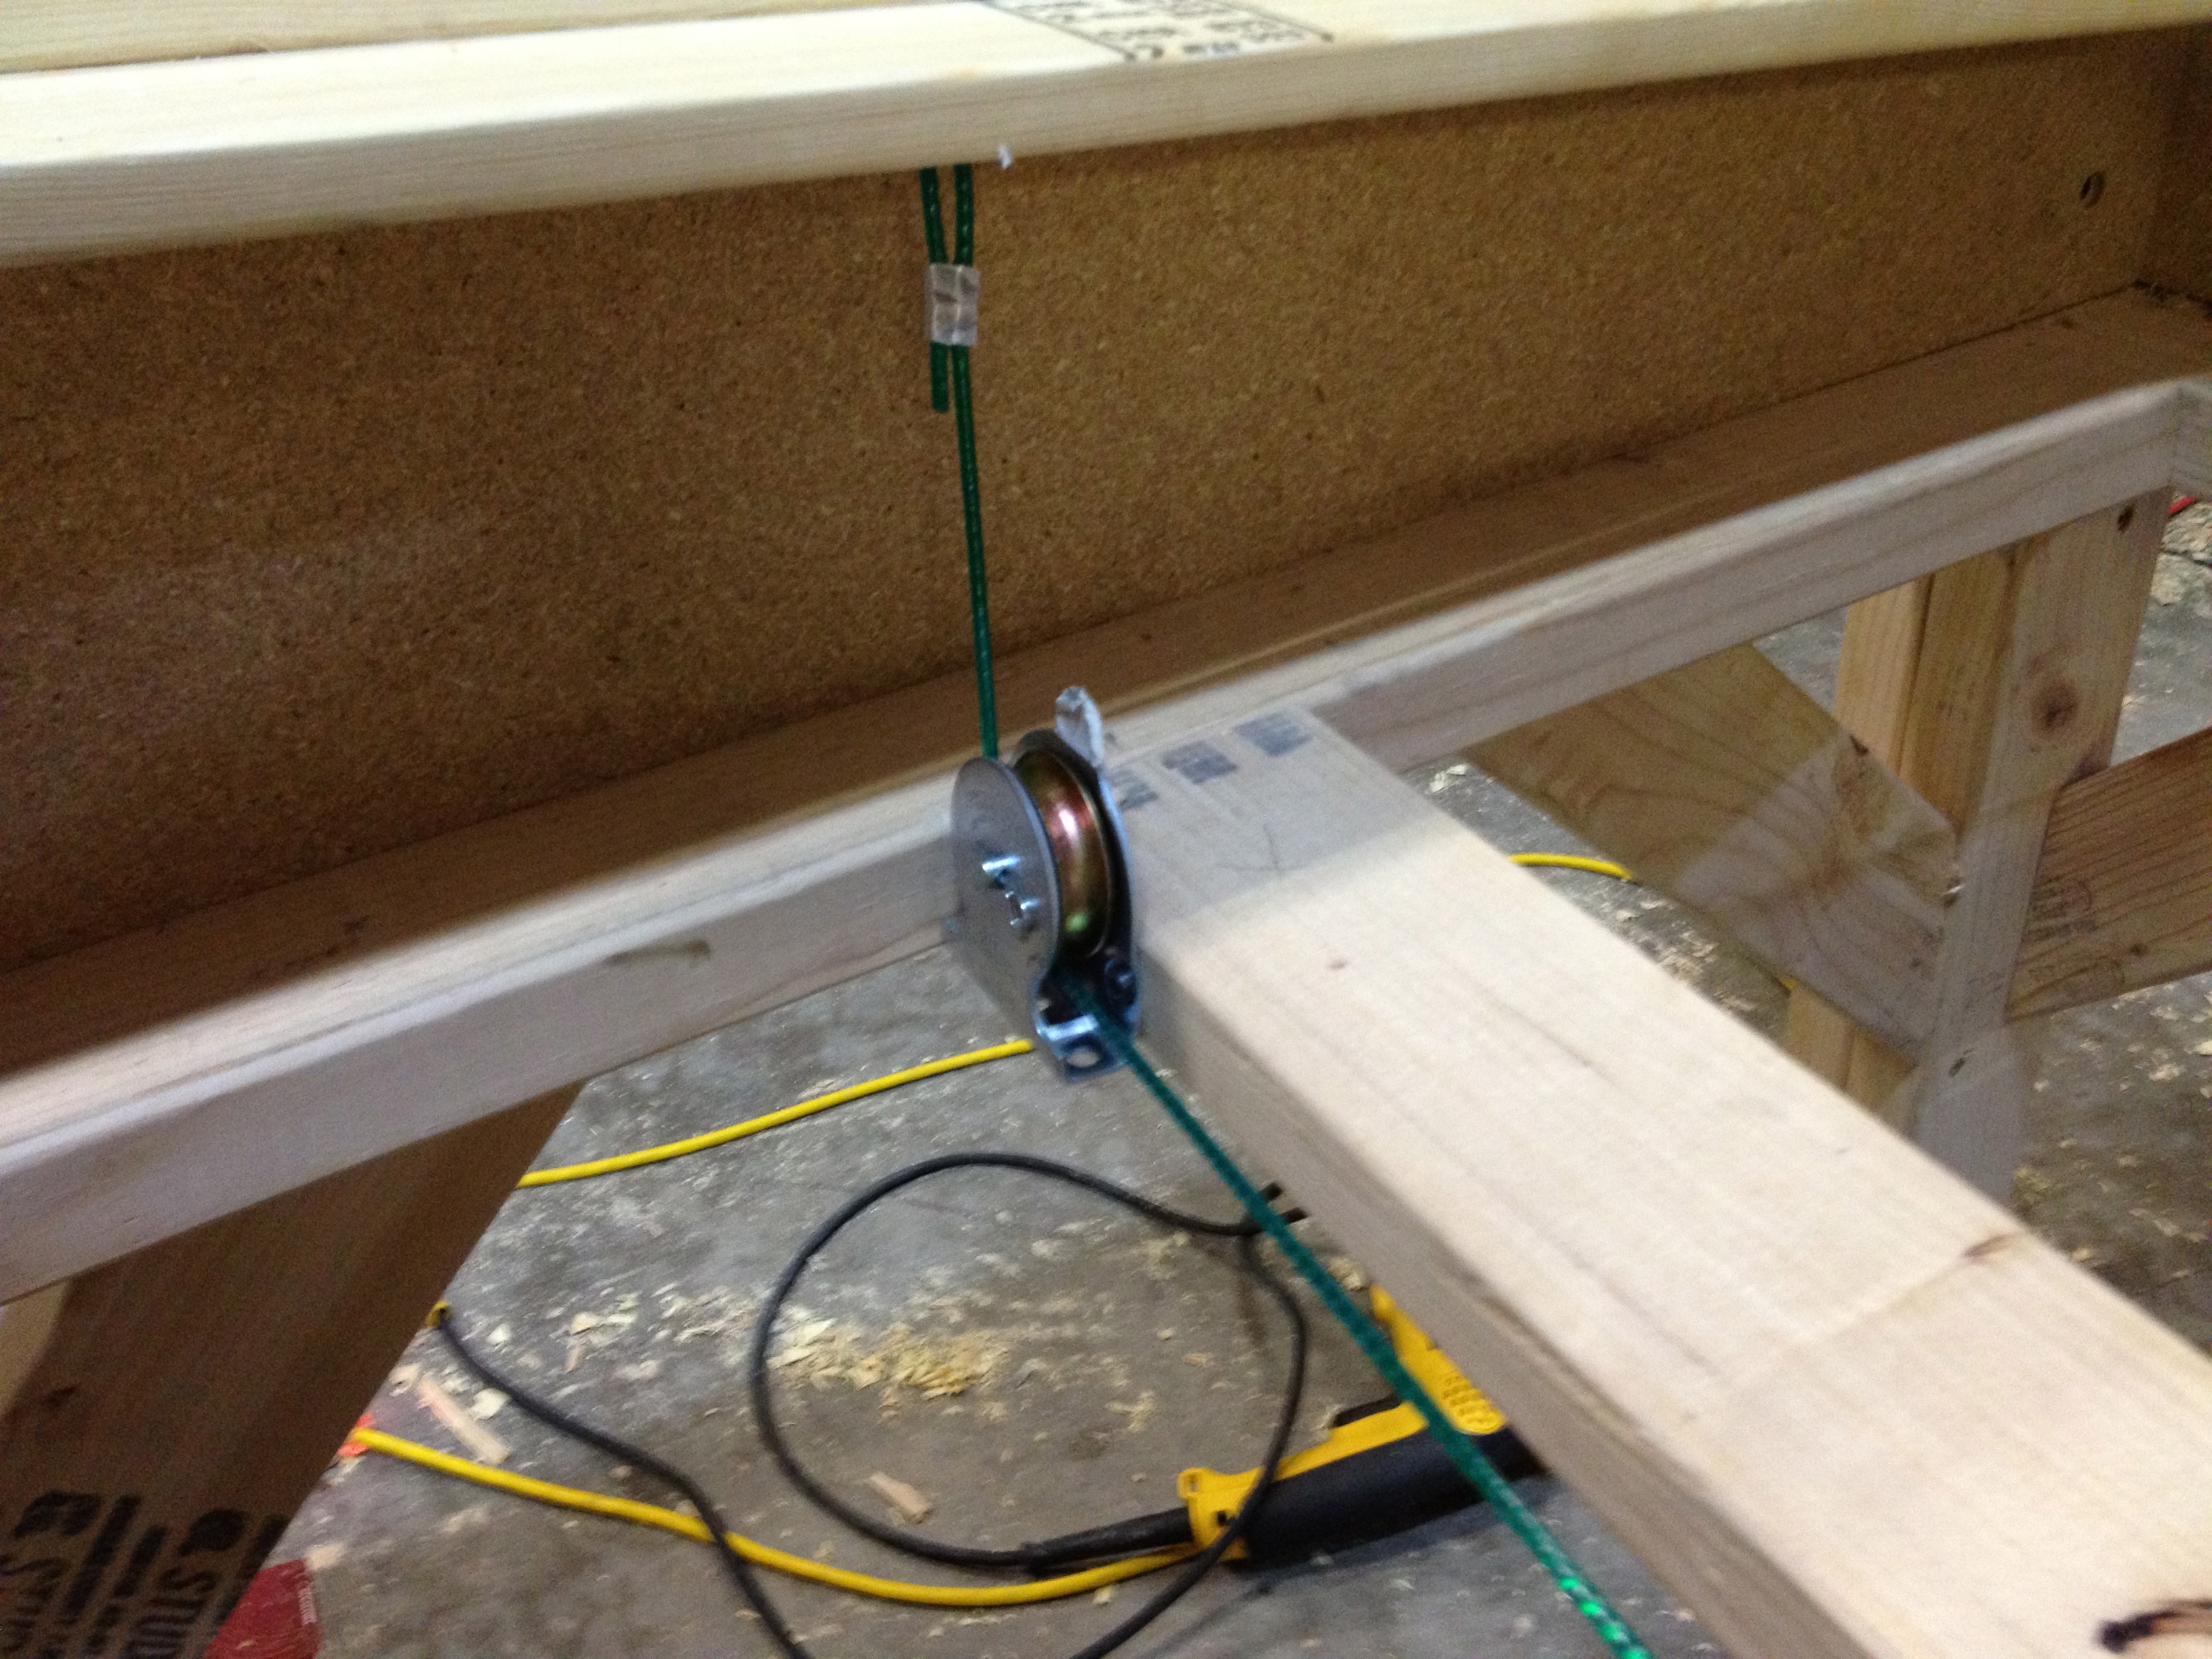
Controlling the X and Y axis was done by a simple pulley system. We had a shaft connecting our lever to a central point where some vinyl coated clothesline attached. This then went through a pulley and out to the center of the table on each axis. When you turn the lever, the table tilts.

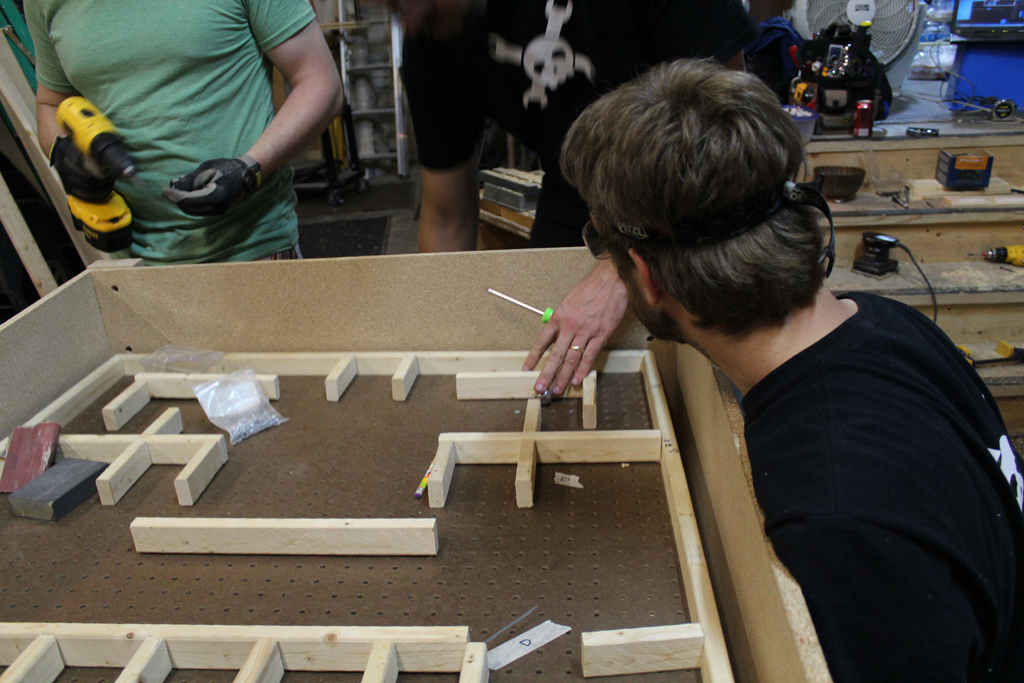
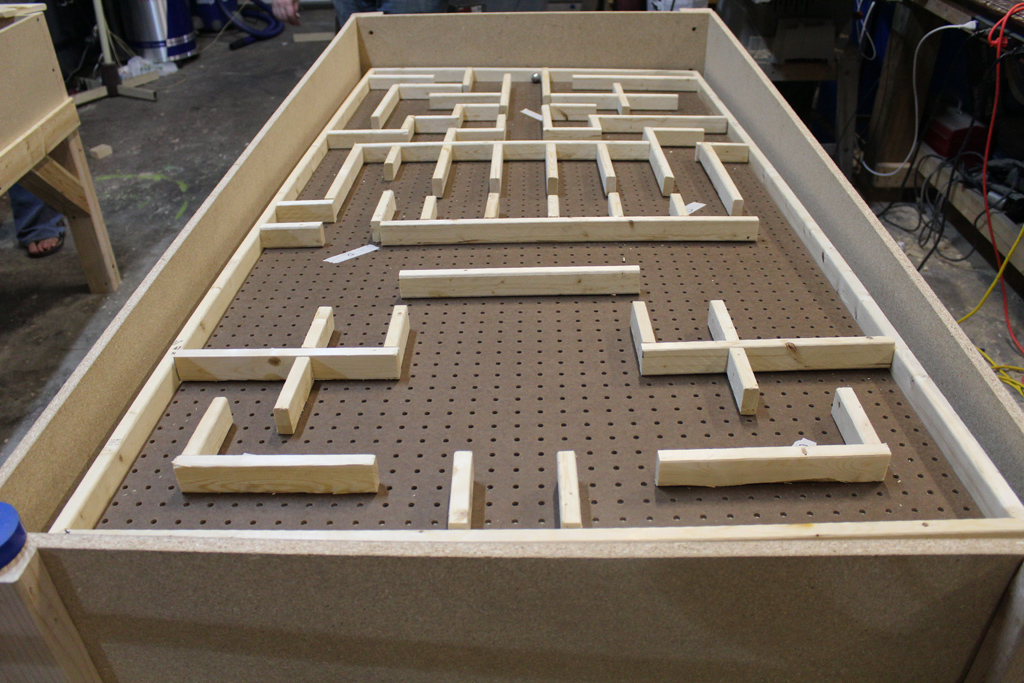
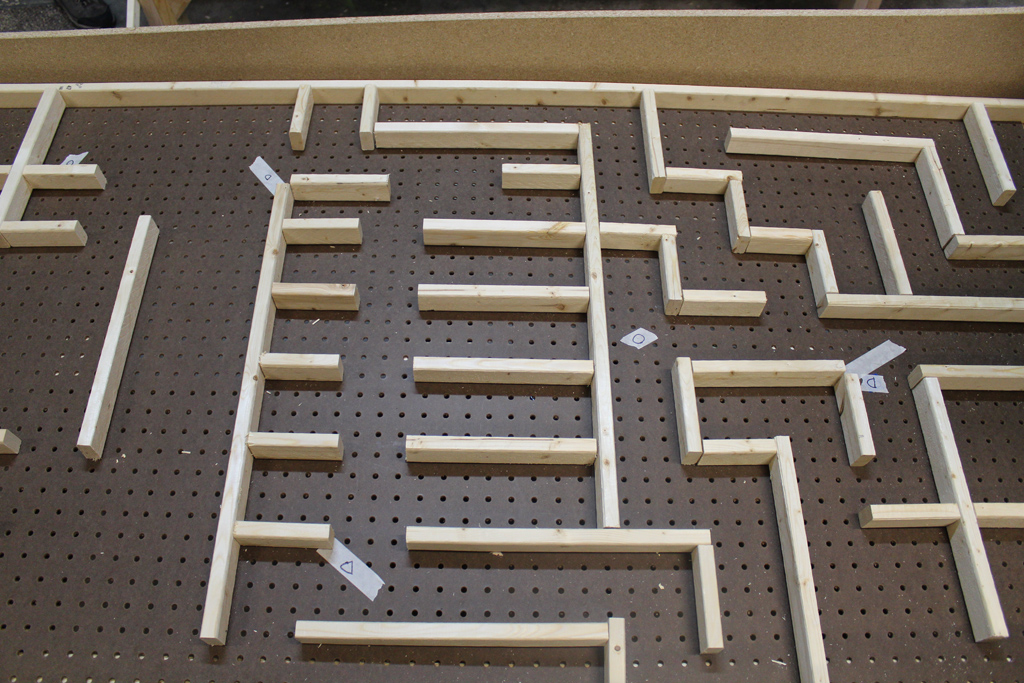
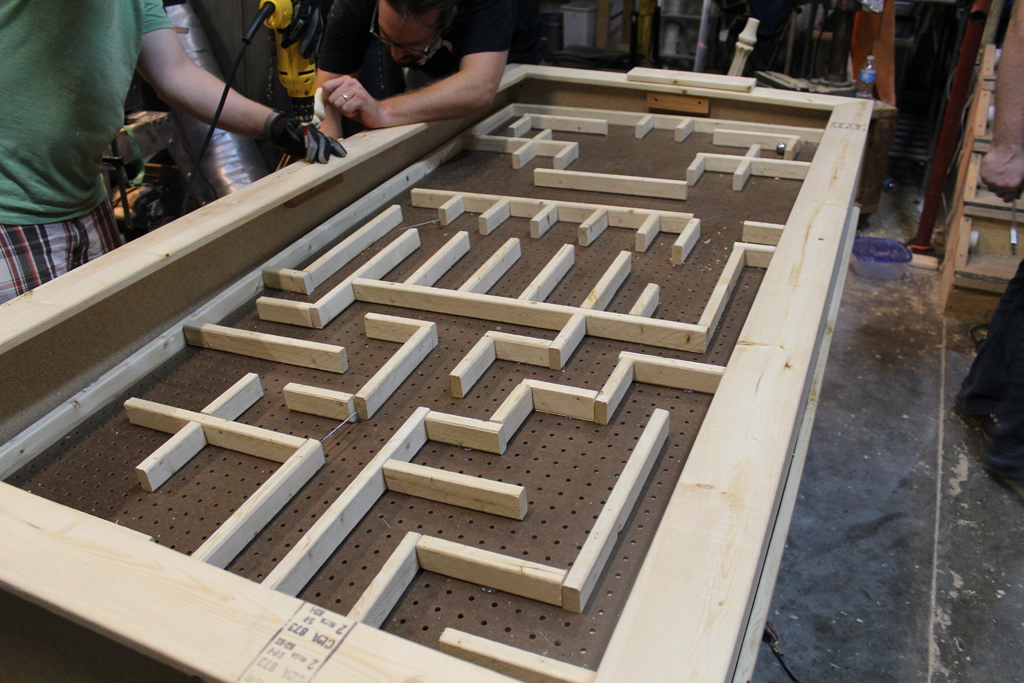
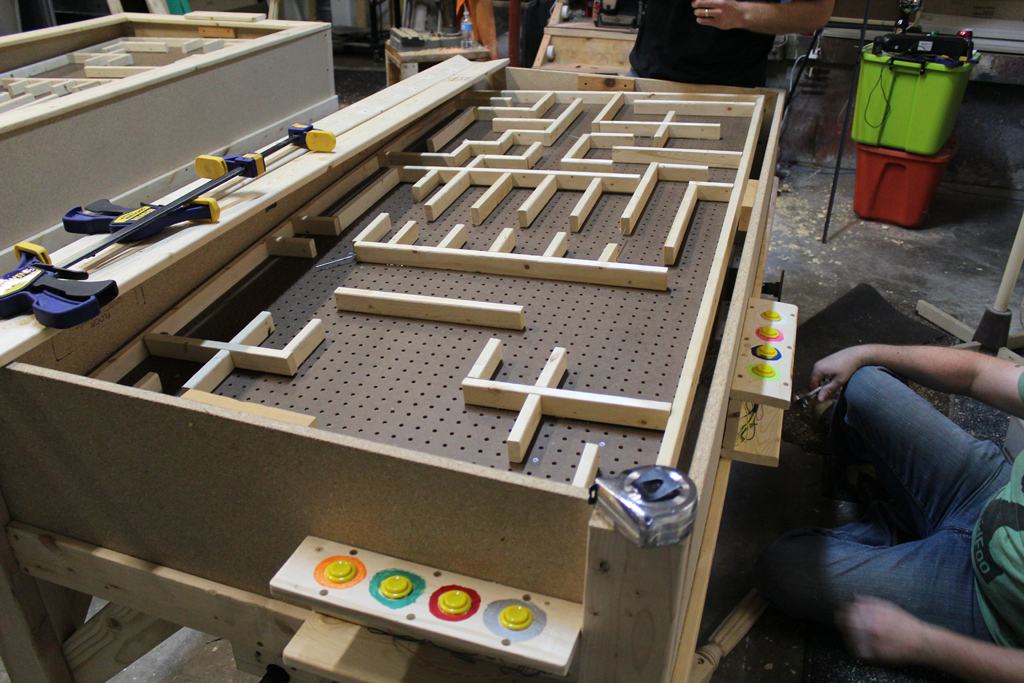
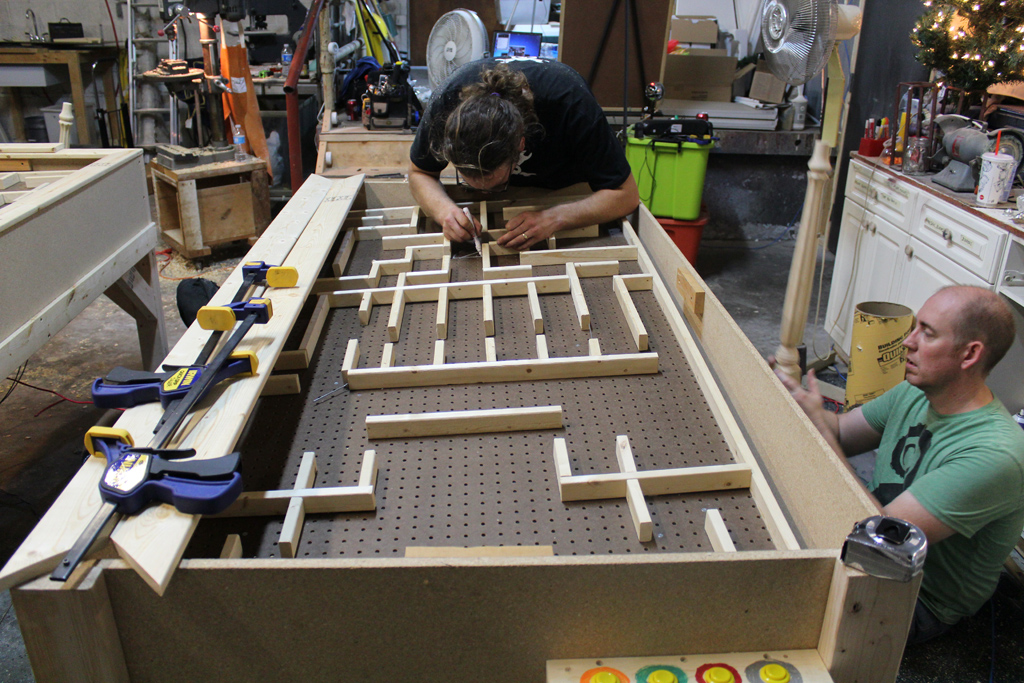
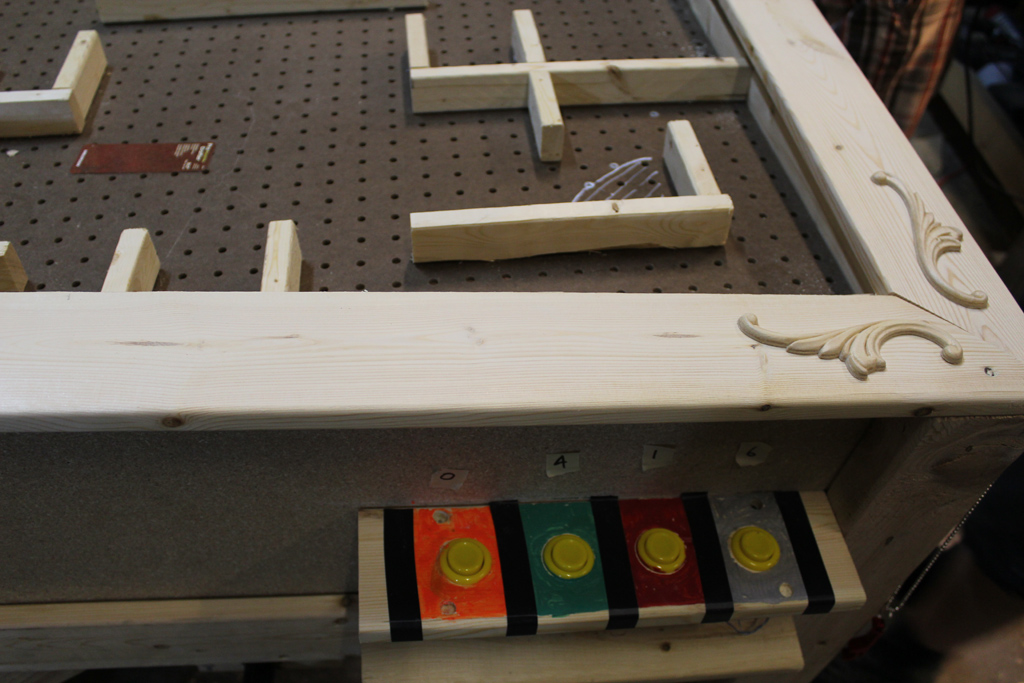
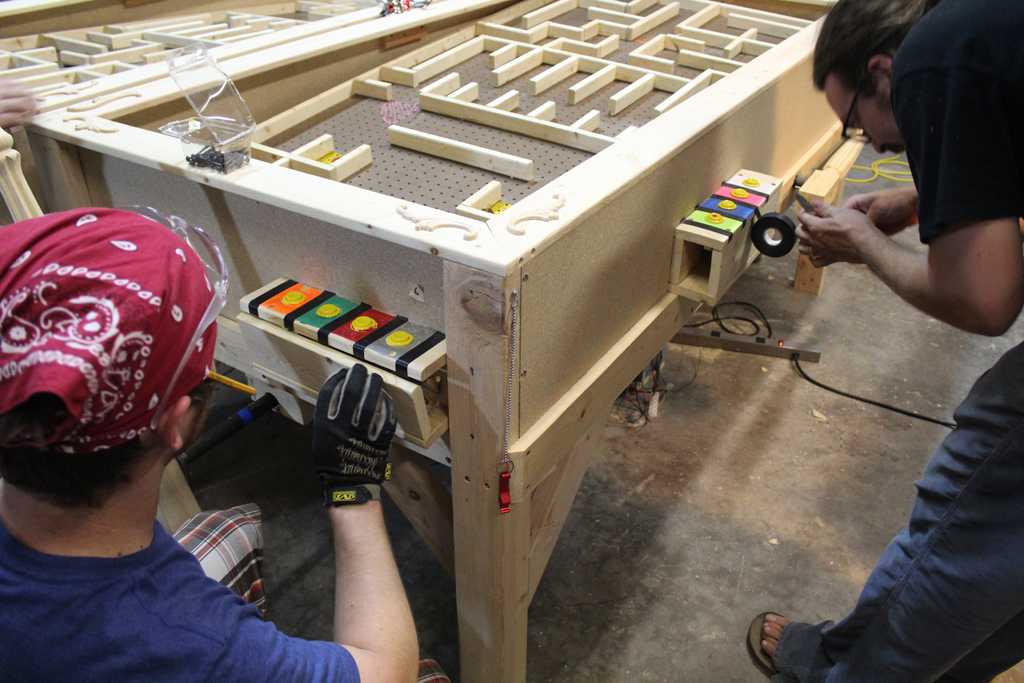
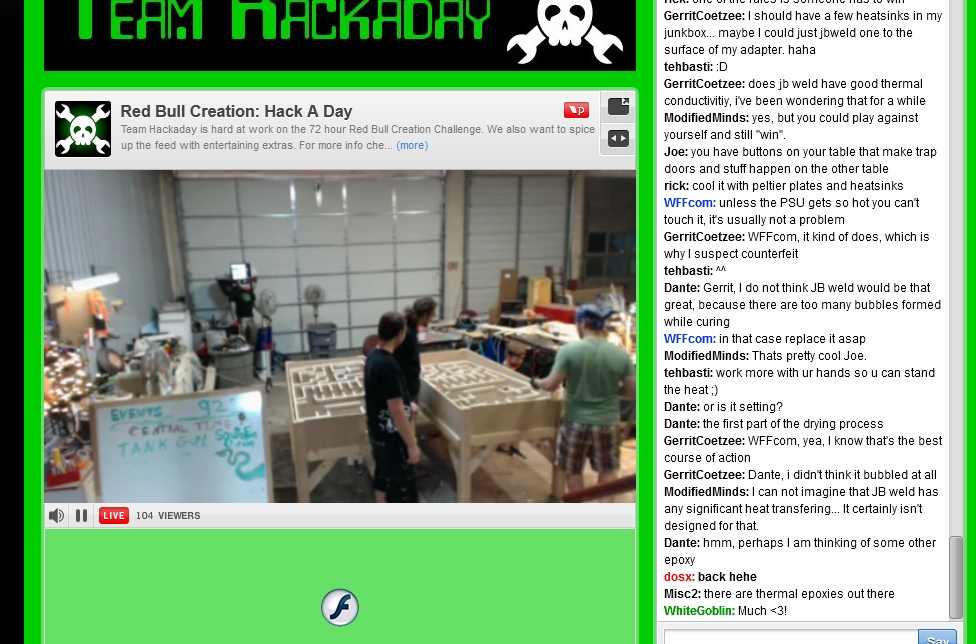
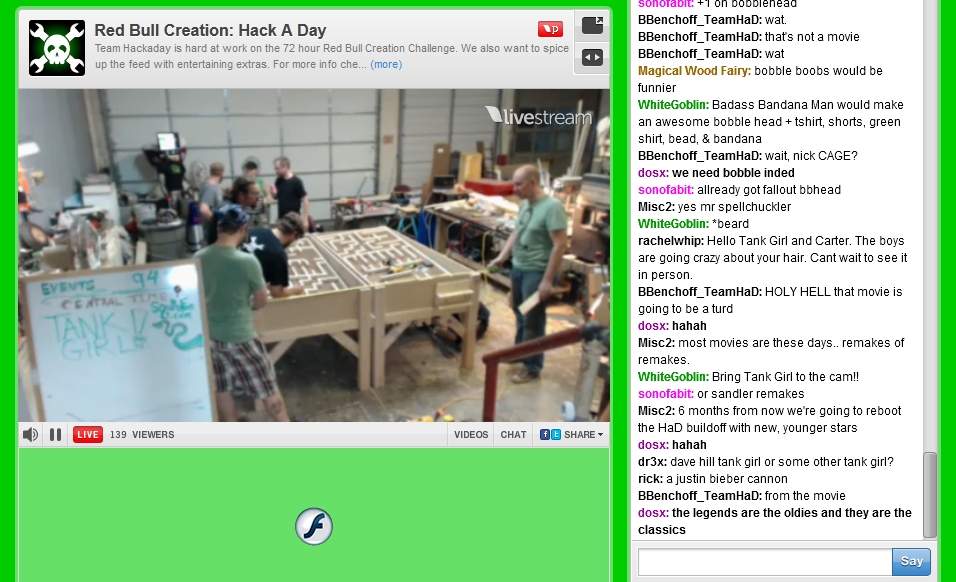
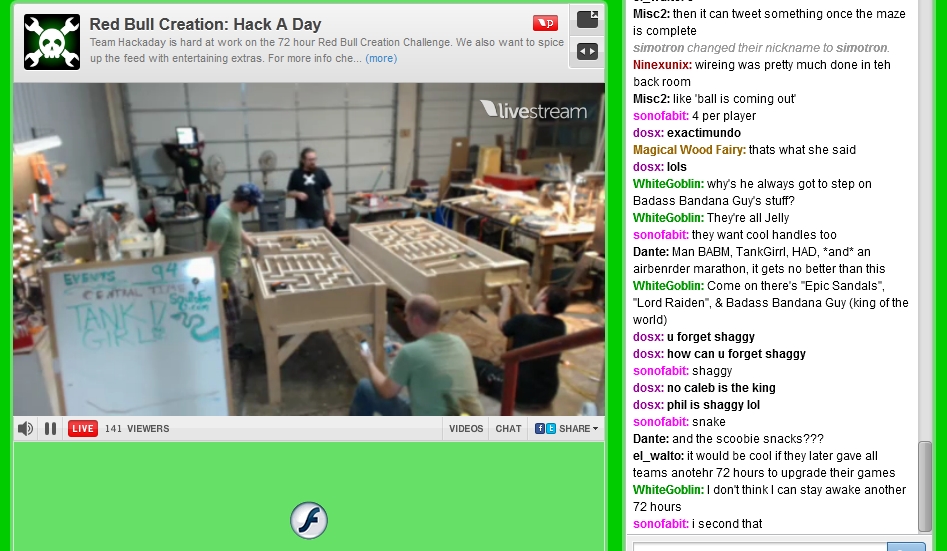
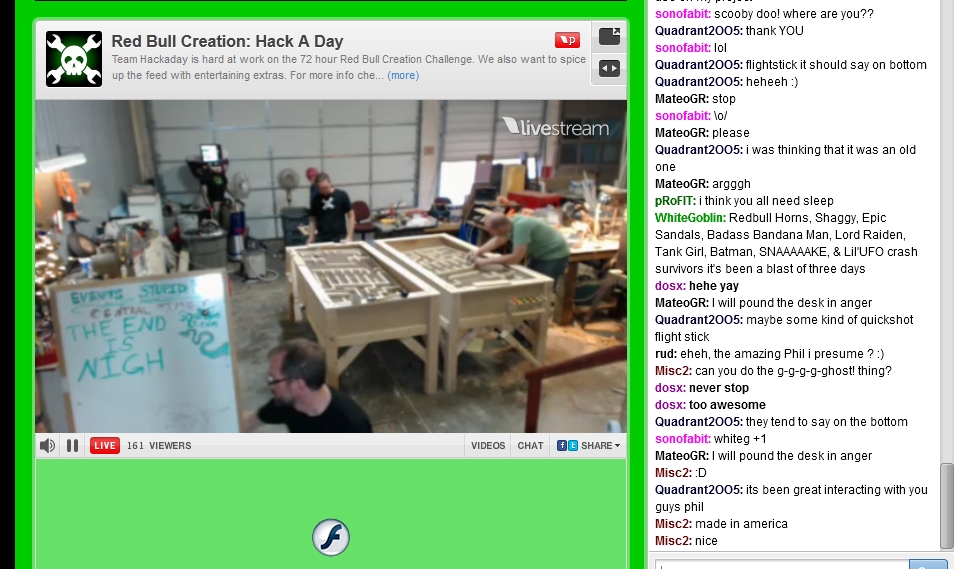
The playfield itself is constructed of pegboard and 1″x2″ wood. We drilled and pegged the walls so that they would drop right into the pegboard but found that a little bit of hot glue helped keep them firmly in place. This pegboard piece actually lifts out fairly easily so it could be replaced with different types of mazes down the road.

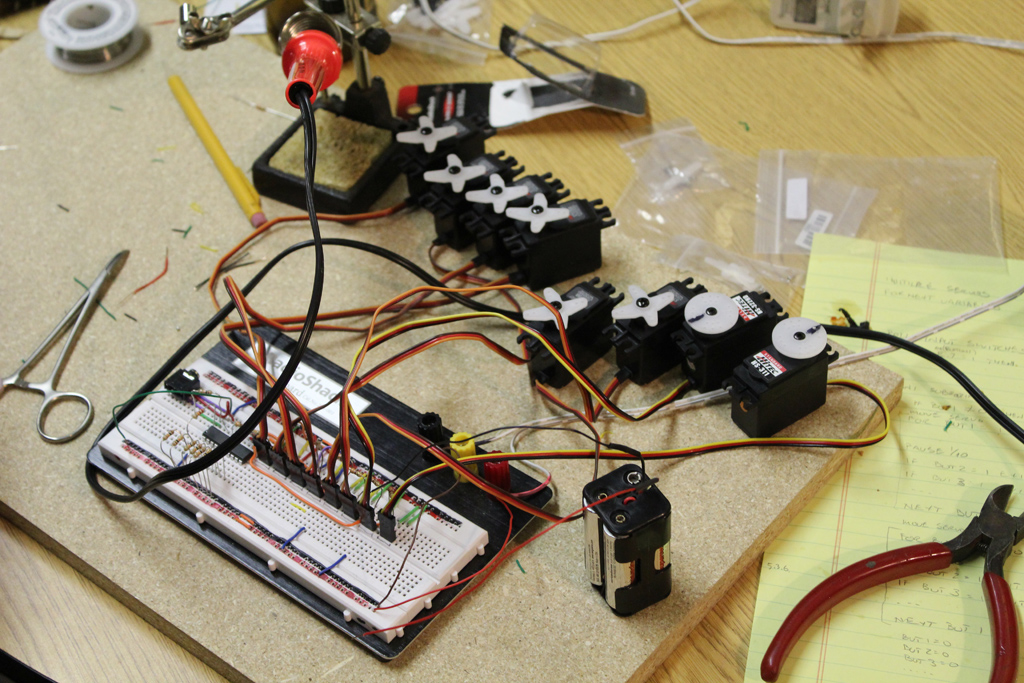
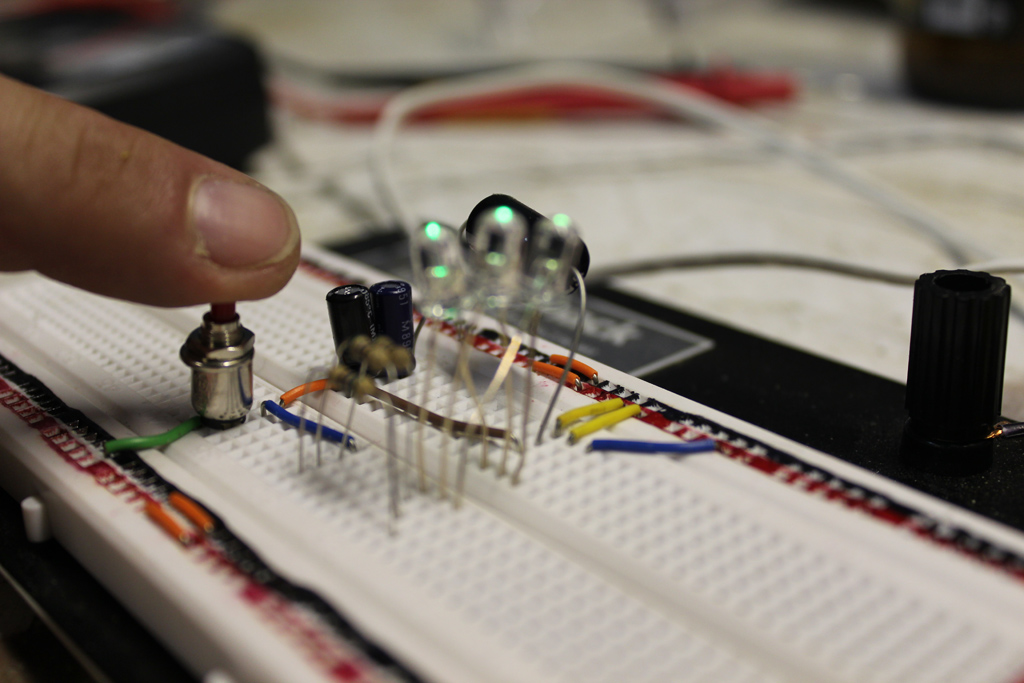
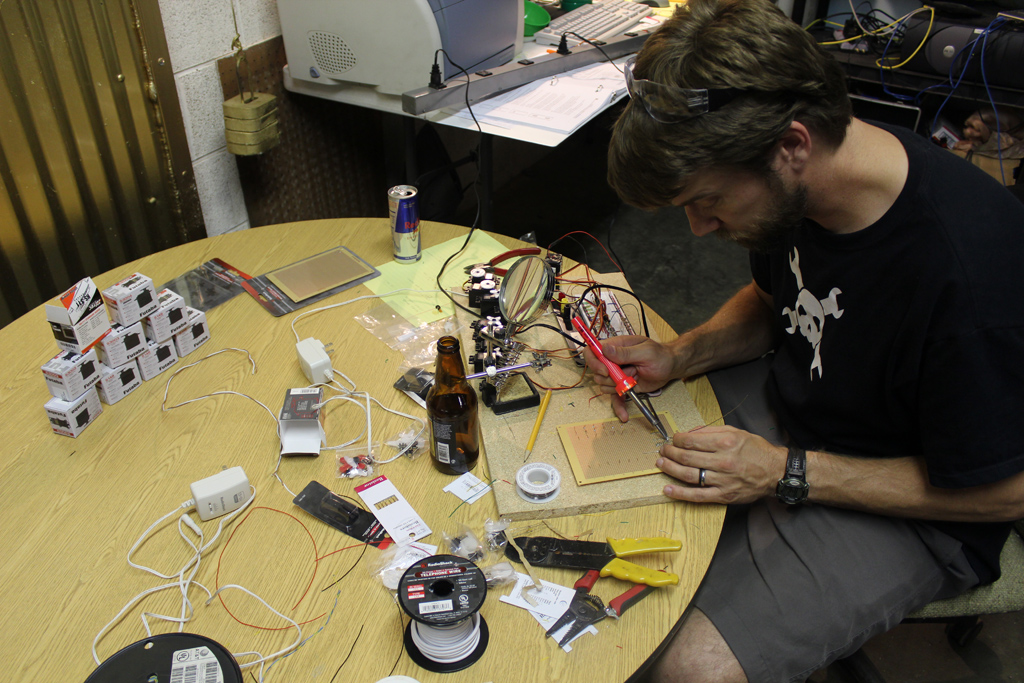
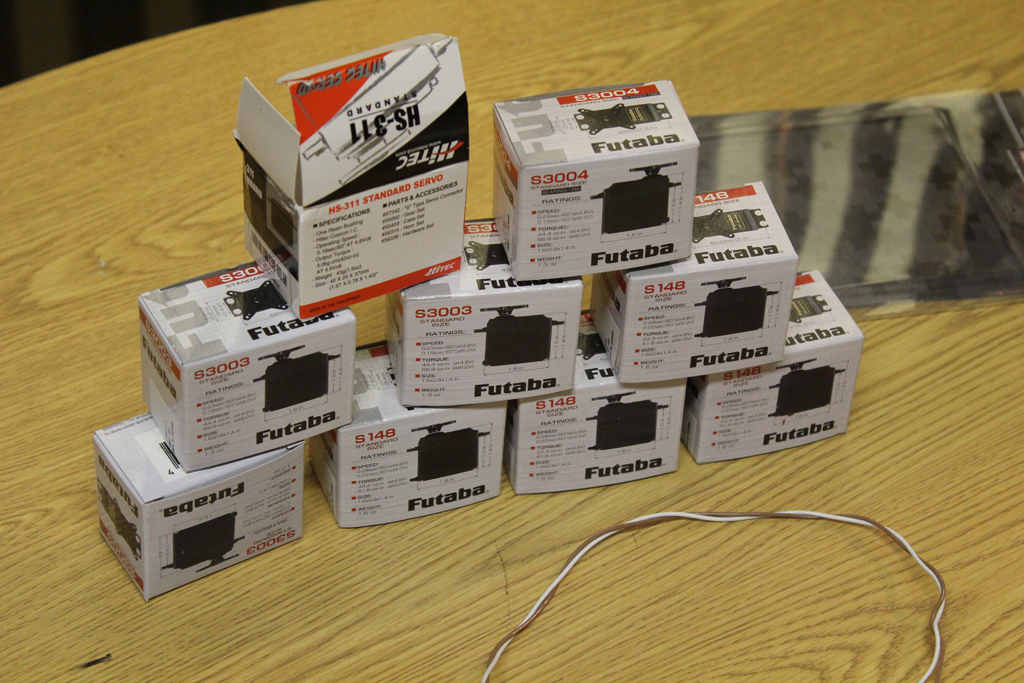
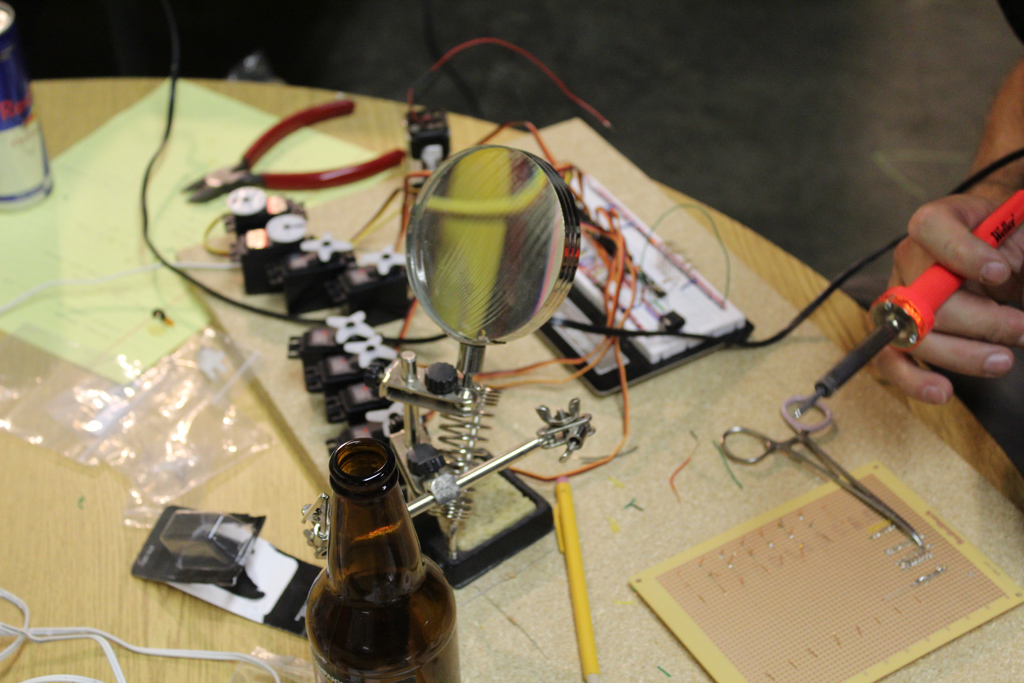
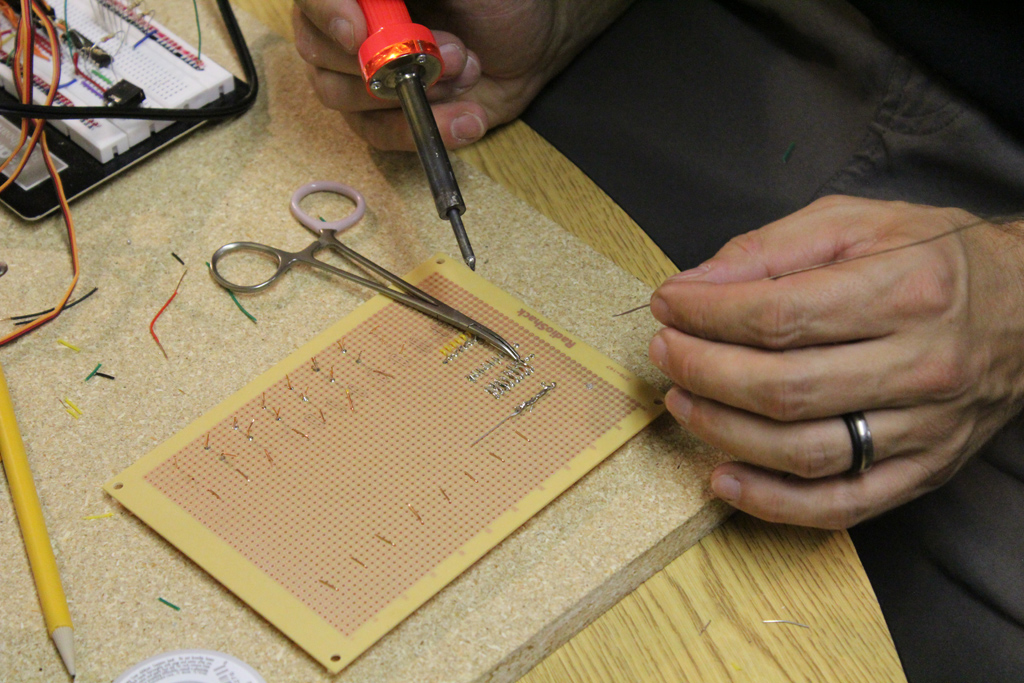
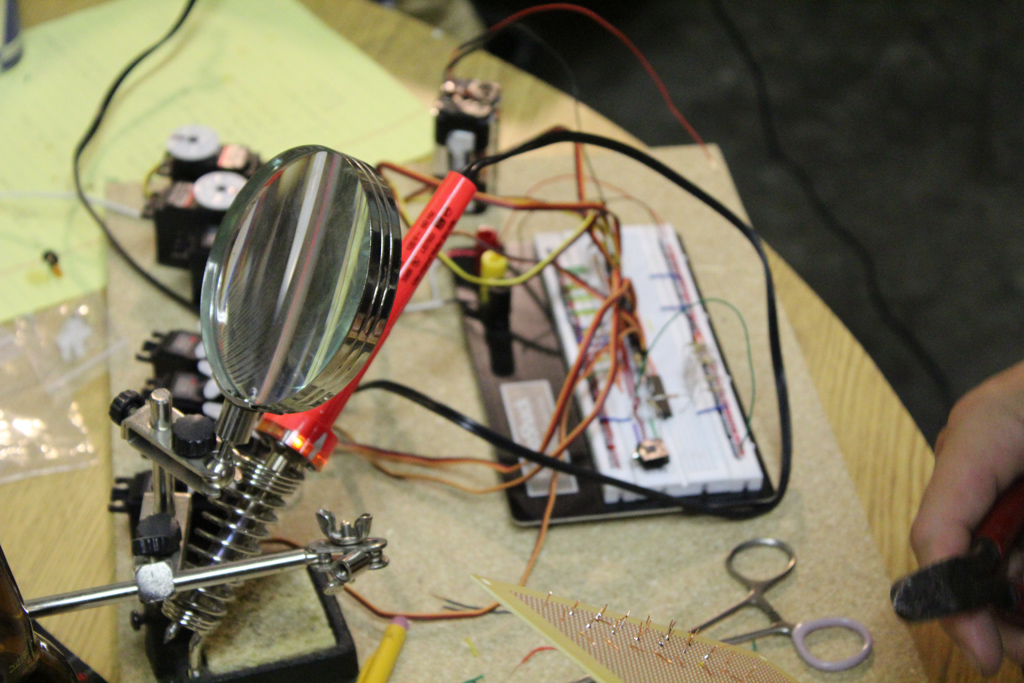
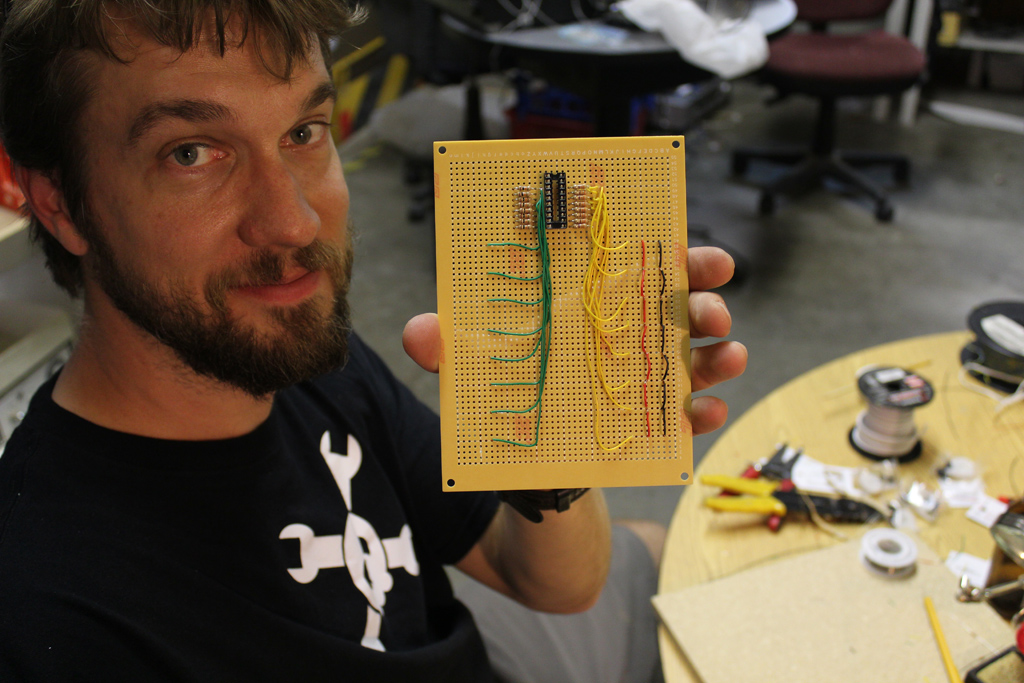
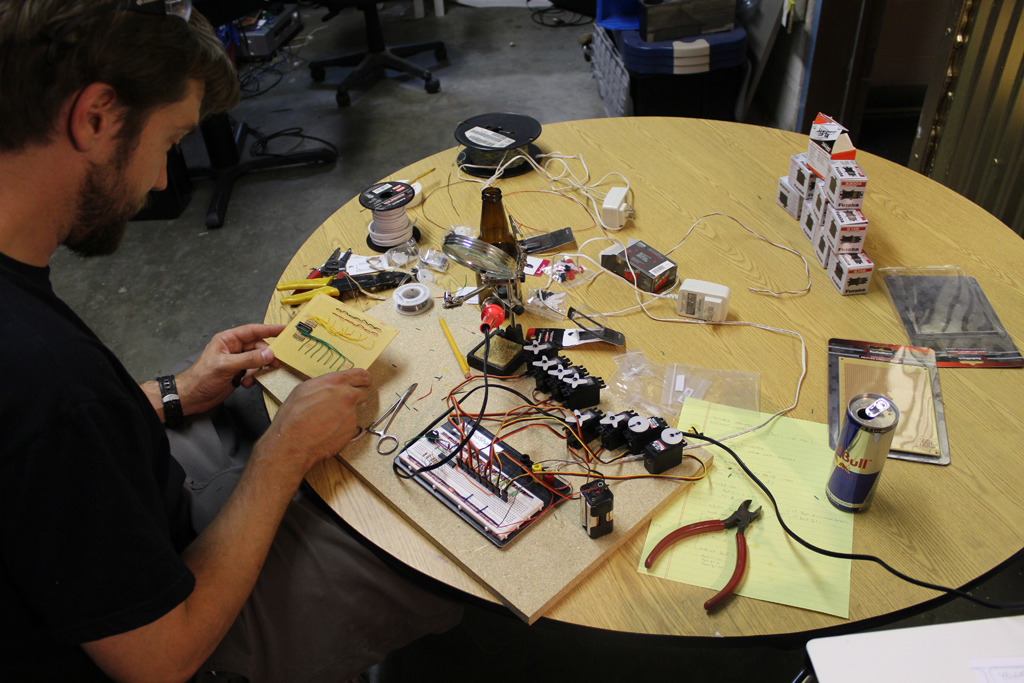
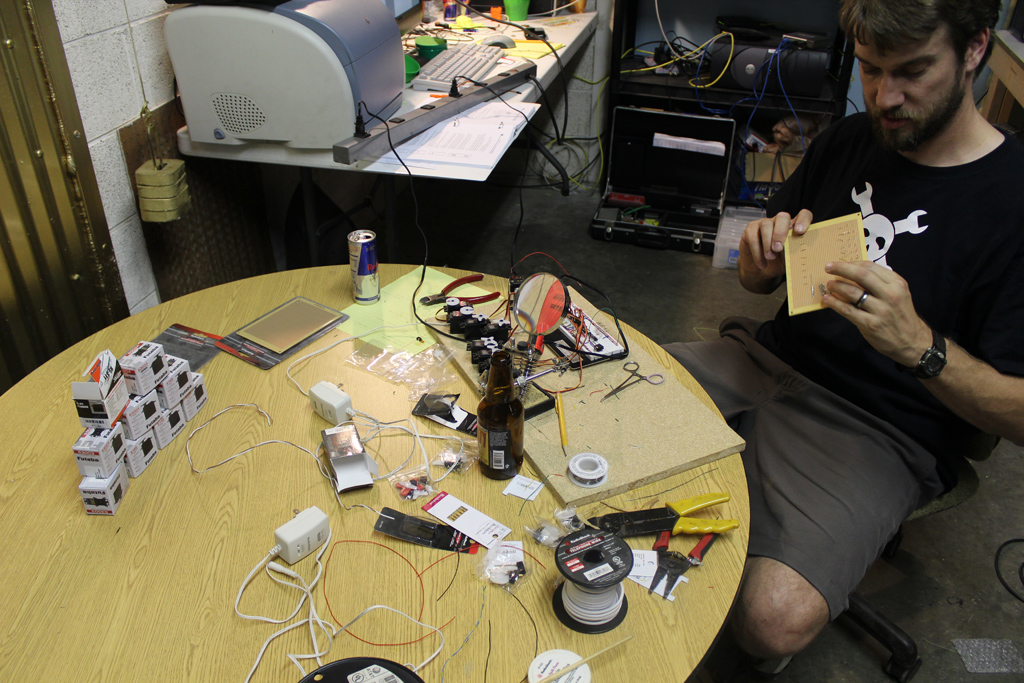
On the electronics side, we ended up using PicAxe microcontrollers to handle our servos. Each table has 8 servos triggered by arcade buttons located on the opposing table. The code is fairly simple. On button press, actuate servo. Wait a few seconds, and deactivate servo. Wait a few more seconds before allowing reactivation so that the ball can escape.

This means that you could do anything that a simple servo can accomplish. We used them to raise/lower magnets below the table as well as open/close pathways on the maze. The magnets were surprisingly effective and the gates worked exactly as you would expect.
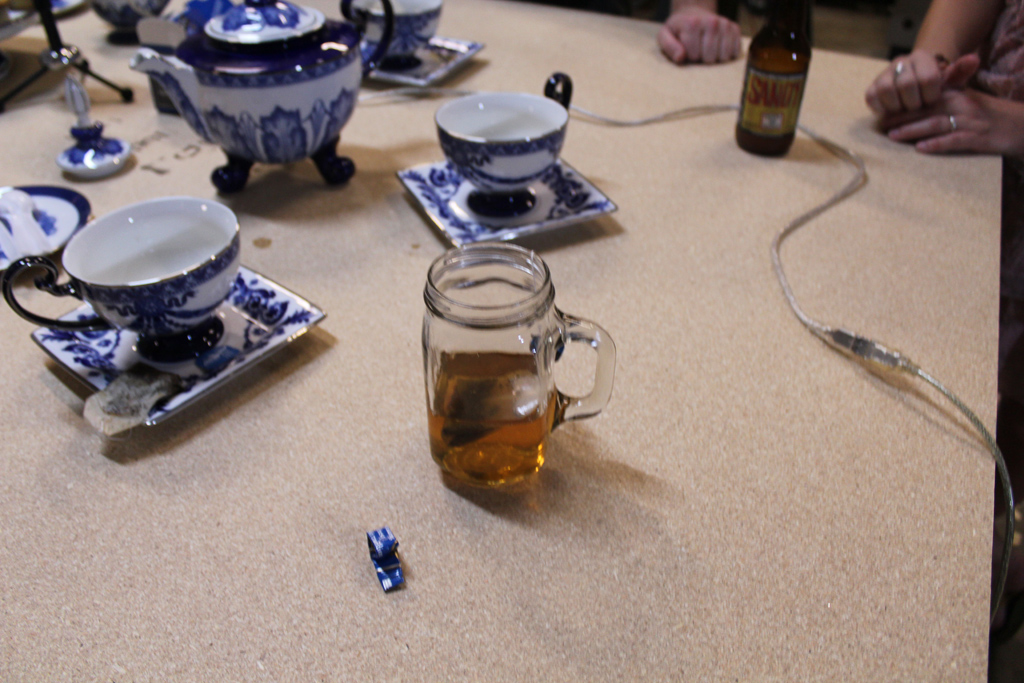
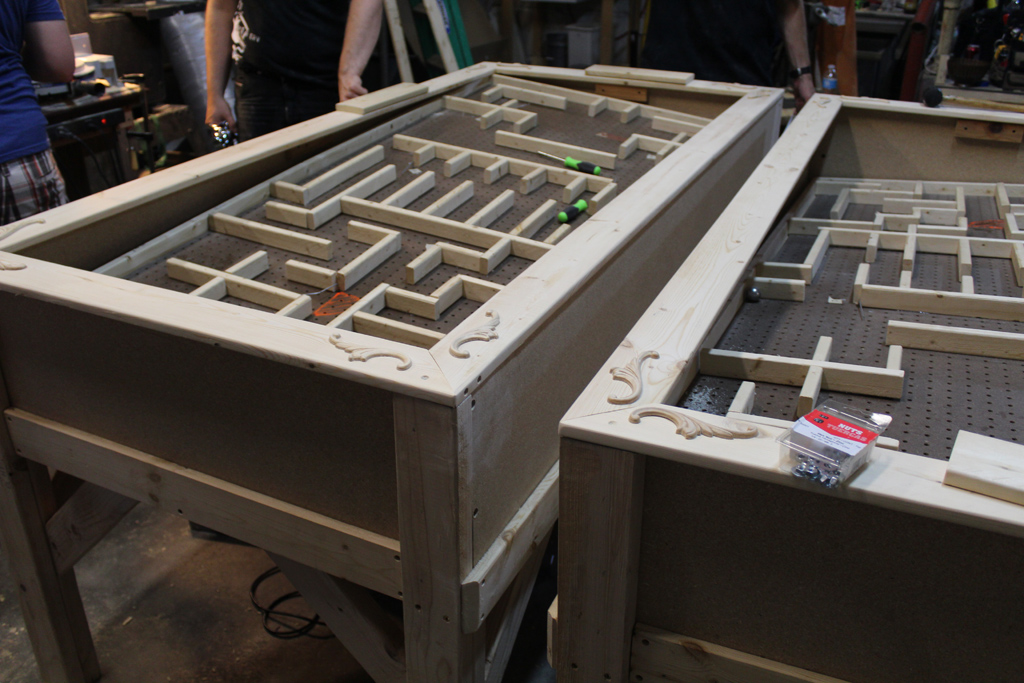
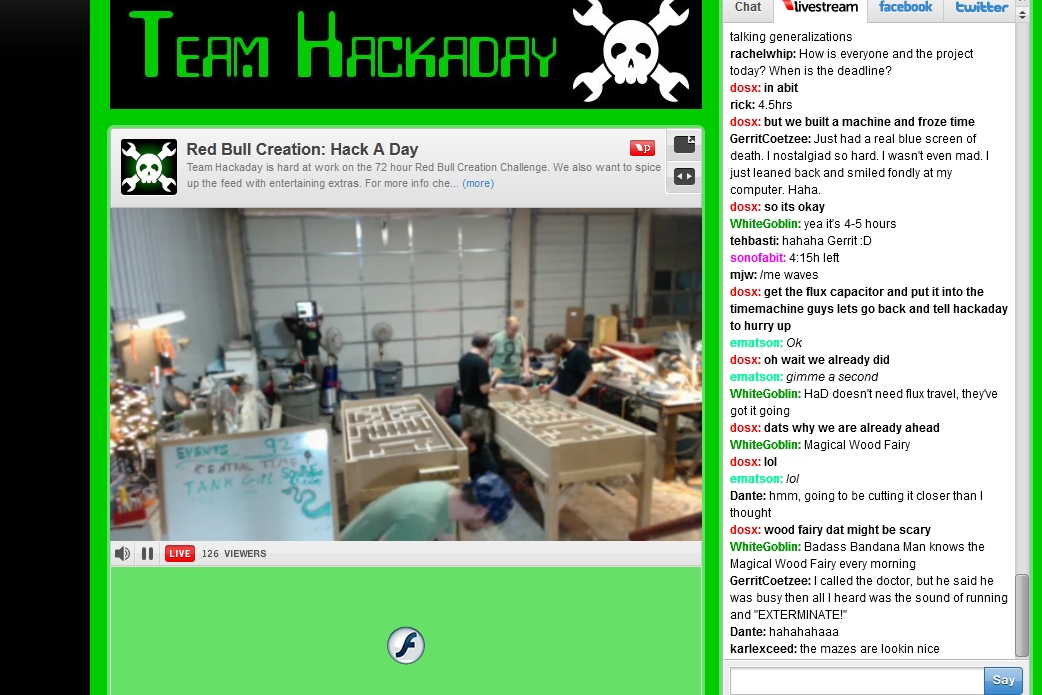
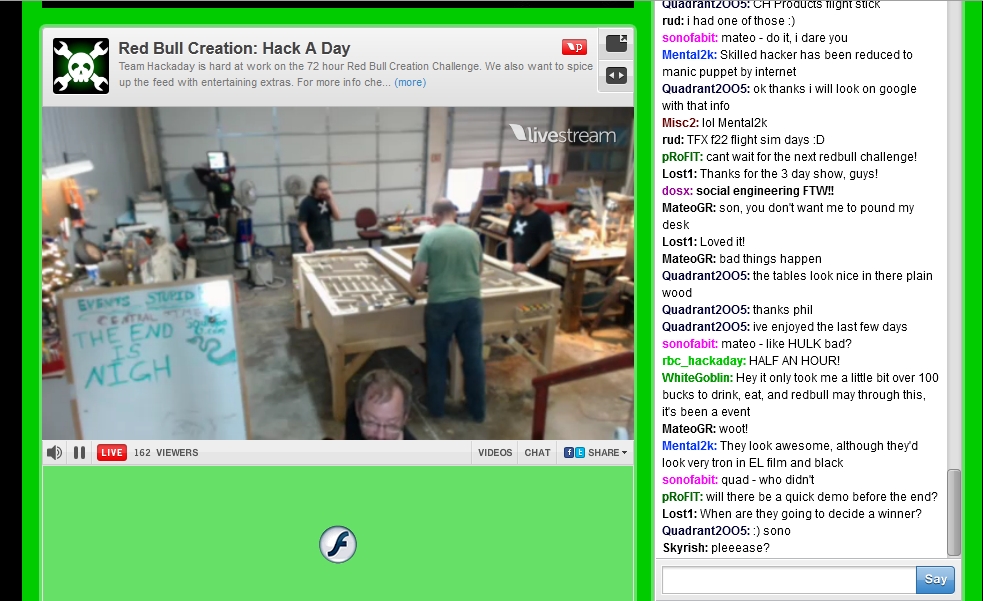
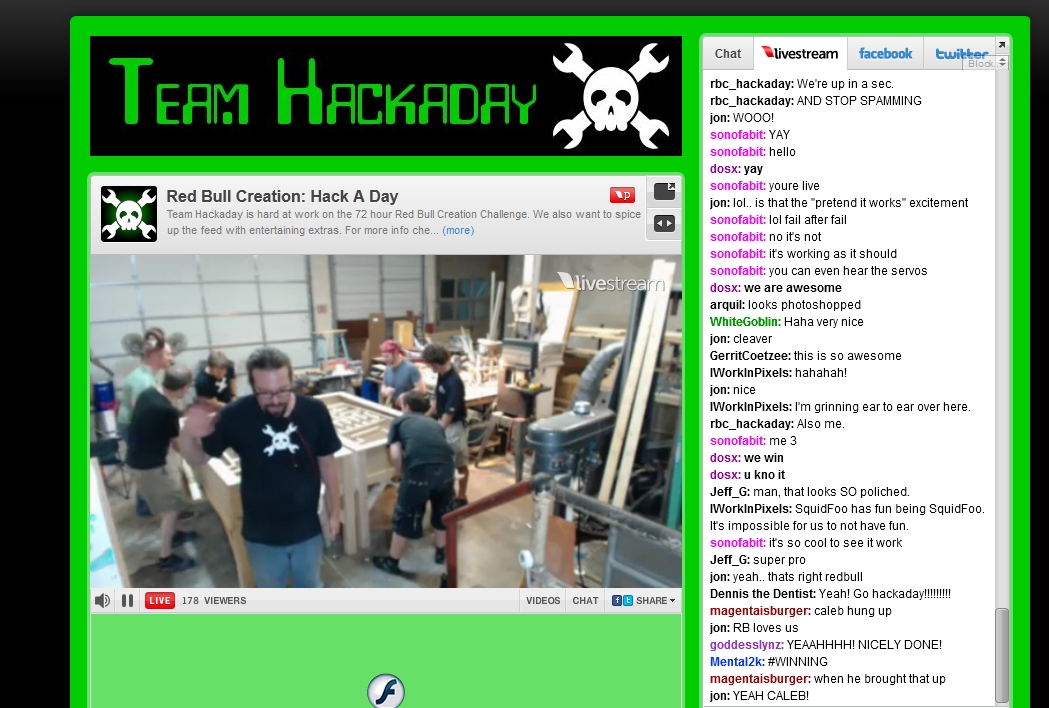
At the end, we had just enough time to add some fancy trim, add cup holders, paint some nice accents on the table, and adjust the range of motion before we had to present it. It worked fairly flawlessly!

team credits:
[Caleb Kraft]
[Scott Sauer]
[Phillip Broussard]
[Nick Tarr]
[Andrew Mitzel]
[Brian Zweerink]
[Shawn McKee]
[Mike Szczys]
[Ryan Fitzpatrick]


Well it looks like yall had a blast and thats all that matters. I am wokring on a hack of my own,
I travel 99% for my job and every once and a while all the IT stuff at home needs to be rebooted. and the wife is very leery about touching anything.
I have all the IT stuff in one location including all the cable DVRs and tuners. But sometimes it is only the data or the cable vision stuff that needs to be re booted.
So I have designed a auto reset for everything that is on a timer and separate manual resets for the data and cable vision DVRs.
I would have done this weeks ago but I have been battling a 8mm kidney stone. I have one week of light duty work at home and that will give me time to do a detailed instruct-able even though it is a pretty simple design.
And I have a automatic water change system that is scaleable for aquariums. I have all the parts but I just need time to do the construction and programming of the arduino.
Is there any footage of this in action yet?
yep, at about the 2 minute mark in the video. You can see scott and phil playing it and even see a ball being trapped by a magnet.
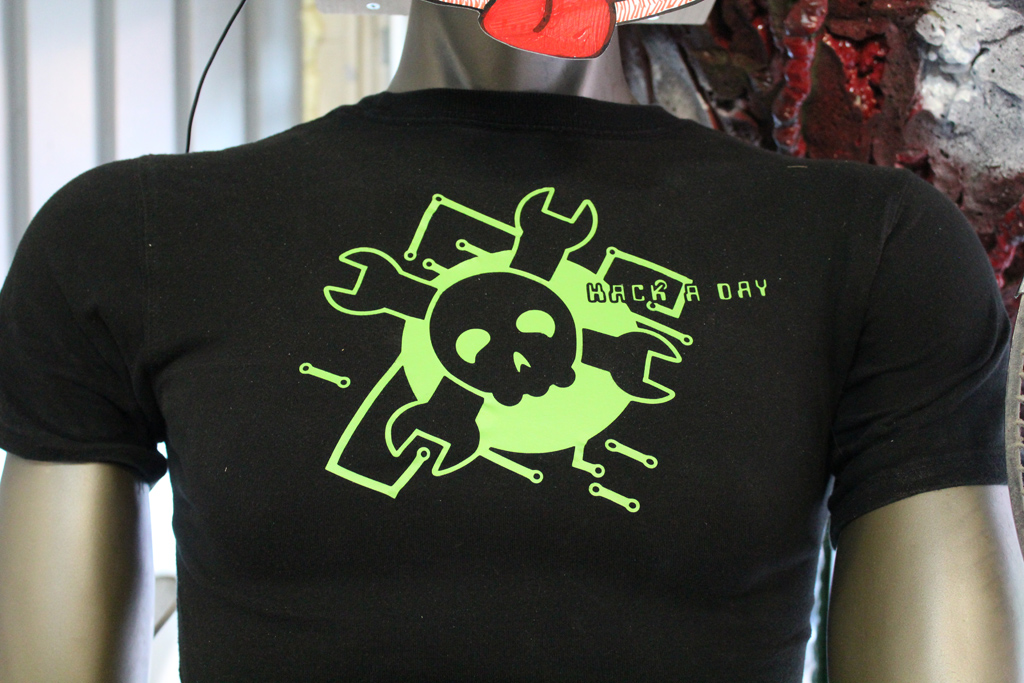
Where can I get that awesome HaD shirt? The one with the green graphics isn’t available on zazzle.
Caleb, I will buy it, please release it!
awesome build!
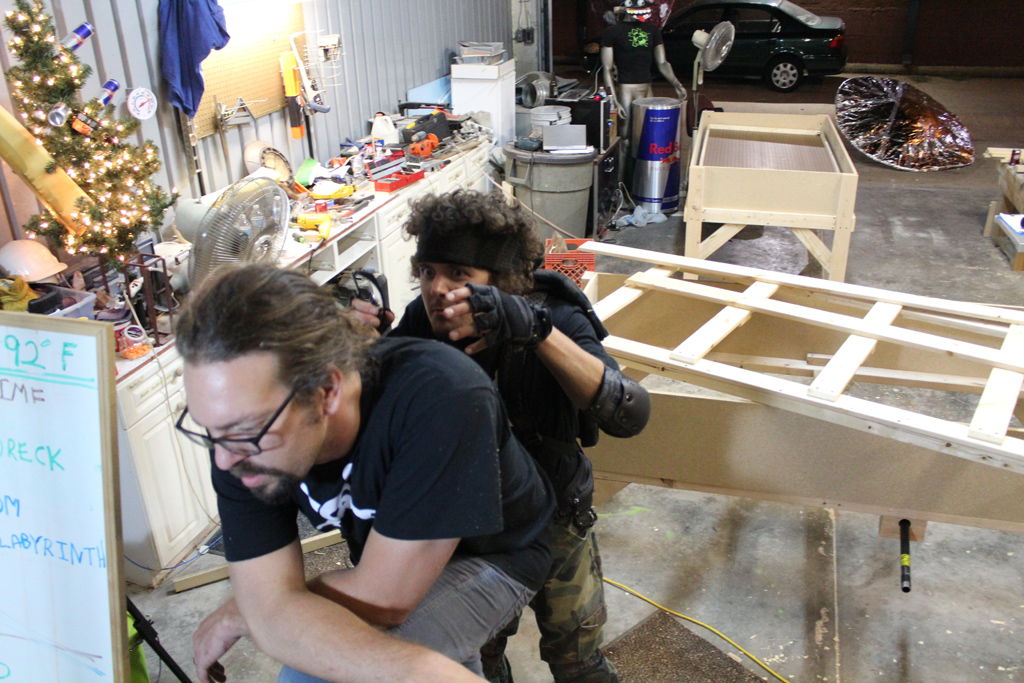
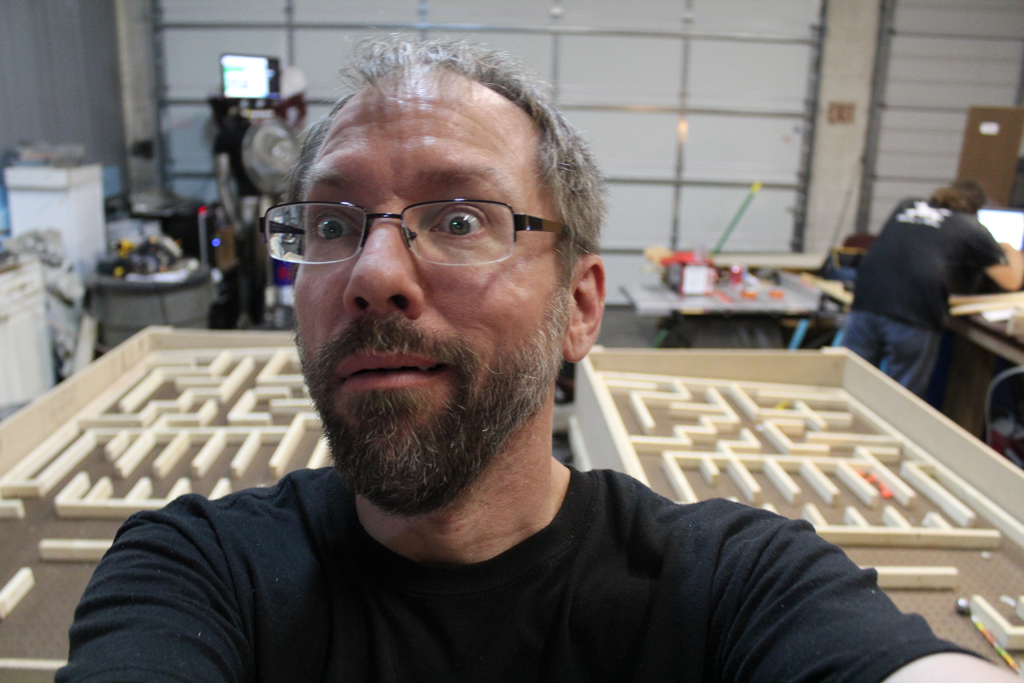
Badass Bandana Man FTW!
Wow the chat room support we had from you guys was remarkable! This was such a fun build! THANKS to everyone who stayed up with us and kept us entertained as we kept you entertained! SUPER THANKS to all of Team Hackaday and fans!!!!
Scott