This will be an experience shared by all 3D printer owners; a long print is mostly done, and something goes wrong. Result: most of the print and a heap of plastic vermicelli, or worse still, a print with an obviously offset layer in it.
[Simon Merrett] had a large part running on his printer, and 2.5 hours in to a 3 hour print the nozzle caught the edge of what he had already done, and as a result he was extruding into thin air (He told us in his tip email that his machine build was the likely culprit). Being fortunate enough to see it happening, he was able to hit the stop button in his Repetier software and bring the calamity to a swift halt.
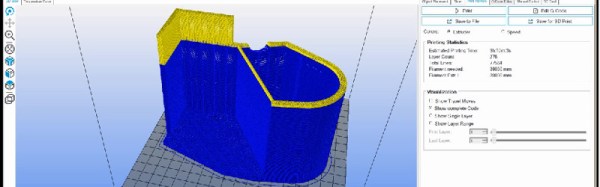
How he rescued the situation is an interesting tale which he’s recorded in the screen capture video we’ve placed below the break, it involved using a spreadsheet to analyse the G-Code and remove the lines for the part he had already printed before inserting a new set of Z-axis dimensions to start the remaining section of print from the bed upwards. A few further fixes, and he was able to print the rest of his part, which he could then glue to the unfinished top of the section he had already printed. He points out in his YouTube description that he emailed the Repetier folks, and they told him a quicker way to deal with the Z-axis: using the G92 command to reset it.
You might ask why if he was prepared to spend this amount of time he didn’t simply reprint the entire part. But he points out, in that event the print could well have failed again at exactly the same point.
Continue reading “Saving A Part-Way-Through Failed 3D Print”


