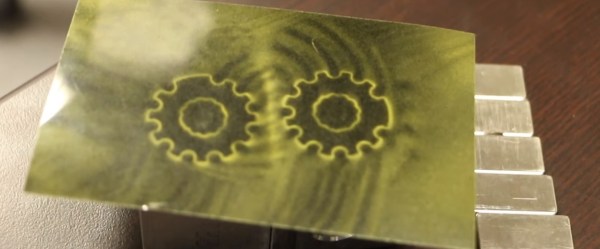
We told you about these “printable” magnets a while back. When you have the ability to squeeze many smaller magnets into a tiny spot and adjust their north/south orientations at will, you can not only control the strength of the overall magnetic field, you can construct new and seemingly physics-defying widgets. This article will not focus on the magnets themselves, but instead we’re going to peel away the closed source shroud that hides the inner workings of that nifty little printer of theirs. There has been a lot of talk about these printable magnets, but very little about how they’re made. This changes today. We’ll show you how this magnetic field printer works so you can get busy making your own.
History
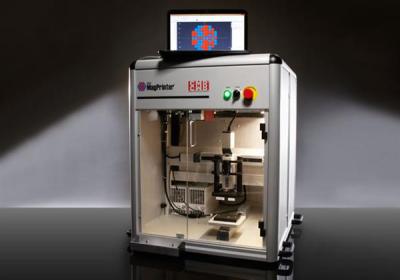
Several years ago, a company called Correlated Magnetic Research introduced to the world the idea of a magnetic field printer with the Mini MagPrinter. It sold for a whopping $45,000, which limited it to businesses and well-funded universities. They eventually changed their company to Polymagnet and now focus on making the magnets themselves. It appears, however, that they’ve refined their printer for a higher resolution. Skip to 2:45 in this video to see the Mini MagPrinter in action. Now skip to 7.25 in this video to see their next generation printer. Now lets figure out how they work.
What We Know
Firstly, you can toss your Kickstarter idea in the recycle bin because they hold several patents for their printer. But that doesn’t mean you can’t make one in your garage or for your hackerspace. Their machine might have cost $45k, but we’d be willing to bet a dozen Raspberry Pi Zeros that you could make one for two orders of magnitude less. But first we need to know how it works. Let’s look at the science first.
The Curie Point
The Curie Point is a temperature where a magnet loses its magnetic field. It is theorized that magnetism arises from the spin and angular momentum of electrons. If you get them lined up correctly, you get a magnet. When you heat the metal past the Curie Point, this alignment gets all messed up and you lose the magnetic properties. And, of course, you can align the atoms back up by introducing the metal to a strong magnetic field.
Halbach Array
A Halbach array is created when smaller magnets are arranged so their magnetic fields are focused in a particular direction and cancel out in another direction. The magnets made by the magnetic field printer can be considered Halbach arrays.
How It Works
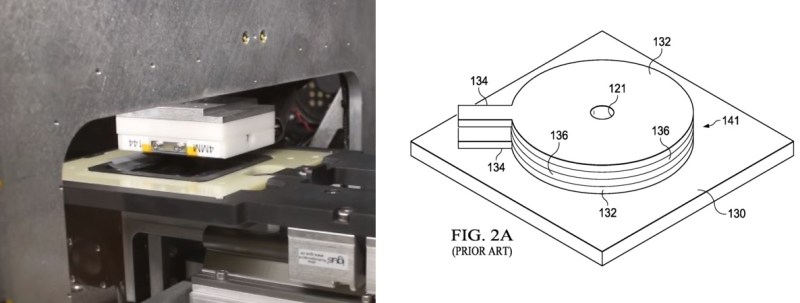
Everything begins with a blank Neodymium magnet. We’re all familiar with CNC technology, so we’ll focus on the magnetic field printing head itself. Reading through the comments of the original article, many believe that it uses a combination of heating to exceed the Curie Point and a high strength electromagnet to “write” the magnetic field into the blank. However, after looking closely at this patent, it appears this is not the case. There is no heating involved. The printer head consists of “an inductor coil having multiple layers and a hole extending through the multiple layers” and works by “emitting from the inductor coil a magnetic field that magnetizes an area on a surface of the magnetizable material…”. In short, it’s just a strong, local magnetic field.
Make Your Own
Now that you have a basic idea of how to print magnetic fields, you can start working on one of your own design. You already know how to make 3d printers and laser cutters. Just take one of these designs and replace the head with your custom-built magnetic printer head, whip up some software and bring this technology into the open source community. Blank Neodymium magnets and magnetic field viewing film are fairly cheap. First one to print the skull and wrenches logo gets a free t-shirt!


