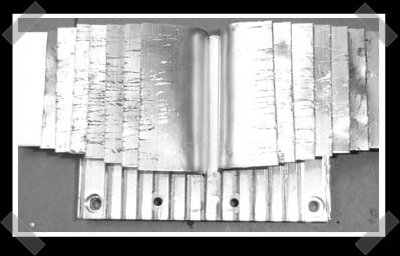
Part one of Ben’s Wii Laptop How-To series is up. Ben spends it discussing gutting the Wii, starting up his CAD process for designing the enclosure and makes the thing even smaller than it was before. Because the Wii is so small to begin with, I think alot of people assumed that he just slapped it into a case and added the display.
7 thoughts on “Wii Laptop How-To (Part 1)”
Leave a Reply
Please be kind and respectful to help make the comments section excellent. (Comment Policy)


Awesome. Now I will make my own super laptop. :D!!!
First Post!
I’m not sure how efficient the heatsink will be all flattened like that, but then again I’m really not sure how hot the Wii runs anywho.
Ben does some pretty amazing stuff!
As long as aircan still flow around the vanes i doubt the flatteing would hurt all that much.
Needs more digital caliper + metric.
but other than that, very nice.
Wow what an impressive job, I am sure the heatsink will be not very efficient but I guess it might have been larger than needed to begin with…
The heat sink needs to be upright and the fins need to be parallel to perform efficiently. He would have been better off using a dremmel to cut them.
I read the comments on the other page and i changed my mind he probably did do it right by bending them so that he can keep as much of the metal able to absorb and transfer heat as possible. as long as there is space between them so that air can flow unrestricted they will do their job. ben also noted that he uses a much more powerful fan in part 3