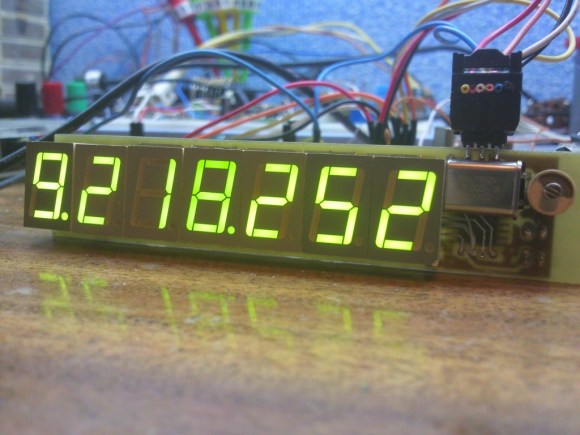
This frequency meter project squeezes a lot of performance out of the ATtiny2313 microcontroller. That chip does all of the work, measuring the frequency on the input pin as well as multiplexing the set of 7 seven-segment displays which read out the measurement.
The system is only as accurate as the clock crystal used by the AVR chip, so [Manekinen] recommends using one with the best tolerances available. It is also necessary to choose a value which is divisible by 1024 to get the best combination of accuracy and resolution. In this case he’s using a 22.1184 MHz crystal oscillator which is a slight overclocking of the chip which is spec’d to run at 20 MHz max.
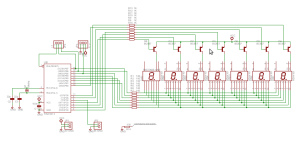
We didn’t totally follow his explanation of how the two timers are used for counting. But if we really wanted to drill down for a full understanding his code (written in BASCOM-AVR) is available. If you’re just interested in the hardware we embedded a screenshot of the schematic after the break.


The simplicity here is very nice, and as someone who just completed a very involved timer project, respect for all the work that can go into figuring out the right way to use it. Would be nice to see some input protection though. Maybe even a PGA and AC coupling the signal as well, then it would be very versatile also.
so combined with this, you could have a ~1-5Mhz oscilloscope for ~$30? http://m.instructables.com/id/A-Preamplifier-for-Smartphone-Oscilloscopes/?ALLSTEPS
I would say they used a decoder and not a multiplexor for the 7 seg display.
I take that back. I guess you would have to use a multiplexor to cycle each display while using one decoder.