3D Printers have come down significantly in price over the past few years. Nowadays it is even possible to get a 3D printer kit for between $200-300. It’s arguable how well these inexpensive printers perform. [Jon] wanted a printer capable of quality prints without breaking the bank. After researching the different RepRap types that are available he concluded he really wasn’t up for a full machine build. He had previously built a CNC Router and decided it was best to add a hot end and extruder to the already built 3 axis frame.
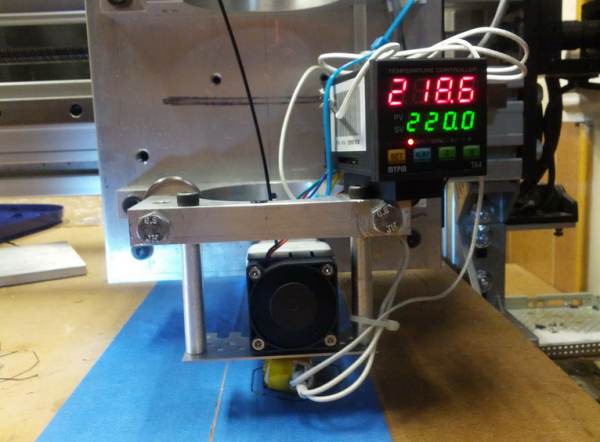
The CNC Router frame is made from aluminum, is very rigid and has a 2′ by 2′ cutting area. All axes glide smoothly on THK linear bearings and are powered by NEMA 23 motors driven by Gecko 540 stepper drivers. The router was removed from the machine but the mounting bracket was left on. The bracket was then modified to hold the extruder and hot end. With 3D Printers there is typically a control board specifically designed for the task with dedicated outputs to control the temperature of the hot end. Since [Jon] already had the electronics set up for the router, he didn’t need a specialized 3D Printer control board. What he does need is a way to control the temperature of the hot end and he did that by using a stand-alone PID. The PID is set manually and provides no feedback to the computer or control board.
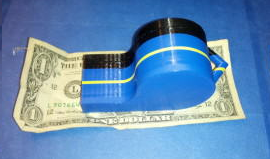
 [Jon] used liked Mach3 for controlling his CNC Router so he stuck with it for printing. He’s tried a few slicers but it seems Slic3r works the best for his setup. Once the g-code is generated it is run though Mach3 to control the machine. [Jon] admits that he has a way to go with tweaking the settings and that the print speed is slower than most print-only machines due to the mass of the frame’s gantry and carriage. Even so, his huge whistle print looks pretty darn good. Check it out in the video after the break…


