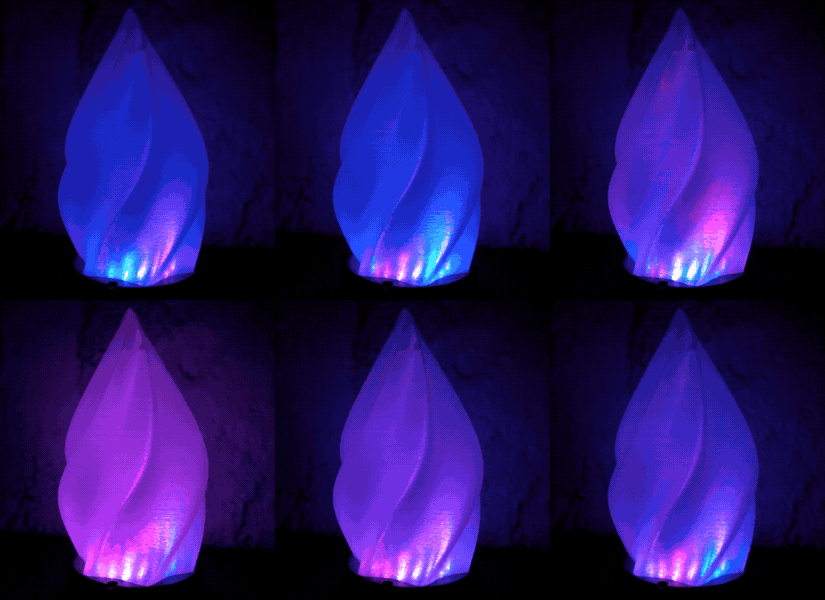
Have you ever wrapped up a nice blinky project only to be disappointed by the predictability of the light or the color patterns? When it came to lighting this LED candle, so was [fungus amungus]. But there’s a better way, and it involves noise.
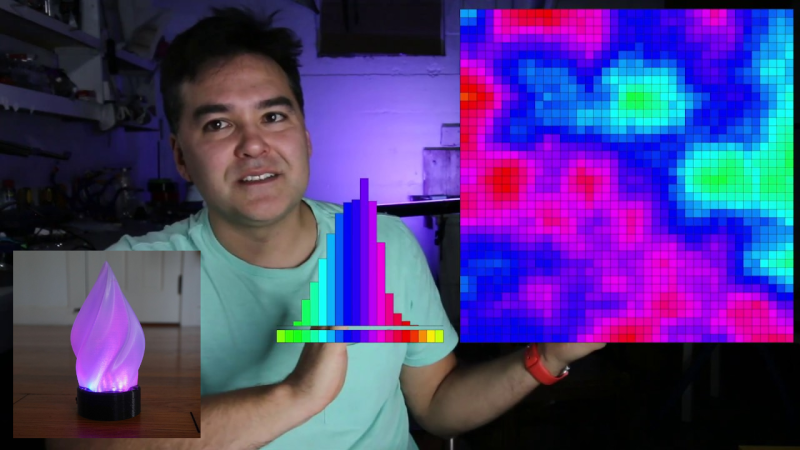
 Perlin noise was created in the early 80s by Ken Perlin while he was working on the movie Tron. Frustrated by the current state of computer graphics and too limited on space to use images, he devised an algorithm for generating natural-looking textures. Basically, you generate a bunch of numbers between 0 and 1, then assign values to those numbers, such as a range of greyscale values from black (0) to white (1), or the values from the color wheel. The result is much prettier than random numbers because the neighboring values for any given number aren’t radically different. You get nice randomness with hardly any overhead.
[fungus amungus] is using the FastLED’s noise function to generate the numbers, but there’s a whole lot more going on here. As he explains in the excellent video after the break, if you want to animate these values, you just add another dimension of them. Although [fungus amungus] is using a Trinket Pro and a NeoPixel ring, we think a simplified version could be done with a Circuit Playground Express using the built-in LEDs.
If you want to do it the hard way, start by making your own NeoPixel ring.


Oh my goodness … in the 70’s, my Dad used to say with a smile and laugh: “There’s a fungus among us”! Great Hackaday user name!!!
😆
Um, so your Dad was shrooming? That is a common phrase among users of psychedelic mushrooms, which make you smile and laugh. Or so I am told.
Nope … he was as conservative and straight as they come!
Nice project! I’ll have to read up on Perlin noise though, because there must be more to it than described here or in the instructable. I’ve used it for years… err… decades in 3d rendering, always nice to learn more about something you’ve used for a long time but never given much thought to.
Wikipedia has a pretty good explanation.
You start with a grid (not associated with individual pixels) of unit-length vectors with randomized directions. Then you apply an algorithm of linear algebra to produce the actual pixel (surface) values. You can compute a value for any location between the grid points, so it can effectively be any resolution.
What makes it look natural is the way the algorithm computes the values with smooth transitions (due to the gradients and interpolation) but with randomness inherent to the pattern.
There is a lot more. I had more in the video, but it was getting too long. The history of it is pretty fascinating. Ken Perlin was working on Tron and wanted to add textures to objets in future projects. The machines back then didn’t have enough RAM to store textures for mapping so he came up with the algorithm instead. And it was made for three dimensions so models could be “dipped” in Perlin noise. He even got an Academy Award for his work in 1997.
I have a hunch that you could also solve the discontinuity problem by wrapping the one-dimensional line of values around the ‘front’ half of the lamp, and using the same values, in the opposite order, on the ‘back’ half. Not as cool as the approach he used, but it might free up some processor power for other fun stuff.
It takes up the same amount of processing power. Or it could, anyway, if the code was optimized for that. I was keeping the option of having the scaling be variable. If you bake in the scaling with the creation of the coordinates in the setup it would simply be invoking the noise function once per LED. The only difference being that you’d be using 3 vs 2 arguments.
For a 16-LED ring, this is very close to an unneeded optimization for the effect. I originally created it for a 100+ LED ring where the seam would be more apparent.
Flame flickering isn’t “random”…. You’ll just make a shitty simulation of a flame if you do it that way.