Adding Perlin Noise To 3D Printed Parts, With Python

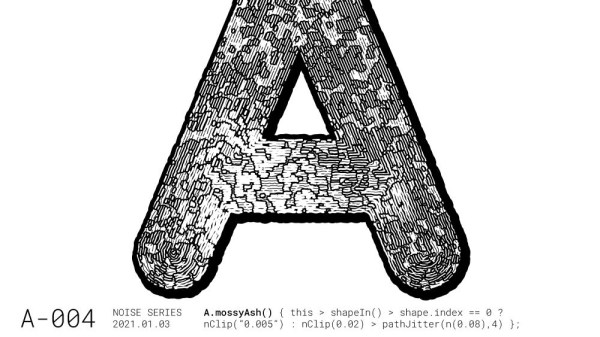
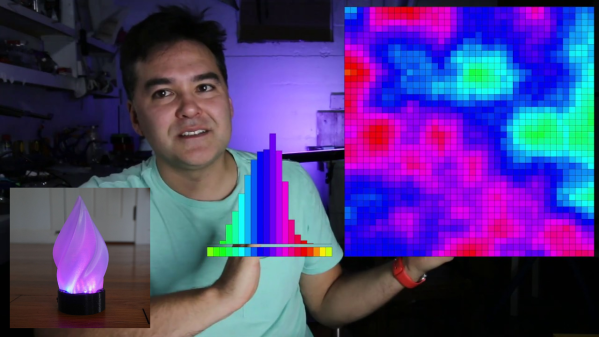
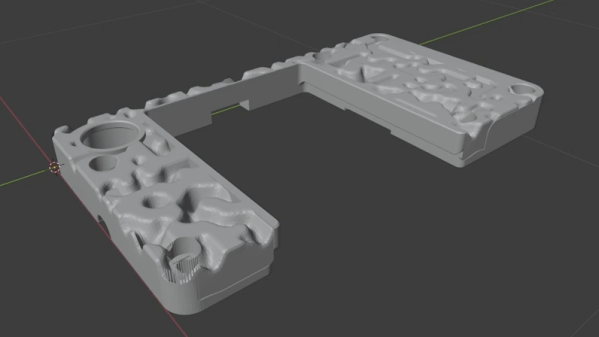
Want to add a bit of visual flair to 3D printed parts that goes maybe a little more than skin-deep? That’s exactly what [volzo] was after, which led him to create a Python script capable of generating a chunk of Perlin noise, rendered as an STL file. What does that look like? An unpredictably-random landscape of hills and valleys.

The script can give printed parts a more appealing finish.

The idea is to modify a 3D model with the results of the script, leaving one with something a bit more interesting than a boring, flat surface. [volzo] explains how to use OpenSCAD to do exactly that, but it’s also possible to import the STL file the script creates into the CAD program of one’s choice and make the modifications there with some boolean operations.

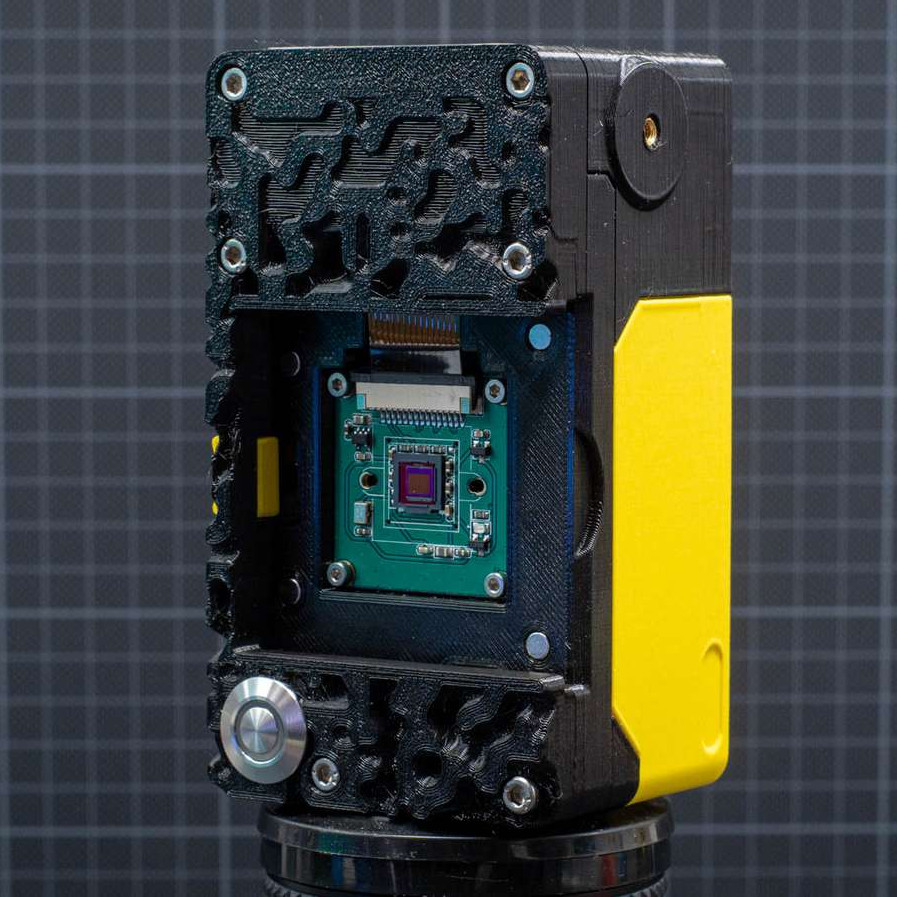
If the effect looks a bit bit familiar, it’s likely because he used the method to design part of the 3D printed “toy” camera that we featured recently.

[volzo]’s method isn’t entirely plug and play, but it could still be a handy thing to keep in your back pocket when designing your next part. There are also other ways to modify the surfaces of prints for better aesthetics; we’ve previously covered velocity painting (also known as ‘tattooing’ in some slicers) and also fuzzy skin.

Perlin noise was created by [Ken Perlin] in the early 80s while working on the original Tron movie as a way to help generate more realistic-looking textures. It still fulfills that artistic function in a variety of ways, even today.

Perlin Noise Helps Make Trippy Typographic Art

Perlin noise is best explained in visual terms: if a 2D slice of truly random noise looks like even and harsh static, then a random 2D slice of Perlin noise will have a natural-looking blotchy structure, with smooth gradients. [Jacob Stanton] used Perlin noise as the starting point for creating some interesting generative vector art that shows off all kinds of different visuals. [Jacob] found that his results often exhibited a natural quality, with the visuals evoking a sense of things like moss, scales, hills, fur, and “other things too strange to describe.”

The art project [Jacob] created from it all is a series of posters showcasing some of the more striking examples, each of which displays an “A” modified in a different way. A few are shown here, and a collection of other results is also available.

Perlin noise was created by Ken Perlin while working on the original Tron movie in the early 80s, and came from a frustration with the look of computer generated imagery of the time. His work had a tremendous and lasting impact, and was instrumental to artists creating more natural-looking textures. Processing has a Perlin noise function, which was in fact [Jacob]’s starting point for this whole project.

Noise, after all, is a wide and varied term. From making generative art to a cone of silence for smart speakers, it has many practical and artistic applications.

LED Flame Illuminates The Beauty Of Noise

Have you ever wrapped up a nice blinky project only to be disappointed by the predictability of the light or the color patterns? When it came to lighting this LED candle, so was [fungus amungus]. But there’s a better way, and it involves noise.

Perlin noise was created in the early 80s by Ken Perlin while he was working on the movie Tron. Frustrated by the current state of computer graphics and too limited on space to use images, he devised an algorithm for generating natural-looking textures. Basically, you generate a bunch of numbers between 0 and 1, then assign values to those numbers, such as a range of greyscale values from black (0) to white (1), or the values from the color wheel. The result is much prettier than random numbers because the neighboring values for any given number aren’t radically different. You get nice randomness with hardly any overhead.

[fungus amungus] is using the FastLED’s noise function to generate the numbers, but there’s a whole lot more going on here. As he explains in the excellent video after the break, if you want to animate these values, you just add another dimension of them. Although [fungus amungus] is using a Trinket Pro and a NeoPixel ring, we think a simplified version could be done with a Circuit Playground Express using the built-in LEDs.

If you want to do it the hard way, start by making your own NeoPixel ring.

Continue reading “LED Flame Illuminates The Beauty Of Noise”