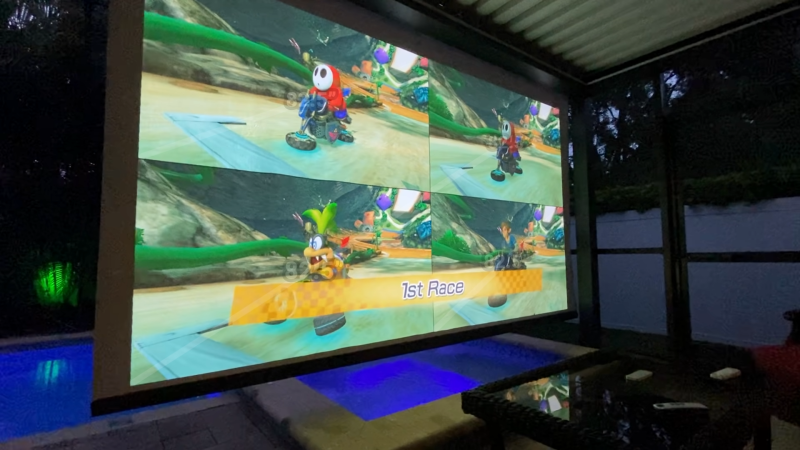
Watching movies on the big screen is fun, but getting out to the cinema or drive-in can be a hassle. It’s possible to get the same experience at home with a little creativity, as shown in this DIY projector screen build by [The Hook Up].
The build started with a giant motorized roller screen designed for a patio. It was scored on the cheap as it was salvaged after removal from its original home. Having seen a screen door turned into a boat with the help of Flex Seal, [The Hook Up] was confident that the flyscreen could be sealed up and used for projection.
Right away, the going got tough. Light applications weren’t really filling in the holes in the flyscreen, while thick applications had major issues with runs. Eventually, the screen was painted with 3 gallons of white Flex Seal and hung up to test.
The runs caused issues, as the lumpy screen texture was distracting when viewing movies. Additionally, the glossy finish was creating unsightly reflections. After some trial and error, the issues were solved by sanding the Flex Seal surface flat and using matte clear spray paint to dull the shine.
The result was a grand projection screen that rolls down at the touch of a button, the likes of which we’ve seen before, though at significant cost. [The Hook Up] readily admitted that the several hundred dollars invested might have been better spent on buying a pre-made screen. Nonetheless, it’s a cool project, and we respect the creator for putting in the work! Video after the break.


Sorry but my screen was a heck of a lot cheaper.
2 x 10′ 1/2 emt $15 at the time.
2 x 8′ 3/8 round bar $16
2 x 3/8 edge trim for shelving $8
1 Dollor store white plastic table cloth.
Projector in the rear on a tri-pod.
Just great viewing.
Did this for 5 – 6 years. Great times.
Till the NEW Nabors moved in.
It’s a great opportunity to learn from the trials of others. Kudos to [The Hook Up] for posting even sub-optimal results.
I would have bought a sheet of polyethylene, as sold for cheap painting tarps, laid that down and stretched it smooth. Lay the screen on top of the plastic then roll the Flex Seal onto the screen in a couple of layers. Being mushed against the plastic sheet would fill in the screen holes. For a final touch, get some glass bead as sold for bead blasting (for stripping paint and rust less harshly than with sand blasting) and sprinkle a thorough coating onto the second layer of Flex Seal while it’s still tacky. After it dries completely, vacuum up the excess glass bead to be use for its intended purpose.
The glass bead will matte the finish and should enhance reflectivity.
i literally just took to plaster, drywall and wet sanding. took me about a day of work. used existing wall. sanded down current paint, plastered imperfections, more sanding, wiping down with bucket of water and cloth between, then went finer on the grit, then carefully painted with paint i could wet sand with a super fine grit, and you want yo use a flat block here. then painted again and wet sanded, always wiping it clean after the sanding process, then flipped the screen on and taped off my area and then a flat black. tossed up some wooden roll up blinds to dress up the edges and threw a console beneath it, worked wonders. i tested like 5 different kinds of paint in advance and went with a super light gray.
In my old house, I used 3 8×4 sheets of 6mm MDF stuck to the wall and sprayed mid grey. Worked great for my old 1080p projector
We went to the fabric store and grabbed a few yards of black-out blind material. Lots of options and it’s never terribly expensive.
That and some small dimension 10 foot sections of wood made the screen cheap and cheerful. Larger than standard sized fabric may be special order, though.