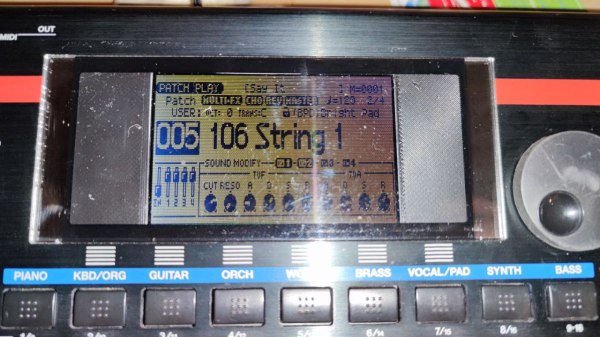
Repairing electronic devices isn’t as hard as it used to be. Thanks to the internet, it’s easy to find datasheets and application notes for any standard component inside your gadget, and once you’ve found the faulty one, you simply buy a replacement from one of a million web shops — assuming you don’t end up with a fake, of course. When it comes to non-standard components, however, things get more difficult, as [dpeddi] found out when a friend asked him for help in repairing a Roland Juno-G synthesizer with a broken display.
The main issue here was the fact that the display in question was a custom design, with no replacement or documentation available. The only thing [dpeddi] could figure out from the service manual was the basic pinout, which showed a parallel interface with two lines labelled “chip select” — an indication that the display contained two separate controllers. But the exact protocol and data format was not documented, so [dpeddi] brought out his logic analyzer to try and decode the signals generated by the synthesizer.
After a bit of trial and error, he was able to figure out the protocol: it looked like the display contained two KS0713-type LCD controllers, each controlling one half of the screen. Finding a compatible replacement was still proving difficult, so [dpeddi] decided instead to decode the original signals using a microcontroller and show the picture on a modern LCD driven by SPI. After some intial experiments with an ESP32, it turned out that the task of reading two reasonably fast parallel buses and driving an even faster serial one was a bit too much for the ESP, so [dpeddi] upgraded to a Raspberry Pi Pico. This worked a treat, and thanks to a 3D-printed mounting bracket, the new display also fit snugly inside the Roland’s case.
The Pico’s code is available on [dpeddi]’s GitHub page, so if you’ve also got a dodgy display in your Juno-G you can simply download it and use it to plug in a brand-new display. However, the method of reverse-engineering an existing display protocol and translating it to that of a new one is pretty universal and should come in handy when working with any type of electronic device: say, a vintage calculator or multimeter, or even another synthesizer.