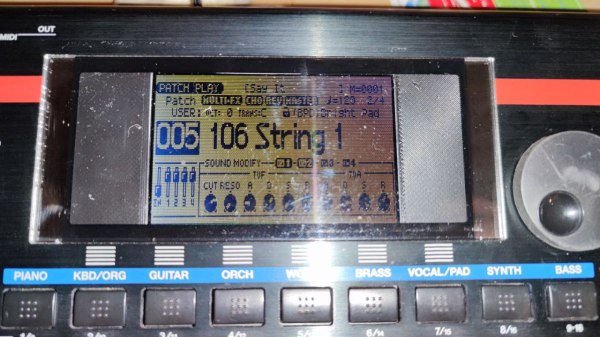
An LCD mounted inside a Roland synthesizer

Reverse-Engineering A Display Protocol To Repair A Roland Synthesizer

Repairing electronic devices isn’t as hard as it used to be. Thanks to the internet, it’s easy to find datasheets and application notes for any standard component inside your gadget, and once you’ve found the faulty one, you simply buy a replacement from one of a million web shops — assuming you don’t end up with a fake, of course. When it comes to non-standard components, however, things get more difficult, as [dpeddi] found out when a friend asked him for help in repairing a Roland Juno-G synthesizer with a broken display.

The main issue here was the fact that the display in question was a custom design, with no replacement or documentation available. The only thing [dpeddi] could figure out from the service manual was the basic pinout, which showed a parallel interface with two lines labelled “chip select” — an indication that the display contained two separate controllers. But the exact protocol and data format was not documented, so [dpeddi] brought out his logic analyzer to try and decode the signals generated by the synthesizer.

After a bit of trial and error, he was able to figure out the protocol: it looked like the display contained two KS0713-type LCD controllers, each controlling one half of the screen. Finding a compatible replacement was still proving difficult, so [dpeddi] decided instead to decode the original signals using a microcontroller and show the picture on a modern LCD driven by SPI. After some intial experiments with an ESP32, it turned out that the task of reading two reasonably fast parallel buses and driving an even faster serial one was a bit too much for the ESP, so [dpeddi] upgraded to a Raspberry Pi Pico. This worked a treat, and thanks to a 3D-printed mounting bracket, the new display also fit snugly inside the Roland’s case.

The Pico’s code is available on [dpeddi]’s GitHub page, so if you’ve also got a dodgy display in your Juno-G you can simply download it and use it to plug in a brand-new display. However, the method of reverse-engineering an existing display protocol and translating it to that of a new one is pretty universal and should come in handy when working with any type of electronic device: say, a vintage calculator or multimeter, or even another synthesizer.

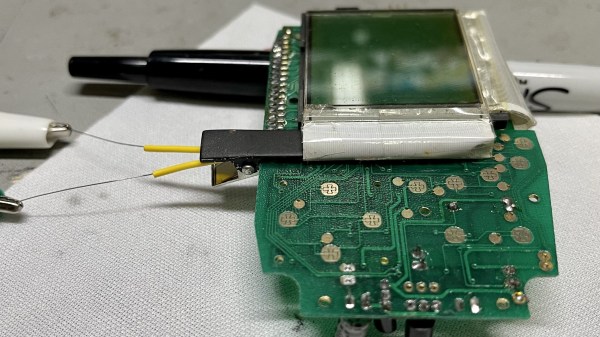
The hairclip-embedded tool being used on a Tiger 99x game console, clipped onto a spot where the plastic ribbon meets the LCD panel itself, heating it up

World’s Smallest Hair Straightener For Fixing Old LCD Ribbons

[Stephen] writes to us about an LCD repair tool he has created. We’ve all seen old devices with monochrome LCDs connected by thin film, where connections between the PCB and the LCD have deteriorated and the LCD would no longer show parts of the picture. This is a connection heating gadget, that [Stephen] affectionately dubs as World’s Smallest Hair Straightener, made specifically to bring cool old tech back to life.

A resin-printed mold houses a coil of Kanthal wire, easy to source and simple to make. He reuses a hair clip as a housing for the heating element, which also provides pressure needed to squish the film-printed conductive traces into the LCD as the adhesive melts. High-temperature epoxy brings the two together, and with a variable power supply, this tool successfully brought an old Tiger 99x handheld back to life.

This hack was made possible, in part, because of [JohnDevin Duncan] in Hackaday comment section sharing his experience on repairing LCD ribbons back in 2015, giving valuable insights on the problem that we initially thought would be solve-able with a soldering iron. The knowledge shared was distilled by [Stephen] into a tool that we all can now use when we encounter a device we really, really want to revive.

Last time we covered this topic, quite a few hackers popped up with their stories and suggestions. Old game console fix stories are a staple here on Hackaday, a few pop to mind – this high-effort trace repair of a water-damaged GameBoy cartridge, a badly designed NES cartridge socket reinvention, and this GameBoy LCD sunburn damage restoration guide.

Hackaday Links: April 13, 2011

Oven parts scrounging

oven_desoldering

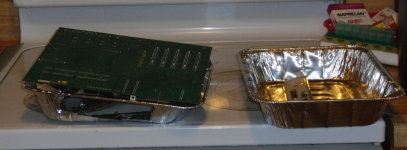
In response to last week’s post about parts scrounging with a heat gun, Hackaday forum member [BiOzZ] decided to try doing the same thing in his oven. It seems to work quite well, but we’re wondering if there should be any concerns over the lead content of the solder. Anyone care to chime in?

Spill-proof parts holder

parts_holder

Have you ever been in the midst of disassembling something and knocked over your container full of screws onto the floor? [Infrared] has a simple solution to the problem which also happens to keep a couple of plastic bottles out of the landfill.

Easy button stops abuse of the word awesome

easy_button

Do you often repeat a word ad nauseam? Make author Matt Richardson does, and he hacked a Staples “Easy” button to help him break his addiction to the word “Awesome”.

Cheap Remote-controlled baseboard lighting

baseboard_lighting

[Sean] scored a pair of LED deck lighting kits for a steal and decided to install them into his newly renovated kitchen. They are currently remote operated, but he plans on adding an X10 interface as well as PIR sensors for automatic triggering in the near future.

Yet another LCD recapping guide

monitor_recap

It starts with a finicky backlight, or perhaps a high-pitched whine from the back of your display – by now, we’re sure that everyone knows the symptoms of an LCD panel that’s just about to die. [Eric’s] Syncmaster recently quit on him, so he pried it open and got busy recapping. It’s running again, and he wanted to share his repair process in case others out there own the same display.

LED LCD Backlight Replacement


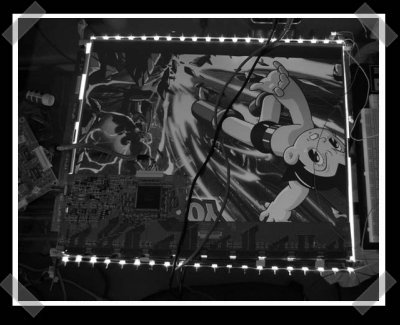
[Keith]’s cousin gave him a LCD with a noisy backlight. He decided to replace it with a series of high output LEDs. He sourced some locally in the form of cheap LED headlamps from an auto-parts store. The results look pretty good – and the write up contains this gem: “…One [LED] also exploded due to an accidental overvolt. Shot me in the Chest. Panel okay though” Nice work.