An Analog Synth For The Modern World

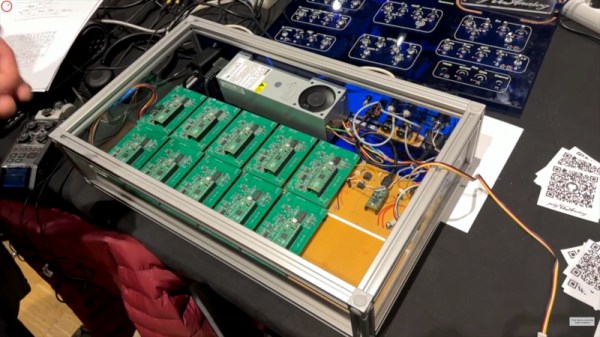
We cover so many projects here at Hackaday that lead the author down a rabbit hole of technological investigation that distracts us from the task of bringing them to you. Such a project is polyUAnalog, a very modern take on an analogue synthesizer. If you are imagining a synth of old with modules and patch cables, think again. The modern way to do this is it seems to use an individual synthesizer chip for each voice, resulting in a very versatile instrument indeed.

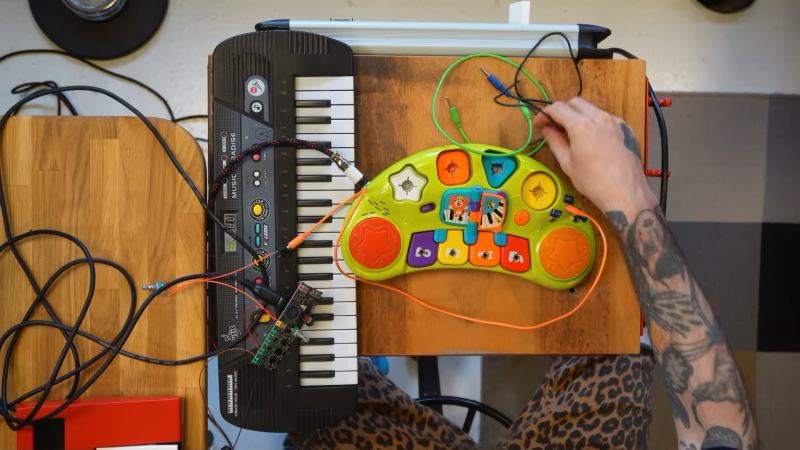
The integrated circuit in question is the AS3397, which when coupled on a PCB with a Raspberry Pi Pico makes for a self-contained single-voice analog synth. It’s controlled via I2C from a conductor board for which frustratingly the README doesn’t give a processor, but we think may be powered by another Pi Pico. This board does the job of taking MIDI and other controls, and farming them out tot he individual voices. The prototype has ten, but it can support many more.

It’s the work of a pair of researchers from the University of Angers in France, and we’re told it’s a side project from their work in the field of spectroscopy. There’s a video about it which we’ve placed below the break, and they’ve also written a paper about it.

Continue reading “An Analog Synth For The Modern World”

Bite Into Strange Sounds With NOISFERATU

The NOISFERATU is an open source generative textural sound synthesizer, or as creator [Robert Heel] puts it, “a sound designer’s dream and audiophile’s worst nightmare”.

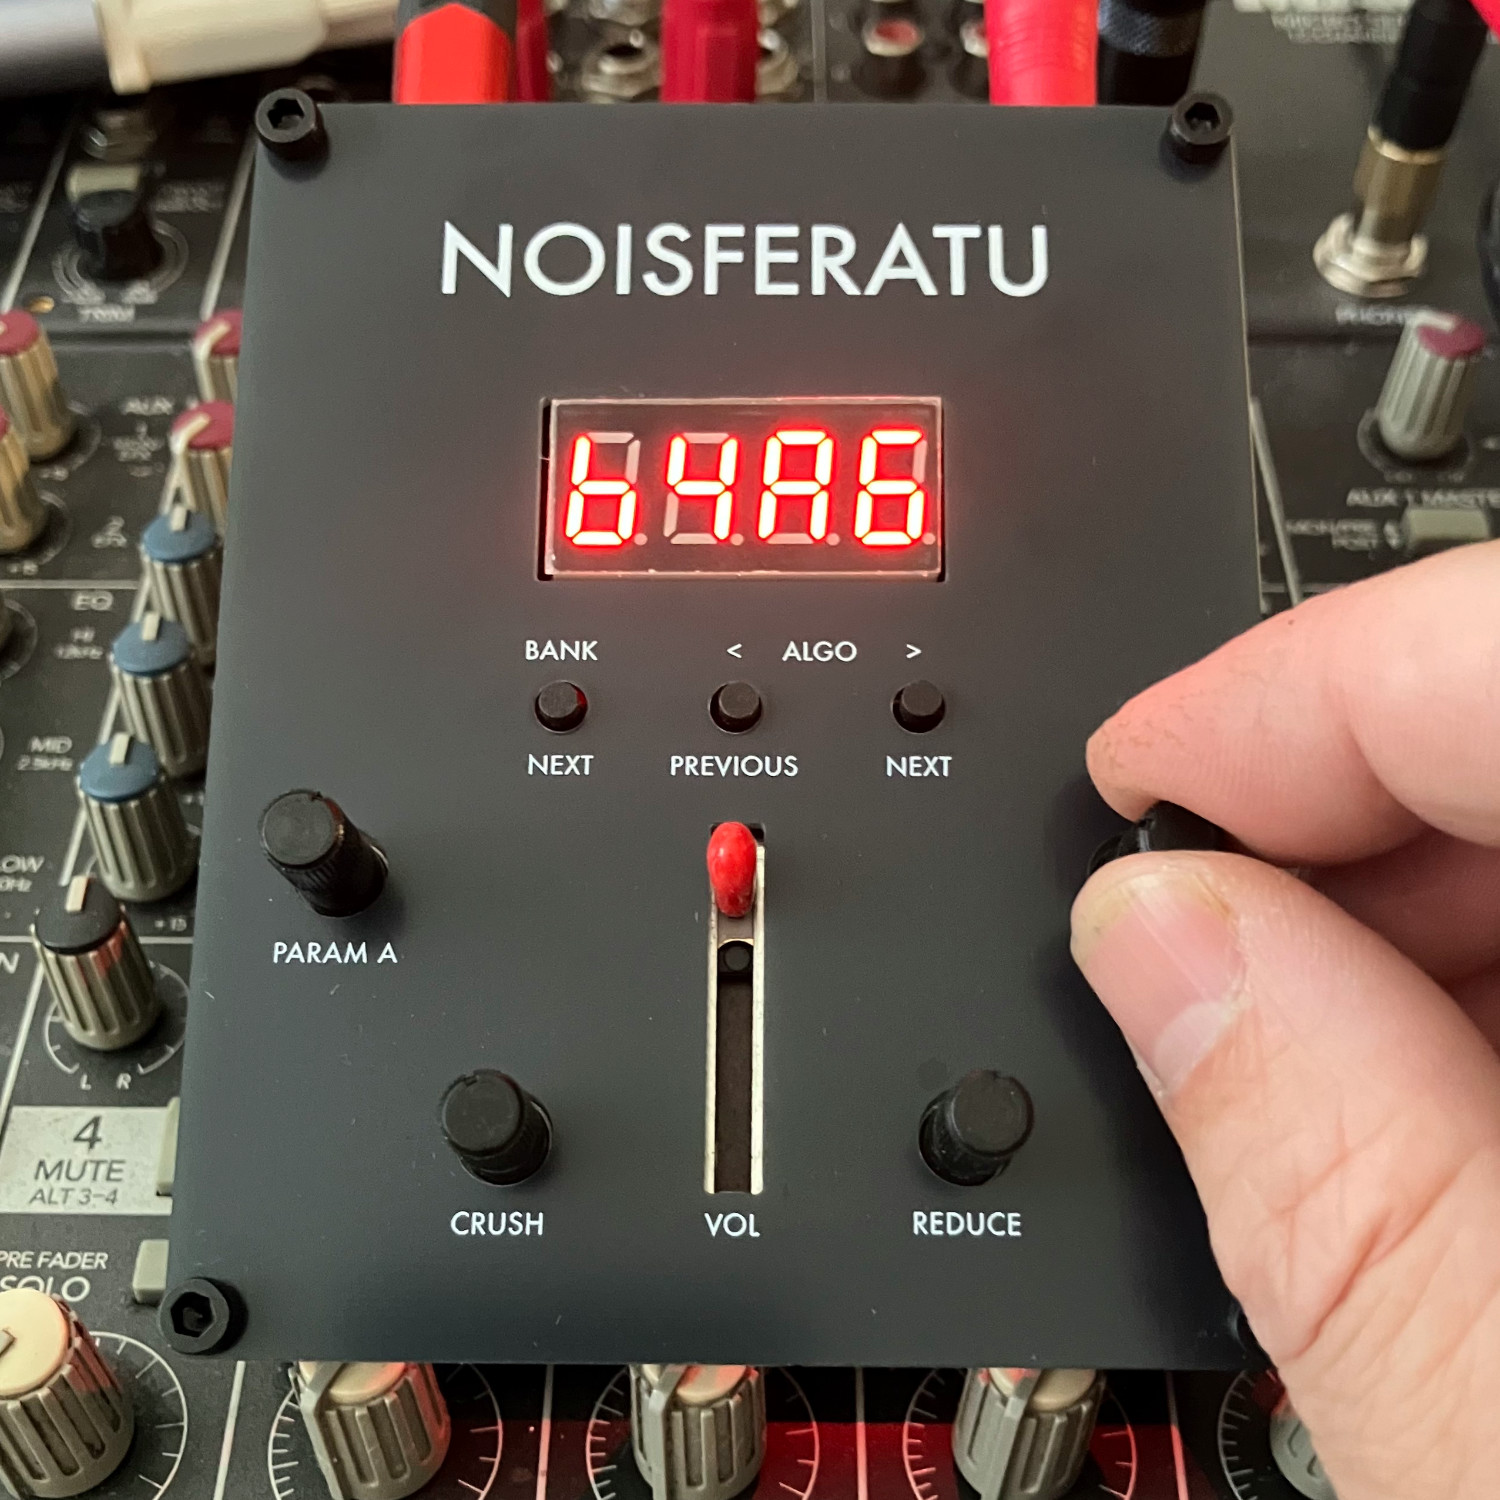
NOISFERATU offers 45 different sound algorithms grouped into five banks to produce a dazzling range of evolving soundscapes and patterns that resist repetition or settling, each influenced and shaped — the word controlled does not quite apply — by a volume slider and a few hardware knobs.

So what does it actually sound like? Check out the video embedded below to give it a listen, it’s pretty trippy.

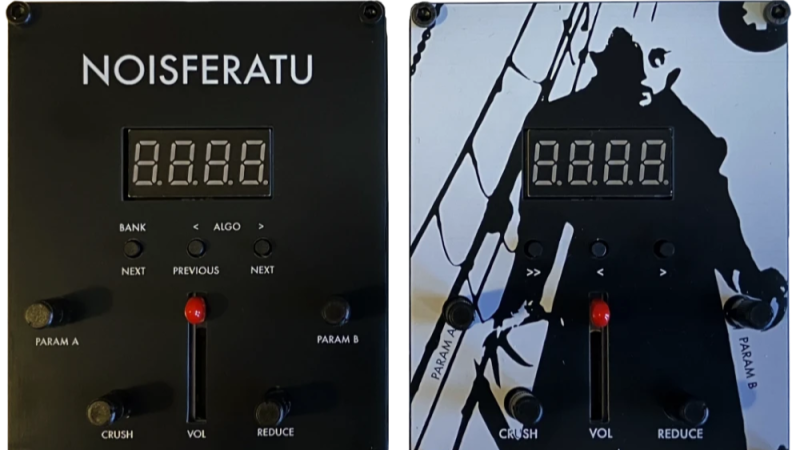
Hardware-wise NOISFERATU is centered around the Seeed Studio XIAO SAMD21 microcontroller board, takes power over USB-C, and has a headphone jack for sound output. We love the artwork on the dual-sided front panel, too.

DIY synthesizers based on logic chips have a long and proud history, and seeing the different directions people can go by incorporating microcontrollers is always a delight.

If NOISFERATU’s experimental sound and noise sounds up your alley, the design files and code on GitHub have everything one should need to build one. Kits are for sale direct from the designer, as well.

Continue reading “Bite Into Strange Sounds With NOISFERATU”

Wearable MIDI Controller Built With Raspberry Pi

Most synths happily get by with keyboard or pad inputs and make lovely sounds in response. [Becky Clarke] and her fellow collaborators are building a synth that works rather differently. DigitSynth is a wearable controller that’s rather fun to interact with.

The heart of the build is a Raspberry Pi 5. It’s set up to talk to a TI ADS1115 ADC chip that lets it read a bunch of analog flex sensors embedded in a right-hand glove, while the Pi can also read a bunch of tactile buttons activated by the left hand. The flex sensors are used to control synth parameters like LFO rate and filter cutoffs, while the buttons control chord changes. The Raspberry Pi runs custom code to read these devices and generate the requisite MIDI commands to send to a Roland JD-Xi synth which is responsible for actually making the sound. Both sets of fingers are also dotted with LEDs for visual feedback, controlled via a TLC59711 PWM driver.

It’s a fun build that creates some ethereal sounds in an intuitive way, thanks to the nature of the interface. We’ve featured some similar builds before, using the flexure of the hand to create musical soundscapes. Video after the break.

Continue reading “Wearable MIDI Controller Built With Raspberry Pi”

Playful ‘Space Dice’ Kit Shows Off Clever Design

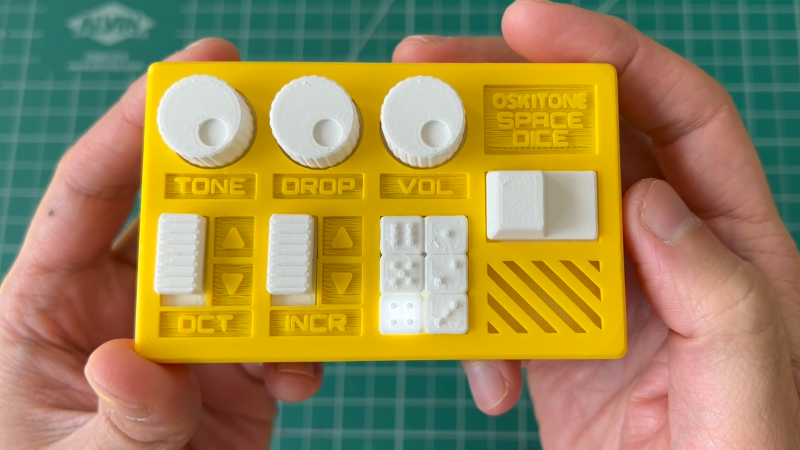
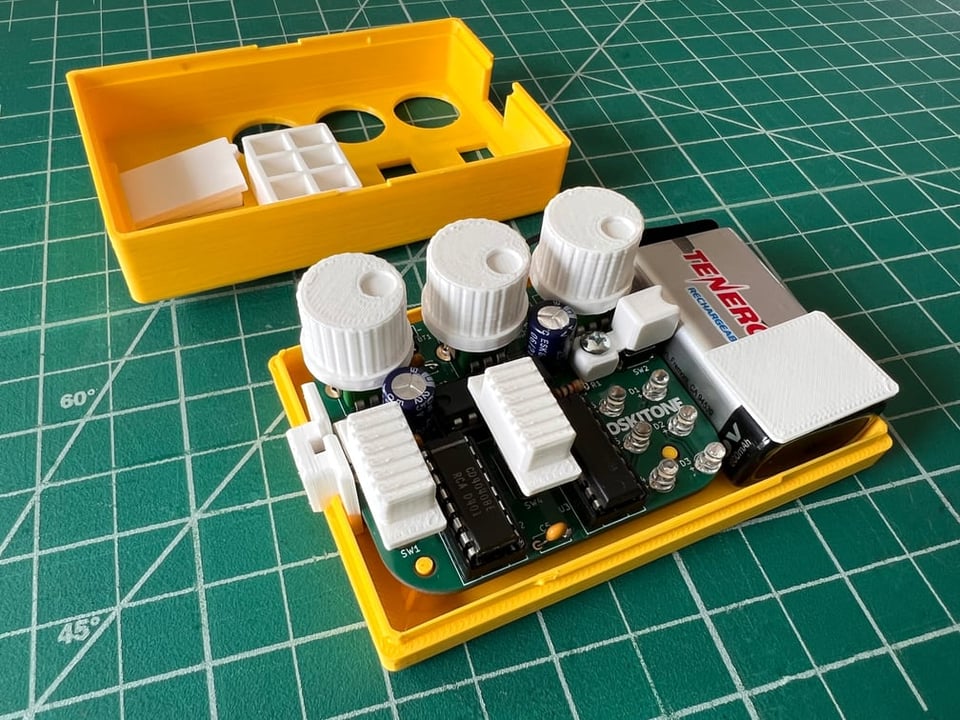
[Tommy] at Oskitone has been making hardware synth kits for years, and his designs are always worth checking out. His newest offering Space Dice is an educational kit that is a combination vintage sci-fi space laser sound generator, and six-sided die roller. What’s more, as a kit it represents an effort to be genuinely educational, rather than just using it as a meaningless marketing term.

There are several elements we find pretty interesting in Space Dice. One is the fact that, like most of [Tommy]’s designs, there isn’t a microcontroller in sight. Synthesizers based mostly on CMOS logic chips have been a mainstay of DIY electronics for years, as have “electronic dice” circuits. This device mashes both together in an accessible way that uses a minimum of components.

There are only three chips inside: a CD4093 quad NAND with Schmitt-trigger inputs used as a relaxation oscillator, a CD4040 binary counter used as a prescaler, and a CD4017 decade counter responsible for spinning a signal around six LEDs while sound is generated, to represent an electronic die. Sound emerges from a speaker on the backside of the PCB, which we’re delighted to see is driven not by a separate amplifier chip, but by unused gates on the CD4093 acting as a simple but effective square wave booster.

In addition, [Tommy] puts effort into minimizing part count and complexity, ensuring that physical assembly does not depend on separate fasteners or adhesives. We also like the way he uses a lever assembly to make the big activation button — mounted squarely above the 9 V battery — interface with a button on the PCB that is physically off to the side. The result is an enclosure that is compact and tidy.

We recommend checking out [Tommy]’s concise writeup on the design details of Space Dice for some great design insights, and take a look at the assembly guide to see for yourself the attention paid to making the process an educational one. We love the concept of presenting an evolving schematic diagram, which changes and fills out as each assembly step is performed and tested.

Watch it in action in a demo video, embedded just below. Space Dice is available for purchase but if you prefer to roll your own, all the design files and documentation are available online from the project’s GitHub repository.

Continue reading “Playful ‘Space Dice’ Kit Shows Off Clever Design”

Building A Granular Sampler Synth

Synthesizing sounds from scratch is all well and good, you just use a bit of maths. However, the latest build from [Daisy] eschews such boring concepts as additive or subtractive synthesis, instead going for a sample-based approach.

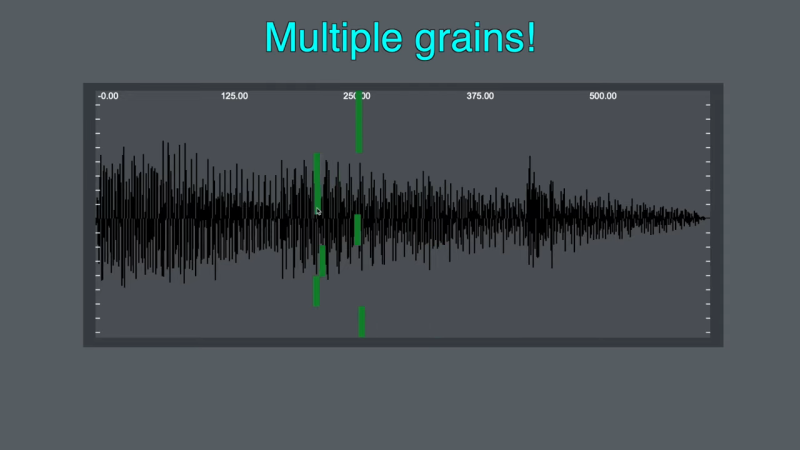
This build is based around the Daisy Seed microcontroller platform. It was actually inspired by an earlier project to create a ribbon synth, which we covered previously. In this case, the ribbon potentiometer has been repurposed, being used to control the playback position of a lengthy recorded sample. In this build, the Daisy Seed is running its audio playback system at a rate of 48,000 samples per second. It’s capable of storing up to 192,000 samples in memory, so it has a total of 4 seconds of sample storage. The Daisy Seed uses an analog-to-digital input to record two seconds of audio into the sample buffer. It can then be replayed by placing a finger on the ribbon at various points. Playback is via granular synthesis, where small sections of the overall sample buffer are used to synthesize a new tone. The video explains how the granular synthesis algorithm is implemented using the Plugdata framework. Design files are available for those eager to replicate the build.

Once you start tinkering in the world of synthesis, it’s easy to fall down the rabbit hole. Video after the break.

Continue reading “Building A Granular Sampler Synth”

DIY Synth Takes Inspiration From Fretted Instruments

There are a million and one MIDI controllers and synths on the market, but sometimes it’s just more satisfying to make your own. [Turi Scandurra] very much went his own way when he put together his Diapasonix instrument.

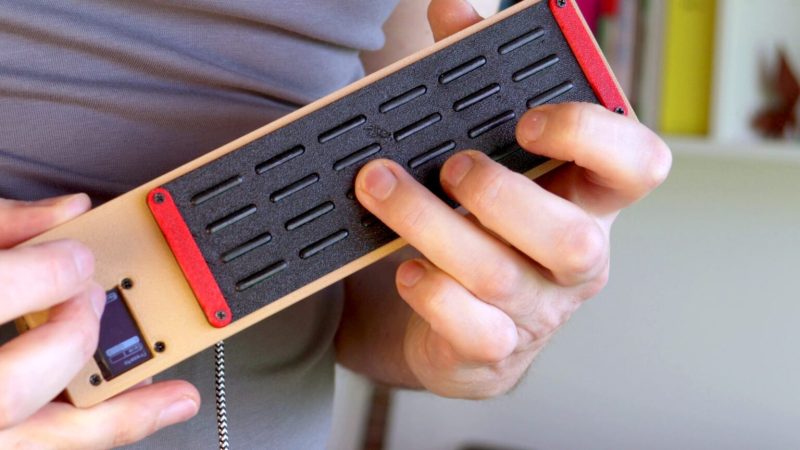
Right away, the build is somewhat reminiscent of a stringed instrument, what with its buttons laid out in four “strings” of six “frets” each. Only, they’re not so much buttons, as individual sections of a capacitive touch controller. A Raspberry Pi Pico 2 is responsible for reading the 24 pads, with the aid of two MPR121 capacitive touch ICs.

The Diapasonix can be played as an instrument in its own right, using the AMY synthesis engine. This provides a huge range of patches from the Juno 6 and DX7 synthesizers of old. Onboard effects like delay and reverb can be used to alter the sound. Alternatively, it can be used as a MIDI controller, feeding its data to a PC attached over USB. It can be played in multiple modes, with either direct note triggers or with a “strumming” method instead.

We’ve featured a great many MIDI controllers over the years, from the artistic to the compact. Video after the break. Continue reading “DIY Synth Takes Inspiration From Fretted Instruments”

Building A Simple Ribbon Synth

The usual input device for playing a synthesizer is the good old piano keyboard. However, you don’t have to stick to such pedestrian interfaces when making music. [Daisy] has a fun build that shows us how to put together a ribbon synth that makes wonderful little noises.

Naturally, the heart of the build is a ribbon potentiometer (also known as soft pots). It’s essentially a touch sensitive strip that changes in resistance depending on where you touch it. You can slide your finger up and down to vary the output continuously; in musical contexts, they can behave rather like a fretless instrument. [Daisy] employs one of these potentiometers in such a role by hooking it up to a Daisy Seed microcontroller board, which reads it with an analog-to-digital converter (ADC). The resistance values are used to vary the pitch of a dual-saw synthesizer programmed in the plugdata framework.

We’ve featured some other great ribbon synths over the years, too, like this tribute to the Eowave Persephone. They’re not the ideal choice for those that prefer their notes on pitch, but they’re beautifully fun to play with when you’re getting a little more experimental.

Continue reading “Building A Simple Ribbon Synth”