Ever been curious on how to fasten 3D printed parts together? There are lots of ways to do it — but what’s the best way? [Chris Lopez] works in a machine shop and decided to do some testing of how best to tap 3D printed parts, so you don’t have to!
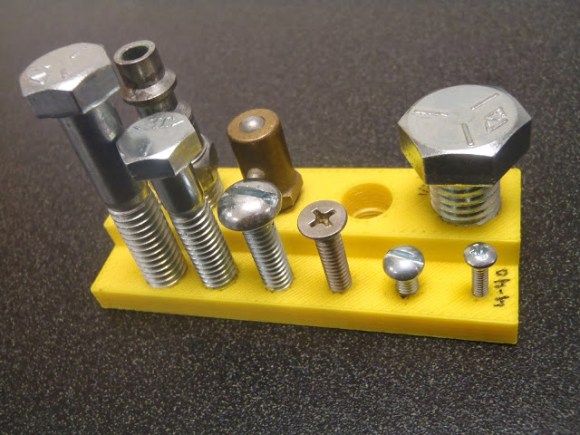
The typical ways to add fasteners in 3D printed parts include designing the thread right into the part (only works for big threads), adding a press-fit insert, drilling and tapping it like any other material, inserting a Heli-Coil, or even by using ultrasonic weld inserts. In fact, this Stratasys blog post actually goes into some good detail on the pros and cons of each!
But, there’s a much easier way. To tap a hole normally you need to locate it accurately, make a pilot hole with a center drill — ensuring it is straight and true — then drill through with the undersized tap drill, and finally, thread it with a tap. Luckily, your 3D printer takes care of almost all these steps. By simply designing your holes to be the tap drill size you can hand tap fairly strong threads in your 3D printed parts. Just make sure your wall thicknesses and or infill settings are high enough to make sure there is material to engage!
[Chris] also goes into some detail on creating captive nut geometry — but for that you’re going to have to check out his blog. And if you’re interested in another style of fastening 3D printed parts, why not inset magnets into them while they are printing?


