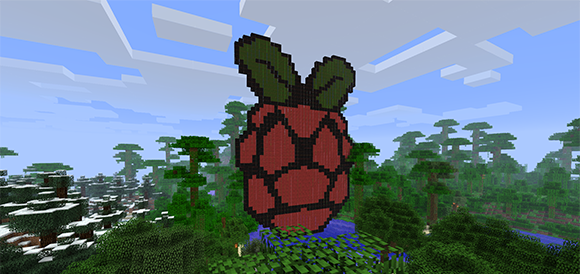
We’ve seen computers built in Minecraft out of redstone, the game’s version of electricity, circuits, and digital logic. We’ve even seen a few redstone contraptions controlling real-world devices. [Angus]’ build, though, takes things to a whole new level. He’s created a bridge between Minecraft circuits and their real life counterparts using a Raspberry Pi.
[Angus]’ build relies on a mod for Minecraft servers running as a Bukkit plugin. Blocks powered by redstone are labeled with an in-game sign, and messages regarding the state of a block are passed over the network using the MQTT protocol.
The hardware side of the build is a Raspberry Pi with a PiFace expansion board. With this setup, [Angus] can control LEDs on the PiFace by toggling Minecraft levers, or light up redstone lamps using the PiFace’s buttons.
If you’d like to try this out for yourself, you can grab the Bukkit plugin over on [Angus]’s git. Check out the video of the real life redstone in action after the break.
[youtube=http://www.youtube.com/watch?v=ythrmFAJugw&w=580]


Anyone who likes digital logic and Minecraft probably already knows this, but the RedPower2 mod is amazing in terms of the options it provides for redstone wiring. Multiple cable colors, bundled cables, timers, one-block logic gates, even up to a processor capable of using FORTH. Pretty cool, I haven’t explored even a fraction of the options.
Computercraft isn’t bad either, it adds LUA based computers and turtles to interact with the game world.
Either of these would be a great addition to such a project.
you are right, you actually don’t even need a bukkit server for controlling the raspberry, just a smp (single player) world and computercraft, the inbuild http client in computercraft can be used to trigger php scripts on the raspberry as well. or if you want to go even further there is an addon for computercraft called ccsockets which implements the whole tcp stack. having a receiver on the raspberry turning on and of the gpios is dead simple in the end.
I hadnt seen computercraft, that rocks!
I am going to have to see what I can do with that.
SMP is survival MULTY player.
SSP is survival SINGAL player.
Actually:
SMP is Survival Multi Player
SSP in Survival Single Player
On my local server I cooked up a node.js command queue server, that talked to my ps3 controller, I could use it to remote control turtles! A smidge OP, but fun!
All I can think of when I see this – is opening up Minecraft and flipping a switch and having a secret panel open in a room of your house.
I’m going to steal this idea.
Didn’t [Cnlohr] do something almost the same as this a couple of months ago?
Mojang is supposed to be doing this right now. When they announced it the Pi foundation said they “hoped” it would be out by Jan.1. Though, if the tradition of “announce early, release never” that they have established holds true, you might want to look into this hack anyway.
That’s it, we’ve reached the singularity of pandering. Figure out a way to work in arduino, 3D printing, and kickstarter and Hackaday will collapse in upon itself.
Now if ya can just put it all on a break out board developed for just such a purpose and call it a hack like above, I will crowdsource all over it ;)
Anyone else see the image and think ‘hey what seed is that?’
I can see it working for home automation. When at work, log into minecraft, walk to your virtual house and flip the switches for the heating you want to have on and in your real house the corresponding heating elements turn on.
this
I dont undestand the point of minecraft. You make your staff in simulator is this all or i am missing something?
That’s pretty much it, but it’s a free simulator, or at least a lot cheaper than buying the hardware, and with all the mods and plugins, there is almost no limits beyond your imagination.
Hi. I have made a demo with Minecraft and a plastic skull fitted with servos and LED’s that perform facetracking of the player. It uses scriptcraft and MQTT http://blogg.bouvet.no/2014/03/10/an-internet-of-things-demo-using-raspberry-pi-arduino-minecraft-and-mqtt/
We played around with the real life redstone plugin and got it working … we used a button on the RPi to trigger a redstone circuit connected to TNT in minecraft … pretty spectacular.
We uploaded a youtube video at:
http://youtu.be/Qb4p1HmsvFQ
How would one do something like this without the piFace board? There are videos around of similar ‘demos’, where the game interacts with a raspberry pi and vice versa, but no documentation (other than this one which uses a piface). Would like to do something like this with my kids over the fall break :)