One of the most practical applications for a home 3D printer is the ability to produce replacement parts; why wait a week for somebody to ship you a little plastic widget when you’ve got a machine that can manufacture a facsimile of it in a couple of hours? But what if your skills and passion for the smell of melting PLA push you even farther? You might move on from printing replacement parts to designing and building whole new devices and assemblies. Arguably this could be considered “peak” 3D printing: using a printer to create new devices which would otherwise be difficult or impractical for an individual to manufacture by more traditional means.
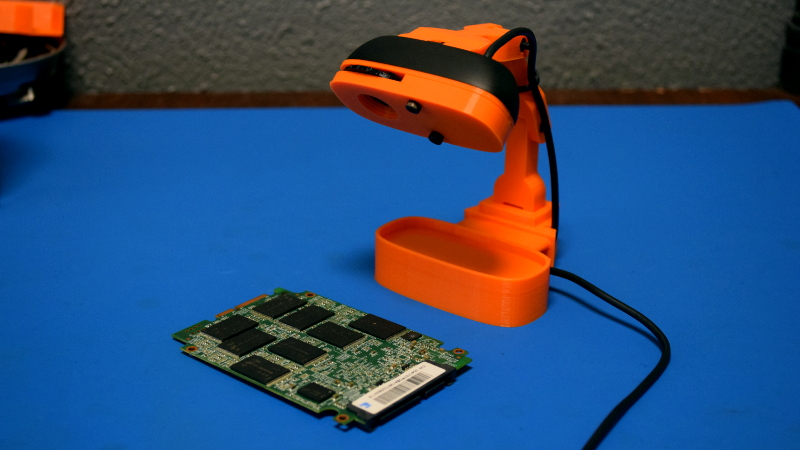
A perfect example is this fantastic total conversion for the Logitech C270 webcam designed by [Luc Eeckelaert]. Officially he calls it a “tripod”, and perhaps that’s how the design started, but the final product is clearly much more than that. It puts the normally monitor-mounted Logitech camera onto an articulated arm, greatly improving the device’s usability. The conversion even includes the ability to manually adjust the focus, a feature the original hardware doesn’t have. It turns the affordable and widely available Logitech C270 into an excellent camera to have on the workbench for documenting projects, or pointing at the bed of your 3D printer.
Easier than it Looks
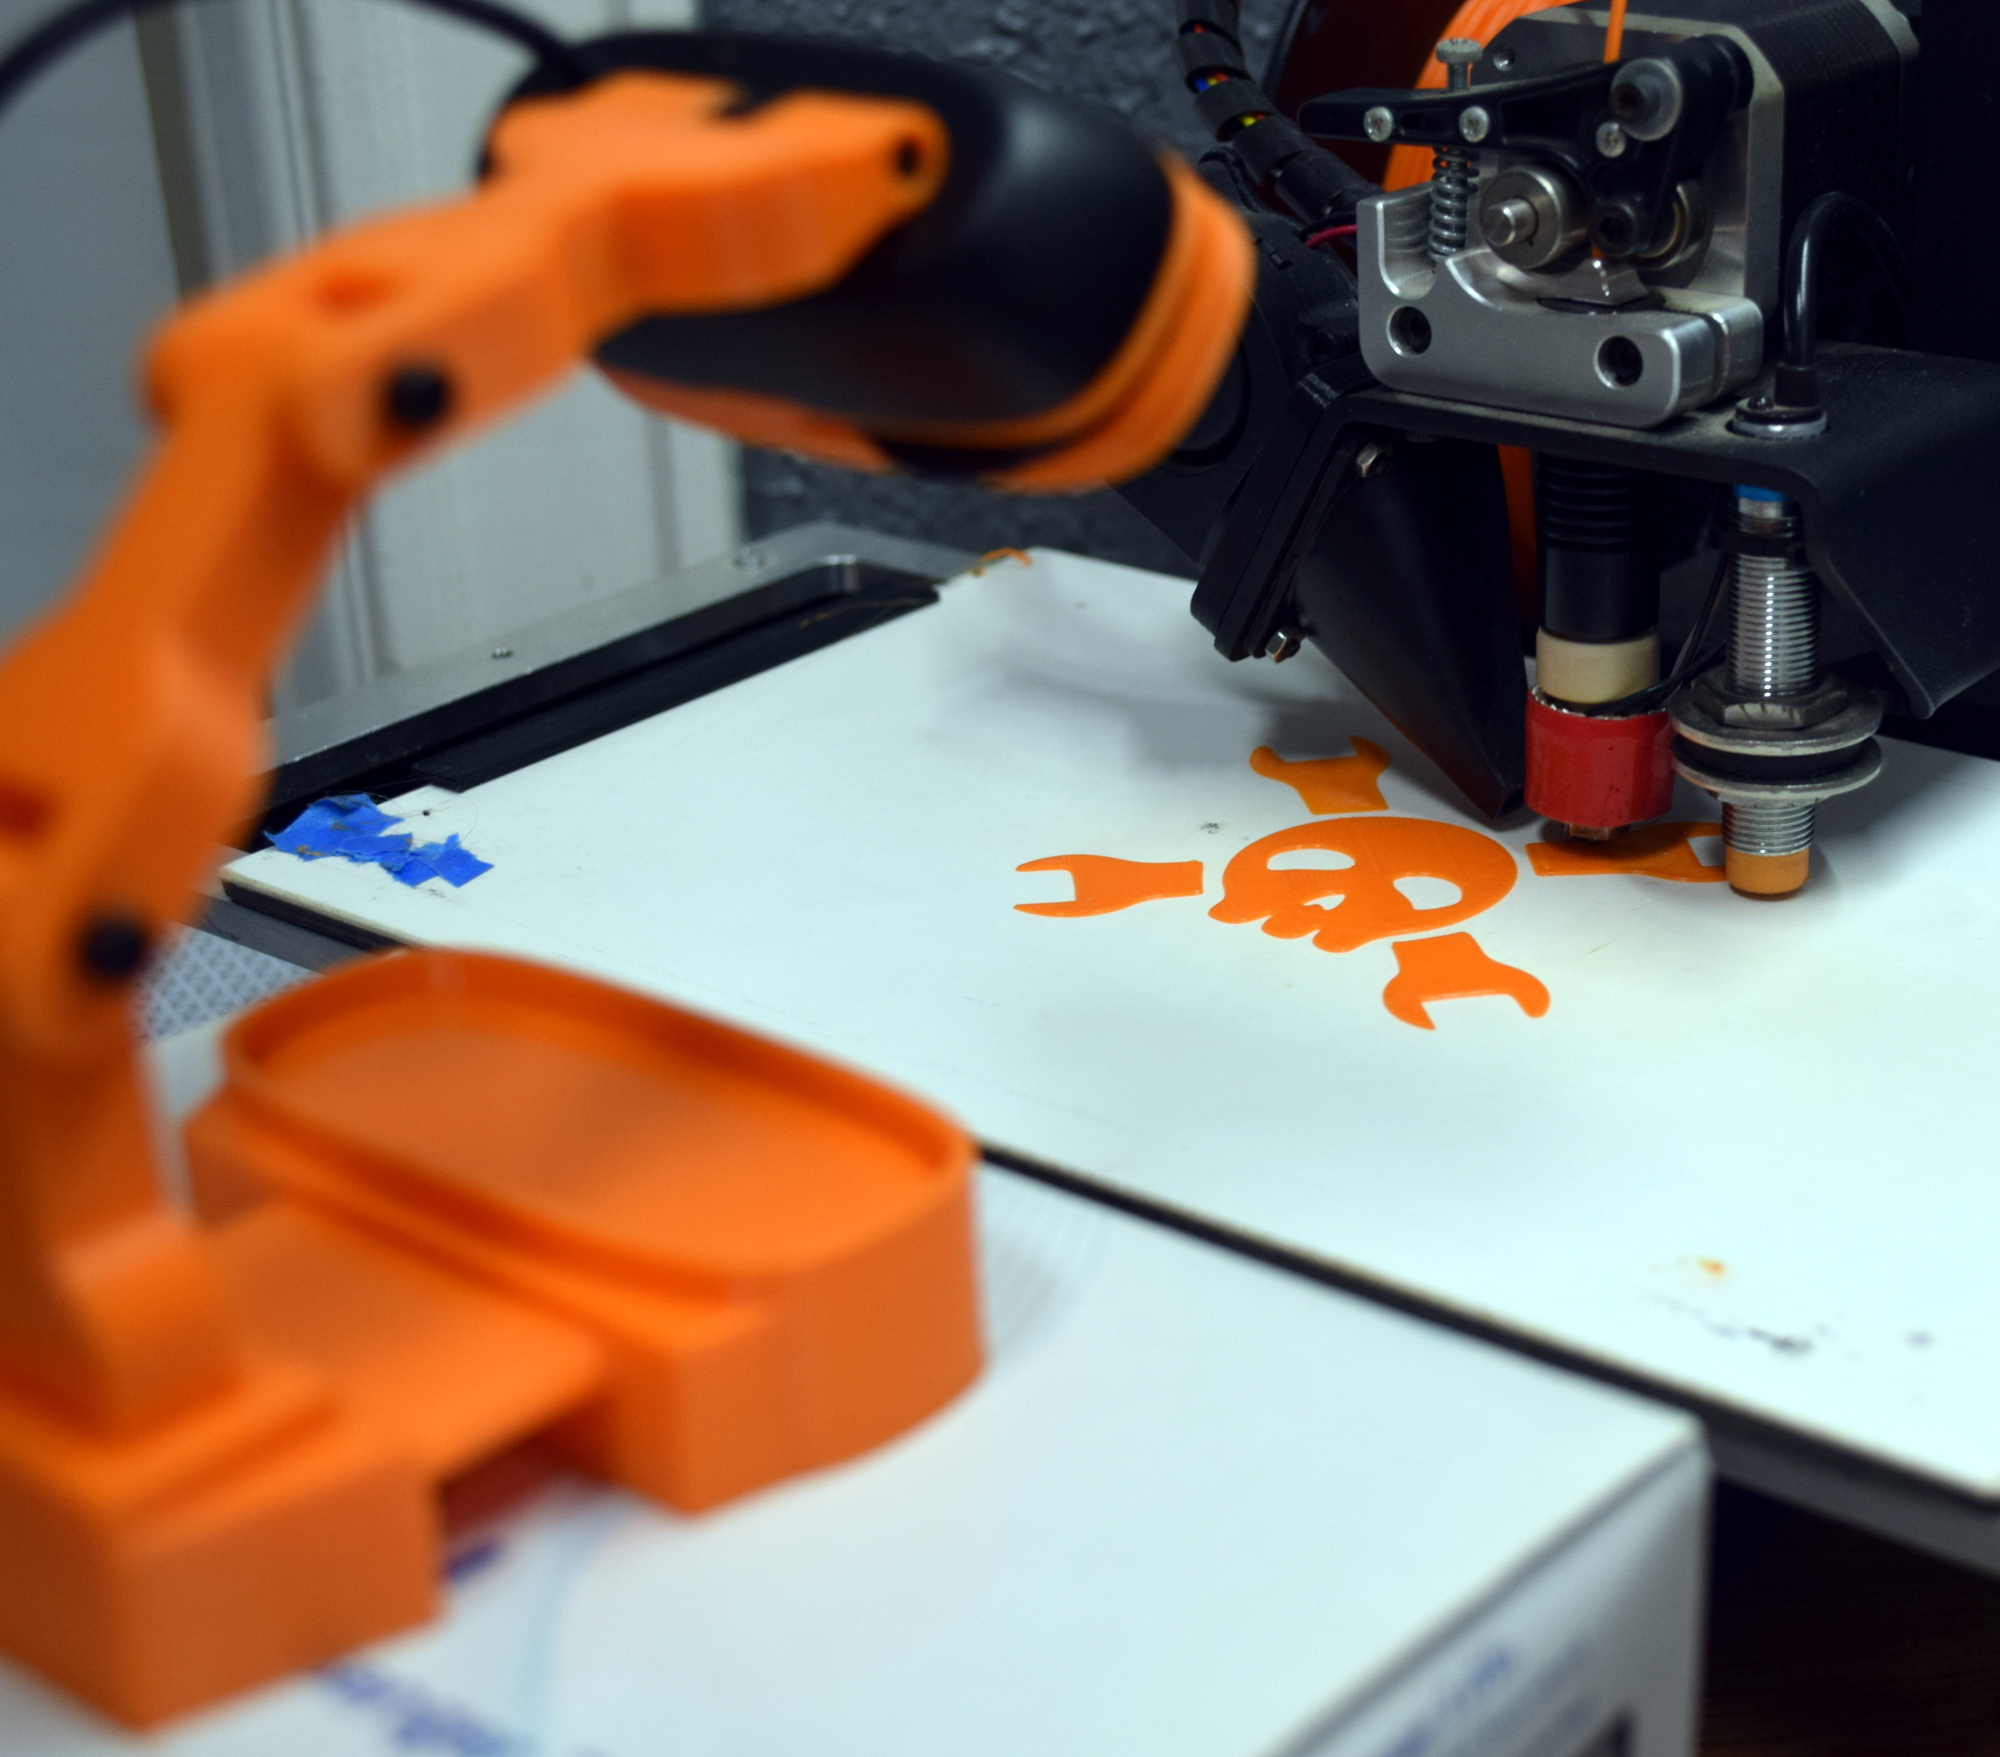
Printing the arm segments used in the C270 conversion is pretty painless. The segments are fairly basic shapes that don’t require support and can be printed at a thicker layer height to save time without compromising anything. They’re also fairly quick prints given how small each one is. [Luc] broke up the design for the camera mount into separate pieces that are bolted together, saving us from what would have been a potential nightmare to print.
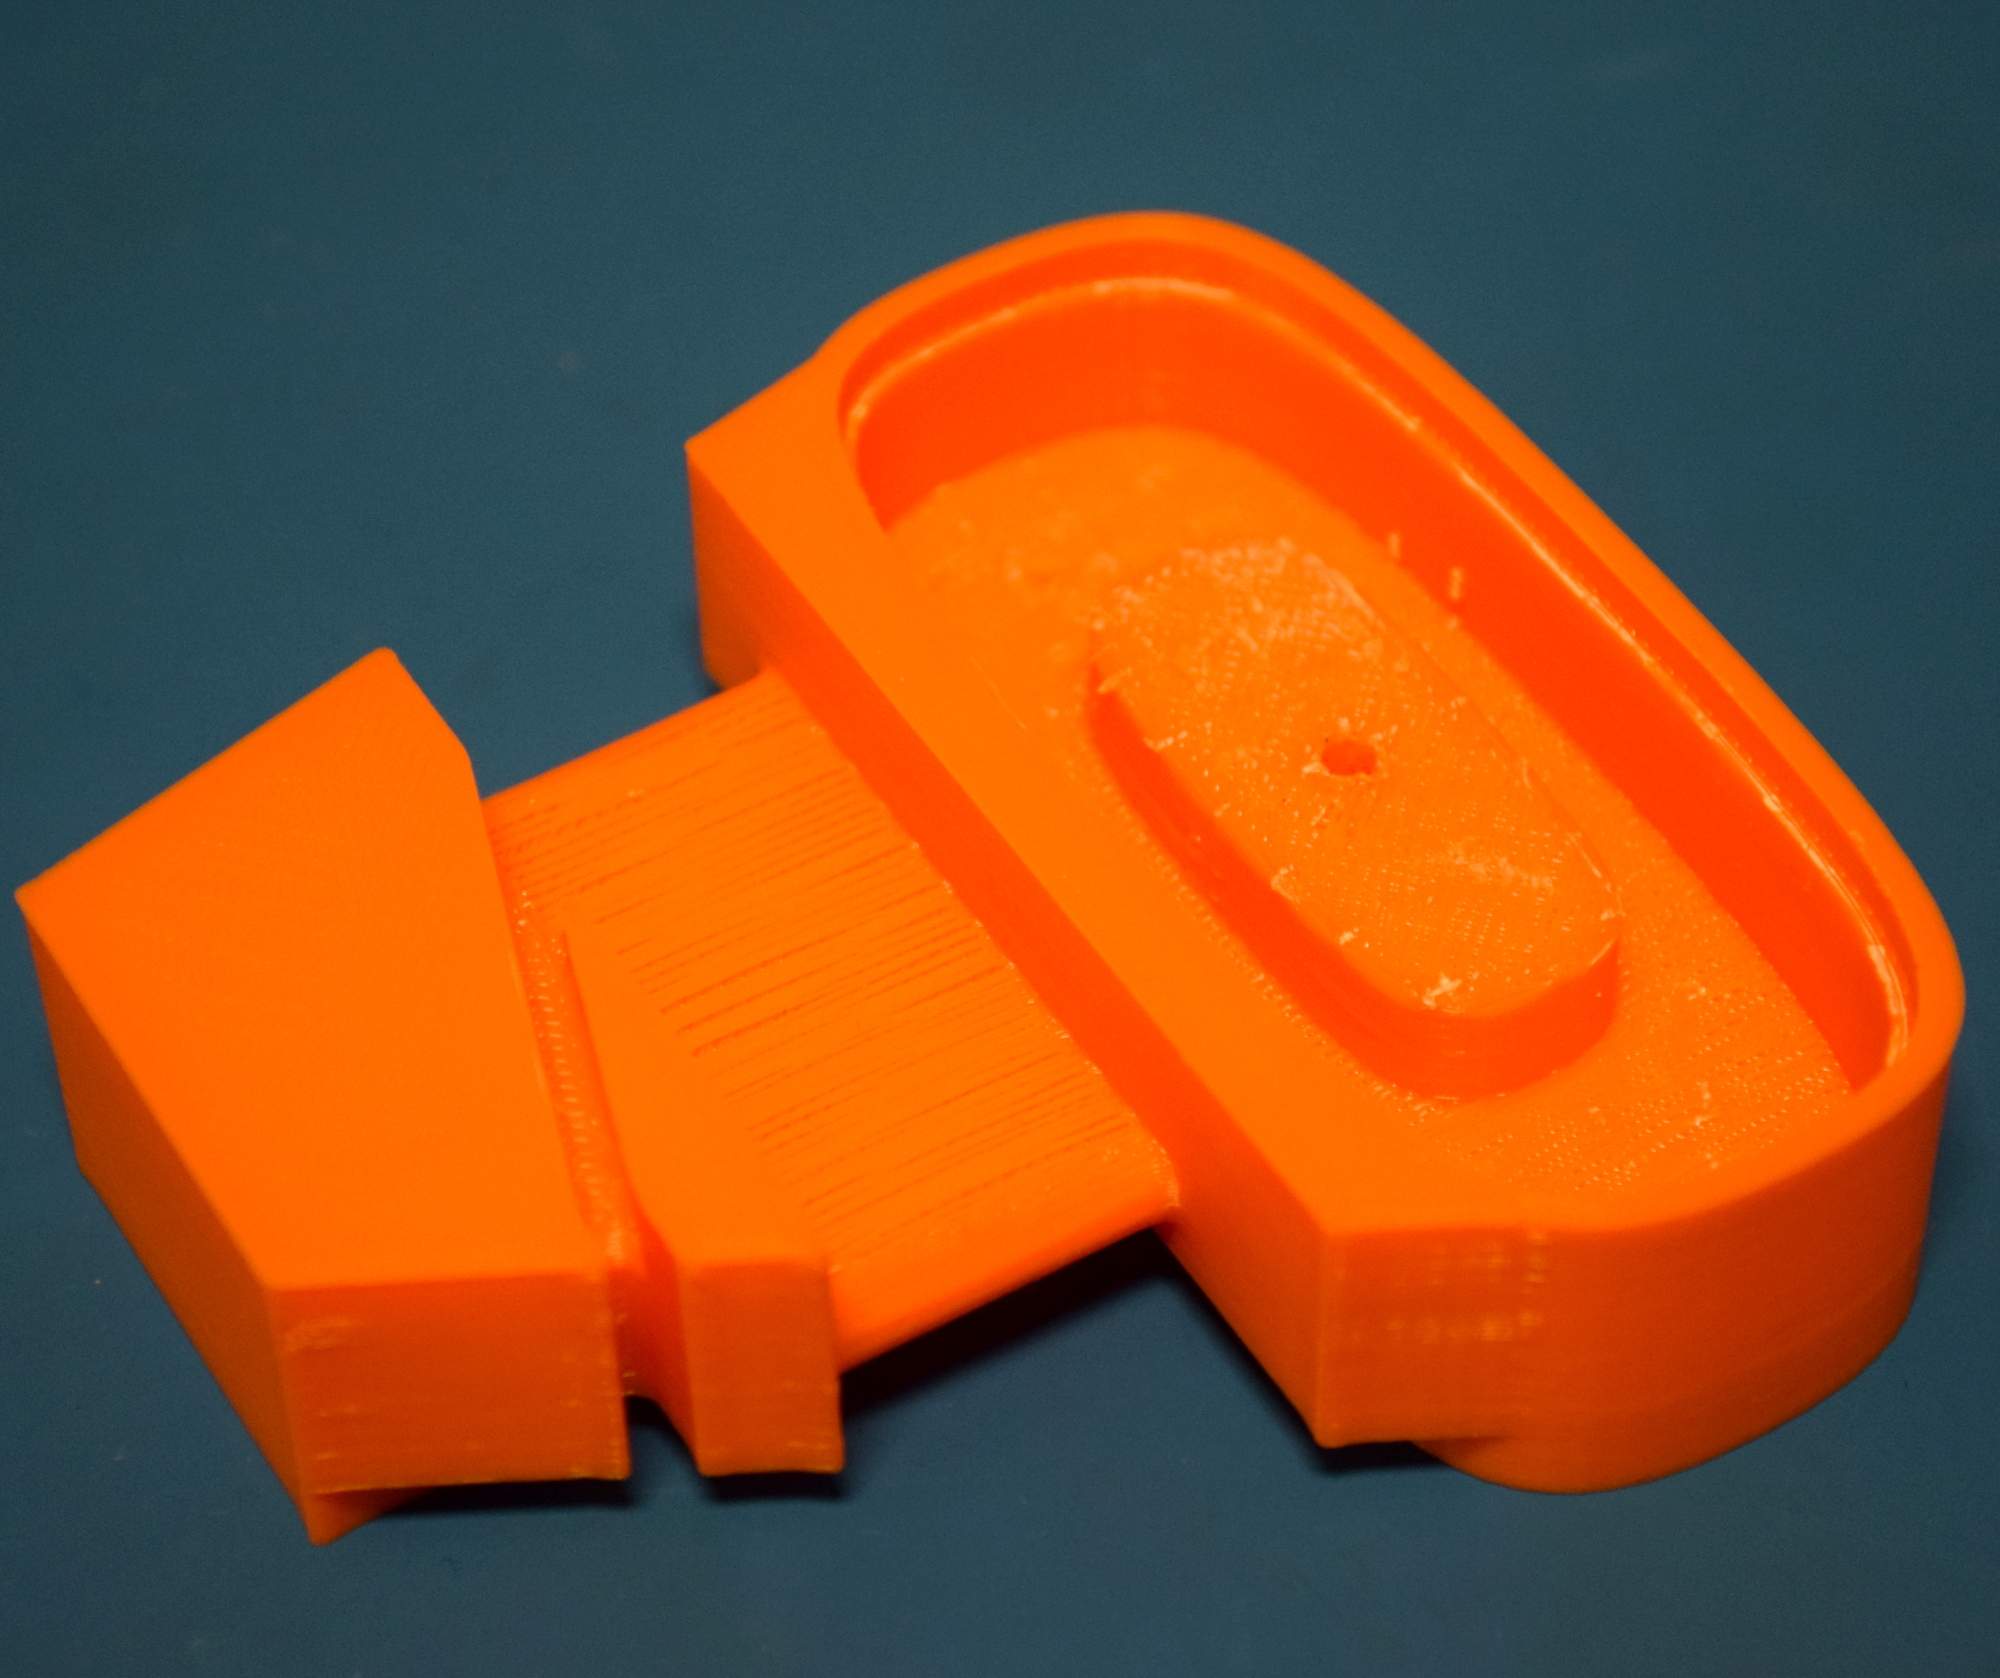
The base on the other hand is a bit trickier. The idea is to leave the base hollow so it can be filled with something to add some weight to it, which means a lot of support is required. The relatively tight confines of the base also make removing that support material a bit of a pain; I was mildly surprised when I was able to get it all out without breaking the print itself. A variation of the base that was solid would be a nice addition to the current STLs, though naturally you’d lose the ability to add the extra weight.
[Luc] recommends a 20% infill for all parts, which seems more than reasonable given the relatively light weight of the camera it will be holding. Personally I bumped it up to 35% as it had a negligible effect on print time, but I wouldn’t bother going any higher than that.
Arm Assembly
 As I mentioned previously, [Luc] wisely leveraged post-printing assembly to make the individual parts easier to print. If you’re looking to design practical 3D printed devices this is an excellent skill to master, but it does require your printer to be fairly well calibrated. A few of the pieces are friction fit, and you might need to do a little filing to make sure all the parts fit together and move smoothly, especially if your printer is prone to over-extrusion.
It also means you’ll need some hardware to put everything together. The design uses M3x20 screws and matching nuts to hold the segments of the arm together, as well as to attach the two separate pieces of the actual camera mount. Technically you can print and screw together as many arm segments as you want in order to get a longer reach, so scale up the hardware requirements accordingly.
I personally found that the screws had to be cranked down fairly hard to get the arm to stay up under the weight of the camera. Assuming you’ve printed in PLA and not at an overly high infill this shouldn’t be a problem, but less ductile parts could snap so exercise some caution.
Focus Adjustment
You could technically skip this step if you just want the articulated mount, but the addition of manual focus allows you to get the camera much closer to your target than is possible with the stock fixed focus. You’ll need to print additional parts as well as disassemble the camera to complete this phase of the modification, but if you’ve already come this far why not?

When you take the stock front panel off the C270, the three tiny cross-head screws get reused for the printed replacement, so don’t lose them. You’ll also need to provide two M3x12 screws to hold the second front panel on. These two printed panels constrain the adjustment wheel that mates up with the teeth on the camera’s lens.
There’s a bit of glue locking the lens in place, but once you break that it’s free to rotate so you can manually adjust the focus. Incidentally, [Luc] actually recommends you use a focus ring designed by Cristiano Gariboldo, as users report it meshes better with the lens than his original design. That’s the one I printed and can confirm it works very well, though it could probably stand to get scaled down slightly as it has a bit of a wobble.
Putting it to the Test
Usually when we do these “Printed It” pieces, we find an interesting design, print it out, and then do a review of the final product. But in this case I sort of went backwards. I needed a webcam for my previous write-up on Octolapse, and the in the course of researching them found not only the highly-recommended Logitech C270 but [Luc’s] printable conversion kit. It performed so well that I felt it deserved to get a post of its own, as honestly I can’t imagine how I would have been able to use the camera otherwise.
In a weird way, the design [Luc] has come up with reminds me of the first time I installed DD-WRT on a Linksys WRT54G. It allows you to take a relatively inexpensive piece of consumer electronics and turn it into a much more capable piece of equipment for a fraction of the cost. Even small articulated camera mounts cost about as much as the C270 alone, and you’d still need to figure out how to attach the camera to it.
In short: if you’ve got a 3D printer and a Logitech C270, this should be the next thing in your print queue. While there are a couple elements of the design I might have personally handled differently, [Luc] has created an absolutely must-have accessory for an already very well regarded piece of hardware.


I can’t emphasis enough how cool this is to me. I’ve got about five of these in my house and this mount would definately improve their usability. :-)
“A variation of the base that was solid would be a nice addition to the current STLs, though naturally you’d lose the ability to add the extra weight.”
Nonsense!
Drill holes.
Insert weights such as fishing sinkers, coins, rocks or whatever.
Chase with some sort of glue, epoxy or putty.
Allow time to cure.
Cubscouts have been doing this to their pinewood derby cars for generations!
I generally try to avoid drilling holes in 3d prints. Unless you drill in small increments, there is a tendency with some filament types for the bits to just grab to large of a chip, and then destroy the part. If i do need to drill something I try to move at 0.2mm increments, which in essence is more like reaming a hole than drilling.
Oh, this is cool. I’ve got one of those logitechs, bought for a project I ended up not being able to use it for because of the fixed focus. Will have to print this out and see if it makes the camera useful again…
Printed this last october, nice little project and works like a charm… I have it sitting right next to me at the moment…
This is having the best part where it will find the particular part where it must be going to have for the printed part of the Logitech c270 and the conversion is with that to fix it.
Are you having a stroke?
Fair question, I can’t make heads or tails of it
Awesome! Need to find my C270, laying around somewhere, then I can have a nice camera for my streams =)
Like this design. I’ve printed things with weighted bases by printing with a void and then stopping the print putting some lead shot or fishing weights in and printing the top over them. Works well and if you use shot it feels like a deadblow hammer!
Why not just build an adaptor to these GoPro mounts and you can use the whole world of china gopro accessory :D
nice
New and improved remix of this webcam mount, for anyone who has not printed it yet, but plans to:
https://www.thingiverse.com/thing:4742899
I still have an old router I use with dd-wrt.