Casting is a great way to make your own custom metal parts. However, casting requires some manner of furnace capable of generating high enough temperatures to melt the metal in question. Few of us have these just lying around, but never fear. It’s possible to build a basic gas-powered furnace at home, with commonly available materials (Youtube link, embedded below).
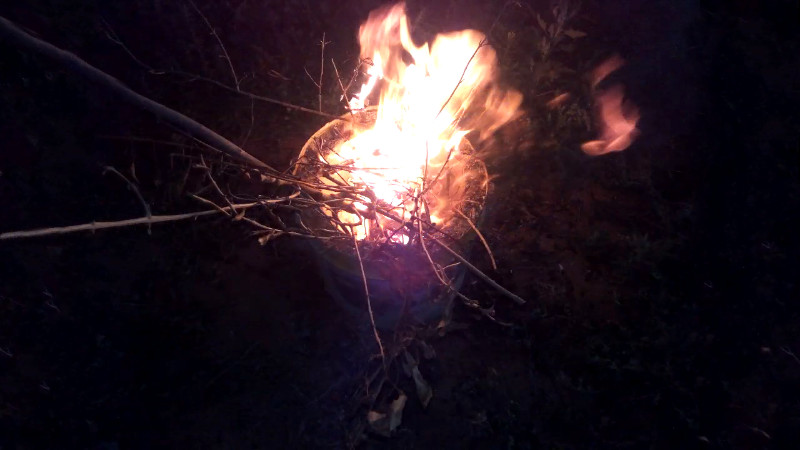
This furnace is the work of [Ahmed Ghr], and is as simple a build as they come. The idea is to produce a mold in which to cast concrete to create the furnace. A steel bucket is cut up and used as the outside of the mold, with a pipe inserted in the base to act as a feeder for air and gas. A plastic bucket is then inserted within the steel bucket and held in place with spacers, to create the inner combustion cavity. Concrete is poured in and allowed to set. Once finished, the steel bucket is cut away, and a fire is built over the furnace to melt away the plastic inside. Similar techniques are used to produce the lid, and the furnace is completed.
It’s a build that is executed with the most basic of tools, and should serve as a capable furnace for lower melting point metals at the very least. We’ve seen a lot of cement projects lately, as it turns out. Video after the break.


I thought concrete spalled quite predictably at high temperatures, i.e. over 700C/1500F or so; refractory cement, refractory bricks or a fireclay and grog mixture is likely to cope with the temperatures much better.
My first thought too. This thing gives me nightmares about concrete chips flying everywhere.
This happened to an ex of mine some 20yrs ago when we were at a beach with a fire one night with a group of folks
Her helly hanson jacket was destroyed and she has a rather epic scar on the back of her neck
A concrete paver near the fire basically exploded. She took most of it
Yup. But it is much more likely when there is free water that may steam, or with intense, direct heat that will cause differential expansion in dry/cured material (like when heating a part sitting directly on a concrete floor using an O/A torch). In this case, it is pretty well enclosed by the metal can and a slow cookout is probably safe, though I wouldn’t do it, and apparently didn’t harm the final product.
Or, maybe he used a refractory cement rather than portland. They are available in most parts of the world, and it would appear that English isn’t the first/primary language, so details may have been lost in the notes.
And even if you give it a slow bake to drive out the water, concrete is hygroscopic, so you’d have to do that every time.
Or a moisture pocket / void in the cement
There are many many better videos about this on youtube. Please select one of them if you wish to replicate this. You need clay, pearlite, and silica sand to make a good refractory mix. Bad mixes may spall, but even if they don’t they become crumbly and fall apart after a few firings.
You should never use concrete to create a furnace. Concrete can explode at high temperatures and injure people. There are scores of people who have suffered injuries this way. Hackaday should not promote such a dangerous practice. This video is dangerous.
Agreed, making a furnace using hydraulic cement is extremely dangerous. The title of this article should be “How to maim yourself and burn down your garage”.
There is huge difference between ordinary cement and castable refractories. Both can be hydraulic (adding water to start the chemical reaction in binding the aggregates). The difference is, in castable refractories the water is removed from the final product with a series of preheat firings. The mixture is designed to that the water can be gently driven out. The resulting refractory still has good mechanical strength. In ordinary cement driving the water out like this results in spalling and cracking usually as a result of the water in the mixture flashing to steam.
Even if the author of the video did use refractory cement, he certainly didn’t use refractory aggregate. The crushed rock for example will expand and crack when heating.
In the end making a casting furnace like this is a bad idea. Having the liner of the furnace break apart with a few pounds of molten aluminum inside will be a bad day.
There are so many things in this that are just poorly thought out. Outside of the fact that cement can have air or water pockets in it, and this cement was mixed very wet in the video, cement does not have great thermal properties. If I were going to try this now, I would be tempted to make an inner and outer shell out of this: https://hackaday.com/2018/12/30/starlite-super-material-that-protects-hands-from-pesky-blowtorches/ and fill the space between the inner and outer shell with vermiculite.
The last (induction fired) smelter I built was based on a small (10 gallon I think) galvanized trash can as the outer shell, with a piece of 6″ steel pipe welded to a plate for the crucible. The trash can sat on pipe legs to keep it off the floor, the crucible sat on ceramic blocks and had nuts and bolts welded to it to keep it firmly centered in the outer shell, The crucible was wrapped in a half layer of frax to keep the induction coil out of electrical contact with it. Leads to the induction coil were through ceramic standoffs in the 10 gallon can. All of the void spaces were filled with vermiculite.
We had a bit more induction heating of the outside can than expected. Cutting some slots in the can helped with that. This was able to get a 50 pound charge of aluminum to up over 1700 degrees (which turned the aluminum into some other odd substance) but the outside of the can was hot but you could touch it without burning yourself immediately.
If that other substance lives up to near it’s hype, perhaps mixed over with some fiberglass mesh should be just the ticket. Even more so for an induction fired furnace as all of the power would go into the crucible or the material in it.
You would never get it approved by Licenses and Inspections. Even concrete walls have an assumed fire rating of 1/2 hour, 1 hour and 2 hours.
“Normal‐strength concretes and high‐performance concretes microstructurally follow similar trends when heated, but ultra‐high‐performance concrete behaves differently. A key property unique to concrete amongst structural materials is transient creep. Any structural analysis of heated concrete that ignores transient creep will yield erroneous results, particularly for columns exposed to fire. Failure of structural concrete in fire varies according to the nature of the fire; the loading system and the type of structure. Failure could occur from loss of bending or tensile strength; loss of bond strength; loss of shear or torsional strength; loss of compressive strength; and spalling of the concrete. ”
https://onlinelibrary.wiley.com/doi/pdf/10.1002/pse.51
“A compilation of fire test data which shows distinct behavioral differences between high-strength
concrete (HSC) and normal strength concrete (NSC) at elevated temperature is presented. The differences
are most pronounced in the temperature range of 20 °C to 400 °C. What is more important is the observed
explosive spalling of HSC specimens during fire tests.. A comparison of test results with current code
provisions on the effects of elevated temperatures on concrete strength shows that the CEN Eurocodes and
the CEB provisions are unconservative. Aspects of analytical modeling for predicting the buildup of
internal pressure during heating are discussed. The paper concludes with recommended research needs,
identified at a workshop on fire performance of HSC, convened at NIST in February 1997.”
http://citeseerx.ist.psu.edu/viewdoc/download?doi=10.1.1.477.845&rep=rep1&type=pdf
I’ve personally made a small cement furnace before. It cracked all the way through during testing. Concrete may fare better but it still is going to crack (perhaps violently) before too long.
For those looking to do home casting, I suggest Lionel’s website for information: http://backyardmetalcasting.com/index.html
And even if you give it a slow bake to drive out the water, concrete is hygroscopic, so you’d have to do that every time.