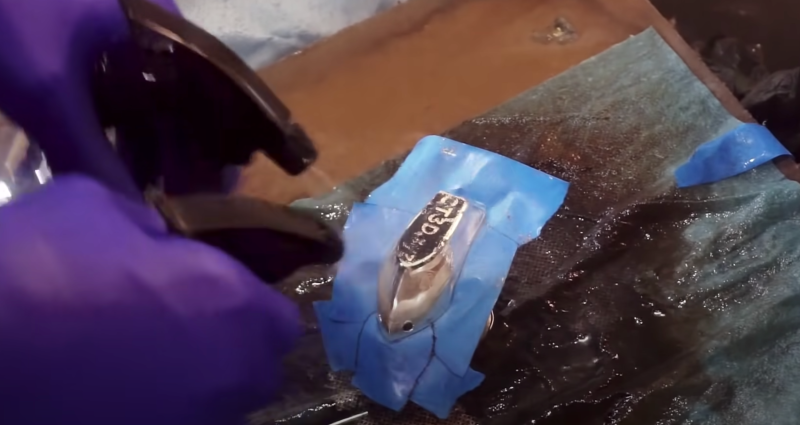
As anyone who has used a 3D printer before knows, what comes off the bed of your regular FSD printer is by no means a mirror finish. There are layers in the print simply by the nature of the technology itself, and the transitions between layers will never be smooth. In addition, printers can use different technology for depositing layers, making for thinner layers (SLA, for example). With those challenges in mind, [AlphaPhoenix] set out to create an authentic mirror finish on his 3D prints. (Video, embedded below.)
As the intro hints, mirrors need very flat/smooth surfaces to reflect light. To smooth his prints, [AlphaPhoenix] first did a light sanding pass and then applied very thick two-part epoxy, allowing surface tension to do the smoothing work for him. Once dried, silver was deposited onto the pieces via a few different sprays. First, a wetting agent is applied, which prevents subsequent solutions from beading up. Next, he sprays the two precursors, and they react together to deposit elemental silver onto the object’s surface. [AlphaPhoenix] asserts that he isn’t a chemist and then explains some of the many chemical reactions behind the process and theorizes why the solutions break down a while after being mixed.
He had an excellent first batch, and then subsequent batches came out splotchy and decided un-mirror-like. As we mentioned earlier, the first step was a wetting agent, which tended to react with the epoxy that He applied. Then, using a grid search with four variables, [AlphaPhoenix] trudged through the different configurations, landing on critical takeaways. For example, the curing time for the epoxy was essential and the ratio between the two precursor solutions.
Recently we covered a 3D printed mirror array that concealed a hidden message. Perhaps a future version of that could have the mirror integrated into the print itself using the techniques from [AlphaPhoenix]?


Surface finish is astonishing, but… too much work. I will continue with the traditional ABS + acetone vapors
Aceton is very toxic. If you need to degrease surface then you can use alcohol like denaturat (92% but not very good taste due to bitrex chemical added).
I dunno. Acetone is pretty flammable, but the body handles it fairly well. It’s a natural byproduct of ripening fruit — I can sometimes smell it in pears, for instance.
But don’t believe any random internet kooks like me: check the MSDS and decide for yourself. (https://www.pure-chemical.com/msds/Acetone.pdf)
+1, acetone is quite safe, it’s even allowed at small amounts as a food additive! The biggest risk is fire/explosion. As far as flammable liquids go, acetone is pretty hard to ignite, so it’s pretty much an ideal solvent. You definitely want to work in a well-ventilated area, though – probably outside.
Hard to ignite???? Try putting it near a pilot light or something like it,it will go up faster than fast
Acetone is nail polish remover. I wouldn’t drink it or bathe in it, but it’s not one of the particularly nasty ones.
You might be able to use acetone on ABS as a substitute for the epoxy. Or an acetone paste over other plastics.
Although I haven’t documented it an acetone/ABS slurry makes a pretty good top coat for some other plastics.
The ability to cement with just acetone and to produce acetone-ABS cement from scraps is the me main reason I print exclusively ABS. That, and if you thin your paint with acetone there’s no way it’ll flake off later, and if you put a few drops of food coloring in acetone and brush it on you get a lovely subtle stain. Great for props.
Yea, the acetone vapor trick does a remarkable job.
I can’t help but think there must be a way to deposit some type of vapor (epoxy part 1 then epoxy part 2?) in order to get an even application using a minimal amount of material and requiring far less effort.
Fairly certain this is a trollish video given he has a can of chrome spray paint in the cabinet.
search for “tollen’s test”
It is a simple lab experiment done around schools and a variation of this process was used in the past to make silver mirrors. They sell silver plating kits like the one used in the video…
You have a clear sollution of Tollen’s reagent to which you add a source of aldehyde, this causes the aldehyde to oxidise into carboxilic acid and reduce the silver out of solution, causing it to deposit onto almost anything it touches.
Silver spray paint doesnt make a finish like that. And as noted, tollens reagent does exactly that.
please make a telescope mirror
You would use a type of vacuum deposition like PVD to coat telescope mirrors. This can even be done at home if you have a HV supply and a good vacuum pump