Oscilloscopes are one of our favorite tools for electronics development. They make the hidden dances of electrons visually obvious to us, and give us a clear understanding of what’s actually going on in a circuit.
The question few of us ever ask is, how do they work? Most specifically—how do you design a circuit that’s intended to measure another circuit? Aleksa Bjelogrlic has pondered that very idea, and came down to explain it all to us at the 2023 Hackaday Supercon.
All Up Front
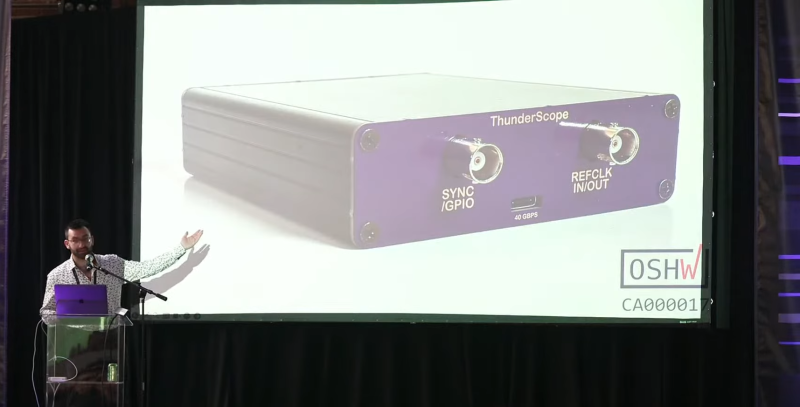
Aleksa has spent five years designing an open-source oscilloscope known as the ThunderScope. He wanted an oscilloscope that could measure a circuit while streaming out samples at speed to a computer, so he decided to build his own. His idea was to put the analog part of a high-speed scope in a box, while offloading the digital processing to an attached computer. This would allow the software side of things to be regularly updated to stay with the times. It would be easy to add new triggers or protocol decoders to the setup without having to mess with the hardware.
His early experiments saw him streaming samples from a test scope he built, but it wasn’t perfect. He used USB 3 Gen 1, but it was only giving him 350 MB/s transfer rates. He needed closer to 1 GB/sec to properly stream samples of high-speed signals. He also had issues with his front-end design, with poor frequency response. He soon switched over to PCI-Express for higher transfer rates, and built a new scope with a better front-end. This was the first revision of ThunderScope. Later revisions improved the front end further, tackled clock-generator issues, and generally refined the design into something more functional and useful.

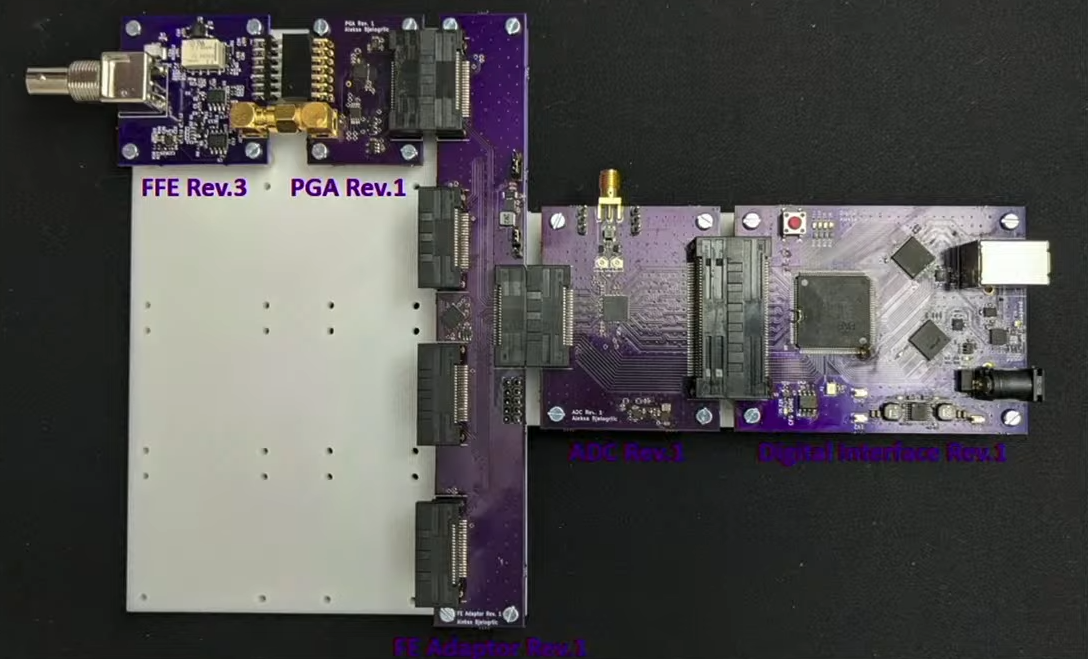
The development process is mere context, though. The real purpose of Aleksa’s talk was to dive into the nitty gritty of oscilloscope front-end designs. While his scope has had four major revisions, the front end has had over a dozen updates. The front end’s job is to take an analog signal, and finesse it into something that the scope’s analog-to-digital converter can actually handle. It’s job is, in part, to act as an electrical interface to allow the scope to measure all kinds of different signals. Aleksa explains that it can allow you to view AC signals superimposed on large DC voltages, or measure large signals beyond the voltage range of the scope’s ADC. It can also help scale signals that might otherwise be out of range for the ADC itself.
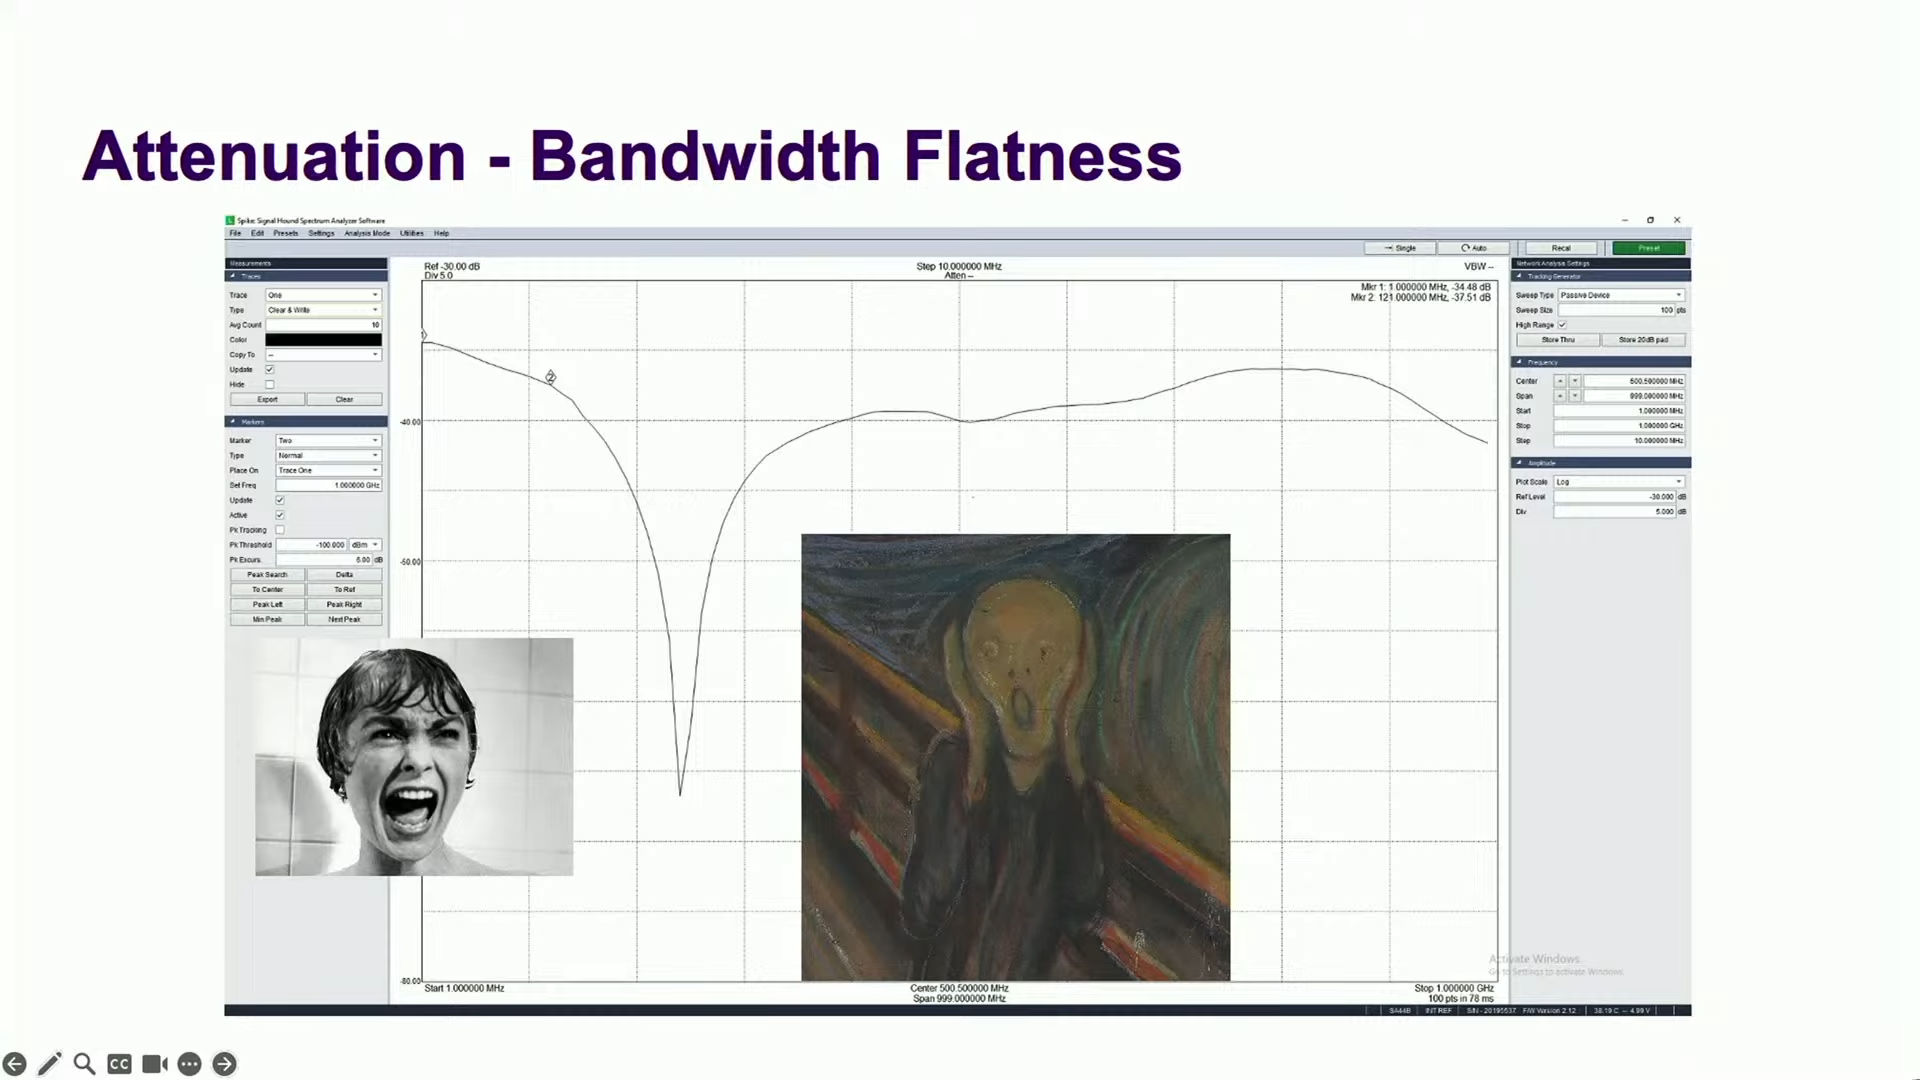
Aleksa explains input impedance, capacitance of the front end, and why you have to compensate a probe to suit your individual scope. He also covers the eternal challenge facing the designer—minimizing noise while maximising bandwidth, while also maintaining a flat response from DC all the way up to high frequency signals. And of course, you need to be able to measure and quantify how your front end is performing, so Aleksa dips into the basics in that regard.
AC and DC coupling is also covered. This is critical for when you want to look at an AC waveform without all that annoying DC bias in the way. Naturally, this is achieved with an in-line capacitor, which blocks DC while allowing the AC component to pass. Then there’s the helpful discussion about how resistors come with stray capacitance and inductance “for free”—and capacitors in turn come with resistance and inductance, too. When you’re chasing around weird dips in your response curve, you’ve got to be across these things.
If you’ve ever considered creating your own oscilloscope from scratch, Aleksa’s talk is a great primer. It’s really useful stuff. After all, getting the front end right is as important as getting the right tires on your car. If it’s not up to the task, all your measurements will be suspect from the drop. It’s a deep and rich topic, and one that you could spend years studying in detail. Indeed, Aleksa has, and his work on the ThunderScope is the ultimate proof of that.


“Aleksa, make me an oscilloscope.”
B^)
Apparently it’s going to be launched as a real product “soon”.
https://www.crowdsupply.com/eevengers/thunderscope
But just the idea of shipping it in a pelican 1120 case (somewhere between USD40 and USD120 for an empty box, depending on who you ask) already sucks up half the total price of what I would be willing to pay for such an instrument. Even the Siglent scope I bought last year was shipped in a simple and cheap cardboard box with some padding.
Did hackaday just swap the order of e-mail and login name?
(again).
@paulvdh said: “But just the idea of shipping it in a pelican 1120 case (somewhere between USD40 and USD120 for an empty box, depending on who you ask) already sucks up half the total price of what I would be willing to pay for such an instrument.”
The ThunderScope uses at least one AMD Artix™ 7 XC7A35T-2CSG325C FPGA on board. In unit quantity the XC7A35T-2CSG325C FPGA chip alone costs $61.31.[1] The XC7A35T-2CSG325C FPGA comes in a 324-CSPBGA (15×15) ball grid array package which is very difficult to deal with and will require a sophisticated many-layered (very expensive) pc board. I did not even look at what the ThunderScope uses for the ADC but I expect it uses multiple fast (expensive) interleaved 12-bit ADCs. Don’t forget the ThunderScope requires a host PC with a PCIe Gen 2 x 4 direct slot or a TunderBolt/USB4 interface, that alone makes for a very expensive host machine.
I can buy a Pelican 1120 case on Amazon for around $45.00 USD. If that $45.00 is half what you would be willing to pay for a ThunderScope (box or PCIe board) you are waaaay off the mark! I would expect the ThunderScope front-end hardware alone to cost at least a thousand bucks, and that’s even before you add in the host PC and the scope probes (high bandwidth scope probes are very expensive). Consider the stand-alone Siglent SDS1204X HD 200MHz (one channel) 4-channel 12-bit oscilloscope retails for $1,699.00.[2] I would not be surprised to see a complete ThunderScope package with the front-end, a couple of high-bandwidth probes, the host PC, a software package, and documentation, retail for around $2,000.00-$4,000.00 USD.
References:
[One] AMD Artix™ 7 XC7A35T-2CSG325C FPGA
Qty-1 @ $61.31 each, In-Stock: 242
https://www.digikey.com/en/products/detail/amd/xc7a35t-2csg325c/5039499
[Two] Siglent SDS1204X HD $1,699.00
https://siglentna.com/product/sds1204x-hd/
About a year ago I bought a bog standard Siglent SDS1104X-E and paid EUR460 for it inclusive shipping, and that’s inclusive a front panel with buttons and knobs. And it’s already much scope then would be sensible for the type of work I do. I mostly did not want to buy some third rate scope from one of the really low-cost brands.
The other option, Rigol, was also no option, just their idea’s of a “scope” running android and booting from an sd card, no thank you. similar toy features in Rigols other projects, from a numeric keypad in a circle, to having to pay extra to use colors on your TFT screen for some of their power supplies.
My older scope was a Rigol something 1052 something something, and after around 20 hours of use it’s encoders started jittering.
But over USD2000 for this thunderscope? You can get a lot of scope these days for that sort of money. It’s far more then anything I would be willing to pay for but I wish them well.
Your budget isn’t mine to spend, but it’s unfair to say the specs of the Tunderscope and your Siglent and Rigol are equivalent. On the Crowd Supply page, the Tunderscope is compared with scopes in the $1500 – $2000 range. Where the Picoscope is rather unimpressive, and only really useful after spending a lot of time on the automation. I’ve used similar Picoscope it to capture millions of measurements over long periods to perform statistics on. I’m assuming Tunderscope can be a great fit for those projects, and much more. If it can sync the measurements to live decoded data packets is well worth any prize they’ll ask.
A PCIe-2.0×4 is cheap as hell, you can use a x8 or x16 port on a main board and a integrated GPU or a an m.2 slot. I actually hope he will do a revision of that and go with 3.0×2 instead, that way a RP5 compute module could handle it. Or if that is too slow go with 4.0×1 and attach it to a PC.
hahah i thought it was overkill to go through so much effort to be able to continuously sample, but now when i see the ridiculous intended feature set i understand
pretty ambitious! i hope the continuous sampling idea wins
I wonder what the ThunderScope FFT specifications would look like? Would there be a YIG-tuned filter option for the front-end ;-)
Promising 500 MHz bandwidth with 1GS/s sampling is a bit ambitious, especially with the footnote that it may be subject to improvement. I’m far from a scope expert but there’s probably a reason why most scopes promise 1/10th the sampling rate in bandwidth.
It is indeed ambitious. But usually the criteria for sampling speed is to be 2.5x higher than the bandwidth, which allows to properly reconstruct the signal with a sinc interpolation.
That would limit the Thunderscope to 400MHz bandwidth, which is already pretty good.