When it comes to FDM 3D prints and making them stronger, most of the focus is on the outer walls and factors like their layer adhesion. However, paying some attention to the often-ignored insides of a model can make a lot of difference in its mechanical properties. Inspired by a string of [Tom Stanton] videos, [3DJake] had a poke at making TPU more resilient against breaking when stretched and PLA resistant to snapping when experiencing a lateral force.
Simply twisting the TPU part massively increased the load at which it snapped. Similarly, by removing the infill from the PLA part before replacing it with a hollow cylinder, the test part also became significantly more resilient. A very noticeable result of hollowing out the PLA part: the way that it breaks. A part with infill will basically shatter. But the hollowed-out version remained more intact, rather than ripping apart at the seams. The reason? The hollow cylinder shape is printed to add more walls inside the part. Plus cylinders are naturally more able to distribute loads.
All of this touches on load distribution and designing a component to cope with expected loads in the best way possible. It’s also the reason why finite element analysis is such a big part of the CAD world, and something which we may see more of in the world of consumer 3D printing as well in the future.
If you want stronger prints, be sure to check out brick layers. Or, consider adding a little something extra.


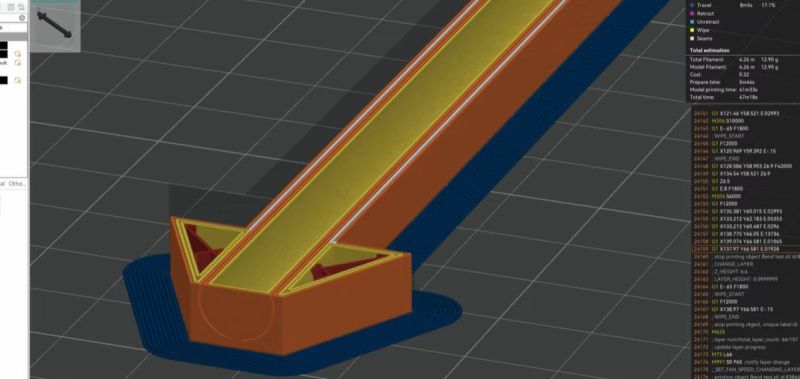
It’s well known (but worth repeating) that infill contributes little to the overall strength of a part. Wall thickness is overwhelmingly the major factor.
Infill is predominantly just internal support for the overhanging layers on the top of the part.
just like structural tubing but for different reasons.
there are other design techniques that you can use to add ‘wall infill’ that’s not infill and part of the walls but no practical way to do it outside of the CAD app and in the slicer atm. you put a really thin notch cut in the wall that ends X wall widths (to match your wall count) away from the opposite edge. It’s like 0.1-0.2mm wide and this has the effect of allowing the wall path to traverse the model internally. as far as the slicer is concerned the walls aren’t touching but it is placing the walls physically close enough that they bond to each other. As I say though, not particularly practical outside of cad app but can be used to strengthen parts.
I think it highlights the issue with actual infill, where it’s not really printed as part of the model, it’s printed as an afterthought, it’s barely attached to the walls (15-30% overlap) which in itself can cause skin artifacts.
Have you got a link to a blog post / pic / video? I don’t fully understand :)
Yeah no real idea what this is describing.
In the CAD app insert a .05mm gap ( eg tall skinny rectangle pocket cut ) in the wall of the cylinder length wise. Printer will fill in the gap but slicer will think not connected so no infill.
It’s a trick to manipulate the slicer into putting more walls into what would otherwise be a solid part.
If you put a big hole or a slot in a part, the slicer will obviously faithfully trace around it. But it will also do the same thing if you make the slot narrower and narrower until it’s almost but not completely closed up – the geometry still says there need to be walls there, but there’s not really any hole anymore.
The slicer will still trace around such a thing, putting a big rib in the part which would have otherwise just been infill.
Reminds me of how I’ve seen large pre-made concrete slabs that have egg shaped tunnels going through their middle. I have been able to add strength to prints by adding negative objects at the right place, effectivly placing more walls inside the print and increasing wall thickness.
Whoops, didn’t mean to reply to this post.
Unless you use 100% infill?
Sure, but 100% infill wastes a lot of plastic (and print time) for not very much benefit. And it can actually perform worse than hollow structures in certain kinds of situations (cracks can propagate further in a homogeneous material but would be interrupted if encountering a void.)
The video’s suggestion that it should be part of a slicer is an interesting. It would be interesting to see an attempt to add a fully automated version that optimizes infill densities and locations. I wouldn’t hold my breath for free slicers to add this due to the high level of complexity but I could see it being a paid software feature or a paid plugin for free-software.
The suggestion is so interesting to developers that people have built this already, it’s just not automated. Many slicers allow placement of geometric primitives.
As for automation, several infill types are designed to to this, though dynamic allocation hasn’t made it to any mainstream slicer yet. The gyroid infill is an example of a non-dynamic structure intended to add strength.
Paid software? So far no paid slicer provides more advanced features than the open source ones. Maybe you are thinking of custom gcode generated by engineers who happen to be working on high end commercial systems? Even then it’s rarely cutting edge stuff, just lots of man hours.
Y’all reminded me of this old HaD article
https://hackaday.com/2019/02/06/finite-element-analysis-results-in-smart-infill/
We just need to sprinkle in some trendy AI that guesses which directions the print should be strong in…
My association had an 100-year old steel sailing ship. After adding several braces into the hold, the ship almost tore itself apart in rough weather. The braces were quickly removed.
Before or after it sank? /s
This is a good reminder that everybody forgets to run me stress calculations sometimes.
That’s tpu and it’s doesn’t count.
You clearly didn’t watch the video, it’s both a joke and a case study.
so it’s a more than just “add more walls”. We already have that setting. Curved inner perims made a difference in strength, so Arachne (variable extrusion width) helps fit curved paths into square corners. The pathing matters, similar to continuous-path printing
Wish the numbers were presented instead of smeared across minutes of boring video so that i could decide for myself if the difference is significant.
We are looking at this completely wrong because we are trying to patch existent methodologies instead of revisiting the “what” and “why” of our intentions. As an analogy, this is like trying to improve a movable type process when really all we all want is a better and quicker constructed book.
At the end of the day, a slicer is just a GCODE compiler. We have generative design built into Solidworks and Fusion 360. Why can’t that be improved to account for 3d printing and associated filaments? Why not have this on the object generation side than afterwards?
Printer vendors can supply machine type plug-ins as well as filament vendors. Or open source these profiles so that any CAD or 3D design application can import them or create from scratch. This eliminates the need for STEP or STL file formats as the tool would simply save to GCODE (or simply, send to print). The slicer app should be extraneous at this point.
And don’t get me started on GCODE. It’s BASIC when we should be at Java or C++.
Because CAD (Fusion, Solidworks, whatever) designs the object, independently of its material or properties.
CAM is where you choose the process and materials.
Yes, you could put a bunch of analysis into CAD, where you may have a model comprising of several parts, all in different materials. Better to use your brain to think about the overall design, and farm out the analysis to the various CAM processes you are using for CAM: CNC, stamping, 3D printing, etc. Adding material analysis to CAD is going to make it bloated and unusable. Plus, it’s not available in your CAD, so you’ll have to buy something else. Better to export each part in a well-known format and use other tools to analyse them and fabricate them.
CAD gives you “what” you are making, and should be material-agnostic. CAM gives you the “how”, and is very specific.
As for replacing G-code, if it was a good idea it would have been done by now.