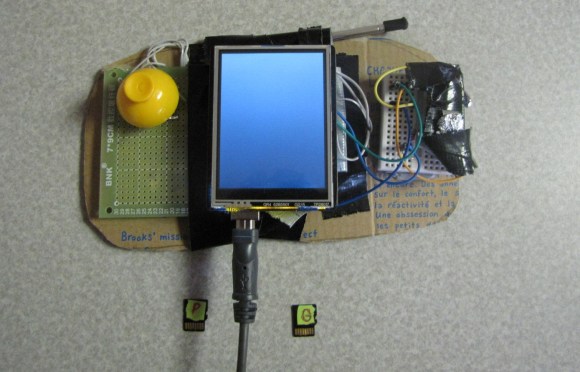
[Dylan] created an easy to make gaming console with an Arduino Uno, a makeshift button, an analog stick, and a TFT LCD touchscreen shield. Plus, he fashioned together a simple button with some duct tape.
So far, he has made 2 games. One is the infamous Pong. The other is a ‘Guess the Number’ type experience. The whole project is run within the code, and does not access the bootloader directly like you would with 2boots or a regular Gameduino adapter.
Build instructions can be found on [Dylan]’s hackaday.io project page (linked above). Essentially, all that is needed is to gather up the supplies, then take the button and analog stick and complete a circuit, fitting the open wires into the slots at digital pin 9. Solder the wires in place and connect ground to ground, 5v to 5v, x to A4, and y to A5. Add the TFT shield, insert a micro SD card, and upload a game.
To see it in action, check out the video after the break:
And there you go! An Arduino game console.
Other projects similar to this include a credit card-sized Gameboy and UnoJoy, which makes your Arduino play well with an Xbox 360 or PS3.


C ca cardboard?
The game is interesting and all, but gawd damn that is a sexy button! That deserves a post all on it’s own.