The problem with laser etching dark materials is that the areas burnt away by the intense light don’t really stand out from the rest of the surface. [The 5th Fool] is taking a roundabout way of correcting this by topping his laser engravings with contrasting paint. The technique is still pretty simple and we think it looks great!
Basically he’s etching a layer of painter’s tape which becomes a stencil. But the surface it is masking also gets etched so the paint has an area below to the surface which it can fill in. We figure this will help with durability issues.
After etching the painters tape the design gets a few coatings of a high-contrast paint color and is left to dry. To remove the stencil, duct tape is applied to the entire area. This helps quite a bit in removing the tiny bits of tape from an intricate design.


Love duct tape! That shit can be used for anything. Except ducts.
Um….yeah it’s good for that also……~Quack~
No, it’s not. The rubber glue dries out after about a year and the tape just falls off.
Perhaps you are using gaffer tape which is designed to be non marking or the brand you used is not very good? I fixed a drain pipe with it, still on there 5 years later.
This is a well-known technique in the laser-engraving community. Those interested in more laser tricks like this should take a look at the Sawmill Creek Engravers forum (http://www.sawmillcreek.org/forumdisplay.php?8-Engravers-Forum).
It would be nice to see tips and trick from here as how-tos. I personally avoid forums because of the signal-to-noise ratio.
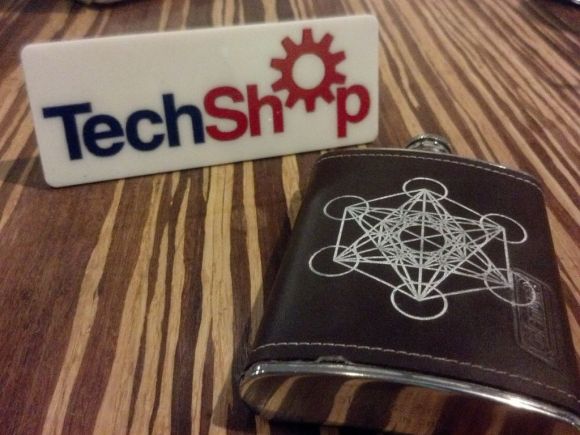
I thought the TechShop sign was done this way. Sadly, it was not.
No reason you couldn’t. Multi-color designs, with thick blocks are another Instructable waiting in the wings. It’s a multi-step process, using a different one-off stencil for each color.
I’m curious if this would work to make white descriptions on pcb’s?
I don’t see why not. The idea here is simple, one-off stencils using laser etching. For silkscreening pcbs, you might want to use acrylic ink for better results.
Probably.
Using a Laser Engraver to make a PCB is best accomplished using spray paint. Two coats of cheap (99-cent) flat-black spray paint from Walmart works well. Use the laser to ablate the paint to expose the copper. Then use PCB etchant to eat away the exposed copper. Afterwards, use standard paint thinner to remove the remaining spray paint mask. Drill and enjoy!
Yes, but the question was about silkscreens, not etching.
You can also use crayon to good effect.
If you’re worrying how to brand your alcohol addiction device, maybe you have other non-techie problems that should be your priority.
boo-urns!
I appreciate the concern, but the only reason this was used was because it was the cheapest piece of leather I could come across. I do a lot of hiking and found it while looking at headlamps at Target. It was an open box special and doesn’t have the funnel or anything else. It has never been used and will remain a display piece.
It is a bottle. It would work as well for water.
I used to work with a laser engraver, and this was standard procedure. However, I wish I had thought of using duct tape to remove the smaller pieces of masking tape…
I know right! That was the part I actually felt proud of. I started picking at it and the moment I got frustrated, I stopped and thought, “There has to be a better way…” Apparently using different levels of “sticky” is common in vinyl cutting too.
Really nice looking. I now wonder if you could use it for plating. After etching just plate the lines in copper or gold for a really cool look.
depending on how deep the engraving goes in metal might be able braze spelter(brass) into the the lines