The range of materials suitable for even the cheapest laser cutter is part of what makes them such versatile and desirable tools. As long as you temper your expectations, there’s plenty of material to cut with your 40 watt CO2 laser or at least engrave—just not glass; that’s a tough one.
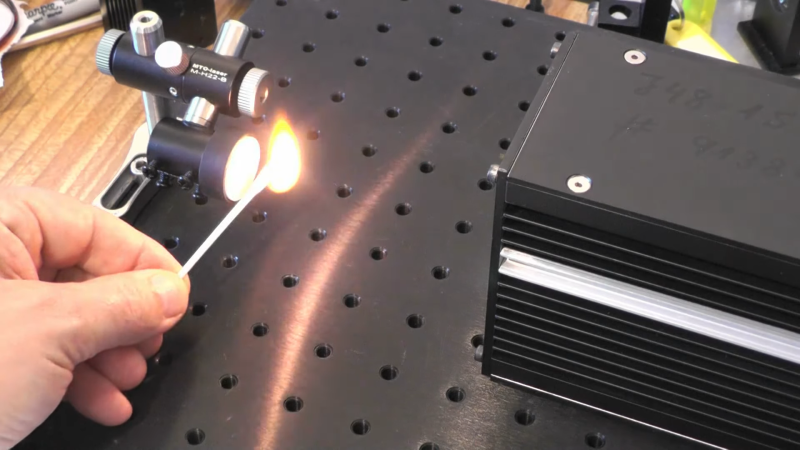
Or is it? According to [rschoenm], all it takes to engrave glass is a special coating. The recipe is easy: two parts white PVA glue, one part water, and two parts powdered titanium dioxide. The TiO2 is the important part; it changes color when heated by the laser, forming a deep black line that adheres to the surface of the glass. The glue is just there as a binder to keep the TiO2 from being blasted away by the air assist, and the water thins out the goop for easy spreading with a paintbrush. Apply one or two coats, let it dry, and blast away. Vector files work better than raster files, and you’ll probably have to play with settings to get optimal results.
With plain float glass, [rschoenm] gets really nice results. He also tried ceramic tile and achieved similar results, although he says he had to add a drop or two of food coloring to the coating so he could see it against the white tile surface. Acrylic didn’t work, but there are other methods to do that.
Continue reading “A Little Pigment Helps With Laser Glass Engraving”