The wood router is a versatile power tool which can be picked up at a low price. Nicer router setups are mounted underneath a table, with the cutting head poking through. This makes it easier and safer to work with the tool.
[Paul] combined his interest in electronics and woodworking by making a router table with automated controls [translation]. The neat part of this build is the automated height control, which ensures accurate cutting depth.
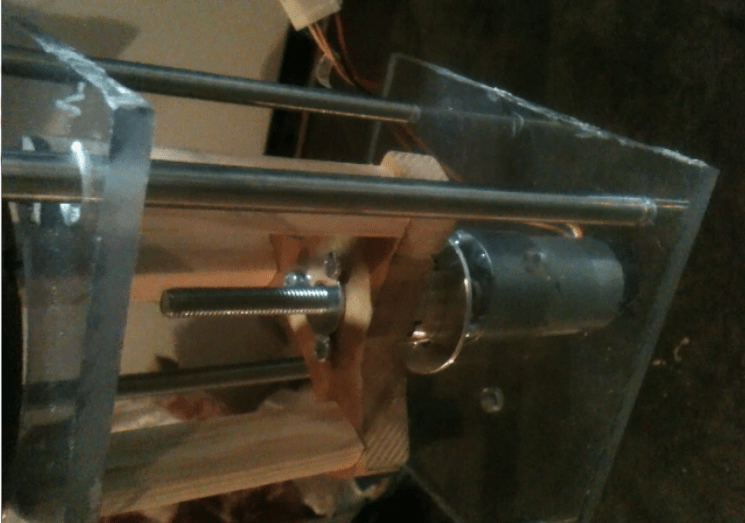
The router is mounted to a threaded rod, which allows it to be moved up and down by a motor. A low cost L298 motor driver provides the power to the motor, which is controlled by an Arduino Uno. A VCNL4020 based sensor board is used to measure distance and accurately set the router height. This tiny proximity sensor looks like a nifty chip, providing distance measurements up to 200 mm and an ambient light sensor in one package.
The routing table has an LCD display and buttons, allowing the user to dial in their desired height. The entire thing was built using recycled bits and well under $100 in new parts.


The entire thing was built using recycled bits and well under $100 in new parts and how many hours of time designing it, perfecting it, tweaking it, testing it, rebuilding it and finally documenting it?
Knowing these kinds of projects…too many.
But isn’t that the point?
Many hours by the looks. But obviously he enjoyed doing it (or he wouldn’t have bothered). Kinda what life is all about right? And if you can save a bit of money at the same time then all the better.
Not that much. I spent more time looking for what I could recycle that assembly itself.
Of course I took a lot of pleasure. It’s very satisfying to create something with his hands.
It was also a challenge.
I used a car jack that I had kicking around. Surprisingly accurate, uncomplicated to operate, mechanically sturdy, and dirt cheap. Doesnt have (or need) a display, though.
“The wood router is a versatile power tool which can be picked up at a low price”
Reference? fill in the blanks:
*.com.au
Do you not have pawn shops in Australia?
There are surprisingly few and certainly not in my area.
Yep, pawn shops, yard/garage sales, flea markets/swap meets. These kinds of wood working tools can be had second hand just about anywhere.
Well you said it “just about anywhere” – rarely do you see a router (or any kind of power tool_ at these kind of things (and to be honest garage sales is about it around here) – but even if you do think “excessive runout” “shot bearings” “clapped out motors” “faulty speed control” etc. When things are expensive to buy new, people only get rid of them when they become pretty much unusable – unless you die and then the sharks come in and pick them up early and sell them on to some poor sucker at near full price (possible labelled as “reconditioned”) – recycling in Australia is a big business and full of con merchants – most of them politicians.
In any case I was referring to retail prices.
The sensor looks interesting, but to get any “accurate” reading out of it reading out of it as the write implies requires quite a lot of calibration and linearization. There are no actual specs on the accuracy on the sensor just the resolution. resolution =/= repeatable accurate results
Figure 3 shows the output of a typical sample unit (i.e. not guaranteed for your part) plot in log scale and it is not a straight line – between 1-4 mm is parabolic, but beyond looks a bit better, but might not be straight. The actual reading also dependent on the amount of light and actual reflector (if there are dust etc LOL).
For people want to copy the idea might as well use a Chinese digital caliber as it will be far more accurate without a lot of per unit calibrations you would ended up using a caliber.
This. If you wanted a “set it and forget it” installation that provides both precision and accuracy, the very least you’d need would be a fine-pitch lift screw and revolution/position sensor on the motor (probably with a digital caliper for confirmation).
This is a great project, Paul! Nicely done!
Thank you
You realize that you would want a router table when you’re working with bigger bits of wood you need to hold on to when you are cutting them by using your router. Using the table, you know that fewer vibrations may occur and along the way, you will accomplish a much solution cut than what you might be expecting to obtain.
Bench Dog Router Table
How did U determine easily where to drill the hole in the router base plate and in table? What size hole and how deep? U used a spade bit ?
Looks like you have put in a lot of time building and documenting it. I appreciate it but I’m bit circumspect about the vibration its making it may hamper the cut quality.