A stock Arduino isn’t really known for its hi-fi audio generating abilities. For “serious” audio like sample playback, people usually add a shield with hardware to do the heavy lifting. Short of that, many projects limit themselves to constant-volume square waves, which is musically uninspiring, but it’s easy.
[Connor]’s volume-control scheme for the Arduino bridges the gap. He starts off with the tone library that makes those boring square waves, and adds dynamic volume control. The difference is easy to hear: in nature almost no sounds start and end instantaneously. Hit a gong and it rings, all the while getting quieter. That’s what [Connor]’s code lets you do with your Arduino and very little extra work on your part.
The code that accompanies the demo video (which is embedded below) is a good place to start playing around. The Gameboy/Mario sound, for instance, is as simple as playing two tones, and making the second one fade out. Nonetheless, it sounds great.
Behind the scenes, it uses Timer 0 at maximum speed to create the “analog” values (via PWM and the analogWrite() command) and Timer 1 to create the audio-rate square waves. That’s it, really, but that’s enough. A lot of beloved classic arcade games didn’t do much more.
While you can do significantly fancier things (like sample playback) with the same hardware, the volume-envelope-square-wave approach is easy to write code for. And if all you want is some simple, robotic-sounding sound effects for your robot, we really like this approach.


Those few tones and the sketch together take up how much of the ~ 32k bytes that UNO has? Sketch looks to be ~3 kb, includes the Volume library too. Not too bad! 8 bit was focused on making a lot of great tones / music with 3 basic, very tiny in size “instruments”. Setting aside the fact that the UNO should just have more flash memory, this feels like a decent way of generating music / effects. Any way to import music into it or create a standard set of notes?
Arduino Jetson’s dubstep? “Wuuuuub wuuuub wuuub wuub wub wub wub wubwubwubwubwub!”
Thanks again HackADay! :) Waterjet – I’m actually looking to work together again soon with a previous collaborator Len Shustek (https://github.com/LenShustek/arduino-playtune) to tie my Volume lib to our old Miduino service:
http://world.emotiscope.co/miduino
This would allow the notes generated from MIDI files to be as “velocity” sensitive as the piano keys behind them. :) For now, enjoy the current version of Miduino to put square-wave tunes into your projects.
The code appears to be <2K, but compiled will be more as from a quick skim there is a single float variable (mastervol) which will force the float libs to be included… this should be changed
Is there an easy way to used fixed point within the Arduino framework? I’m figuring if they’re using AVR-GCC >= 4.8 then they have access to the ISO/IEC TR 18037 and can simply write “fract volume = 0.9K”. Then again, I’m not sure if the Arduino environment links the AVR-GCC libm.a for the math routines or uses its own. Someone with Arduino want to check?
I cant comment on seamless fixed point, but i just keep my values orders of magnitude larger and shift them down when needed. E.g. here mastervol is used just onve and can be a uint8, made to mean 0 off, 255 full then used something like analogWrite(_p, (_toneVol<<8)/(256-_masterVol)); vs the 0.00-1.00 fraction multiply. Youll end up using a uint16 intermediate but i think its better than float magic plus you match the same scaling as used in tone() for consistency
Errr _toneVol*masterVol/255
Fixed point isn’t any sort of “float magic”. What you’re doing with integers is more magical. The fixed point representations that are available in GCC now abstract a lot of this away.
Then again, if you’re only using it once, it’s totally fine. I wish the fixed point routines got some more love as they’d encourage more people to write efficient code.
Floating point is float magic
Yup, larger data types and shift work in many cases to eliminate greedy floats. Actually, they (Arduino) will lie to you and tell you 64-bit data types aren’t supported in the Arduino IDE for the small 8-bit (ATMega) boards like the Uno. But they are (unofficially). For example, here we init signed and unsigned 64-bit integers:
int64_t j = 0x0LL; // signed 64-bit integer
uint64_t k = 0x0ULL; // unsigned 64-bit integer
That’s all, nothing else needed. I’m working with whiskey-soaked memory here, but I seem to remember you needed the LL & ULL in the v1.0.5 IDE, but I’m not sure about today; just try it with and without.
One problem with 64-bit data types in the Arduino IDE is debugging (at least in v1.0.5). The crappy Arduino Serial.print() built-in is limited to 32-bits maximum (Gawd only knows why). Bit it’s not difficult to write little snippets to serial print 64-bit DEC, HEX & BIN vars, just divide and conquer leveraging the existing 32-bit Serial.print() built in function.
Just tried it out for a little bit. It’s pretty easy to use and functional. I like the cricket demo/example. I’ve already thought of a couple of victims to torment with it…
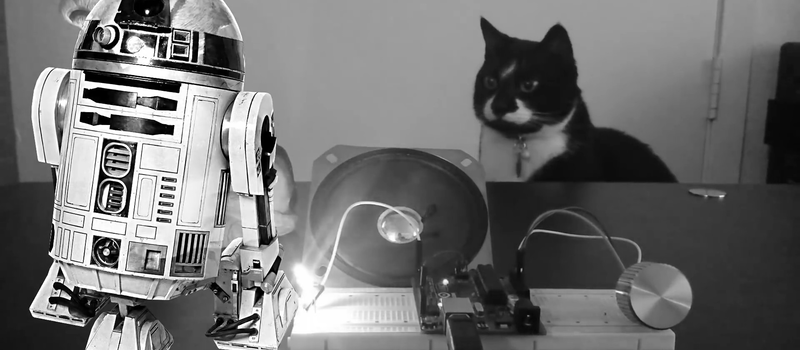
The cat remains unimpressed.
My cat also gets attracted by 8-bit music on Arduino. She thinks it’s a bird.
“…constant-volume square waves, which is musically uninspiring”
– why uninspiring? That’s how class-D amplifier works. In fact, you can build a class-D amplifier with Arduino Uno.
Sure can! http://hackaday.com/2012/09/05/70-watt-amp-uses-an-attiny/