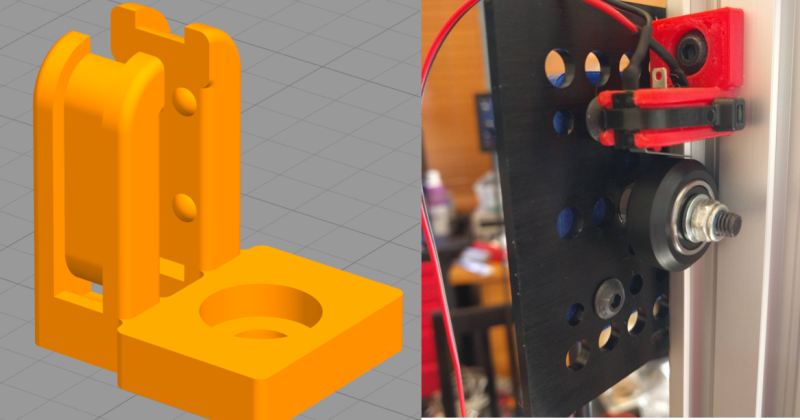
In the course of building a new delta printer, [thehans] decided he needed his own endstop design that used minimal hardware. Endstops are just switches that get hit when the printer moves at the extreme of an axis, but [thehans] wanted something with a bit of refinement for his BigDelta 3D Printer build.
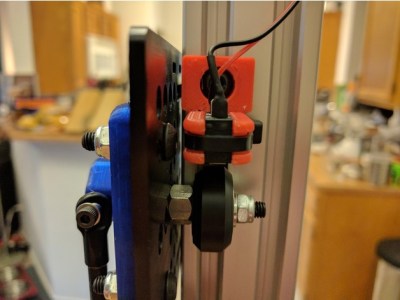
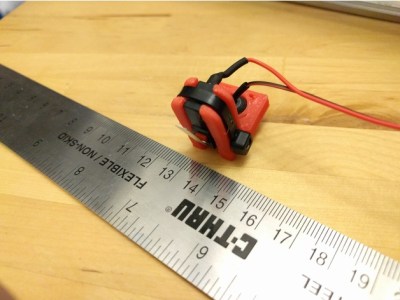
The result is a small unit that cradles a microswitch and needs only a single zip tie that mounts flush, resulting in a super tidy looking piece. In addition, it mounts on the delta’s v-slot rails such that the mount does not take up any of the machine’s range of motion, because the carriage can travel past it. It is a parametric design made in OpenSCAD, so feel free to modify it to accommodate other types of switches.
Delta printers are nifty as heck, and fertile ground for innovative tweaks. Take this crash sensor, for instance. Or this profoundly unusual rail-less design. And as for big deltas, one large enough to print a house reminds us that “big” is a relative term.


That groove for the zip-tie really makes this part. Good idea.
I wanted to write “Not a hack” only because it’s more a clever design than a hack.
If you want, you can make a pull request on the main repo and I’ll add it in. Someone messaged me a link to this article.
Seems to me that you could get a bit more travel out of it if the switch was over the mounting screw. You’d need to make room for the screw in the switch tower and then make an insert that would have the switch holding bumps. You would also have build this on the machine instead of building and then mounting it to the machine. However, you would get more travel.
Most of the datasheets for microswitches show the moving part coming in sideways to the switch.
AI really quick search showed a crappy picture on this omron data sheet, D4Mc, Page 5, top right corner. (http://www.omron.com.au/data_pdf/cat/d4mc_ds_e_2_2_csm588.pdf?id=336)
The picture is showing where not to mount the switch (under the swarf coming of the cutter), but the picture also shows a bar on the sliding part with an angled end that activates the microswitch when it moves over it. That way the switch isn’t in the way at all, and doesn’t have to be mounted right at the end – just relative to the end effector.
Endstop should always be mounted that way, ie the activation point can be overshooted without risk of damaging the switch.
It also ease the disassembly of carriage without touching them.
Great idea! I’ll bookmark this for when/if i dredge out my Delta skeleton and get it going.
You could consider extending the sides to make like a channel that the wheel passes into but otherwise would cover the delicate switch lever. Ditto in the back to protect the terminals. In the mounted position that would mean extruding (extending) the two top and bottom surfaces vertically.