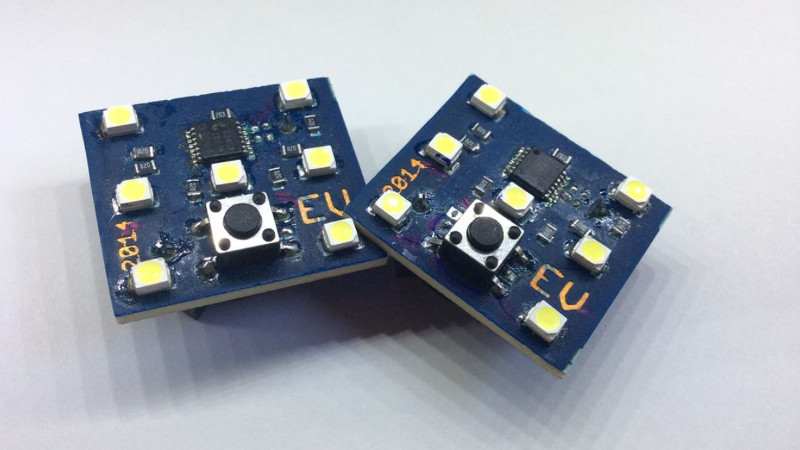
These days, it’s easy to get high-quality custom PCBs made and shipped to your door for under $50. It’s something that was unfathomable only a decade ago, but now it’s commonplace. However, it doesn’t mean that the techniques of home PCB production are now completely obsolete. Maybe you live somewhere a little off the beaten track (Australia, even!) and need to iterate quickly on a project, or perhaps you’d like to tinker with the chemical processes involved. For your learning pleasure, [Emiliano] decided to share some tips on making SMD-ready PCBs with the TinyDice project.
The actual project is to create a small electronic dice, and [Emiliano] touches on the various necessary considerations such as how to decrease power consumption, and how to source good quality, organic random numbers from your local microcontroller. Though its far from an exhaustive discussion on either topic, it shows an understanding of the deeper factors at play here.
However, the real meat of the write-up is the PCB production process. The guide goes through several stages of etching to not only prepare the PCB but also to add solder mask and produce a solder paste stencil as well using an aluminum can. This gives the boards that colored finish we’re all used to and lets the boards be reflowed for easy SMD assembly.
It’s a tidy guide as to how to approach producing your own boards to be used with SMD components, and it’s complete with clear photos and instructions throughout. If you want to take your designs up another notch, why not consider putting your components inside the circuit board?


#cleanthatflux
Regards to the projects; its great idea, but the price is overkill
The first and foremost step for custom PCB is making a schematic drawing of the circuit