To the delight of everyone, this year’s official DEF CON badge is an electronic badge chock full of entertainment. Of course there is blinky, the board is artistic, and everyone hopefully maybe gets one (it’s rumored 27,000+ were manufactured) if they don’t run out. But the badge contest at DEF CON is legendary — solve all the puzzles you are awarded the coveted black badge.
The creators of this badge are no strangers to the Hackaday community. Displayed proudly on the board and in the firmware, we discover that The Toymakers are the ones who have put it all on this line this year. Kudos to the dynamic hardware collective from Minnesota. There is no larger pressure cooker in the world of badges than this, and they pulled it off marvelously. Let’s take a look at all the goodies inside.
Most importantly, become a team member of the Hackaday.io DC26 badge solving project page to help discover all that’s involved in this badge. Okay, now let’s dive in!
The Hardware
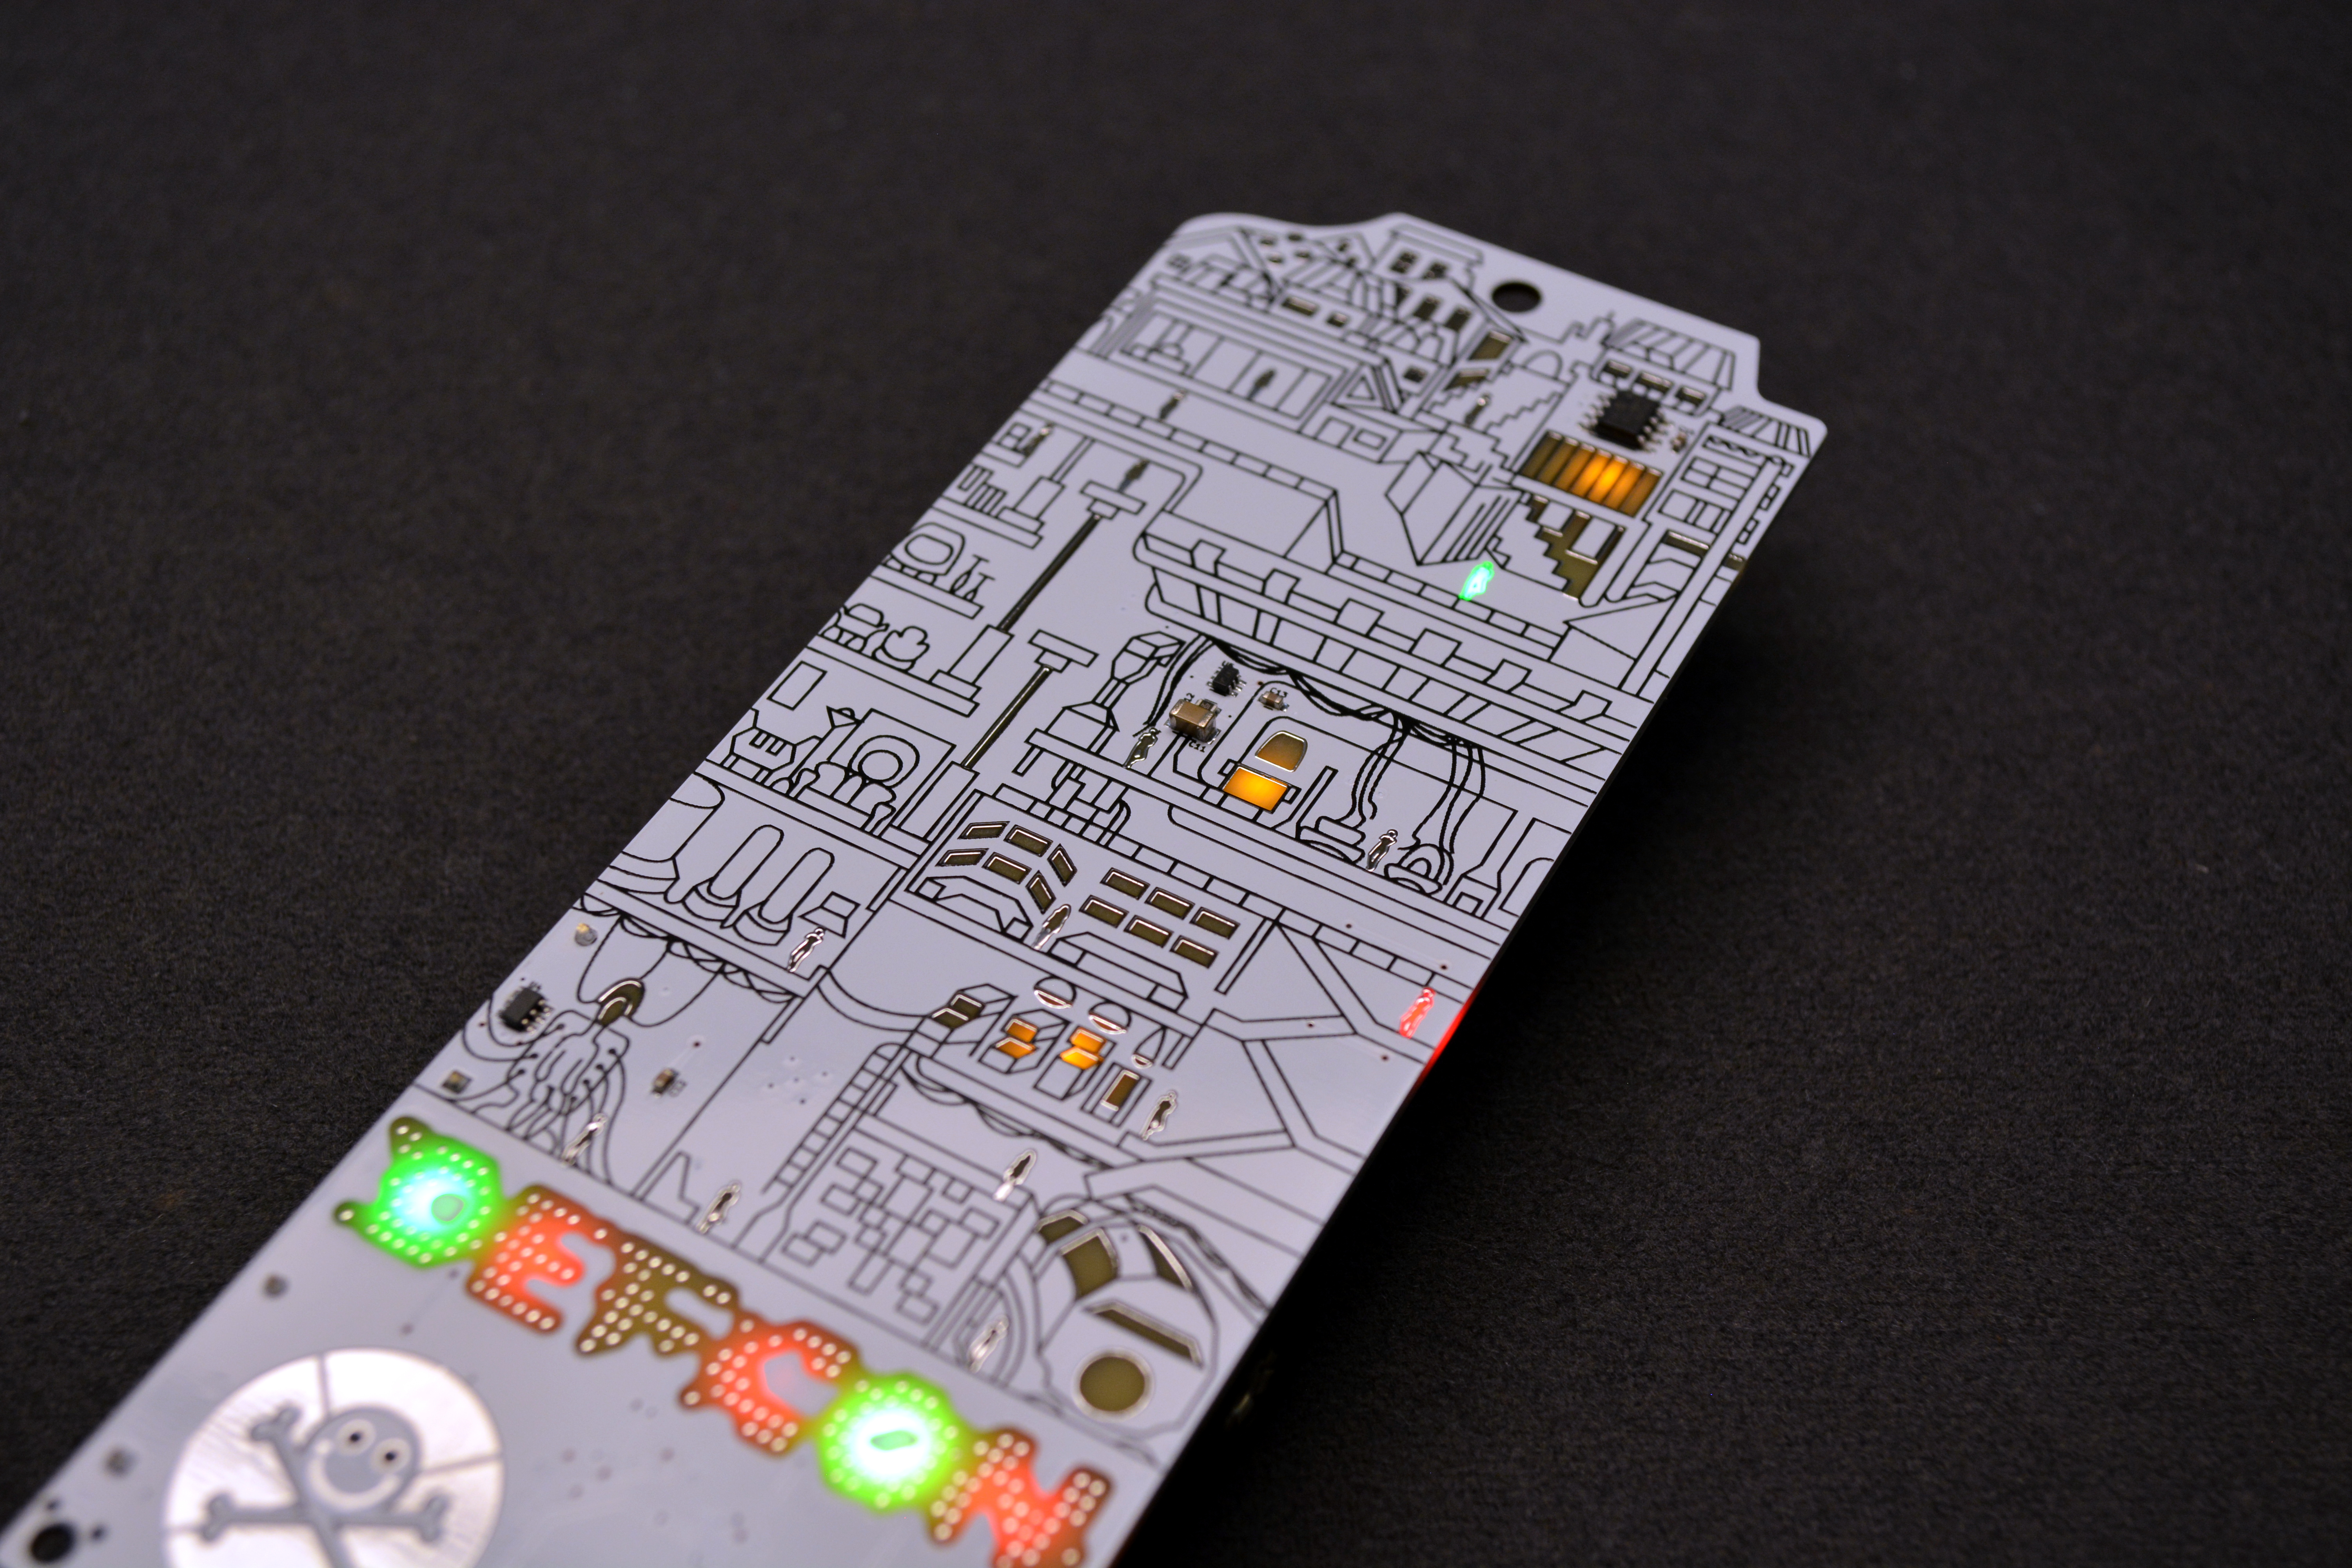
The badge is roughly eight inches tall by three inches wide and hangs around your neck by a single lanyard hole. Yes, there is a header for the new add-on standard on the official DEF CON badge this year. The bulk and weight of the badge comes mostly from four AA batteries which are nested into two holders. This is a really interesting part of the design as the battery holders are taped to the back of the badge over the top of the microcontroller, LED driver, and many of the LEDs. Those LEDs are mounted on the underside of the badge and shine through the board to illuminate the surface. There are 30 of these LEDs in total; some are RGB (those located under the DEF CON text) and some are single color.

The main processor is the PIC32MM0256GPM with 256 kB and 512 kB of SRAM in a 48-pin TQFP package shown to the right in this image. In addition to driving the badge it provides USB connectivity. To the left is another 48-pin chip that is unknown at this point. It is likely an LED driver and the writing we were able to read was something like “T1918 3236”. Leave a comment if you know more about this part.
Mystery Components


Near the top of the board is an 8-pin SOIC part which I initially thought was an EEPROM but it is actually a PIC12F microcontroller. Also on the face of the board are two small 6-pin parts which are not the same. One is located in the center of the board, another is off to the side of the board near the battery holders.
Again, if you have an idea of what these components are, or their functionality please leave a comment.
The Game
Connect to the badge with a micro USB cable and it enumerates on /dev/ttyACM0. When connected, fun information is immediately available.
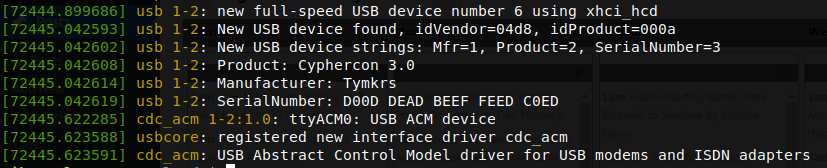
The manufacture is listed at “Tymkrs” with a serial number of “D00D DEAD BEEF FEED C0ED”. The product id is listed as “Cyphercon 3.0” which is an obvious holdover from this year’s Cyphercon badge from the event held in Milwaukee back in April.
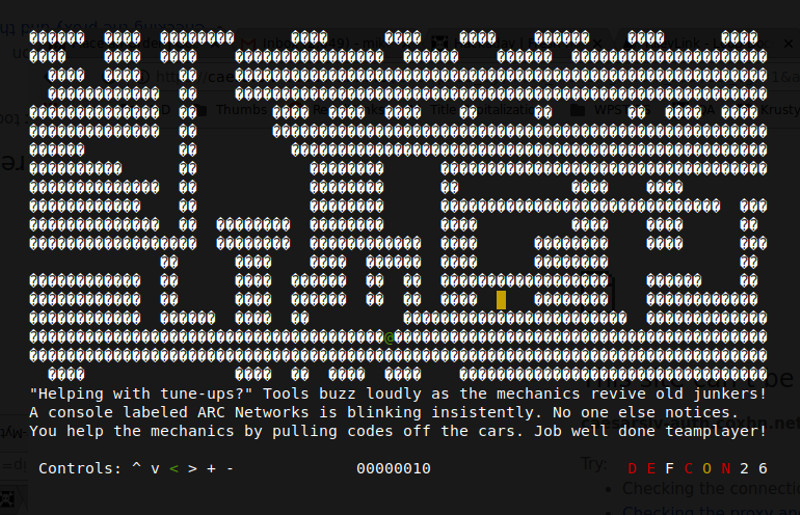
I just did a quick cat /dev/ttyACM0 and you get something of a color interface. Along the bottom is a row of controls that corresponds to the capacitive touch buttons on the bottom of the badge.
![]()
You can see that the down arrow and right arrow on the terminal are green. This indicates which movements are possible from your current location. Touching that direction on the badge is the only navigation control I could find. But I’m not using a proper serial terminal so there may be more features hidden within.
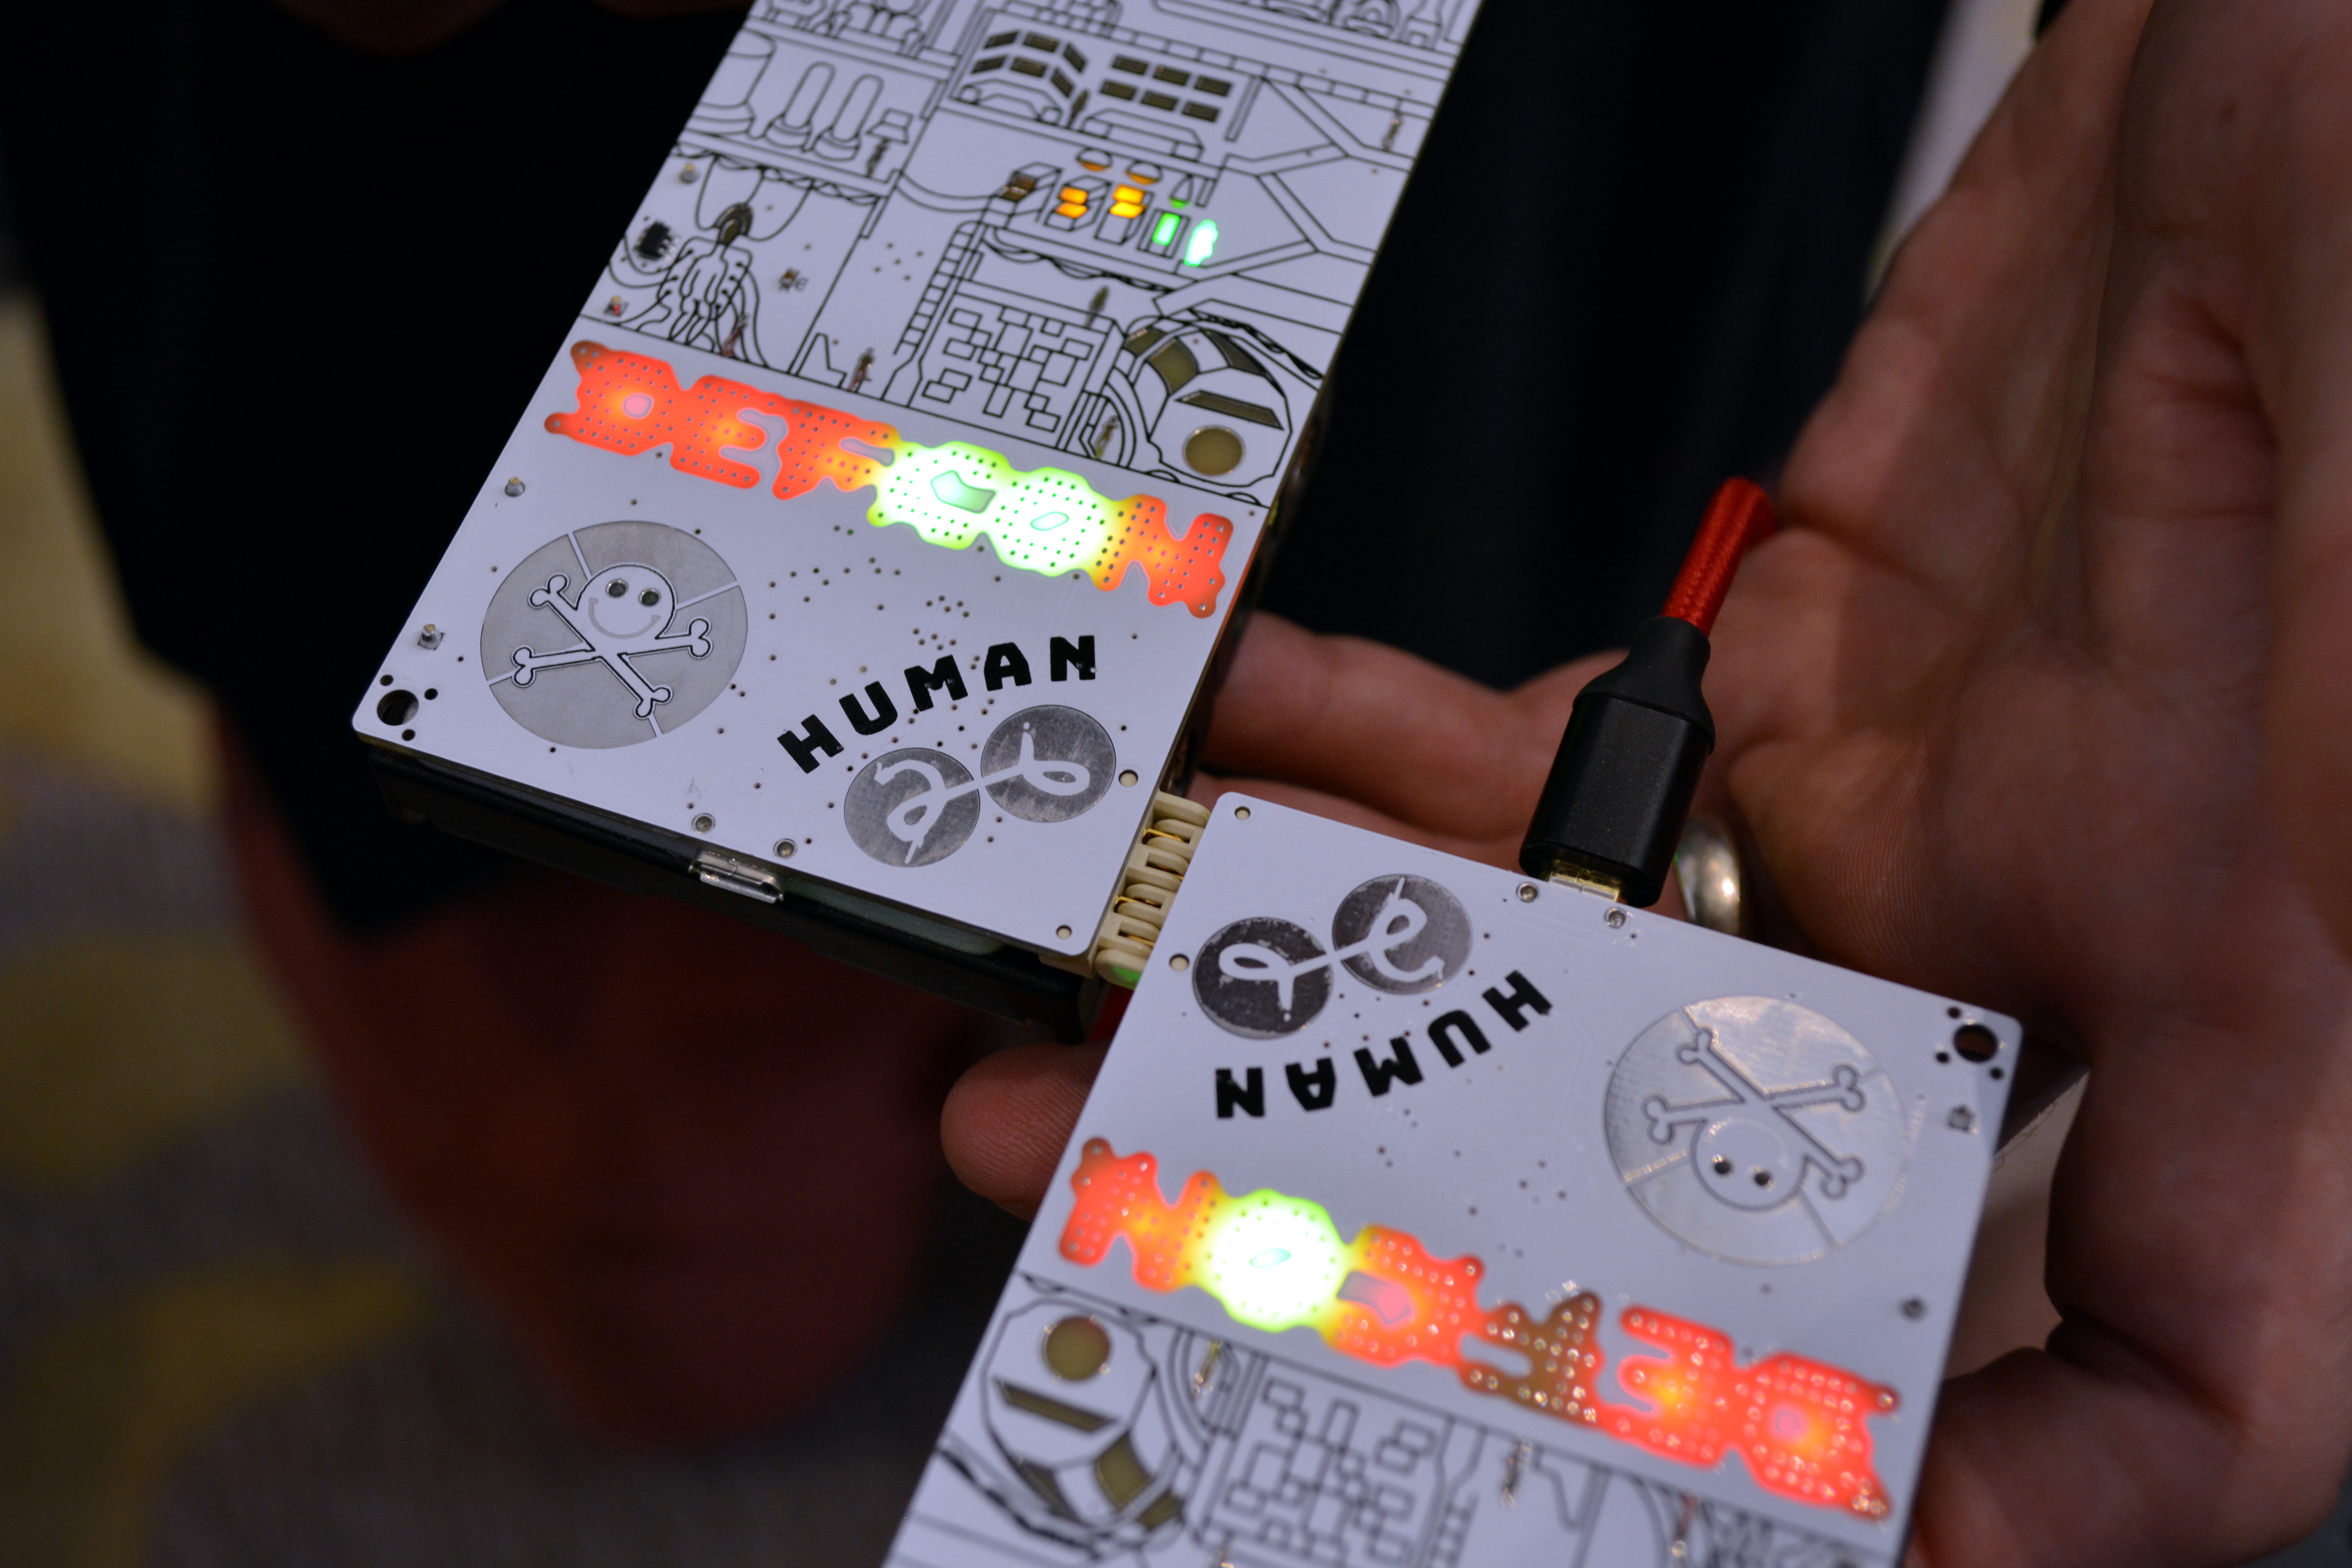
The game is interactive between the badge and the shell, but also between other badges. The connector on the bottom of the board provides interactivity between badges and the secret to moving your green player shown on the face of the badge down one locked level is to connect badges HUMAN-to-HUMAN. I’m told that the next level unlock is connecting badges HUMAN-to-GOON. This a delightful level of interactivity because it’s super quick and simple yet promotes you going out trying to find all different versions of the official badge.
![]()
As for the game itself, it’s a deliciously retro text game. The ability to track your progress on the map that makes up the face of the badge is brilliant. Everyone is a scoreboard, and making sense of the blinky goodness is a satisfying setup that will surely get more and more frustrating and you challenge yourself to move through the game.
This map on the boards silk screen is mimicked in the ASCII art. Above you can see my green player standing just to the left of a set of stairs on the badge. Look for the same set of stairs on the right side of the terminal screen. Below is another example screen from the output.
Solve this Badge!
It takes a village to hack a badge. Click this magic link to automatically join the badge solving project on Hackaday.io. You can view the project here.
Make new project logs for each challenge you’re trying to solve on the badge. Jump into the public chat to discuss what’s going on. All are welcome, you don’t need to be here to take part. Ask for more info from people who have a badge in hand and tackle the challenges the come to mind! Just make sure you’re posting back new info as fast as you can find it.


a favorite — the SunLED XZMDKCBDDG45S-9. beautiful badge!
That isn’t the only badge, please show others (speaker, goon, etc).
Indeed! Some of them also seem to have a little thing popping up in the corner like the “Speaker” one featured on Ars Technica.
https://arstechnica.com/information-technology/2018/08/honoring-the-80s-defcons-badge-is-also-a-text-adventure
Also hint on upper chip: it turns off a light.
I seem to recall that the last Queercon badge used the same connector to facilitate what they gamely called “badginal intercourse”… cool connector for all kinds of applications, IMHO.
Do you know the reference of the connector? I could think of a lot of use cases.
They are Amphenol Rotaconnects: https://www.amphenol-icc.com/product-series/rotaconnect-rotatable-board-to-board.html
(Thanks to the Queercon badge folks for identifying these as they used them last year. PSA: Do not try to connect the QC badge with the DEF CON badge — it will likely short out both.)
Looks like it might be an Amphenol part (PN: 10120045-400LF). DigiKey has it listed as a “solid state lighting connector”:
https://www.digikey.com/product-detail/en/amphenol-fci/10120045-400LF/609-4673-2-ND/4128730
Does anyone have an idea where to get the ttyACM0 driver for OS X? It isn’t installed by default on my machine.
FWIW, I used this terminal command to successfully connect to the DC26 badge on OSX:
screen /dev/tty.usbmodem1411 115200
Any chance someone has found low cost reverse mount LEDs? I’ve done it in a greeting card project in the past to illuminate through fiberglass, but wasn’t super happy with how expensive they were. It’s especially bad given how much loss I was getting anyway through the fiberglass – I really wanted more LEDs to get enough brightness, but it got pretty cost prohibitive for a mass-distributed design. I’m actually curious how these look in normal office room lighting – the images kind of look like they might have been taken in a pretty dark room.
The SunLED model is the only rear-mount LED I’ve found that is RGB and broadly available. It’s not cheap, in the $0.40 range in reel quantities, but the alternative is a castellated daughterboard with a normal RGB LED which _requires_ a thru hole and in the end doesn’t save much money once you factor in assembly.
In the same ball-park as the SunLED reverse mount RGB is the Wurth WL-SFRW (156125M173000) – slightly smaller, I think marginally cheaper, sits closer to the board but at the cost of needing to use the hole to poke the lens through (rather than solely for shining the light through), I’m currently using the Wurth one in conjunction with another reverse mount LED (also Wurth) but in red/green only (need to be careful to pick the right green so they match the RGB!)
Thank you both for info on these. I’ve been struggling to find good reverse mount SMT LEDs that aren’t marked NRND. Now to see if anyone in the UK stocks them…
Ditto, thanks guys! I’m remembering what I had done – I was actually looking for white, not RGB LEDs, and I think they were some Osram part that was NRND (LW T773). I was trying to challenge myself to design a holiday card with a BOM pricing competitive with Hallmark cards, so at $0.40/LED, there’s only room for a few LEDs. Looks like the white LEDs are still ~$0.40/ea in reel quantities, so at least the SunLED devices are a little more worthwhile if you want color. It’s awfully annoying to distinguish between “reverse mount LEDs” that drop into a hole in the PCB and those that actually can sit on the surface, so having these reference part numbers is pretty useful.
I wonder if side firing LEDs and light pipes would have been practical. I know badges like to be caseless, but PET sheets vacuum formed can be really cheap and easy for end users to modify with a pair of scissors.
What is the part # for the connector used for badge-to-badge communication?
Amphenol RotaConnect Series
Kudos, ToyMakers!
The LED controller is probably an IS31FL3236 given the similarly to markings that are on another ISSI LED controller we use, but I haven’t confirmed that.
28,200 badges
Are you using the right font for viewing this ascii art? It looks like there’s some unicode there that’s not correctly displayed. All those characters could actually be different.
I also need a badge idea for my company.
I’m attempting to repair a Eurorack synth module called the “Varigate 4+ “. It shorted so I’m looking to replace the IC’s. One of them is this elusive “T1918” chip on this badge. If anyone has any info please let me know! I actually have this badge (hehe) but I’d prefer not to tear it apart. Thanks!
The LED driver on the Varigate 4+ is https://www.mouser.com/ProductDetail/ISSI/IS31FL3236-TQLS2/?qs=%2Fha2pyFadujEgJLYFDBRxyjd9ly8xlUZ7RNvVYtAvtl0pThGPixu0g%3D%3D