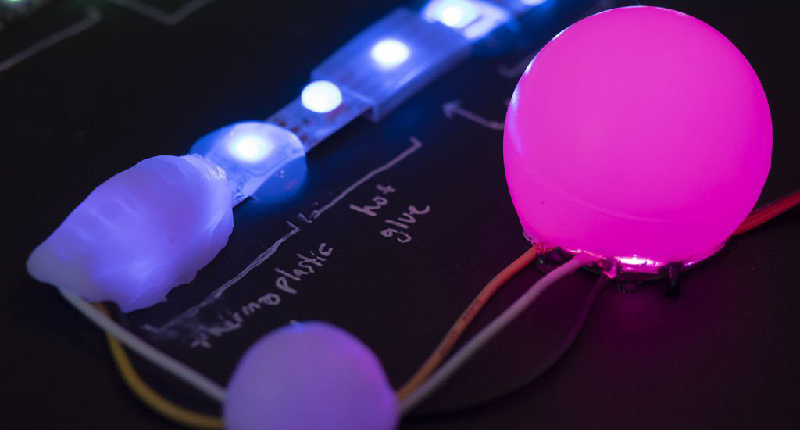
A decade ago, the first Arduino projects featuring addressable RGB LEDs came on the scene, and the world hasn’t been the same since. Now we have full wall video displays with WS2812s and APA102s, wearable blinky, and entire suits of armor made of LEDs. The future is bright, and in RGB.
 For this week’s Hack Chat, we’re going to be talking all about how to maintain the blinky without eye-searing brightness. It’s the LED Diffusion Hack Chat, full of tips and tricks on how to get the glowey without it being imprinted on your retina.
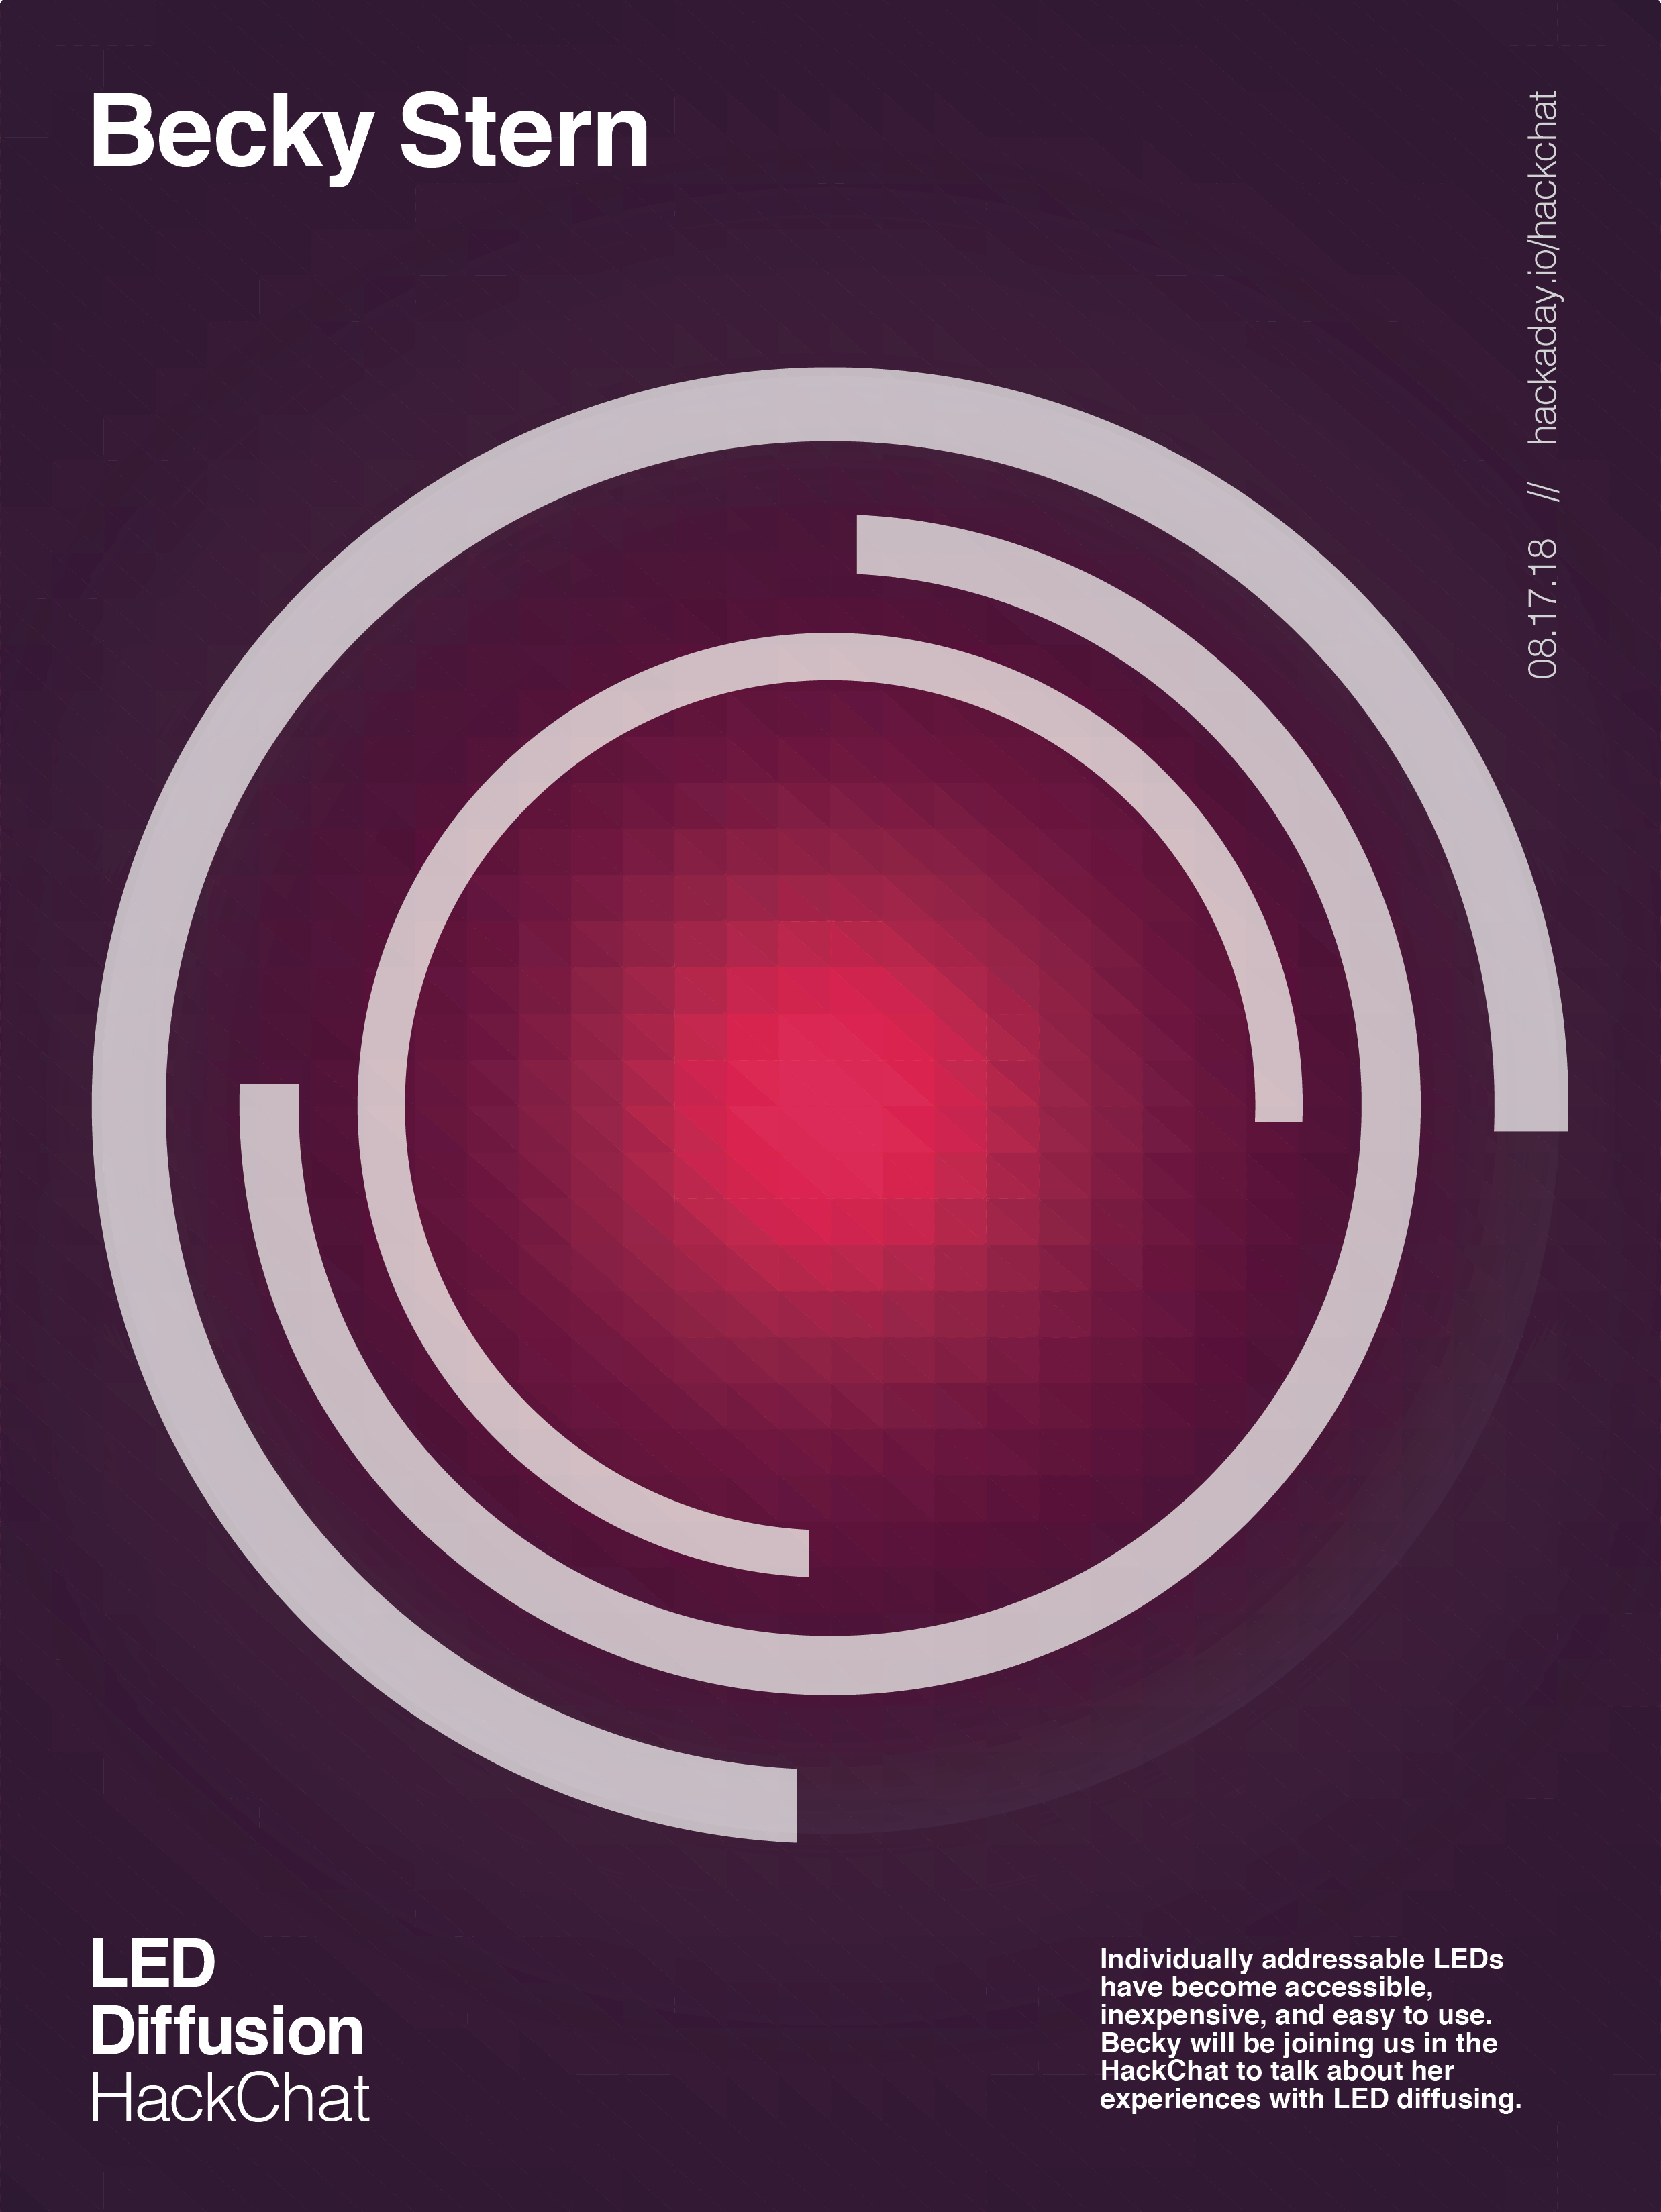
Our guest for this week’s Hack Chat is the incredible Becky Stern. Becky is one of the most prolific makers around and has a long history of fabricating some really, really cool stuff. She’s published hundreds of tutorials on everything from microcontrollers to computerized knitting machines, and has been featured by dozens of media outlets including the BBC, CNN, The Late Show with Colbert, VICE, and Forbes. Right now, she’s working at Autodesk with Instructables.
During this Hack Chat, we’re going to be talking all about diffusing LEDs, with topics including:
- Taking some sandpaper to LEDs
- Light pipes
- 3D printed LED enclosures
- Looking into a bright blue LED with your remaining eye
You are, of course, encouraged to add your own questions to the discussion. You can do that by leaving a comment on the Hack Chat Event Page and we’ll put that in the queue for the Hack Chat discussion.
Our Hack Chats are live community events on the Hackaday.io Hack Chat group messaging. This week is just like any other, and we’ll be gathering ’round our video terminals at noon, Pacific, on Friday, August 17th. Need a countdown timer? Here ‘ya go.
Click that speech bubble to the right, and you’ll be taken directly to the Hack Chat group on Hackaday.io.
You don’t have to wait until Friday; join whenever you want and you can see what the community is talking about.


This blog is a great idea. I’m posting here mainly to effectively subscribe to whatever anyone says about the diffusing light. :-)
Personally, passing light through materials has been something I have preferred to avoid if I have the option of reflecting off of a surface like indirect lighting. Whenever possible I prefer the indirect approach. If the reflective surface is bright enough, there is minimal loss, but that solution does take some serious geometric creativity, but I’m sure the maker community is up to that. :-)
+1 ;-)
Yea, that posting made me google “entire suits of armor made of LEDs”. Not practical but could be a lot of fun. :-)
Perhaps you’d scare your enemies into retreat?
More likely you would draw their fire, which would be useful as a distraction so they don’t fire at the real fighters. Make that armor super-thick and you might stand a chance. Extra metal is a good heatsink too so you can make the LEDs superbright, perhaps so bright that the enemy can’t make out any of your features. (Suddenly thinking of Fry in Futurama) :-) I personally would prefer to go the other way in a fight, wearing armor painted in “Black 2.0” and fight in “nerd-ninja” mode, hugging the shadows whenever possible, and with a super-bright distracton waxing brilliant, there would be plenty of shadows. :-)
Couldn’t help but think of this
https://www.youtube.com/watch?v=GMwXMLQAoSg
I see why you thought of that. :-) I need to watch more than the few Blak Adder episodes that I’ve seen. It’s still wierd seeing a “chatty” Rowan Atkinson. :-)
“entire suits of armor made of LEDs”.
Think of camouflage, a classified project that started in WWII had lights on the underside of aircraft to cancel out their outline against the sky. Apparently, people on the ground/sea surface didn’t see the plane “until it was right on top of them”. The shadow of of the underside of a large vehicle is also something that can be reduced by such lighting.
(Those shadows can reveal the location of a vehicle even though it has camouflage paint.)
The globe-domes from screw in LED bulbs should be a good one for big RGB displays, or readout for first gen computer.
I don’t fully understand these hack-chats, but I kind of want to get in on this. For arcade machines, and other various lighting projects, us at Unit-E have had to do a TON of stuff with diffusion… the magic of LDPE. The problems with Acrylic and UHMW – why it’s not all it’s cracked up to be.
Don’t be shy. Sounds like you’ve done a lot of “light-hearding”. Write your experiences/opinions/observations here.
This is probably the most creative, bizarre (or should I say brazier) LED light diffusing method I’ve ever seen. I almost forgot about this, (I don’t see how), but it really is relevant in this thread. Only works in red though, for humans. (Green for Vulcans) :-)
https://www.youtube.com/watch?v=a929IRtg4YU
R: For Humans it’s Red only.
G: For Vulcans, it’s Green.
B: For Andorian, it’s Blue.
Three Starfleet girls walk into an LED party. One Human, One Vulcan, One Andorian. We’ve got RGB lighting.
Best for the human girl to stand in the middle since Andorians and Vulcan’s don’t always get along. :-)
“My eyes are up here”….
That isn’t ACTUALLY an implant, is it? Just a woman who shoved some LEDs under her tits. Bet she gets more views than some ugly old dude teaching programming.
Its worth checking out her youtube channel. She’s actually a pretty good maker. (boy that sound wrong – don’t read anything between the lines – none intended) No implants, light pipes up to the skin and no further. Still its the best looking light diffuser I’ve ever seen, though not very efficient. Yes, much better looking than some ugly dude teaching programming, but I’m not sure which I would learn more programming from. distractions, distractions :-)
I keep thinking of trying this kind of thing … https://www.amazon.com/Clear-Rubber-Feet-Stick-Bumper/dp/B075KHF68T/ref=pd_sbs_60_8 Though I swear I’ve seen them in a more frosted or milky/translucent color but can’t turn up any with google at the moment.
These devices are intended for architectural lighting. I’d rather seem somebody produce them with lower output LEDs and on strips much closer together for display purposes.
This sounds fascinating but I will be at work when it is happening. Will transcripts and/or a summary be available afterwards?
There is an awesome diffusion material I have been using that should be available in your area for free.
A friend owns a window tinting company and gets his window tinting film on 5 foot (or so) rolls wound around a 3 inch (or so) white plastic cores. The cores are made polystyrene (burn test) and have excellent properties for use as a light diffusion material. If you put a light source inside, the entire tube glows but you cannot see what’s inside.
I got 40 or so of these tubes from my friend and he says I can get as many more as I need as he throws them away on a regular basis. One thing of note- they don’t handle U.V. very well and will yellow if put in the sun.
I have built LED candles and other things using these.
An alternative to sandpaper on acrylic, is to use a media blaster (aka “sandblast” – but not always with sand). You can use a cheap handheld sprayer with a hopper filled with say, baking soda to give a nice mild frosting to the interior surface of an acrylic part. You can blast AFTER laser cutting, or BEFORE (though cut edges lose some of their frost – engraved stuff ends up being clearer than the pre-frosted areas).
printer paper is pretty good at diffusion.
Can’t hear that topic anymore. Spent soo much time over the last year to get perfect light dispersion on a foil keyboard and front panel with no room (less than 1mm) between surface mounted LEDs on the PCB and the surface of the device… Even with ultra flat (0.2mm) LEDs, it was not possible to get good enough light dispersion. Long story short, our industrial designer had to rethink his glorious idea on how the product would look and feel, and now we can use reverse mounted LEDs with countersunk holes in the PCB to gain the required critical tenths of a millimeter between the LED and the light dispersion foil. So we finally managed to get a 5x5mm surface illuminated pretty evenly without too much loss of brightness (ultra low power device, so we have to take efficiency serious too…) in a very flat stack.
Using “hacks” like sanding or sandblasting LEDs is not really ideal if you need to mass produce a device at low cost. Countersinking the holes in the PCB is not free either, but we can live with the added 25% on the PCB price since it is rather easy to mass produce these holes in the PCB factory.
One technique I’ve used over the years in movie work where I don’t have much clearance between LED & viewing surface to avoid hotspots is stuffing in teddy bear poly fluff. I used that a lot on Babylon 5 especially and it worked well. It’s just hard to match adjacent areas or exactly duplicate the effect from one prop to another, but when it does work, it works well.
Yeah, is there a transcript after the fact? I won’t be able to join live either.
It’s been posted on the event page – I haven’t been able to join live for any yet either as I am usually working when these happen, but at least I can skim for reference.
I need to make a component with 10 lights that cycles with the push of one button .each time you push the button it’ll cycle to the lightl. Does anybody know how to do that. Thank you