Anyone who has played with speakers on the workbench knows the huge difference enclosure design makes to the frequency response of an audio system. Speakerheads spend hours tinkering with designs and calculations, aiming to get the best out of a given set of drivers. [HexiBase] decided to try some experiments of his own, running into some hurdles along the way.
[Hexibase] aimed to 3D print a compact transmission line design, to suit a pair of 1 1/8″ full-range drivers. Being aware of the benefits of high-resolution resin 3D printing, he set out to print a design taking full advantage of the build volume of his Longer 3D Orange 30 printer. Unfortunately, after much fiddling with slicer settings, the printer turned out to have a fundamental fault, leading to unusable prints.
Undeterred, [Hexibase] switched to using his Longer FDM model instead. Printing out the enclosures in PLA. he noted that the different material will have a slightly altered frequency response than originally intended. Regardless, the final result sounds great, and barring some higher-frequency anomalies, the output correlates well with the mathematical model of expected performance.
3D printers make great tools for budding speaker builders, as they make constructing advanced geometries a cinch. Of course, you can even try and 3D print the drivers themselves if you’re so inclined. Video after the break.


finally some love for hexibase and not just the clickbait 3d printer guys on youtube……everyone knows who they are
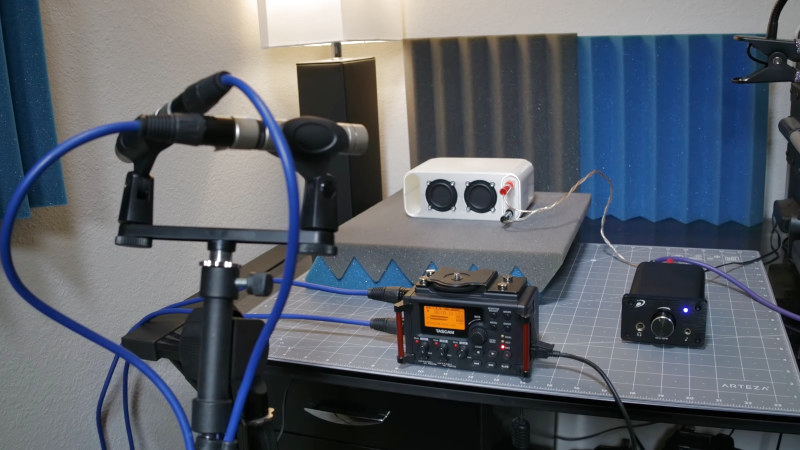
How do you measure the response without room acoustics having effect on the end result? Hexibase manages that somehow because measured response is so close to the mathematical model.
Well my first thought would be to use a pink noise generator and spectrum analyzer to “map” the room’s response curve, then EQ it out or subtract it from the results.
I don’t know about this particular speaker and set up, but the standard way in the DIY Audio community is to take very short recordings so the sound can travel from the speaker to the microphone, but by the time it’s bounced off anything else the recording is over.
This works on higher frequencies, but the length of the measurement window limits how low frequencies can be measured.
Seems to miss out selective dampening, the all important manual tuning away of the peaks. Faff but fun.
Open, add fluff, close and test. Open, move fluff, close and test. Repeat.
Room? Just set up outdoors on a grassy hill. Almost as good as an anechoic chamber. Transmission line should start with a symmetrical “Y” to combine both driver’s waves as equal in time.
Do you mean a grassy knoll?
Was once doing measurements in a typical UK box room (how can these count as bedrooms??). Spent ages wondering why there was a hump in the upper bass response. All the room’s dimensions were 2.4m, leading to a 3D set of 140 Hz standing waves. Presumably the 70 Hz would have been present too, but microphone and driver placement were close to the floor so might not have excited/measured that mode well.
3D printing is great for speaker builders who use drivers that are 1 and 1/8″
I will admit that I have a bluetooth speaker that is around that size and sounds amazingly good for what it it, but really, my real speakers are significantly larger, as in over an order of magnitude. There are a lot of materials you could build the enclosures out of, but I don’t see them being 3D printed. At least not with a 3D printer I will ever be able to house or afford. Than again after the shameless ad for the vacuum pump on here, perhaps I should add a ginormous 3D printer to the list of things that I want.