Part of the magic of the movies is that the actors always know what will happen next. There never has to be a scene where James Bond orders wine, and the sommelier has to correct his pronunciation, or he miscounts his hand at baccarat. Real life is rarely as smooth. Of course, YouTube is more akin to a movie than real life, and we always wonder how many flawlessly executed projects you see on YouTube really went that well. [Mark Fixes Stuff] left no scenes on the cutting room floor, though, in his realistic portrayal of his quest to build a nice-looking Atairi 2600 cartridge. Watch it below.
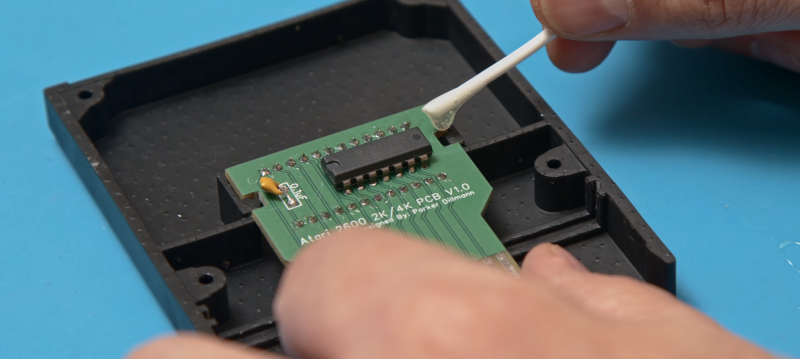
Spoiler alert: In the end, it all worked out. But getting there was a series of misadventures. Starting out with [Parker Dillman’s] PCB, he put together the insides of the cartridge, including a socket for the EPROM. He then resin-printed a case. Like many of our own projects, the first run wasn’t quite the size he expected. It was probably close enough, though, but then he realized the socket made the board too tall to fit in the enclosure.
He also shows all the little parts that have to happen to get a nice-looking project completed. Printing a color label or just burning the EPROM, for example. He didn’t just produce them out of thin air.
We wondered if a low-profile socket might have been able to fit. Sometimes, two rows of machined pins will fit where a socket won’t, too. Barring that, it might have been nice to use an EEPROM — they make them that are drop-in compatible with EPROMS — and then allow reprogramming with a clip or pogo pins on a new PCB.
Overall, we enjoyed this realistic peek into a practical project. We might suggest a little tape to hold down components while soldering, though. What could you do with a custom cartridge? Maybe fix an old game. Of course, you can actually get recent official new cartridges.


Nice view of the whole proces and kuddo’s for the effort to create a nice cart.
If he would desolder the dip chip and capacitor. clip the leads much shorter and resolder them the socket would be more flush.
Also by looking at his soldering there seem to be some cold joints.
>Also by looking at his soldering there seem to be some cold joints.
It looks like he’s using lead-free, I think. It took me awhile to figure out why the solder flow looked so *wrong*, despite his technique being decent. I forgot people still used that stuff.
No need to shoot soldering and desoldering every singel pin?
Publishing negative results sure is helpful to learn what not to do. Cue the session quote or whatever about learning a million ways not to do something.
.
In science publication there is a push to eliminate some publication bias (ie only printing what did work). Thinking in abstraction though, you probably shouldn’t just publish my entire lab notebook as “crap that didn’t work except that one time at Christmas 2009.” If everyone did that the body of scientific publications would be unusable. But finding a nice middle ground so everyone isn’t re-inventing the wheel every time is good too.
For stuff like this article on a hobbyist level it’s golden- for hobby stuff we are often doing it in spare time and eliminating a few hours of what-not-to-do could easily amount to a month of off weekends of work and the difference between completing a project or even doing it at all.
Thanks
Add a max ii cpld and you can connect an SD card slot, and 128k of sram use the atari cpu or a cheap mcu to handle io, and fat32 filesystem
And a have a flash cart that support all bankswitch schemes (64k was the largest commercial one iirc) or Stream data dynamically from the gigabytes of SD card
Could run a 1GB atari 2600 rom
How much game and graphics will fit?
I think the fascination stems from not sinply using cheap modern components from daily life (SD cards, AVRs, FPGA etc) .
Working with elementary vintage technology is refreshing in our modern days.
Accomplishing something with that is very satisfying. A parallel vintage EPROM with a quarz window is much more interesting, because of its simplicity.
No internal firmware, no on-board microcontroller etc. It’s just physics and discreet logic.
Here’s a multicart I made using 16,32 or 128k
In 4k banks switched using a dipswitch, though can be interfaced with a cpld or pal/gal to provide custom mapping and bankswitching
https://forums.atariage.com/topic/258095-128k-multicart-board-32-x-4k-banks-questions/
I would have kept the socket and would have cut a hole in the housing to make space, you can always glue a cap on it.
For some reason I like the aestetic of such bodges.
And incidentally, I noticed he did not highlight that he put the sticker on the wrong side, you can’t see it when the cartridge is inserted and that seems wrong to me.
Or maybe he put the PCB and slot insert in upside down?