[DTSS_Smudge] correctly intuits that if you are interested in an old Heathkit signal generator, you probably already know how to solder. So, in a recent video, he focused on the components he decided to update for safety and other reasons. Meanwhile, we get treated to a nice teardown of this iconic piece of test gear.
If you didn’t grow up in the 1960s, it seems strange that the device has a polarized line cord with one end connected to the chassis. But that used to be quite common, just like kids didn’t wear helmets on bikes in those days.
A lot of TVs were “hot chassis” back then, too. We were always taught to touch the chassis with the back of your hand first. That way, if you get a shock, the associated muscle contraction will pull your hand away from the electricity. Touching it normally will make you grip the offending chassis hard, and you probably won’t be able to let go until someone kindly pulls the plug or a fuse blows.
These signal generators were very common back in the day. A lot of Heathkit gear was very serviceable and more affordable than the commercial alternatives. In 1970, these cost about $32 as a kit or $60 already built. While $32 doesn’t sound like much, it is equivalent to $260 today, so not an impulse buy.
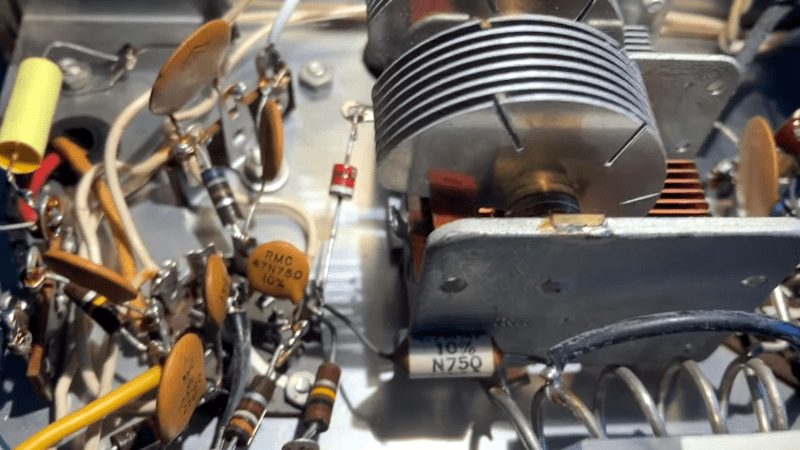
Some of the parts are simply irreplaceable. The variable capacitor would be tough to source since it is a special type. The coils would also be tough to find replacements, although you might have luck rewinding them if it were necessary.
We are spoiled today with so many cheap quality instruments available. However, there was something satisfying about building your own gear and it certainly helped if you ever had to fix it.
There was so much Heathkit gear around that even though they’ve been gone for years, you still see quite a few units in use. Not all of their gear had tubes, but some of our favorite ones did.


I am rather shocked (pun) that any Heath gear was without a transformer power supply. In those days only cheap consumer stuff had those hot chassis designs. I remember my dad calling out about some guy getting killed from hooking a speaker up to a radio that he read about in the paper. I responded “he must have had one of those GE or some poop brand radio with a hot chassis”, I know better dad. GE had transistor radios with 110 volts DC on the final transistor hot chassis! Cheap!
The Heathkit box shown here has a transformer. Leaky filter caps were lifting the chassis to half line voltage. A very common problem with tube gear of that age.
It used to be common on guitar amplifiers (that had power transformers) to have a capacitor connected to the line and chassis to reduce hum. Guitar amplifiers had a switch that would switch between on line to the other (hot vs neutral).
You’d switch it to which ever one reduced the hum.
Weirdly I might suggest the variable cap is actually more replaceable now as you could model it in CAD and get parts laser cut or 3D printed in metal and sent to your door for not very much from the likes of JLC.
OR as I have thought of, but have yet to try, entirely print an air variable cap in, for instance, PETG and put aluminum or copper tape on one or both sides of each plate, connecting everything electrically in an appropriate manner. Use bearings where needed.
IMHO printing is a waste of time. Copper clad 0.5mm FR-4 PCB material can be cut with scissors and survives soldering. But considering that a 2 x 365pF variable cap is still easy to source from junk sets, that’s also a waste of time.
How can letting a machine do what you are doing manually be a “waste of time” and laying down the plates on the adhesive upward tape and using a hobby knife to cut away the excess is easier and quicker than cutting fiberglass PCB with scissors. Finally, I don’t know what vast inventory of “junk sets” you have access to and a DIY air variable could be designed for any capacitance and voltage rating desired.
A 3D printer won’t do all by itself. 0.5mm PCBs are as easy to cut as cardboard, kids can do that. Or you stack 20 of them and use a band saw.
And then there’s the tricky part of contacting the vanes in a low-impedance manner, PCBs and copper/brass sheet can simply be soldered to a brass rod using copper gaskets as spacers. That doesn’t work out with copper foil on plastics with a low melting point.
Thrift stores run by NGOs and churches are a good source for old parts. Ask for broken and damaged sets, these are usually not on display and can be had for a small donation.
I have an SG-8 with a variable cap that shorts once it’s rotated past a certain position. I’m wondering if I can sand down the offending plate(s), but I have not been successful in locating where the particular short is.
Anyone have any tips?