You have a part that needs different colors or different material properties — with a multi-color 3D printer, no problem. You can also laboriously switch filaments on a single-color printer. But [anonymous kiwi] points out a different way, which is surprisingly obvious once you think about it. You simply add a previously made part to another one.
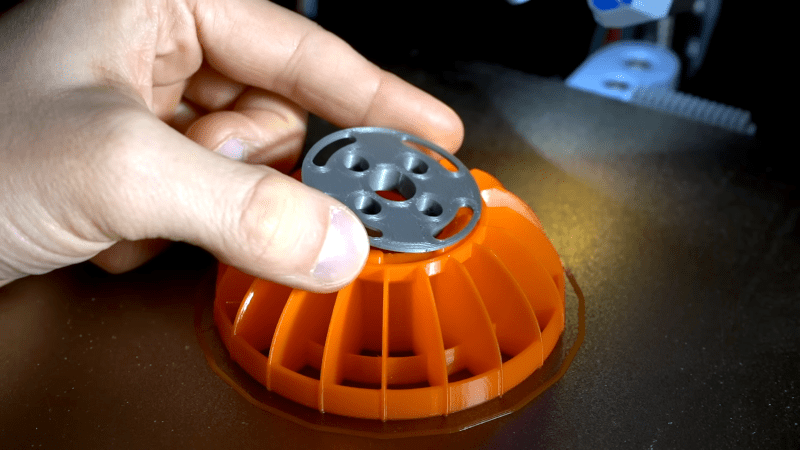
If you’ve ever experimented with adding a nut or a magnet into a print in the middle, the idea is exactly the same: you print one piece and then print a second piece, pausing in the middle to insert the completed first piece. The video example shows TPU robot wheels with PLA hubs. Of course, the same idea could apply to using different colors or even multiple materials or parts. You could imagine a hub with a steel nut embedded in it, then further being embedded in a TPU wheel, for example.
With multi-material printers becoming more commonplace, this technique might seem antiquated. But even if you have one of such a printer, this technique could save time and reduce waste. Not every part would work out this cleanly, but it is something to remember for the times when it does.


I wanted a face plate for a project box with lettering printed on it, but I didn’t have a printer capable of multi-colored printing at the time. After some thought, I printed the blank plate first, and then as a separate print I printed the lettering. My printer had a BL-Touch style bed probe, so calibrating the surface of the blank plate as the bed height for the second print was no problem. In all I was quite pleased with how it turned out and how simple it was to execute.
Similar trick is to insert a pause in the gcode (even can make a beep in some cases) then change colors and resume the print.
In the past I have also just watched the print, cut off the filament and inserted new filament without stopping the print. Although, that requires some dexterity.
I have done both of those methods you mention in the second paragraph. The latter when I had my first printer running with Slic3r. Then I started using Prusa Slicer and started to utilize the pause function.
Awww man, wait until you hear about this thing called “glue”
or washers…
For the battle bot application, washers add weight that could be better used somewhere else.
Glue isn’t always reliable, particularly when sticking a flexible part to a rigid part. This method gives a similar result to injection overmoulding without the expensive tooling.
How many wasted prints do you need to get one that actually fits together?
Would be annoying to find out that the tolerances of the first part you printed don’t meet up with the tolerances of the second part you’re just printing, so you have to scrap both and start over….
Clearly you need at least two printers! ;-)
I’ve done quite a lot of press-fit 3D print design in the past, and with a bit of experience you nail it every time on the first try. Also, in this shown off case, one of the prints is flexible material, so making it fit is easier as one part will flex to fit the other.
I am always close but it usually takes me ~2 iterations. Different materials also have different tolerances.
That said for small stuff I just accept I will have to do the two prints, for bigger stuff I tend to do big tolerances (eg a hole) then do a pressfit insert for that hole to get the tolerance where I want. The insert takes less time to print and wastes less filament than trying to do it all in the big part.
I print only the interface area once to make sure the fit is good before doing the fill sized part. Saves on filament and time.
I love that finned tire design. It’s like an airless tire, but also ablative defense. Maybe it’ll resist peeling.
Very similar idea to this. https://hackaday.io/project/182664-embedding-a-mesh-into-3d-print