A DIY 3D Printing Filament Dryer

In a recent video [Saša Karanović] revisits the DIY filament dryer that he gave a shot a couple of years ago. Back then he reused an existing filament dryer, adding a custom controller and such to improve its performance.

This technically-not-fully-DIY dryer got some feedback since then, and thus the V2 version is an example of how to better DIY such a dryer, including a custom PCB and a GitHub project for all the details.

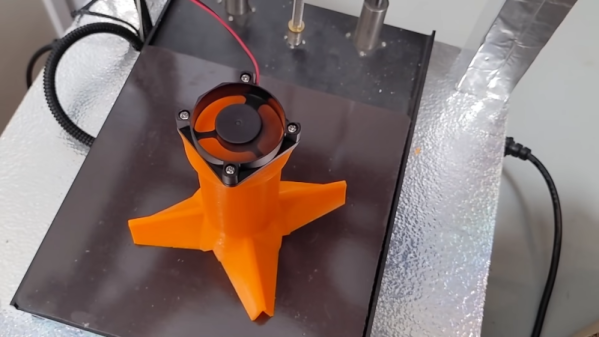
Those who just want to dive into the documentation for assembly and the BOM can look at the available documentation. At its core the whole assembly consists of some kind of container like the shown 5L food storage type, along with an SHT30 temperature and humidity sensor and 100 K NTC temperature sensor. These connect to the controller board which then switches on or off the 12 V polyimide resistive heater.

One thing that could be improved here is that the saturated warm air has nowhere to go. This is a common issue with filament dryers and why it’s recommended with even commercial filament dryers like the common Sunlu types to leave them slightly ajar so that the moist air can be replaced with cooler air that can much more readily absorb moisture.

Continue reading “A DIY 3D Printing Filament Dryer”

Upgrade Your Filament Dryer With A Swiveling Filament Port

Many FDM filament dryers have a port through which you can guide the filament. This handy feature allows you to print from the spool without removing it from the dryer, saving time and limiting exposure to (moist) air. Unfortunately, these exit ports aren’t always thought out very well, mostly in terms of the angle with the spool as it unrolls. The resulting highly oblique orientation means a lot of friction of the filament on the side of the port. This issue is addressed in a recent [Teaching Tech] video, with a simple, low-cost solution.

The basic idea is to have a swiveling port, inspired by a spherical bearing. The design shown in the video uses a PC4-M6 pneumatic connector to pass the PTFE tube. Connector choice is critical here, as many PC4-M6 pneumatic connectors won’t accommodate the PTFE.  As a fallback, you can drill out a connector to enable this.

Once the connector is sorted, you need a 13 mm (~0.5″) step drill bit to widen the opening in the filament dryer. This ready-to-print version has 10 degrees of freedom in any direction, but you can adapt it to fit your needs. With this mod installed, the angle with which the filament enters the port should remain as close to zero as possible, preventing both friction and damage to the port and filament.

Continue reading “Upgrade Your Filament Dryer With A Swiveling Filament Port”

Most FDM Printers Are Also Filament Dryers (with A Little Help)

If you’ve printed with an FDM printer, you probably know there are many interrelated factors to getting a good print. One key item is the dryness of the filament. When you first crack your plastic open, it should be dry. Most filament is packed in a sealed bag with desiccant in it. But if you have the filament out for a while, it soaks up moisture from the air and that causes lots of problems. [Design Prototype Test] has built and bought filament dryers before, but now he would like to point out that every FDM printer with a heated bed can act as a filament dryer. You can see the details in the video below.

It turns out that the idea isn’t original, but it doesn’t seem to be one that has caught on. What the video shows though, is to take the idea and run with it. A 3D printed support sits on the bed and accepts a cheap PC fan. The whole affair gets boxed up with cardboard and can dry the filament.

Continue reading “Most FDM Printers Are Also Filament Dryers (with A Little Help)”