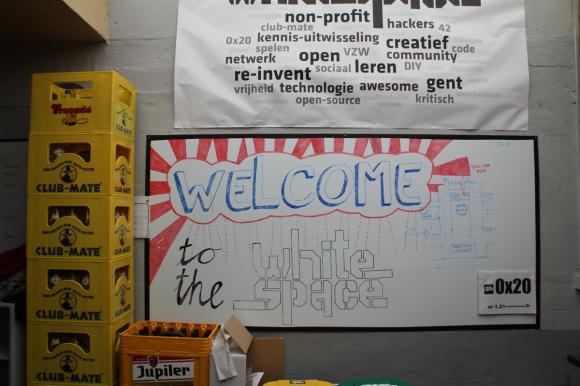
A few years ago, [Mitch Altman] from Noisebridge came up with the idea of a Hackerspace Passport. The idea behind it was not to hinder or monitor travels but to encourage visiting other hackerspaces. These passports can be purchased for just a few dollars or, in true open source fashion, be made with nothing more than a computer printer… the Hackerspace Passport design files are totally free and available here.
So next time you’re visiting a new hackerspace, bring your passport and get it stamped to document the trip…. and that brings us to the point of this post: The Stamp. At around $25, having a custom ink stamp made at an office supply store isn’t that much money, but buying a stamp is not as fun as making one! That is what we are going to do today; make a stamp… or more specifically, several stamps using different techniques. Then we’ll compare the performance of each method.
DESIGN
Since this is Hackaday, we will be making a Hackaday Logo stamp. Back a couple years ago we ran a contest asking folks to make unique things with the Hackaday logo. To make it easy for the entrants, the Hackaday logo was made available in SVG format. We’ll start with that, since it is available, and make a minor change by adding some lettering, as most soon-to-be stamp makers will probably want letters on their stamps too. This is easily done in the FOSS vector graphic editor software: Inkscape.
The stamp size is important. A Hackerspace Passport page has room for 4 stamps up to 41 x 47mm and we’ll try to keep our stamp within those limits.


