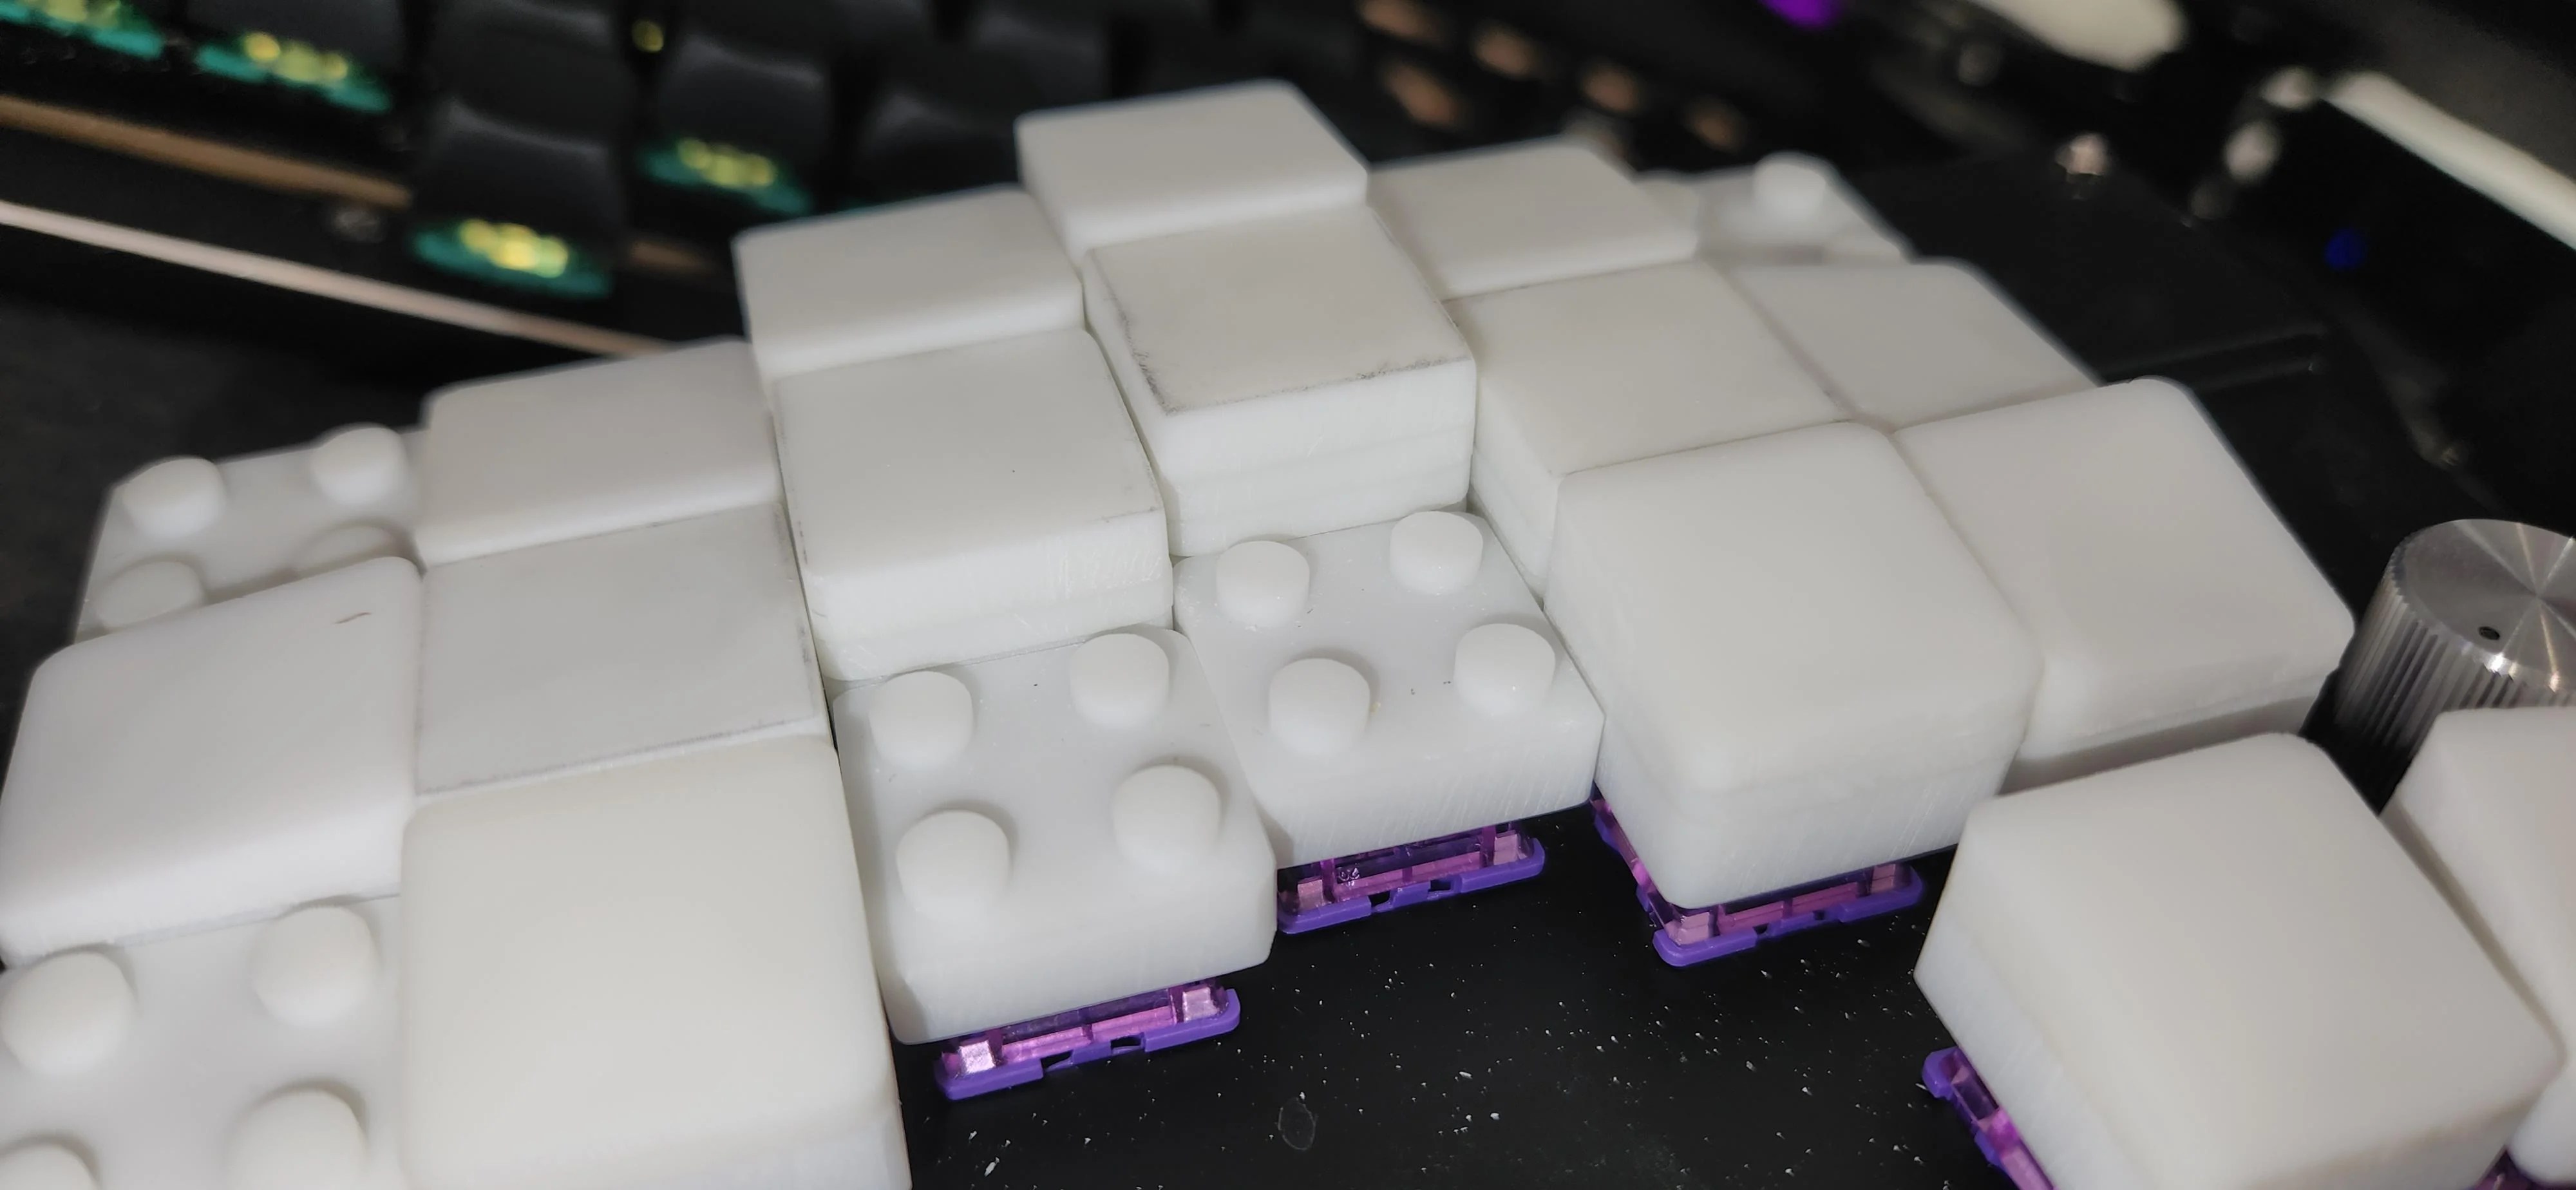
Now, we can’t call these LEGO key caps for obvious reasons, but also because they don’t actually work with standard LEGO. But that’s just fine and dandy, because they’re height-adjustable key caps that use the building block principle.
Image by [paper5963] via redditNow you could just as easily build wells as the dome shape pictured here, and I’d really like to see that one of these days.
In the caption of the gallery, [paper5963] mentions foam. As far as I’ve studied the pictures, it seems to be all 3D-printed material. If they were foam, they would likely be porous and would attract and hold all kinds of nastiness. Right?
[paper5963] says that there are various parts that add on to these, not just flat tops. There are slopes and curves, too. They are also designing these for narrow pitch, and say they are planning to release the files. Exciting!
Have you ever wished you could experiment with different layouts super easily, just by adding or removing a few switches here and there and printing a new case? Well, [heyisjambo] says that it’s more than possible with menura, the modular keyboard system.
So many lovely options! Image by [heyisjambo] via GitHub[heyisjambo] is happy with 36 keys, but is reduced-count-curious and wanted a way to explore without a lot of wasted time and PCBs.
At the same time, [heyisjambo] wanted to experiment with split vs. uni-body construction, and especially the different shapes that are possible when tweaking the angle and distance between them.
And as if that weren’t enough, there’s support for [Sadek Baroudi]’s VIK standard for interfacing data between PCBs, which calls for an FPC 12-pin, 0.5 mm pitch connector and allows for ultra-cool magnetic connectors. This way, you can easily add things like displays, trackpads, and trackballs in the between the halves.
You know (or maybe you didn’t), I get super excited when y’all use the links at the bottom of this round-up we call Keebin’ to communicate with your old pal Kristina about your various labors of love. So just remember that.
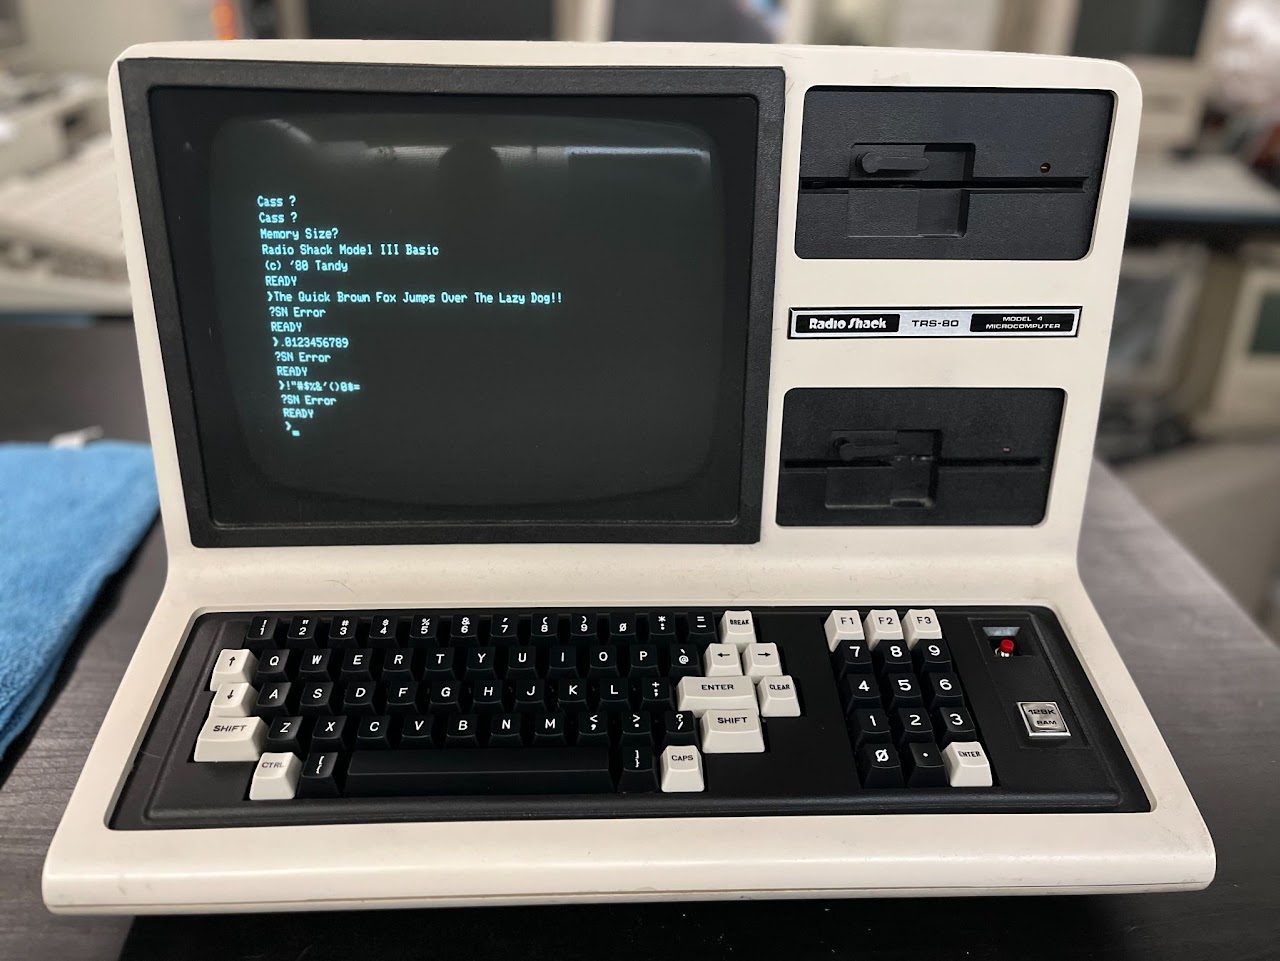
Case in point: I was typing up this very issue when I heard from [Jay Crutti] and [Marcel Erz]. Both are out there making replacement keyboards for TRS-80s — [Jay] for Models 3 and 4, and [Marcel] for the Model 1. Oooh, I said to myself. This is going at the top.
A TRS-80 Model 4. Image by [Jay Crutti] via JayCrutti.comRelevant tangent time: I remember in the 90s having a pile of computers in my parents’ basement of various vintages, a TRS-80 Model 2 among them. (Did I ever tell you about the time I got pulled over for speeding with a bunch of different computers in the backseat? I was like no, officer, first of all, those are old machines that no one would really want, and I swear I didn’t steal them.)
I think the TRS-80 is probably the one I miss the most. If I still had it, you can bet I would be using [Jay] and [Marcel]’s work to build my own replacement keyboard, which the 40-year-old machine would likely need at this point if the Model 4 is any indication with its failing keyboard contacts.
To create the replacements, [Jay] used Keyboard Layout Editor (KLE), Plate & Case Builder, and EasyEDA. Using the schematic from the maintenance manual, he matched the row/column wiring of the original matrix with Cherry MX footprints. Be sure to check out [Jay]’s site for a link to the project files, or to purchase parts or an assembled keyboard. On the hunt for TRS-80 parts in general? Look no further than [Marcel]’s site. Continue reading “Keebin’ With Kristina: The One With The Hardware-Layered Keyboard”→