Hackaday SuperConference begins tomorrow and every ticketed attendee will get their hands on this sexy piece of hardware which is the conference badge. Yes, it looks fantastic hanging around your neck, you can play a wicked game of Tetris on it, and it runs a crypto challenge. But badge hacking is a thing and this post is the most concise information you’ll find on hacking on the firmware. Whether this is your first time blinking an LED, or you cut your teeth on PIC assembly, you can make this badge do your bidding with minimal effort.
The IDE/compiler:
To run your code on the badge you need a compiler. We recommend you install an IDE and compiler on your computer before arriving at the conference. Download and install both MPLABX and the XC8 compiler (you need both).
The other option is a cloud IDE/compiler in the form of MPLAB Xpress. Normally this is the most convenient option but at a conference, you never know how reliable WiFi will be as hundreds of people try to connect devices to the network.
The Framework:
We’ve set up an example in the C language that demonstrates how to interface with the conference badge. Download this and open in MPLABX (installed on your computer in the previous step) or open the cloud version (look for red button that says “Open in IDE”).
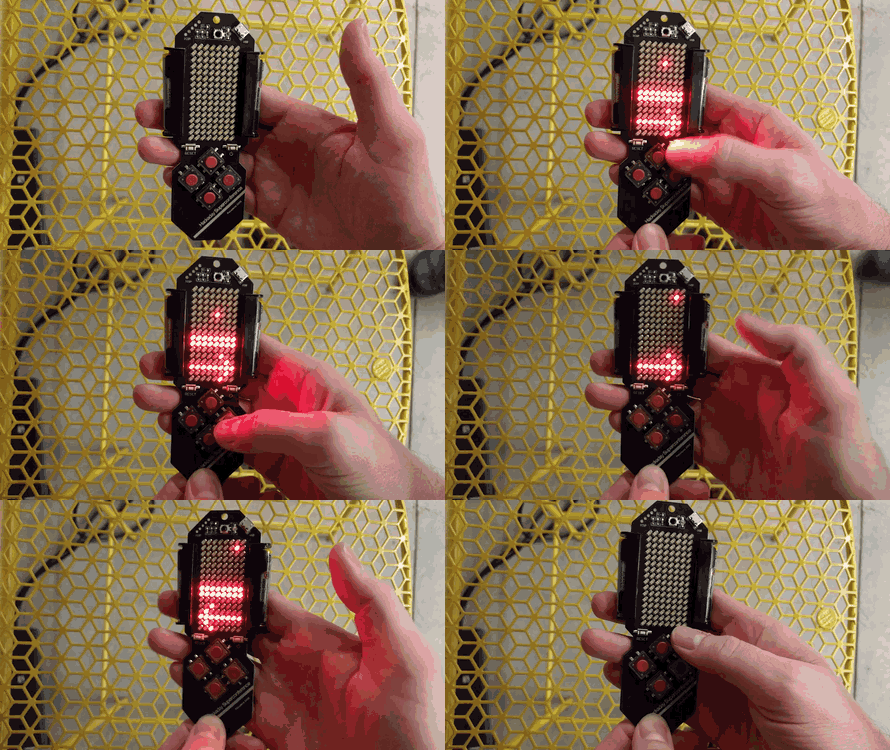
The badge is running some hardware tending that will make your hacking easy. The SuperCon-badge-animate.c file has a simple set of demonstrations that show how to illuminate an LED in the display, how to poll the accelerometer (left or right arrow shown above), how to take input from the buttons (ball moves above), and non-blocking timing (flashing rows at about 1 Hz above).
Flashing Your Code:
Flashing your compiled code to the badge is extremely simple:
- Plug your badge in using a USB micro-B cable
- Hold the power button and press reset to enter bootloader mode
- The badge will appear on your computer as a USB thumb drive. Copy your .hex file to this drive
- Press the power button to run your code. You do not need to disconnect the cable (make changes to your code, recompile and just start back at step 2)
![]() Where do you get the .hex file? If you are using MPLABX, clicking the “Clean and Build Main Project” will compile your code and the output window will tell you where it is located. For instance:
Where do you get the .hex file? If you are using MPLABX, clicking the “Clean and Build Main Project” will compile your code and the output window will tell you where it is located. For instance:
Loading code from /home/mike/Downloads/2016-Hackaday-SuperCon-BadgeHack.X/dist/default/production/2016-Hackaday-SuperCon-BadgeHack.X.production.hex...
![]() If you are using MPLAB Xpress, the cloud IDE, clicking the “Make and Program Device” button to compile and automatically download your .hex file.
If you are using MPLAB Xpress, the cloud IDE, clicking the “Make and Program Device” button to compile and automatically download your .hex file.
Going Back to Stock Firmware:
Don’t worry, if you don’t like your hack you can always go back to the stock firmware on the badge. Just download the hex file for the demo from Voja’s badge project page.


Anyone have a spare ticket? Last week my work sent me to CA Australia and I’d love to come to supercon! If one has a spare ticket or ticket they’re getting rid of, please let me know!