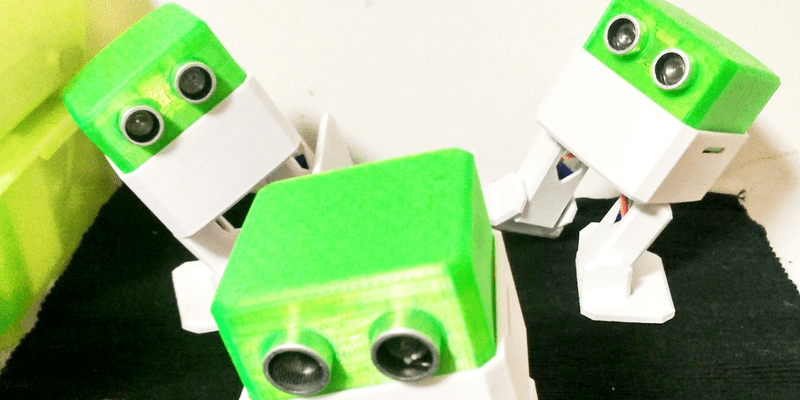
The Otto DIY robot has just taken first place in the coveted role as “best robot to 3D print for your (inner) child”. It’s cute, it dances, it doesn’t cost too much, it’s completely open source, and it’s not impossible to write code for. It’s probably the most refined Bob design that we’ve seen yet. Watch it move in the video below.
We fell in love with the Bob robot when we first saw it, and we apparently weren’t alone. There have been a ton of Bob-clones that have refined the basic design. And until Otto, the Spanish Zowi was the coolest that we’d ever seen.
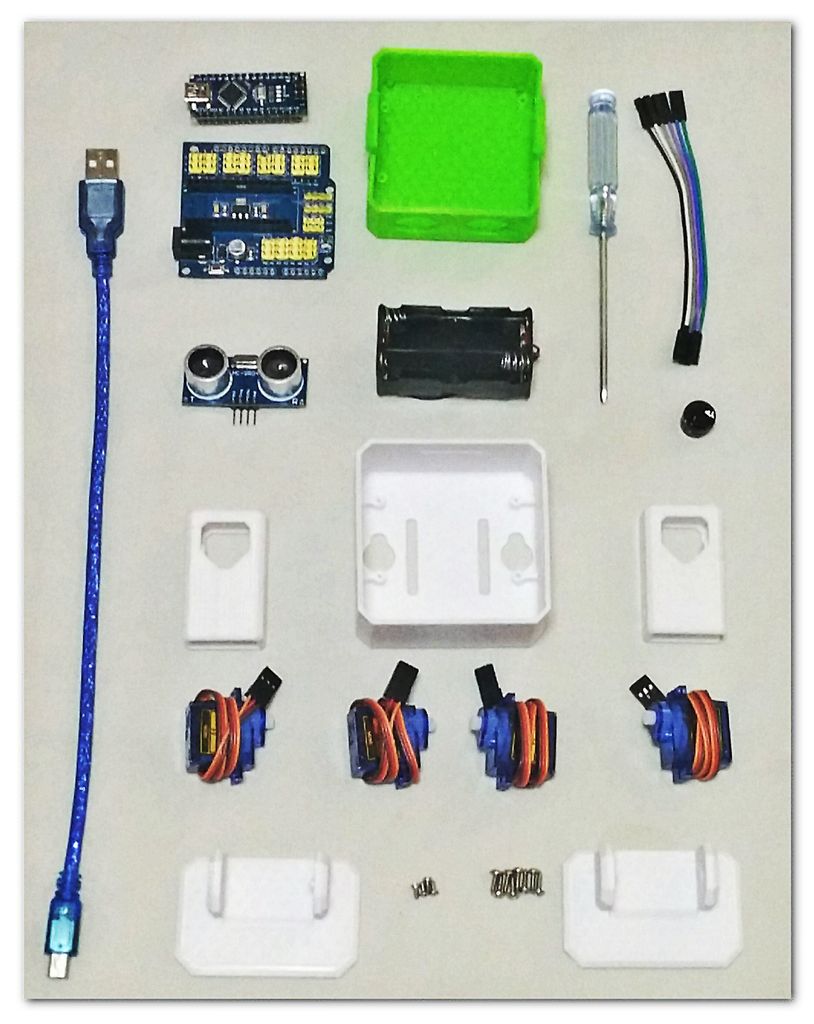 Why is Otto so cool? They’ve tweaked the design so that, with the exception of some fiddly servo screws, everything just snaps together. The printed parts fit easily on a single RepRap bed, so you can practically churn them out. And the rest consists of very cheap commodity parts that you can easily source online. If four hobby servos cost $20, you could get the whole bot done for around $40.
Since this is a Bob clone, the firmware is approximately compatible with the Zowi. Indeed, there have already been people who’ve run Zowi firmware on the Otto (YouTube), adding Bluetooth to make use of Zowi’s cell-phone remote control. Besides the cute-factor, one of the strongest reasons to build yourself a Bob-style robot is the growing code ecosystem, both around Otto and Zowi. So don’t just sit there, get printing and contribute!


Chip-E is another one https://www.robotgeek.com/robotgeek-chip-e.aspx
With arms it is even cuter: https://www.youtube.com/watch?v=eBVVEfjWQ2s
With arms, she (with friends) now is ready to perform “The semaphore version of ‘Wuthering Heights'” and this sure will be a worthy answer to [Monty Python]’s staging:
https://www.youtube.com/watch?v=WmudPExkKJ4
Fantastic little robot! Cute little guy.
It sounds like it uses the audio from a game called grow home. Funny enough the in game robot uses similar styling, very fitting!
I’m really conflicted about this. On one hand, it’s great that people are making this and popularizing robotics and forming a community around this kind of design, with compatible software and all. On the other hand, this particular robot doesn’t add anything to the existing design. Sure, it’s different color, and the head is smaller than the body — opposite of Zowi. Very innovative. Even the software is the same, and it doesn’t really do anything, apart from the default “walk and avoid obstacles” that was there already, and “dancing”, which is really just random movements. How about following an object in front of it, instead? It’s not that hard to adapt from the obstacle avoidance code. More sensors than the old boring ultrasonic ranging? Even a capacitive touch sensor, which would be dead simple to make, could add a bunch of interesting behaviors.
Leaving some of the obvious stuff out could be the best way to draw a bunch of hackers into a project. Look at Arduino circa 2008.
But yeah, you’ve summed it up. It’s less, not more.
By taking out the Bluetooth and tweaking the body, they’ve made it a reduced/simpler/streamlined/cheaper Zowi. But maybe it’s just a steping stone? Maybe you make this bot first and the add the capacitive sensor later? (Which is a brilliant and simple idea as well, BTW.)
Elliot first great article, we feel really proud of the statement “best robot to 3D print for your (inner) child” thanks you really dig into the project and found very good insights.
Indeed we leave open some obvious stuff like BT, IrDa maybe, interactions with US and even the LED matriz since we think is more optional at the end we want something different to Zowi, but keeping the biped line…
With Otto DIY the basic version with want the basic kit so people can get it and then you start to add BT and sensors
For Otto PLUS we really want to use hackaday.io platform to bring hackers into an open development environment and create together the Otto with steroid lets said (+ rechargeable battery + APP + arms? + metal servo motors + capacite sensor + RGB LEDs + vibrators…)
You are right we missed to improve the code or features. Already working on that for the new version, but as well as Elliot says we make it open first so hackers like you have enough space to contribute and build on top of that, we are using an amazing shield that leaves more than half of the pins are available. The following code we did it, is in github :) just put walk function after the ultrasound detect. Would love to see in real your simple improvements.
Esp8266 based bob for the win!
is already under development https://twitter.com/gsreynaga/status/796537712127791104 EspOtto ESP8266 based #OttoDIY
When is someone going to build a Marvelous Toy? https://www.youtube.com/watch?v=XLYefZkOMB0
nice project!! is that a MiniPlan robot in the background?
I printed Otto and derivates a couple of times. Always snaping either the legs or the nibs that hold the head together. Also the Arduino Nano extension board did never really fit to the notches of the case.
Albeit it has a nice assembly manual.
I printed it yesterday evening, and had severe layer separation problems. Then I realized that it was only about 10°C in the room (the printer is in the barn, and it’s winter here), and repeated it, using 235°C printing temperature (for PLA).
Then it came out perfectly.
The nibs are solid, I closed and opened the head several times, and both the extension board and the range sensor fit perfectly.
Remember that it’s China hardware, that may be produced in different factories. Some variations are normal. I just got lucky that the stuff I had already laying around was a perfect fit.
Hi Ian
did you tried to change your 3d printer settings? is very related to the manufacturing tolerances actually.