3D printing is cool, but most basic fused deposition printers just print in a single color. This means that if you want a prettier, more vibrant print, you need to paint or perform some other kind of finishing process. Multimaterial printers that can switch filaments on the fly exist, but they often have an issue with waste. [3DMN] decided to attempt building a purge bucket as a solution.
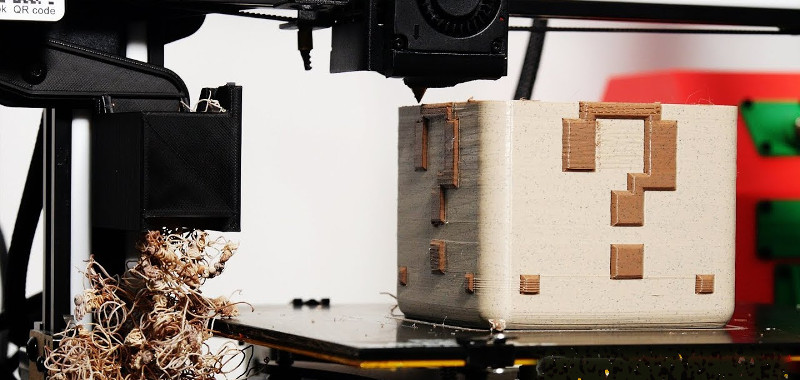
[3DMN] was previously familiar with using a purge block when running multimaterial prints. A basic block model is printed along side the actual desired part. The block is printed so that it is at the same layer height as the desired part, so the nozzle can purge cleanly without stringing plastic all over the print bed.
Tired of the waste, [3DMN] designed a purge bucket which moves with the Z-axis of his Geeetech A20M printer. The bucket attaches to the Z-axis with lock nuts and is always at the same height relative to the nozzle, regardless of the stage of printing. When a material change is required, the nozzle moves to the bucket, purges the filament, and then moves back to the print. The bucket features a 3mm silicone wiper to help ensure there is no material left clinging to the nozzle after the purge is complete, and aluminium tape which helps prevent the purged filament sticking to the walls of the bucket.
[3DMN] notes there’s also a speed increase for some prints, due to no longer needing to print purge objects along with the main part. The parts are available on Thingiverse for those of you wishing to experiment with your own setup.
Multimaterial printing can have some great visual results, and it’s great to see the community providing solutions to improve the process and reduce the waste involved. We’ve also seen filament splicing, which is another unique approach to multimaterial prints. Video after the break.


Why not just use the purged filament as infill instead of wasting it?
if you are just changing colors that would be possible, as long as the outside color isn’t translucent or a lighter shade than the infill would end up being as it transitioned to the other color. This also wouldnt really work if there is a change in material type such as using ninja flex or any other kind of filament. The purge bucket works under any possible type of change.
Looks exactly like the buckets of the bcn3d sigmax. I hope to get back into multi material prints again, all progress is good!
No idea why Prusa went with a highly wasteful purge block when this idea is so obvious, since every inkjet printer uses essentially this exact system with an ink catcher and a nozzle wiper. Some use a pump to help pull ink through. Some don’t, like those old Lexmark/Compaq ones that would clog if you didn’t print something at least every other day.
Soon as Prusa made their public announcement of their multi material addon and how it worked, I quickly sent them an e-mail about how a purge chute and wiper would be far better, and was ignored.
At least someone is one-upping Prusa with a much better method. :)
The problem is that the Prusa i3 printers aren’t able to move the nozzle outside the printbed space. So you would need some extra mechanics to swing in the purge bucket and swing it back out of the print space.
Purge buckets reduce the usable print area, whereas a purge block can be moved as necessary.
The biggest advantage of a bucket is the wiper – multiple nozzles won’t ooze on the print – but if you only have one nozzle it doesn’t matter.
I did something similar, except mine was a washer mounted to the frame. The head just cleared the washer, purged through the hole in the middle, and sliced off the filament as crossed over the washer again.
And people don’t use it as infill because you need a slicer that supports that, and when I was doing it, none of them did (I believe that has changed).