Blade Runner showed us a dystopian megatropolis vision of Los Angeles in the far-off future. What was a distant dream for the 1982 theater-goes (2019) is now our everyday. We know Los Angeles is not perpetually overcast, flying cars are not cruising those skies, and replicants are not hiding among the population. Or… are they?
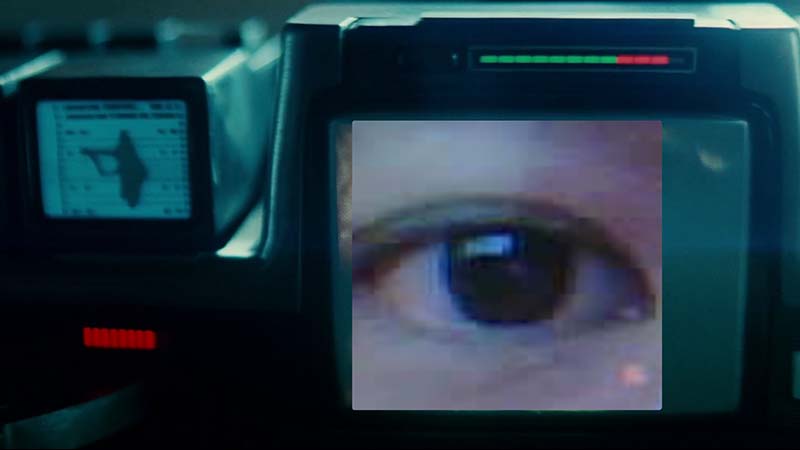
The LayerOne conference takes place in greater Los Angeles and this year it adopted a Blade Runner theme in honor of that landmark film. My favorite part of the theme was the conference badge modeled after a Voight-Kampff machine. These were used in the film to distinguish replicants from humans, and that’s exactly what this badge does too. In the movies, replicants are tested by asking questions and monitoring their eyes for a reaction — this badge has an optional eye-recognition camera to deliver this effect. Let’s take a look!
The Voight-Kampff Badge
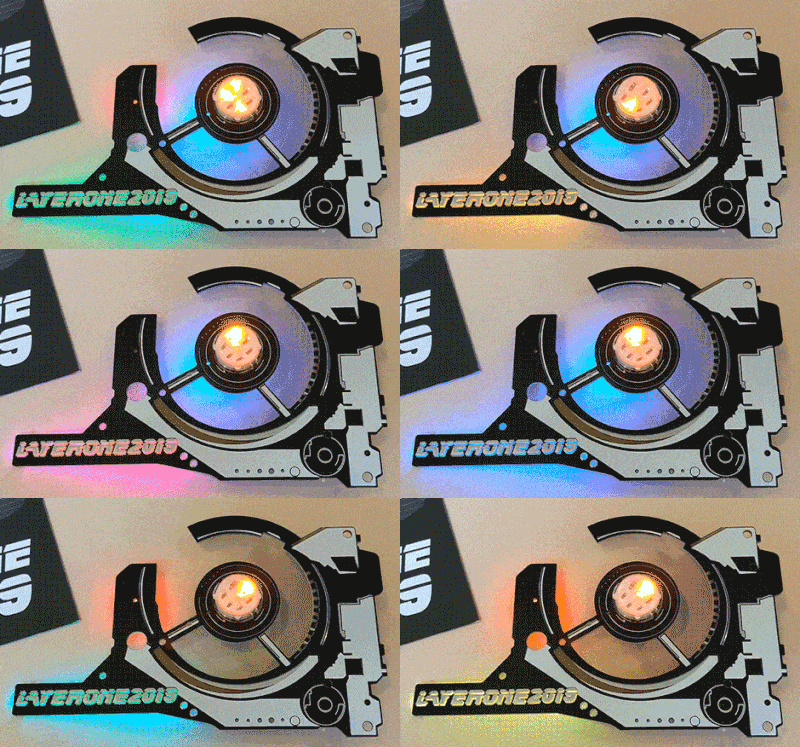
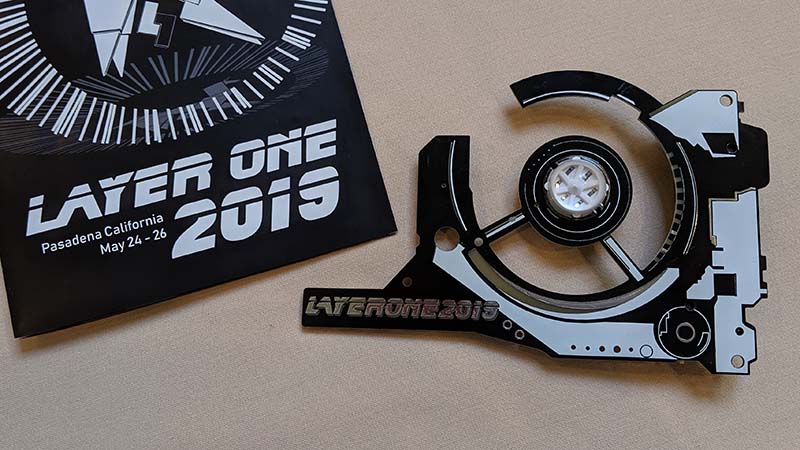
The full Voight-Kampff machine is a suitcase-sized console impractical for wearing on a lanyard, so what every conference attendee received was a blinky LED circuit board creation. Aside from the LAYERONE2019 logo, its shape and front surface drew from the movie machine peripheral that stared down suspects with a sinister glowing center. Here the center is an array of six orange LEDs cycling through a hypnotic pattern under a clear plastic dome, accompanied by a slow-blinking blue LED and a rapidly flashing red one.
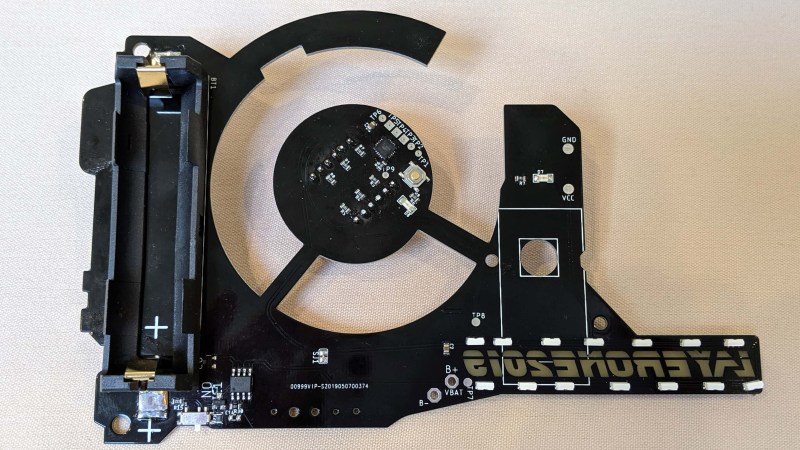
 But that LAYERONE2019 logo is where we find an authentically 2019 expression of LED backlit PCB art, putting up a light show shining through the board substrate. Turning the badge over, we see the logo’s reverse side is surrounded by individually addressable side-emitting LEDs popular with PCB artists for this presentation. (The pads labelled “B+” and “B-” are to power an optional add-on module we’ll cover shortly.)
Zooming out from that detailed view, we find an ATtiny2313 directing all the lights from its centralized command post. Feeding its LED army is the job of an 18650 lithium ion battery cell, and we summon the light show with a tiny slider switch in the corner. I initially thought that IC near the power switch was a voltage regulator, but it is actually an APM4953 dual MOSFET which can handle the current of an 18650 better than a tiny switch. Apparently everything on board runs at battery voltage level.
This is a fun piece of conference bling, and if anyone wanted more, the organizers have prepared optional add-on kits. At LayerOne, each activity is designed to have a friendly introduction for beginners, with a ramp up in difficulty to challenge longtime veterans. This way we feel welcome to try something new for as little or as much as we like. In the case of electronics hardware, beginners join the blinky fun by inserting their battery and flipping the switch to turn the badge on. I was not content with this first step, so I heated up a soldering iron and got started on the camera add-on kit.
Eye-Recognition Camera Module
The camera add-on kit is built around the ESP32CAM module from M5Stack. It drew power from the conference badge with two soldered-on wires. A 3D-printed bracket holds the module in place, with help of two screws and a small wrench to fasten everything together. Once assembled, I was able to launch a companion iOS app which received the camera’s video feed and looked for an eye within view. If an eye is found, a square video of that eye is extracted and overlaid on top of a still frame from the film. Now the badge acts a lot more like a Voight-Kampff machine.
Logo Kit is an SMD Soldering Challenge
With the creepy eye-scanner completed, I moved on to the LayerOne logo pin.
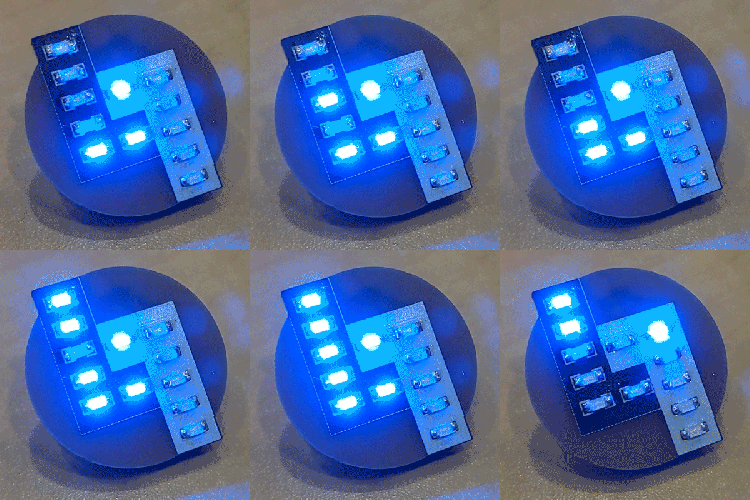 This is a small blinky LED pin delivered in a ziploc bag containing all surface mount devices and a bare board. I was introduced to SMD soldering at last year’s LayerOne, and this proved to be a good review and test of skill.
The most difficult component is the ATtiny2313 in unforgiving MLF (QFN) package intended for machine placement. Many people including myself struggled to get it soldered correctly, but with patience and a steady hand it was eventually installed in place. After passing that gauntlet, everything else in the kit was relatively easy and success took the form of a simple LED binary counter.
Anyone who wishes to explore these projects in more depth can consult reference information posted to their Github repository. At the very minimum it would be fun to create a different pattern for the logo kit, and the ESP32 camera module has a lot of future project potential. And perhaps someone will take these Voight-Kampff inspired pieces and build a full-on reproduction unit!





Not that it needs any, but does the “badge” have any connectors for Crappy Add Ons?
Not that I’ve found. If anyone finds a hidden gem please speak up. To help: the picture above of badge back side, showing all components, can be clicked upon to bring up a higher resolution version.
No SAO connector on it. Someone did add on a fan but that involved electrical tape and a 9V battery :D
Sucks to be an epileptic attendee of LayerOne
So, are you saying that Replicants are genetically modified epileptics?
B^)
(Seeing the female one die in the original BladeRunner, would seem to underscore that proposition)
… decommissioned.
Those side mount LEDs are an interesting idea. I am playing with something similar with the rohm smlp36rgb mounted upside down on the bottom of the board. They are neat little 0603 sized rgb, so I can’t wait to see how they reflow upside down.
Life truly imitates Art. Phil Dick a visionary for sure. We also seem to be descending into a The Man in the HIgh Castle scenario.
What’s a tortoise? You wanna know about my mother?