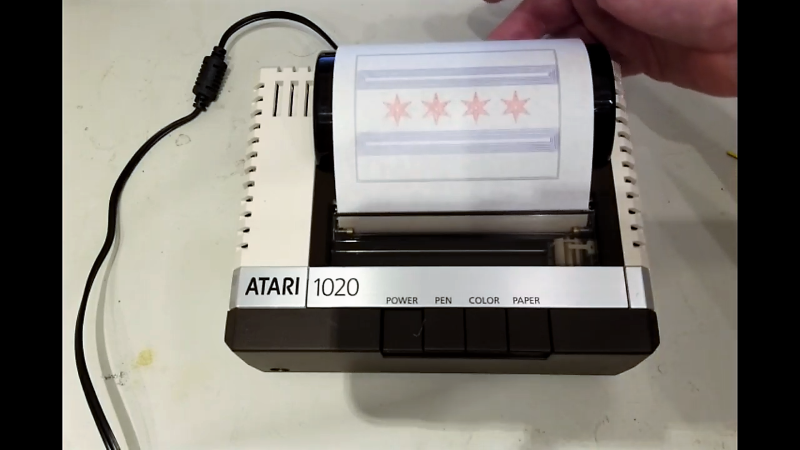
When it comes to building a new CNC machine, you’ve got a wide world of controller boards to choose from. Whether you’re building a 3D-printer or a CNC plasma cutter, chances are good you’ll find a controller that fits your needs and your budget. Not so much, though, when you want to add CNC to a pen plotter from the early days of the PC revolution.
[Barton Dring] just posted the last installment of a five-part series in which he documented putting an Atari 1020 plotter under CNC control. The plotter was a peripheral for the Atari line of 6502 machines from the late 1970s; the guts of the little roll-fed, ballpoint-pen plotter appeared in Commodore, Tandy, and TI versions as well. [Bart]’s goal was to not add or modify anything to the mechanically simple device apart from the controller. That was easier said than done, given the unipolar stepper motors controlling the pen position and paper roll, and the fact that the pen lift mechanism uses a solenoid. Support for those had to be added to his Grbl_ESP32 firmware, as did dealing with the lack of homing switches in the plotter, and adapting the Grbl tool change command to the pen color change mechanism, which rotates the pen holder by bumping it into the right-hand carriage stop. The stock controller was replaced by a custom PCB that fits perfectly within the case, with plenty of room to spare. The video below shows it plotting out a vexillogically relevant sample.
From custom coasters to wooden nickels to complex string art, [Bart] has really put Grbl through the wringer. We really like this retro-redo, though, and fully support his stated desire to convert more old hardware to Grbl_ESP32.


Oh, I have the Tandy version of that. I didn’t realize they all used the same guts.
I had the Tandy version also. Used it on my Dragon 32. Watching it ‘write’ text was amazing.
Commodore 1520 as well
Oh, very nicely done!
Those old plotters may be a solution to ink cartridge profiteering.
Well, you should see the price of these rare pens :-)
Could you not harvest pens from one of those chunky four-color BIC things? Take out the four inserts, cut them down to the right length, and after cleaning up the resulting mess, maybe 3D-print a little bushing to let you put them in the plotter cartridge. A lot of work, but probably cheaper.
This is very very nice, love old hardware like this, and grbl/esp looks like a very nice setup.
I converted a Roland pen plotter to work on my Mac by the simple expedient of soldering an FTDI USB to Serial converter inside the case, and bringing out a USB cable.
This only solves part of the problem, as it does then need something on the Mac end that can output HPGL
In my case I was making a POM 3D printer, I replaced the pen with a drag knife and had it cutting out layers of sticker paper that were then hand-assembled. I wrote an Octave script to slice STL files and output HPGL perimeters.
It was unbelievably tedious, but did work.
It was 2004, things were different then. There were 3D printers at my workplace, but not in many homes.
The 3D paper shapes were sent to a foundry to be cast in brass, and used as pannier rails for my motorcycle, where they function well to this day.
Gears are impossible to find and pens a very difficult to find. I Love the 1020! I have 6 of them two new in cellophane wrap, however I don’t want to open them to find dead gears and pens.
Another way to get the plotter working again is making a driver for it using Python. I did that ad can be found on github: https://github.com/GHJMorsink/Atari1020_driver