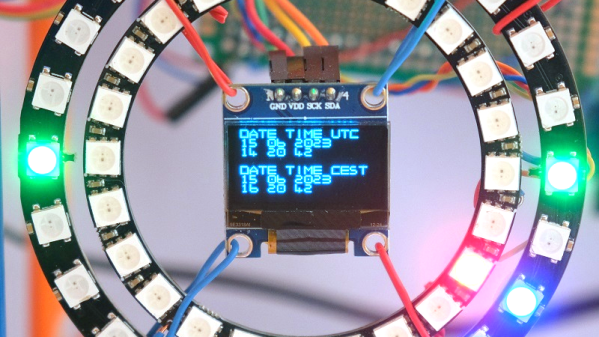
You decide to build a clock. The first thing you have you determine if it is going to be digital or analog. Or is it? If you build [Ivanek240267]’s clock, you can have both.
The digital portion uses an OLED display. The analog portion contains two rings of smart LEDs. The WiFi configuration is always an issue in projects like this, and this clock also offers options. In addition, the Raspberry Pi Pico-based clock also sets itself via NTP.
You can, of course, compile the WiFi credentials into the code, and assuming you don’t plan on changing networks, that’s fine. But if you’re in a more dynamic situation, the clock can also read its configuration from a memory card.
The analog clock uses colors. The green LEDs represent quarter hours. The blue LEDs are for minutes, while the red ones are full hours. Of course, reading the OLED doesn’t require any special interpretation.
When debugging, the timing doesn’t drive the smart LEDs. That means if you need to work on that part of the code, you won’t be able to count on debugging support.
We’ve mentioned before that digital clocks are all analog, anyway. If you want to use fewer LEDs, you can get by with only five.


