Magnets are pretty nice little tools. [EmGi] has used them in many a cool 3D printed build with great success. But getting them where you want can be really tricky. More often than not, you end up with glue all over your fingers, or the magnets fly out of place, or they stick together when you don’t want them to.
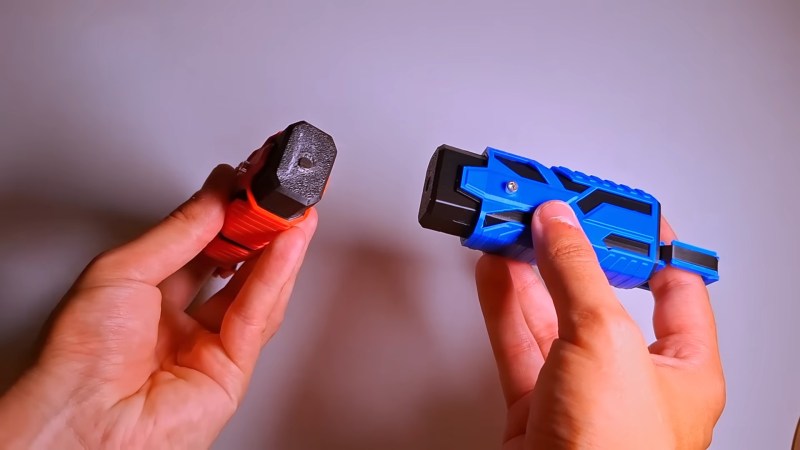
 Well, [EmGi] created a mighty fine magnet insertion tool that you can print for yourself. It’s finger-operated and uses a single embedded magnet to place magnets wherever they’re needed.
This thing went through several designs before [EmGi] ever printed it out. Originally, there were two magnets, but there was an issue where if the tool wasn’t lifted off perfectly, it would send the magnet flying.
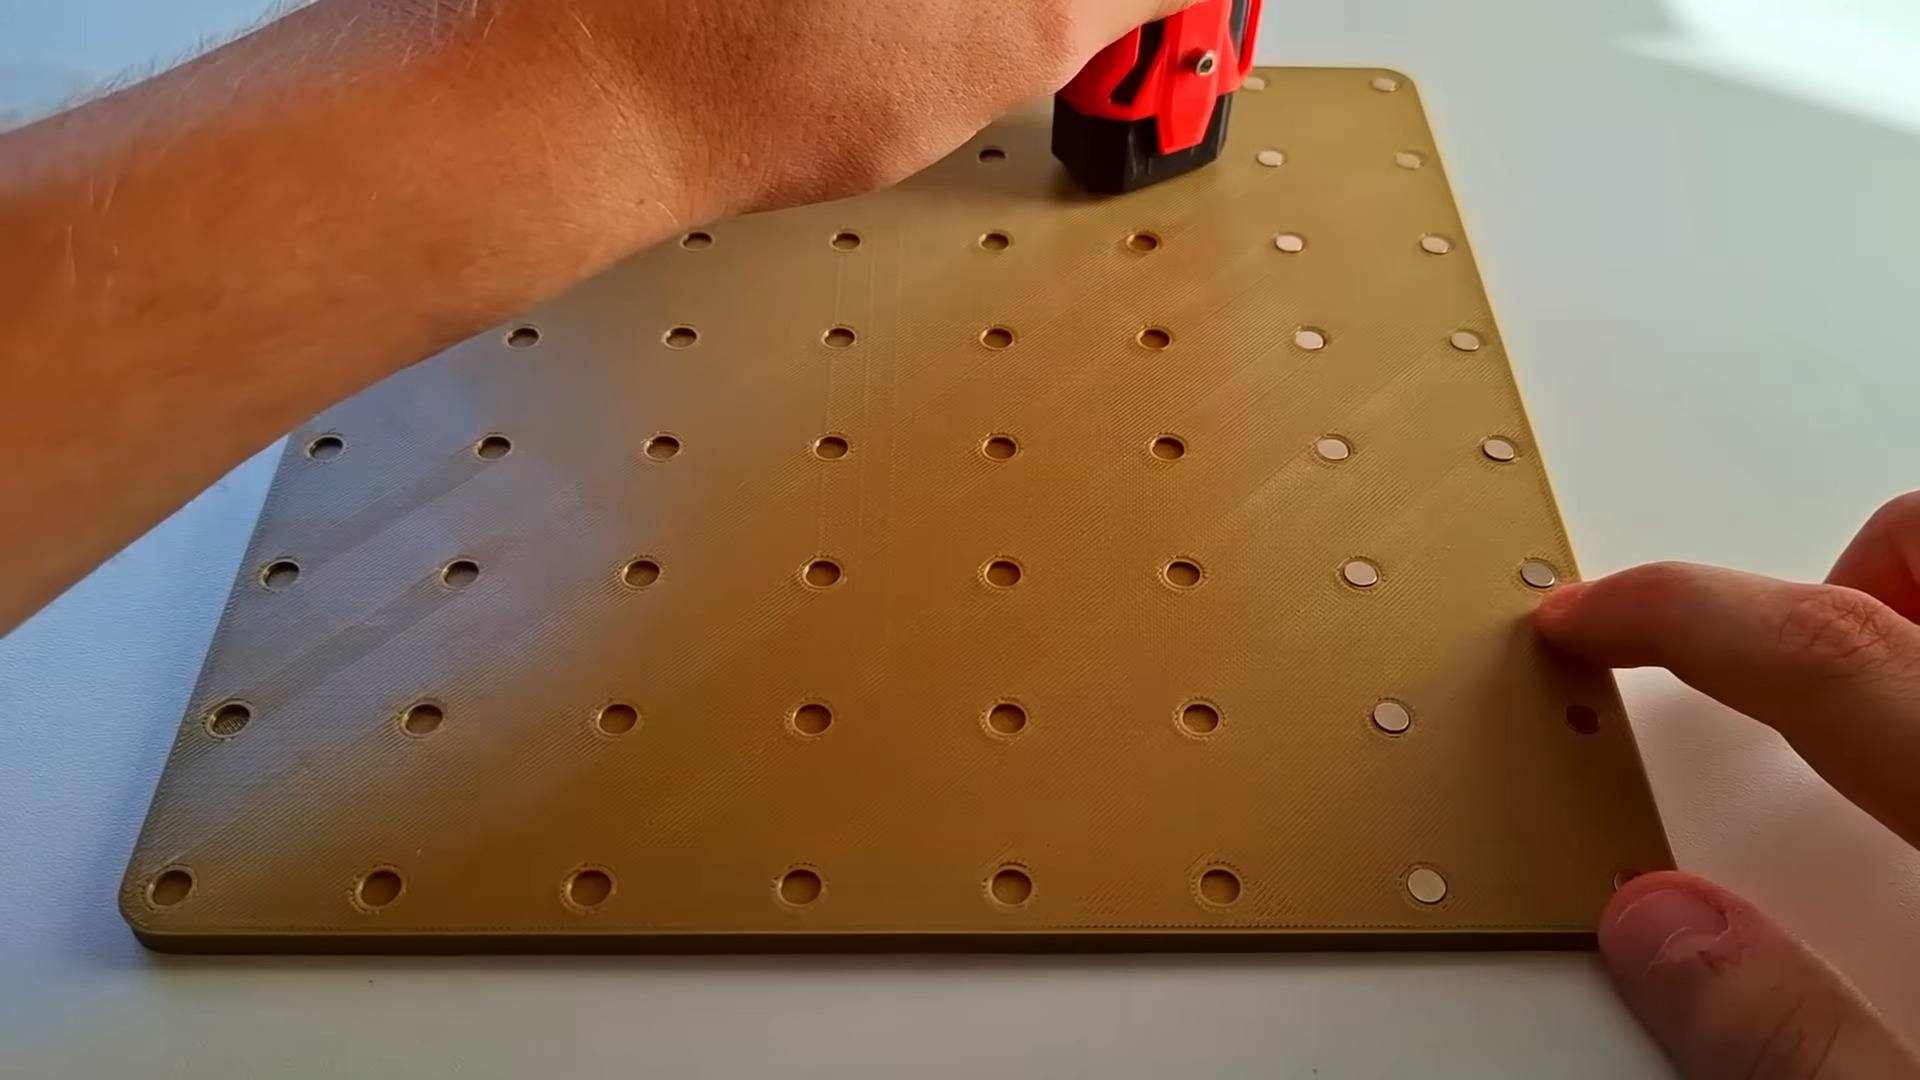
But now it works great, and [EmGi] even deposited an array of 64 magnets without using glue to test it out before printing a second one to handle the other polarity. Check out the build/demo video after the break.
While you’re printing and placing magnets, why not make yourself a couple of magnetic switches? You can even make ’em for keyboards.
Thanks for the tip, [Keith]!


It would be great to be able to add this to a 3d printer for placing magnets inside prints.
My really first thought as i saw the image before reading the title of the article was “Uh, is this a good idea to 3D print IEC mains connectors?”
That is brilliant. I’ve had exactly the same issues placing magnets before, though pressure fitting them instead of gluing does solve some of the issues.
It’s nice that (almost as a side effect) it ensures the polarity of the magnets. That’s very helpful. Though sometimes you can bypass this by using a magnet on one part and metal on the other.
I’m kinda surprised tools like this don’t exist already though, there’s lots of products which incorporate magnets into plastic which must be a huge issue for companies.
I usually mark a stack of magnets on one side with a sharpie to keep track of polarity, and then use a popsicle stick to scrape one magnet at a time from the stack into the appropriately sized hole. Then I add a drop of thin CA afterwards, so capillary action draws it into the gap around the magnet.
But that isn’t suitable in all cases, so a tool like this is potentially welcome.
Either way, you have the issue that if you’re placing a lot of magnets, even after you’ve done it correctly, neighboring magnets can pull each other out of their holes. That’s especially annoying if they have CA on them. Zip kicker solves the problem, but I really dislike using it.
Things like these have existed for quite some time… although maybe not as 3D printable objects, but the general gist of the contraption is still the same.
– https://themagnetbaron.com/products/the-magnicator?srsltid=AfmBOoqrEanm4DbbvTIgfzobfoiHeKj6OUbnCcCTSp0-_gg0ewMB-zhs
An even better version exists and is 3d Printable. The only non 3d-printed parts are 3 of the type of magnets you’re using it with:
https://makerworld.com/en/models/60890
Now you only need to keep track of the polarity once, while assembling these (which of course I still managed to mess up the first try)
I could have used this yesterday, when I was using superglue to attach 3mm magnets to a thing. I’m still scraping cyanoacrylic crust off my fingers.
When I do a 64 magnet grid, I stack up about 20 or 30 of them and use the stack itself as a tool to push in the bottom one. It’s extremely fast, since you only need to refill when you get down to about 5 magnets (2mm height each). It also keeps track of polarity for you.
Im the Designer of this Tool. Thank you for the Article. Really made my Day!
I’ve just made one – it’s great. I don’t have a rubber band right now, so I’m just using it in push-pull, and it’s still very functional. It really saves me a chunk of stress with some griddinity. We make and sell a product which will mount on a gridfinity grid, so this takes all the sting out of ensuring we have consistent polarity.