Seven Ways To Install Magnets Into Your 3D Prints

Magnets are awesome, so it’s no wonder we love to add them to our 3D prints. Doing so in a way that will actually last is harder, with thermal creep being one reason a simple friction fit will loosen over time, and using super glue to hold a magnet in place can be messy. In a recent video, [Slant 3D] covers seven ways to install magnets in 3D prints without resorting to glue, along with the advantages and disadvantages of each.

With friction, the argument is that you can still use them, but you’d want to use something like cylindrical magnets rather than flat magnets to increase the friction with the thermoplastic. Using an arbor press rather than human primate hand power is also beneficial.

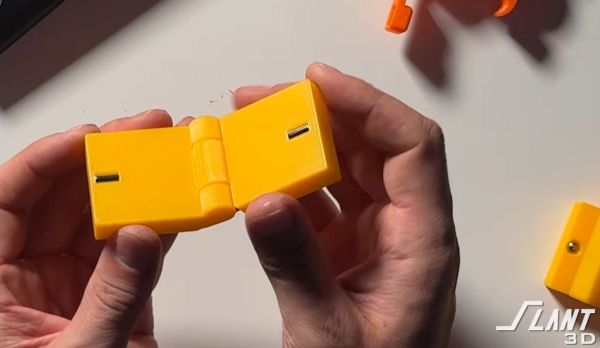
Rather than installing magnets halfway through a print with all the logistics that entails, you can use side slots to install said magnet into, which is much easier, but as with all embedded magnets, you get that plastic barrier between the magnet and its target.

Other methods involve using a bit of extra material that you need to push the magnet past, using something like an arbor press, so the magnets should never just fall out. A wildcard here: spherical magnets, which can be locked in using a similar method, while automatically orienting themselves to an opposing magnet.

The final tip is to never use two magnets in a magnetic lock. Instead, use a cheaper ball bearing or a similar plain metal part on one side instead. Magnets tend to be much more brittle than whatever stainless steel ball bearing or washer you can use on the other side.

Of course, people will always try to install magnets during an FDM print, but before they try to do that anyway, they really should learn about the fascinating ways in which magnets can ruin print beds, destroy nozzles, and otherwise make a total mess of a print. Magnets seem magical. Maybe they are.

Continue reading “Seven Ways To Install Magnets Into Your 3D Prints”

Ways To Embed Magnets In 3D Prints And Not Ruin Printers

Adding magnets to a 3D print can be very useful in a design, but there are some things that can trip you up if you’re not aware of them. In a recent video by [Lost in Tech] some of the essentials are covered, including why you shouldn’t get magnets near most extruder nozzles or the printing bed.

The easiest method is of course to add magnets in after printing, using friction fit with or without ribs, or with a dab of glue. Here making sure that the magnet stays in place is the trick, as you do not want the magnet to get lost or end up in the tummy of a curious pet or toddler.

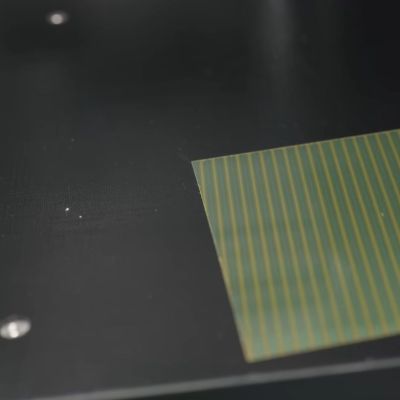
The magnetic pattern on an FDM printer's magnetic bed. (Credit: Lost in Tech, YouTube)
The magnetic pattern on an FDM printer’s magnetic bed.

Things get spicy when you’re talking about adding magnets during the printing process, as some extruders are made of a ferromagnetic material and thus a magnet will happily stick to said nozzle if it’s not pure brass or similar. As seen in the video even some purported ‘brass’ nozzles aren’t pure enough to not be significantly ferromagnetic.

Another issue is that of heat, which is something that magnets generally do not like much. Using magnets like you’d use heat inserts for bolts is a recipe for disaster, as the heat from a soldering iron will demagnetize the magnet, which for the typical magnet is less than 200°C. At least this should mean that the magnet stuck to your extruder nozzle will eventually fall off by itself after it demagnetizes.

With the bed of the typical FDM printer these days you’re talking about magnetically attached plates, with the underlying heated bed using a Halbach array configuration as is typical of flat magnets, yet with the gotcha that these aren’t typically real Halbach arrays, but knock-offs with simply alternating north-south pole magnets. As it turns out, these types of magnetic arrays can be disturbed by another magnet, such as a powerful neodymium magnet near said printing bed, flipping polarity in a way that cannot be easily undone.

You can still install magnets during printing, but it’s recommended to use something like side-insertion, where the extruder nozzle cannot pull out a magnet. Regardless of your approach, it’s good to know of the risks with ferromagnetic nozzles, the magnetic bed and treating magnets like they’re just heat inserts. While you can get higher-temperature magnets, many of the same issues still remain here.

Continue reading “Ways To Embed Magnets In 3D Prints And Not Ruin Printers”

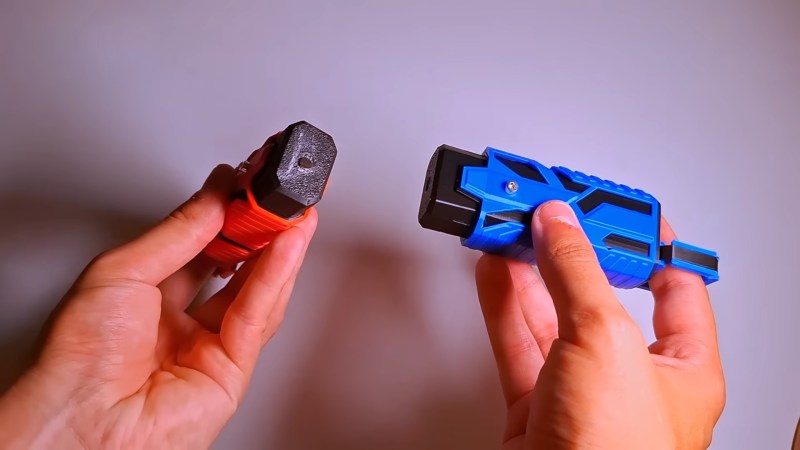
Two tools for placing magnets with ease, one for each polarity.

An Attractive Magnet Insertion Tool

Magnets are pretty nice little tools. [EmGi] has used them in many a cool 3D printed build with great success. But getting them where you want can be really tricky. More often than not, you end up with glue all over your fingers, or the magnets fly out of place, or they stick together when you don’t want them to.

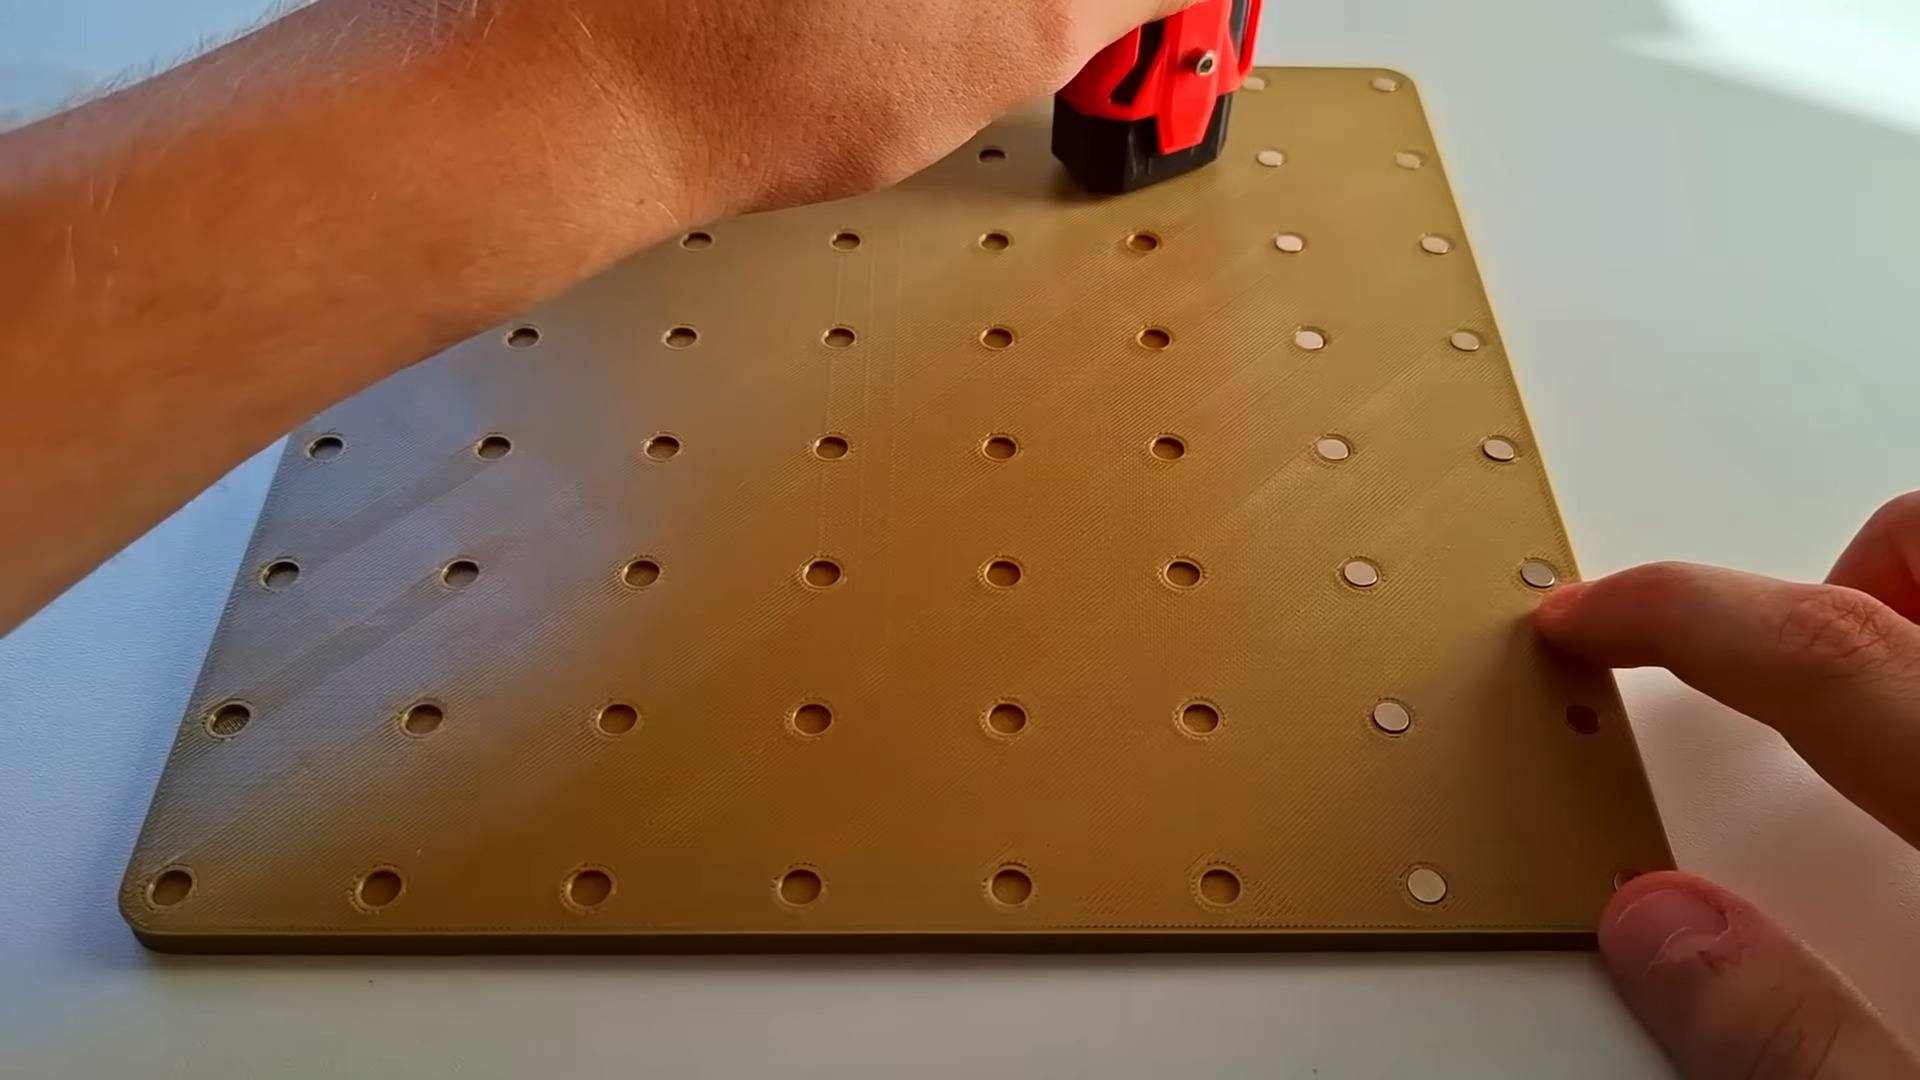
Depositing an array of 64 magnets into a 3D print to stress test the magnet-depositing tool.Well, [EmGi] created a mighty fine magnet insertion tool that you can print for yourself. It’s finger-operated and uses a single embedded magnet to place magnets wherever they’re needed.

This thing went through several designs before [EmGi] ever printed it out. Originally, there were two magnets, but there was an issue where if the tool wasn’t lifted off perfectly, it would send the magnet flying.

But now it works great, and [EmGi] even deposited an array of 64 magnets without using glue to test it out before printing a second one to handle the other polarity. Check out the build/demo video after the break.

While you’re printing and placing magnets, why not make yourself a couple of magnetic switches? You can even make ’em for keyboards.

Continue reading “An Attractive Magnet Insertion Tool”