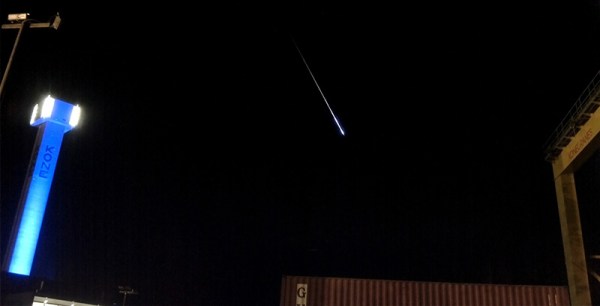
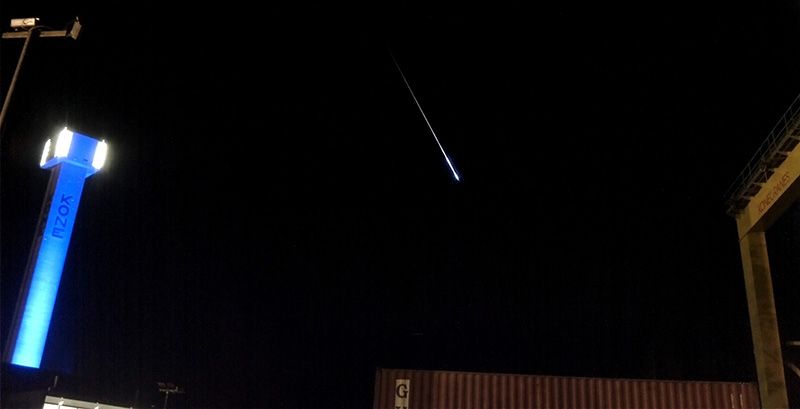
The sensor on your digital camera picks up a lot more than just the light that’s visible to the human eye. Camera manufacturers go out of their way to reduce this to just the visible spectrum in order to produce photos that look right to us. But, what if you want your camera to take photos of the full light spectrum? This is particularly useful for astrophotography, where infrared light dramatically adds to the effect.
Generally, accomplishing this is just a matter of removing the internal IR-blocking filter from your camera. However, most of us are a little squeamish about tearing into our expensive DSLRs. This was the dilemma that [Gavin] faced until a couple of years ago when he discovered the Canon EOS-M.
Now, it’s important to point out that one could do a similar conversion with just about any cheap digital camera and save themselves a lot of money (the practically give those things away now). But, as any photography enthusiast knows, lenses are just as important as the camera itself (maybe even more so).
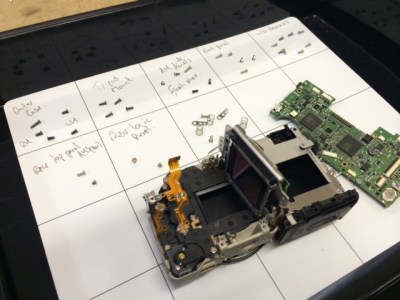 So, if you’re interested in taking nice pictures, you’ve got to have a camera with an interchangeable lens. Of course, if you’re already into photography, you probably already have a DSLR with some lenses. This was the case for [Gavin], and so he needed a cheap digital camera that used Canon interchangeable lenses like the ones he already had. After finding the EOS-M, the teardown and IR-blocking filter removal was straightforward with just a couple of hiccups.
When [Gavin] wrote his post in 2014, the EOS-M was about $350. Now you can buy them for less than $150 used, so a conversion like this is definitely into the “cheap enough to tinker” realm. Have a Nikon camera? The Nikon 1 J3 is roughly equivalent to the original EOS-M, and is about the same price. Want to save even more money, and aren’t concerned with fancy lenses? You can do a full-spectrum camera build with a Raspberry Pi, with the added benefit of being able to adjust what light is let in.


