Space telescopes are all the rage, and rightfully so. The images they take are spectacular, and they’ve greatly increased what we know about the universe. Surely, any picture taken of, say, the Andromeda galaxy before space telescopes would be little more than a smudge compared to modern photos, right? Maybe not.
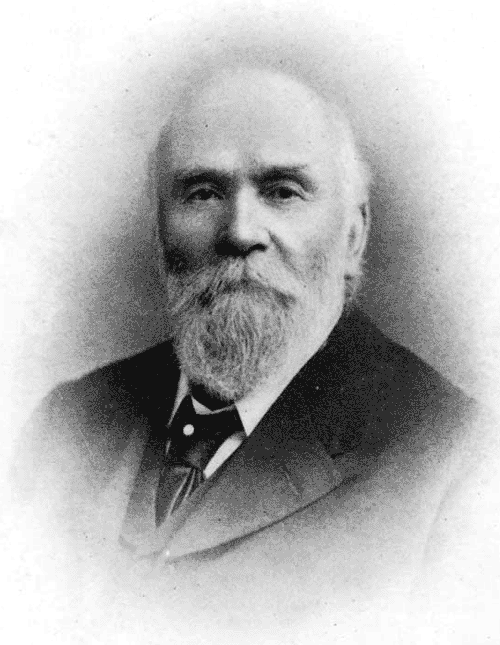
One of the most famous pictures of our galactic neighbor was taken in — no kidding — 1888. The astronomer/photographer was Isaac Roberts, a Welsh engineer with a keen interest in astrophotography. Around 1878, he began using a 180 mm refracting telescope for observations, and in 1883, he began taking photographs.
He was so pleased with the results that he ordered a reflecting telescope with a 510 mm first-surface mirror and built an observatory around it in 1885. Photography and optics back then weren’t what they are now, so adding more mirrors to the setup made it more challenging to take pictures. Roberts instead mounted the photographic plates directly at the prime focus of the mirror.
Andromeda
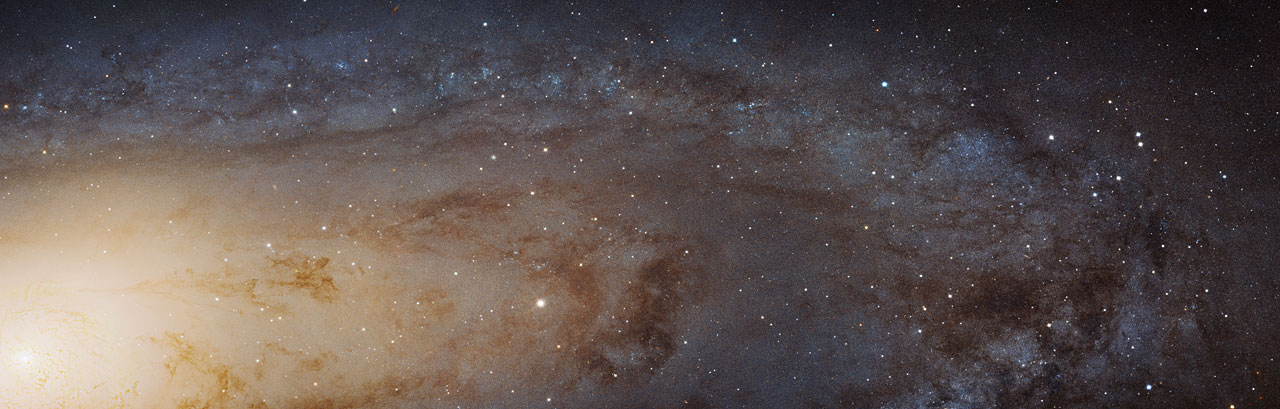
Because it took hours to capture good images, he developed techniques to keep the camera moving in sync with the telescope to track objects in the night sky. On December 29th, 1888 he used his 510 mm scope to take a long exposure of Andromeda (or M31, if you prefer). His photos showed the galaxy had a spiral structure, which was news in 1888.
Of course, it’s not as good as the Hubble’s shots. In all fairness, though, the Hubble’s is hard to appreciate without the interactive zoom tool. And 100 years of technological progress separate the two.
Roberts also invented a machine that could engrave stellar positions on copper plates. The Science Museum in London has the telescope in its collection.
Your Turn
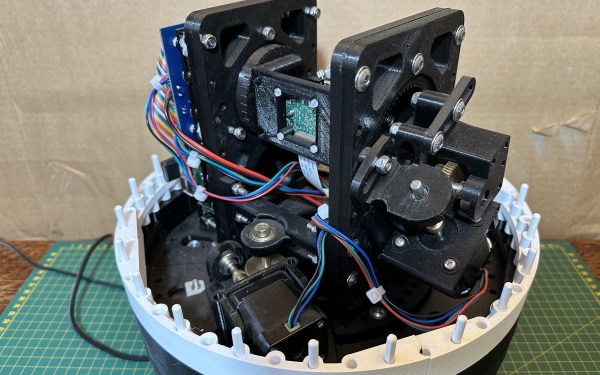
Roberts did a great job with very modest equipment. These days, at least half of astrophotography is in post-processing, which you can learn. Want time on a big telescope? Consider taking an online class. You might not match the James Webb or the Hubble, but neither did Roberts, yet we still look at his plates with admiration.