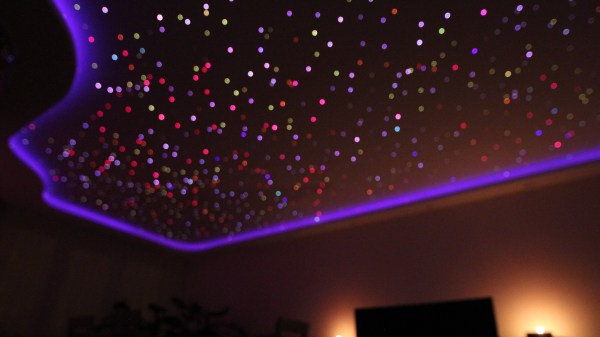
For years [Centas] dream was to take the stars to his home and build a fiber optic ceiling. Even though there are many fiber optic star ceiling kits commercially available, we are glad he decided to go full DIY on this project as the result is simply astonishing.
[Centas] chose to make a model of a section of the sky as it is visible from his home and generated a map of 1,200 stars with the planetarium software Celestia. The most time-consuming part of making a star ceiling is always poking lots of holes for the fibers. In [Cenas] case this turned out to be especially cumbersome as he decided to install the fibers after hanging the ceiling panel so he came up with a method to catch the fiber with a fishing pole after pushing it through from the bottom. The finished ceiling looks really great though with its rounded edges that contain RGB LED strips for side illumination. [Cenas] also painted the ceiling after installing the fibers so they are not visible when they are not lit but there is still enough light shining through the paint.
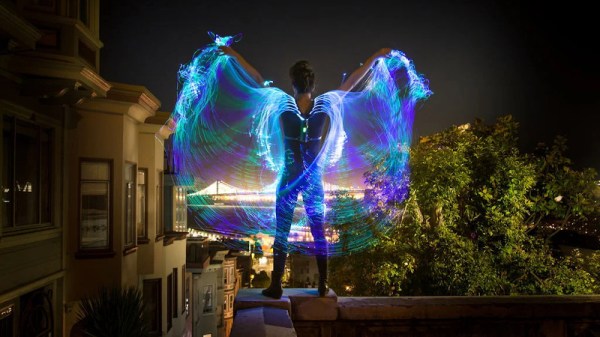
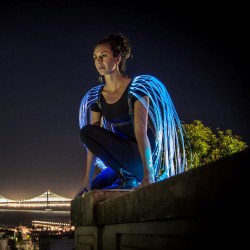 The wings are a leathercraft project, consisting of a harness worn around the torso. This serves as the mounting point for the fiber optics, as well as the RGB Critter flashlight used to drive the lightshow. Leather parts are lasercut to the right shape, making it easy to create the delicate feather shapes in the design. The pieces are then dyed appropriately and sewn together into the final shape. Bundles of optical fibers are then wound through the harness, sprouting from either shoulder of the wearer. EVA foam is used to help create the right shape for the wings, allowing the different layers to remain separated to create more visual depth.