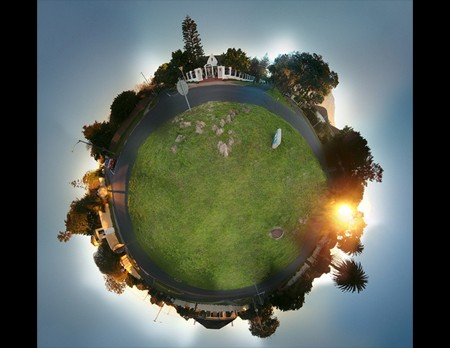
We at Hackaday often dream of having our own personal planets where we wouldn’t have to deal with other people, but our spaceships aren’t quite ready. While we figure that out, you can do the next best thing: render small planets using Photoshop or GIMP with a few other graphics apps and this guide to making small planets like the one pictured above.
The first step is in the photography itself. You’ll want an equirectangular panoramic image that includes more natural terrain like grass or dirt than man made terrain like streets or sidewalks, as this is easier to work with. Take approximately six photos from a tripod-mounted camera, turning the camera about 30 degrees after each photo. This should give you a full 360 degree panoramic landscape stitched from the individual photos.
Next you’ll want to do the actual stitching: this can be done very carefully in Photoshop, but a light imaging app called PTGui makes the job go much more quickly. Resize the image so that it is squared (uncheck “Constrain proprotions”), then rotate it so the sky is on the bottom (flip vertical works too, but the image will be a reflection). Then go into the filters and select the Polar Coordinates filter, from which you will choose the “Rectangular to polar” option. That’s all there is to it.
See the guide for another way to create small planets; it doesn’t make real ones either, at least you can add to this Flickr pool featuring small planets.


lol nice one … reminds me of some book i red in 9th grade … forgot the name
I’m pretty sure you can get this effect just by hanging a 180+ degree fisheye lens upside down from something.
If I recall correctly, there were a couple of ads with these types of pictures in popular science a year or so ago. Cant remember what the ads were for, I think maybe atv’s or chewing tobacco, but in any case, they did a nice job.
#1. lol nice one … reminds me of some book i red in 9th grade … forgot the name
Probably hitchhikers guide to the galaxy
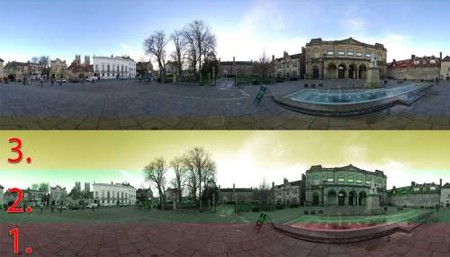
#3, #1:
No, probably “Le petit prince” by Antoine de Saint-Exupéry.
#2: These go a little further than the downwards-pointing fisheye because I believe some people use wide-angle lenses or more than one row of photos to take photos 360 degrees in all directions (4pi steradians if that means anything to you), so you end up with a ring of sky around the planet, the edge of which is the sky straight upwards.
The book most likely being thought of here is “The Collapsium” by Wil McCarthy. Features a lot of small planettes that have super dense cores making it possible to have a very tiny area, but an Earth-like atmosphere.
I was thinking more in the direction of “Le Petit Prince” also.
Thanks for sending some traffic my way guys, favour returned:
http://flickr.com/photos/blyzz/2616797794/
Blyzz
For some reason I have an uncontrollable urge to play Super Mario Galaxy………….