A proper battlestation — or more colloquially, computer desk — setup can sometimes use a bit of technical flair to show off your skills. [fightforlife2] has shared their DIY ambilight monitor backlighting that flows through different colours which mimic what is displayed on the screen.
[fightforlife2]’s setup uses fifty RGB LEDs with individual controllers that support the FastLED library, regulated by an Arduino Nano clone — although any will suffice. The power requirement for the display was a bit trickier, ultimately requiring 3 amperes at 5V; an external power brick can do the trick, but [fightforlife2] also suggests the cavalier solution of using your computer power supply’s 5V line — adding the convenience of shutting off the ambilight display when you shut down your PC!
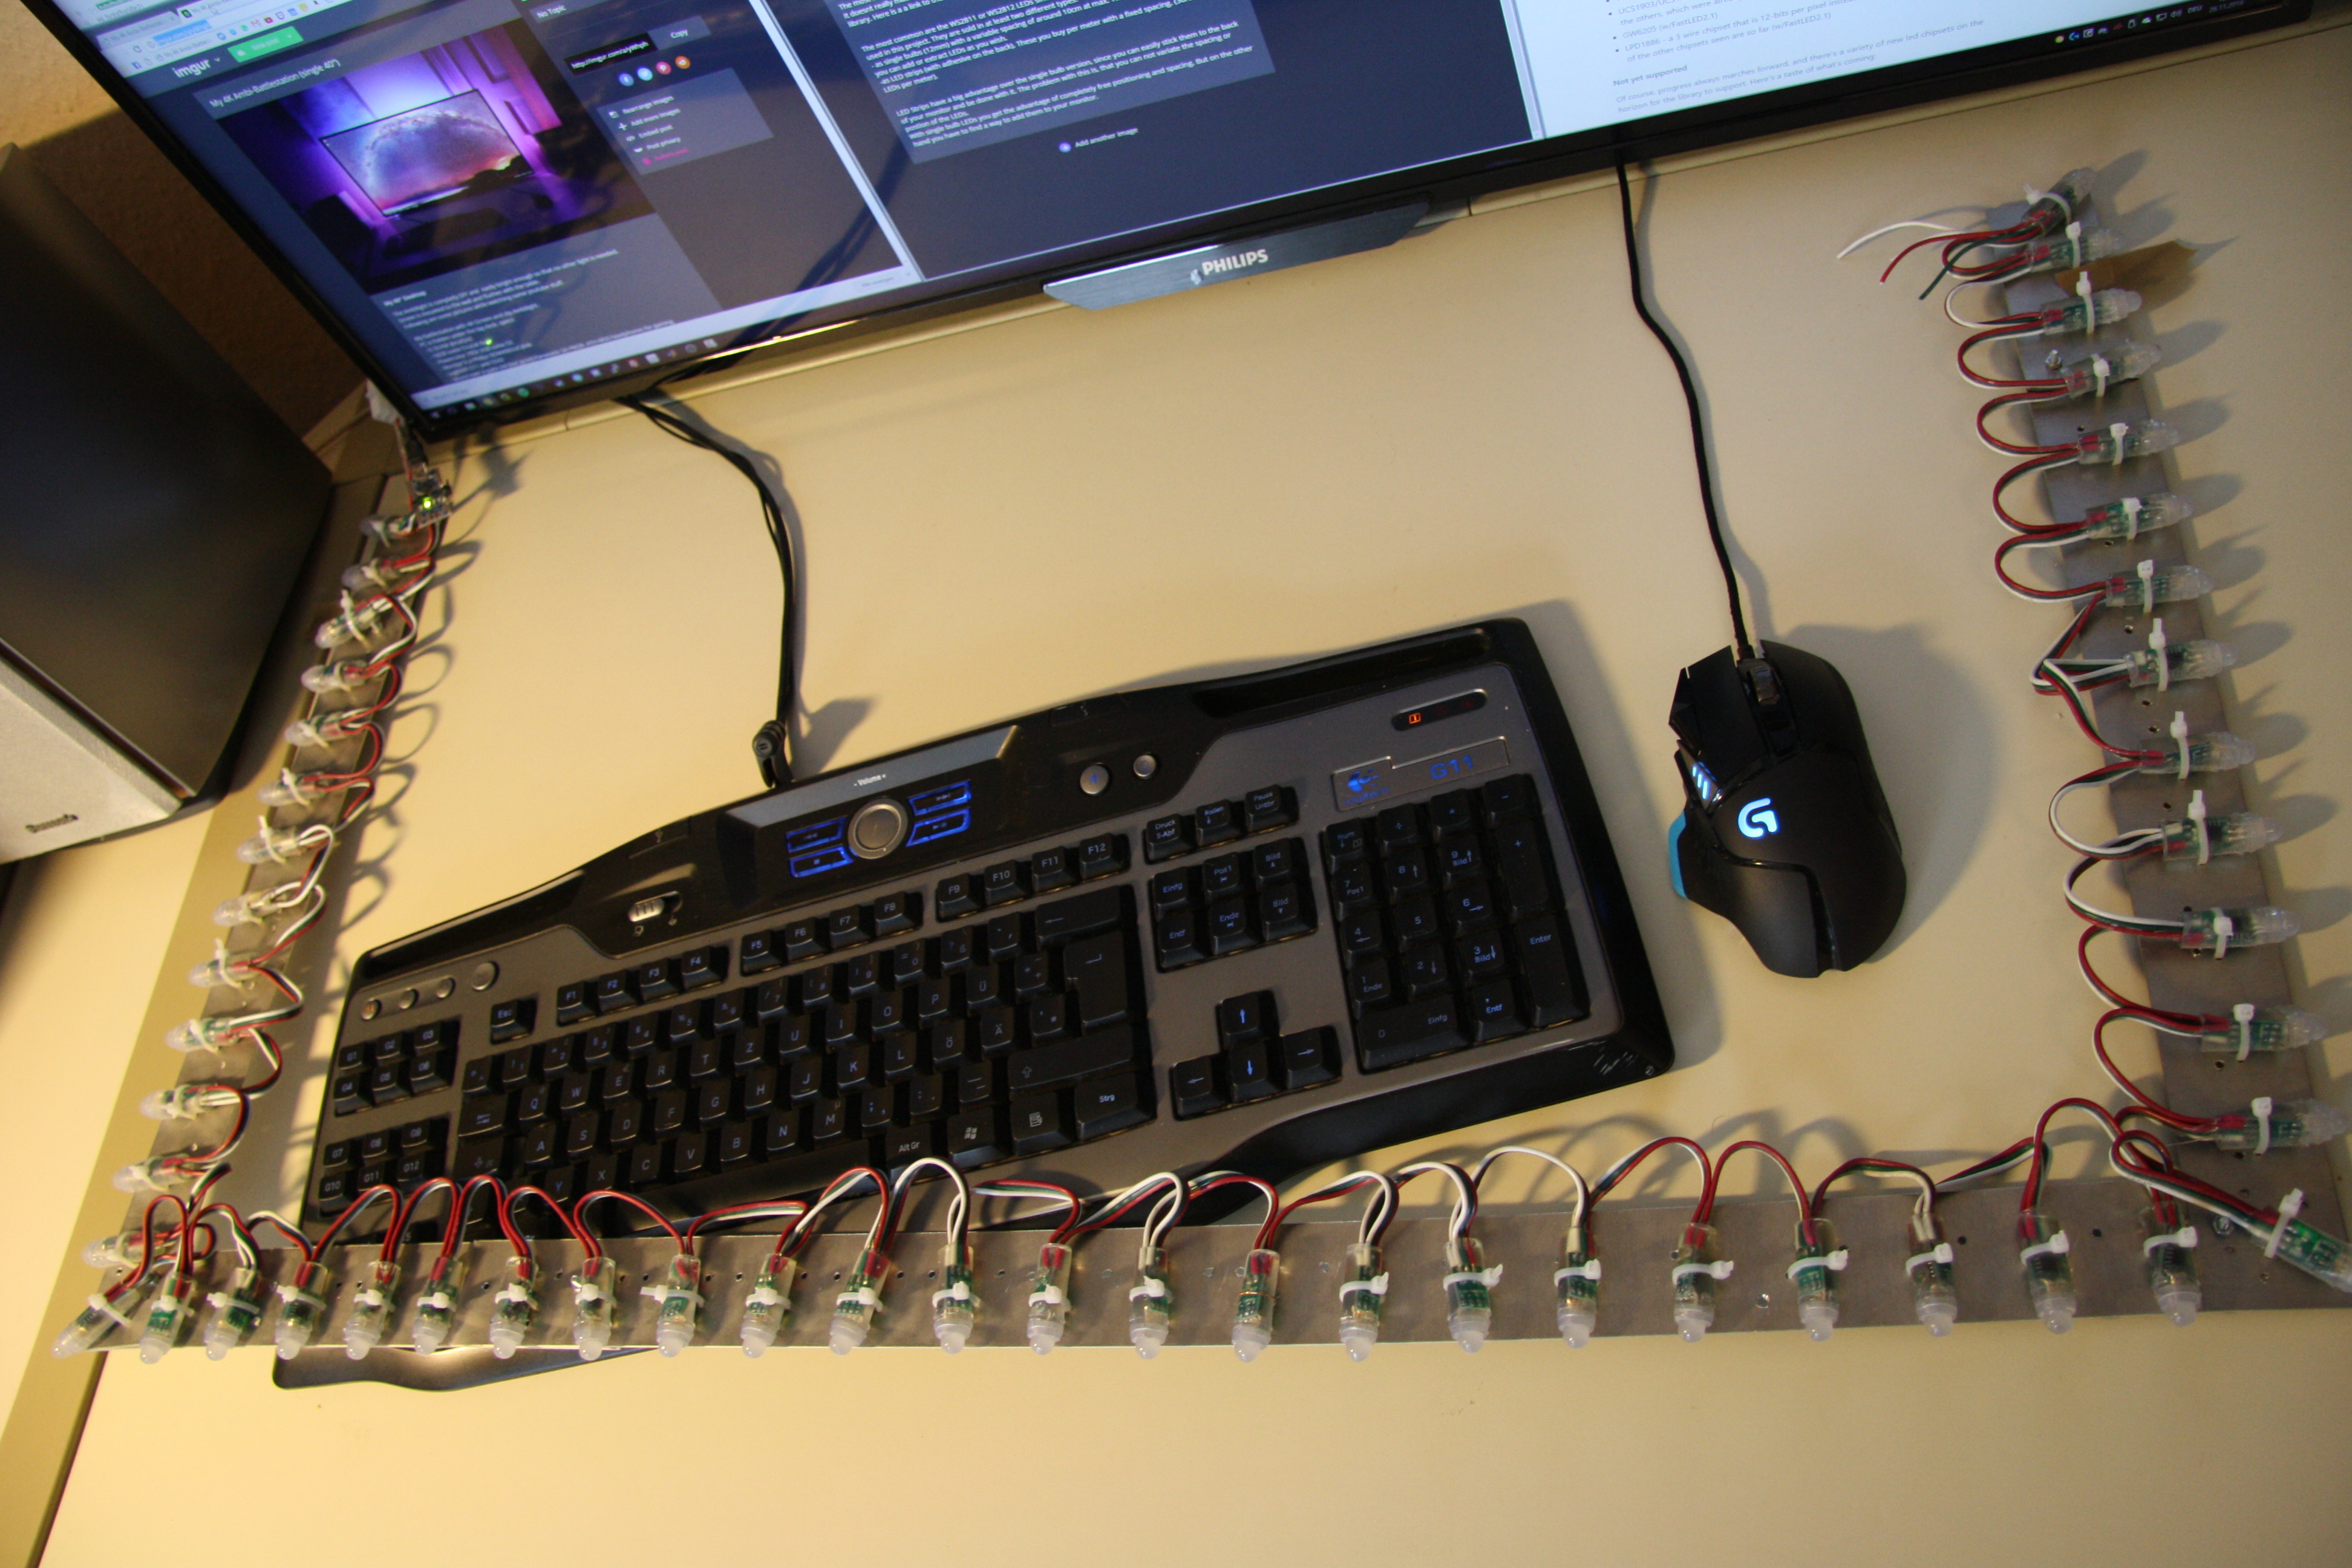
Connecting the LEDs to the Arduino is simply done, followed by adding the FastLED library and installing and configuring AmbiBox on your PC. For gaming, the software only works with borderless windows for games, but that puts a 5-10% tax on your processor. Be forewarned! — the ambilighing can be distracting when gaming for the first week or so.
If you want to carry this cool idea over into your other pursuits, you can — for example — set up a similar display around your piano.
[via /r/DIY]


very nicely done. i personally prefer the smd strips for ambilight after building a few. this is one i did recently on a 40 inch 4k IPS 60hz screen that is my main monitor. https://www.youtube.com/watch?v=NxIA0gwQdgc
Looks nice! What about sharing the details to replicate it?
Nice, but why not get the cheapest LCD projector you can get and point it at a conical mirror or have mounted vertically behind the screen and put a “weird” 3D printed lens on it?
You know it would be a hack then and not an assembly job, furthermore it would cost less! You can get “1200” lumen projectors for under USD $25 on ebay these days, and they have Miracast/DLNA via WiFi. I did find 5 BlitzWolf units for that price. Otherwise you can always get the generic low resolution, 400 lumen units at the same price from many different vendors.
He’s using less than $15 in lights and a $3 Arduino. Your “solution” seems much more complicated and would cost more money.
I wrote detailed tutorial 1,5 years ago…its just in german, but if enough interest exist, i could write a updated one in english…
http://www.serhan.in/ambilight-am-pc-arduino-ambibox/
btw if you use playclaw you can play some fullscreen games too
Still waiting for someone to tap into a/the TV’s internal video processor so it works with internal applets or any souce and not just an HDMI intercept. Still great!
It’s interesting that your standard HDMI chips doesn’t have a couple of pins for it yet. I imagine it would be an easy way to maintain their precious HDCP and still have such functionality.
i use a teensy driving 200 ws2812’s on a curved samsung, it’s great. i re-used a ps3 12v power supply with a 150w buck step-down for 5v power. i also needed a 3.3v reg as somehow i broke the one built-in to the teensy. i use the teensy 3 because it’s faster with the octo ws2811 library and dma.
im using the adalight protocol with the ambibox application but may buy a hdmi intercepting device with better code on the teensy. it work ok at the moment though, bit of a gimmick really.
I never understood what “Ambilight” is supposed to be good for. It makes my brain hurt to see that flicker around the actual “context” without any information in it.
While I get the “hack” on this and while I like everything that turns a video frame into something cool, the first thing I do on a TV with Ambilight is to turn the later off. Or hack it (using a hammer).
It depends highly on the speed and how the leds are set up. If done right it does not seem “flickery”, but more like a smooth extension of the image and “brightness amplification” and feels for me even better for the eyes in a dark room than staring just on a bright screen on a dark wall.
By “flickery” I mean the illumination outside the telly itself, not so much the flicker of the LEDs/lights. I find it highly unnerving. Maybe because I never stare at the bright screen anyway (using the “big screen” aka home cinema if I really want to _see_ a show).
An “extension of the image” I have never experienced (and I have had a few “ambilight” tellies myself). For me the backlight is always completely separate to the picture itself and by that an extreme annoyance.
But that’s me. My word don’t count says me wife.
I really feel ambilight is a niche thing and most people aren’t that enthusiastic about it.
But to each his own and at least this is something easily avoided.
.. unless the wife wants it I guess?
Looks nice.
This is how i made mine: http://imgur.com/a/FMdci
I used angled, 3D printed led holders to get a better angle to the wall instead of putting them flat on the tv.
The only problem is that it seems like the glue from my velcro strips does not hold well on PLA.
The original standalone Philips unit also had a central beam that was directed upward at an angle. And two units with a wide spread.
So I guess you come closer to the original concept.
Looks very nice on that first picture BTW, although I’m not sure if it won’t be distracting with various content.
For those interested by a wireless method, I’ve played around with a nodeMCU(ESP8266 variant) and I’ve written a C# program to handle screen capturing and to get an UDP communication between the PC.
https://github.com/Synless/SynLight
This is not a fully completed program yet but its working just fine and already have some interesting filter to reduce flickering and it supports 21:9 aspect ratio.
Now if someone could teach me about DirectX and getBackBuffer I could make it works even in full screen games.
We are working with hyperion on that, may this helps you or you can help us :)
https://github.com/RickDB/HyperionScreenCap captures and sends to https://github.com/hyperion-project/hyperion
Sweet.
I’ll look into it.
I ran into _exactly_ the same issue with fullscreen applications. About 3 years ago I built an RGB LED controller and wrote a little C# program to sit in my tray and sample pixels off the screen. It worked well, except when I ran anything fullscreen which sort of defeated the purpose of screen backlighting on a gaming PC.
AmbiBox looks promising, so I might have to resurrect the project.