The DIY Luggable PC

If you haven’t gone laptop shopping recently, you’re in for a big shock when you do. Recent consumer laptops are thin, powerful, surprisingly inexpensive, and Apple’s latest MacBook Pros even have a fantastic ‘Touch Bar’ – a touch-sensitive OLED display where the function keys should be. The greatest laptops ever made are available right now, and they don’t cost much, either.

Unfortunately, the laptop as a platform is inherently a compromise. If you want a discrete CPU, or if you simply want to choose your own parts, you’re relegated to a desktop build. The middle ground between extensibility and portability isn’t really covered by case manufacturers, and even the rare ‘LAN party’ cases rarely have a handle.

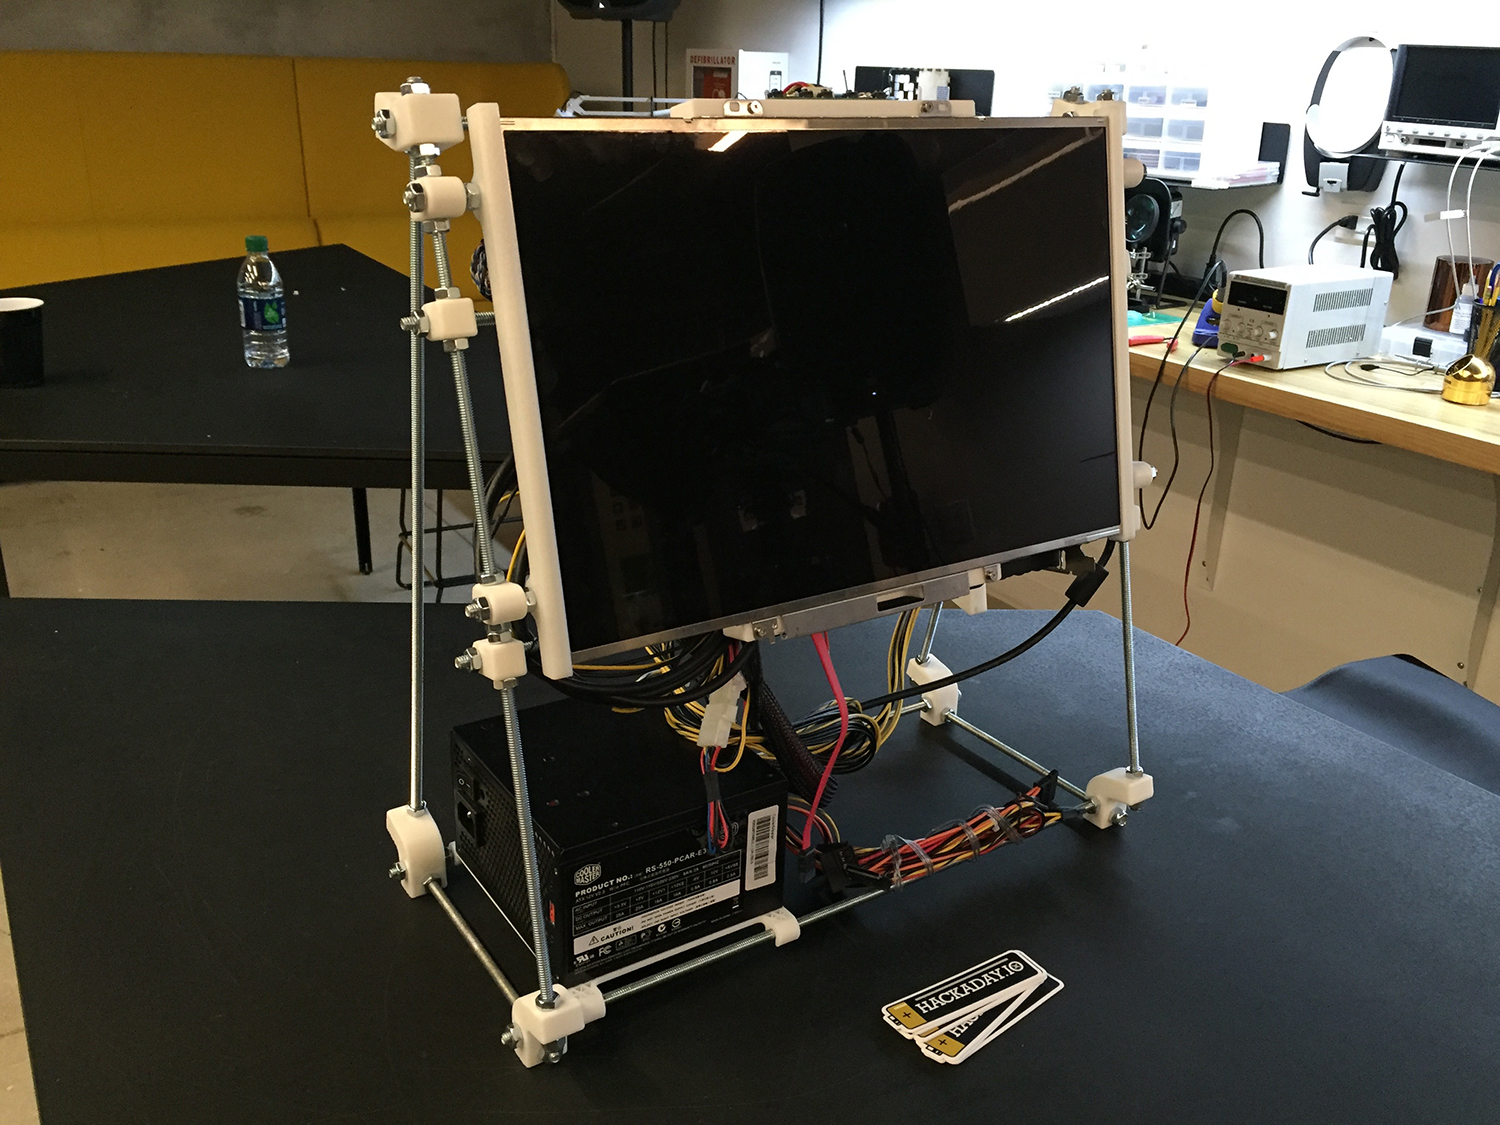
[Roger] is taking steps to solve this problem. He’s designed a 3D printable luggable PC. Yes, now you can have a GTX 1080 and a 22-core Xeon in a form factor you can carry around. It’ll fit in the overhead bin on your next flight, and yes, the monitor is included.

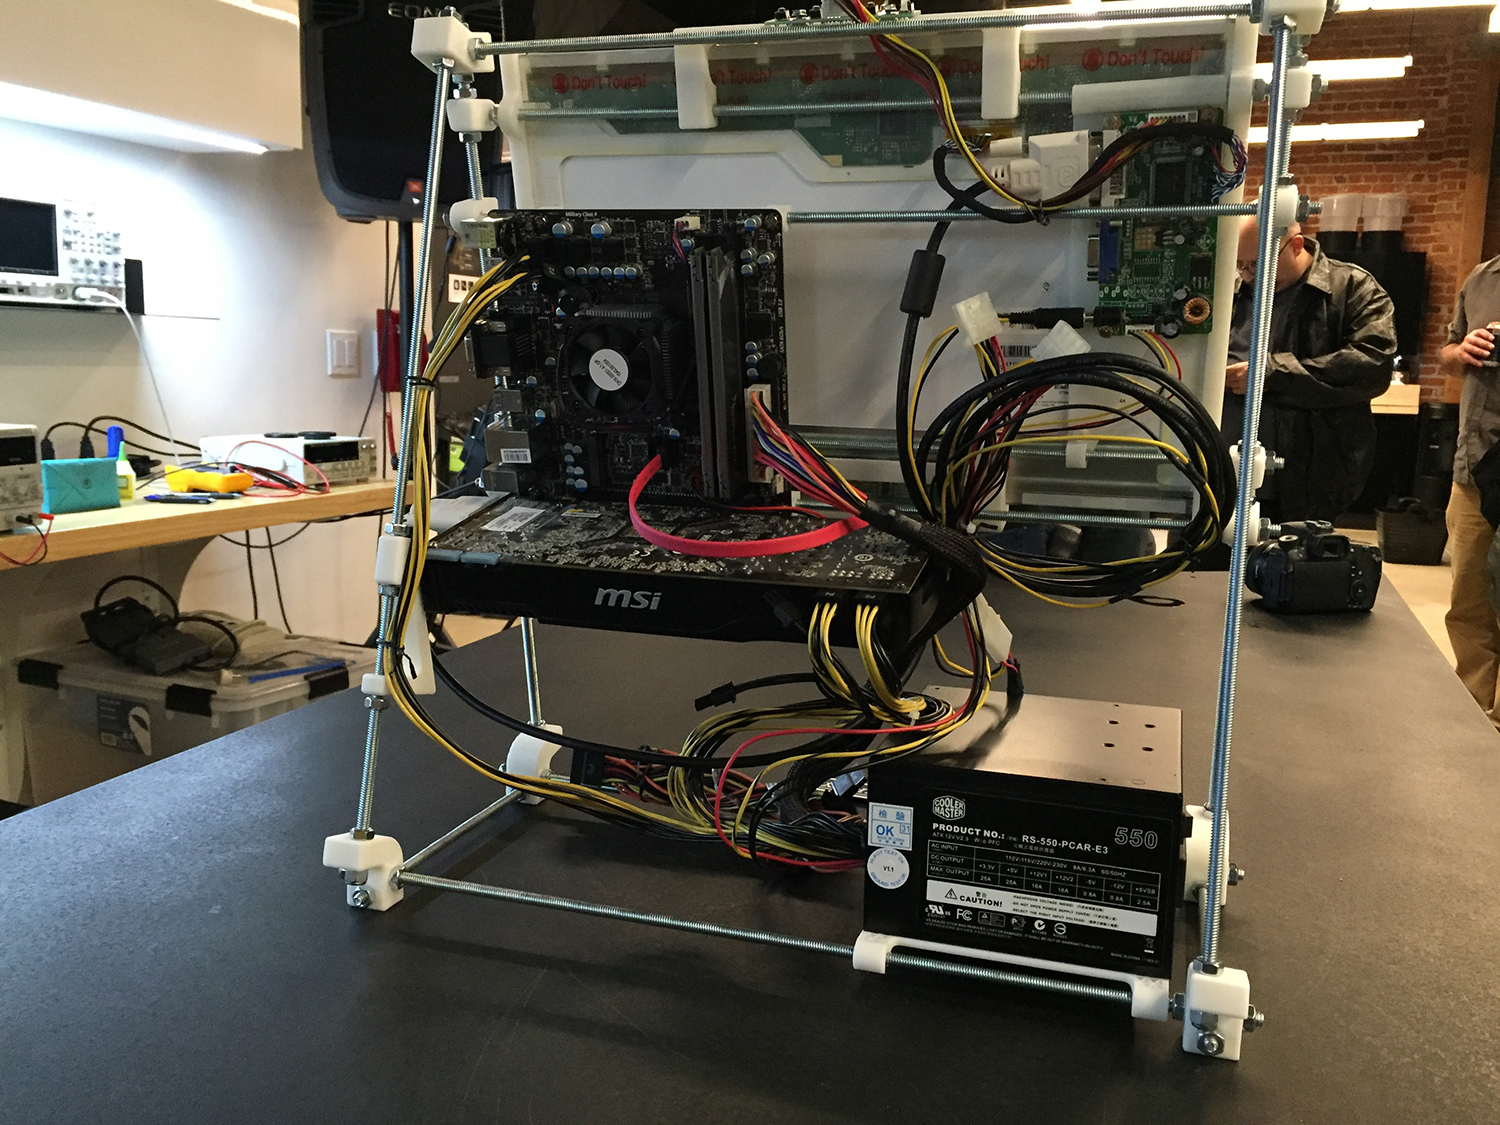
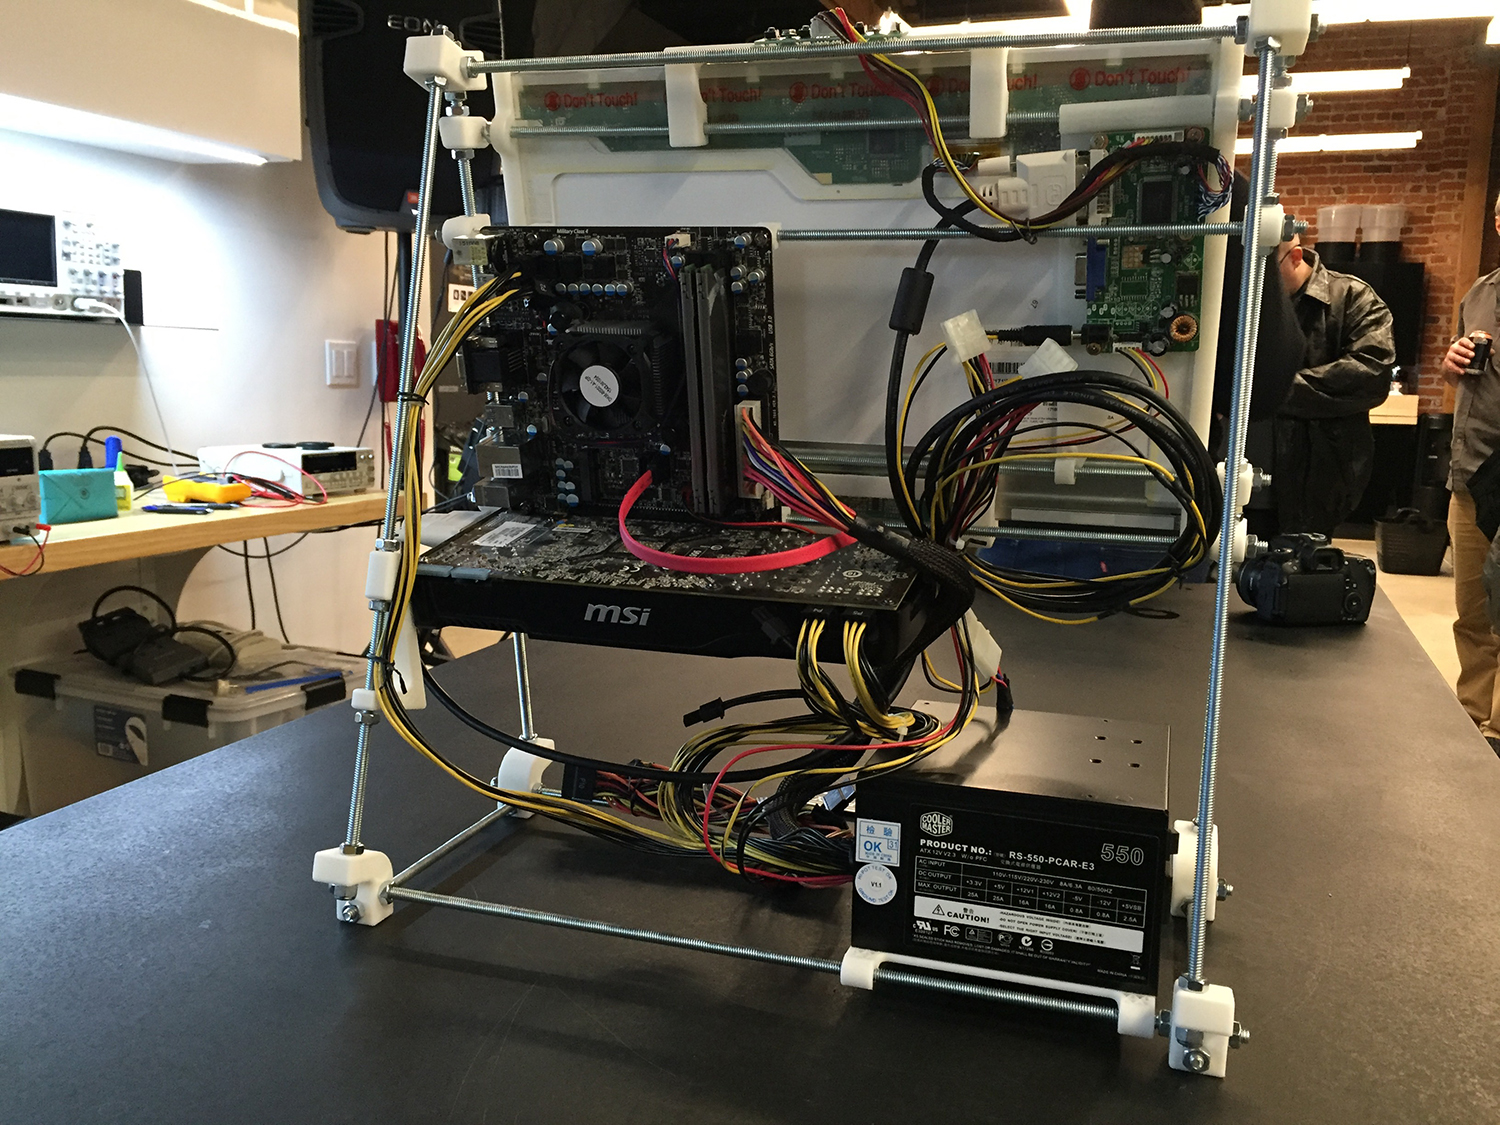
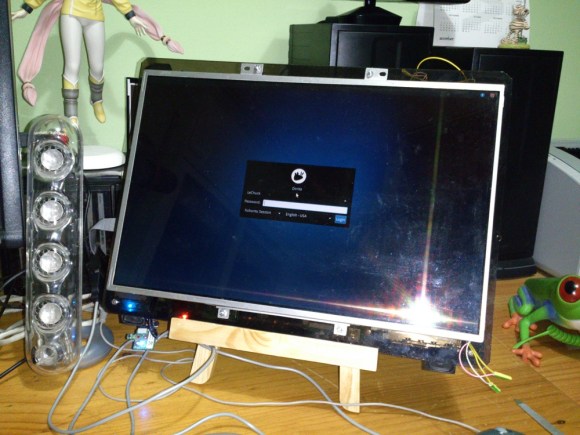
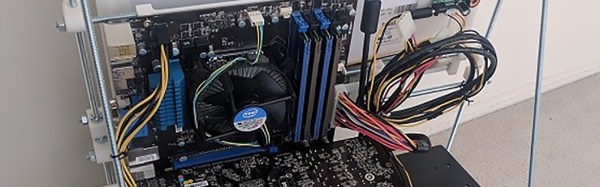
The construction of this DIY luggable PC should be familiar to anyone who built a 3D printer in 2011. It’s made out of threaded rods, with brackets for an LCD panel, ATX power supply, motherboard, and SSDs. Since this is effectively a modular system, you can load this case up with hardware. The included monitor in [Roger]’s build is taken from an old laptop and driven through an eBay “LCD Controller Board”.

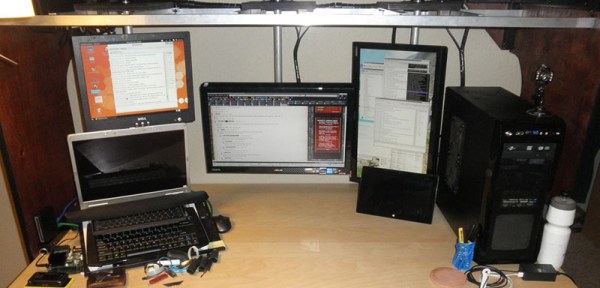
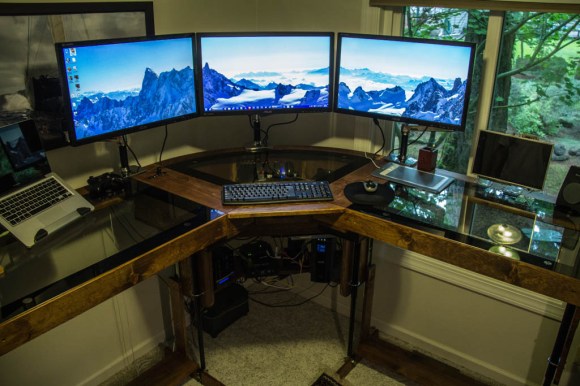
While a luggable PC might be a very niche use case, it is still one that’s vastly underserved. I recently built a new battlestation, and after searching for a case like this for a few months, I eventually gave up, caved in, and bought whatever Linus told me to buy. You simply cannot buy an ATX case that has a monitor bolted to the side, and [Roger]’s build is the first DIY solution we’ve seen.

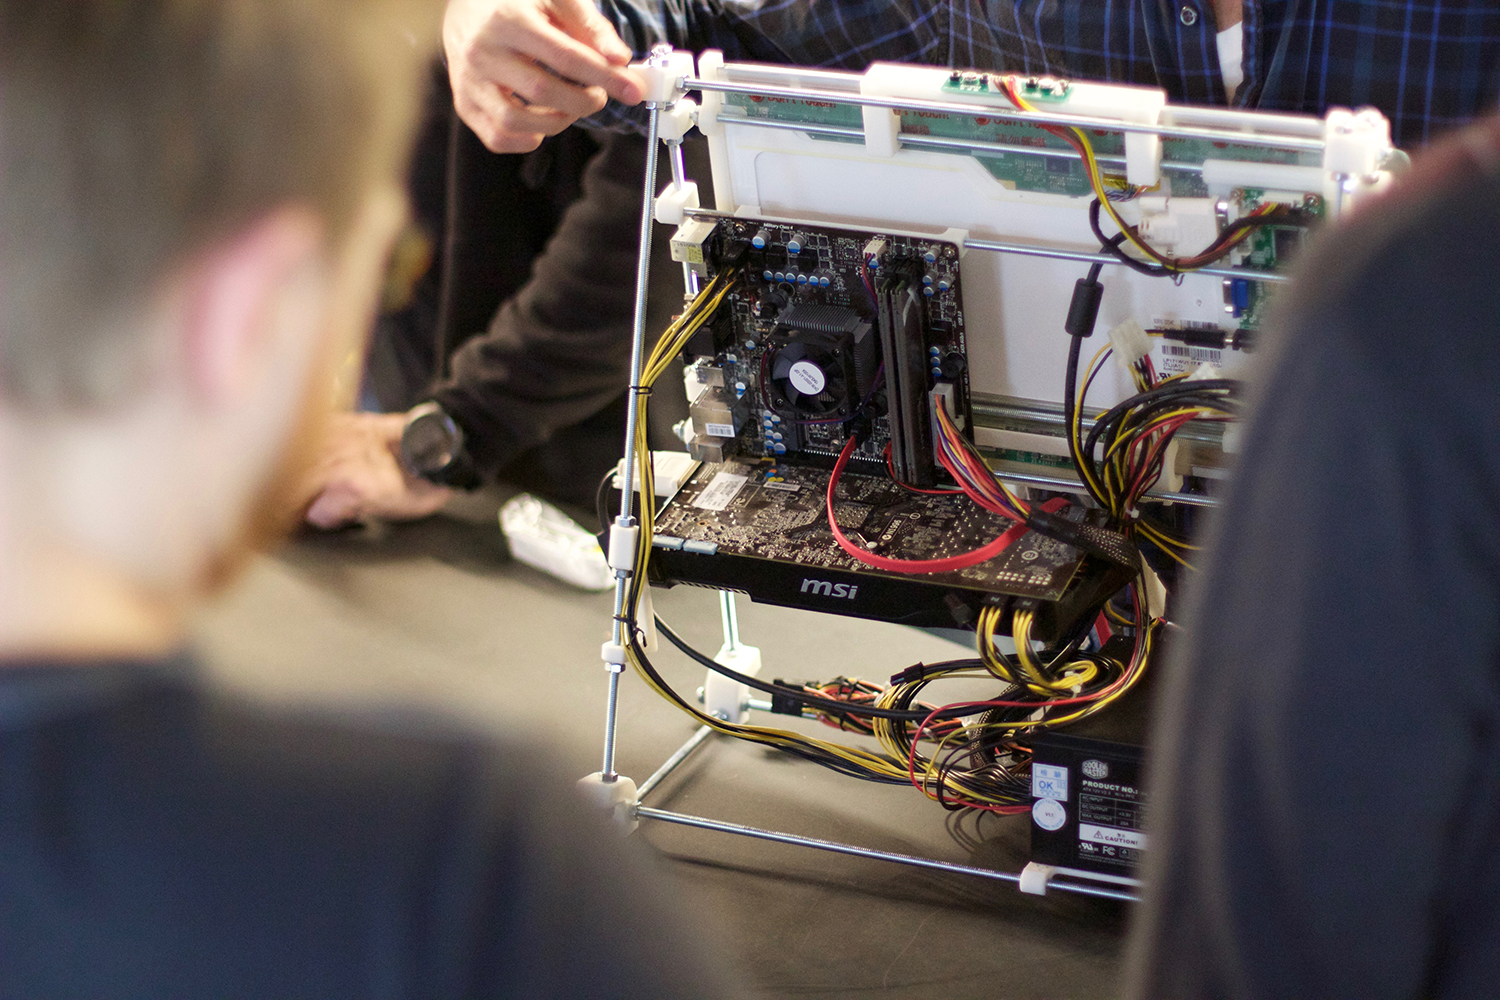
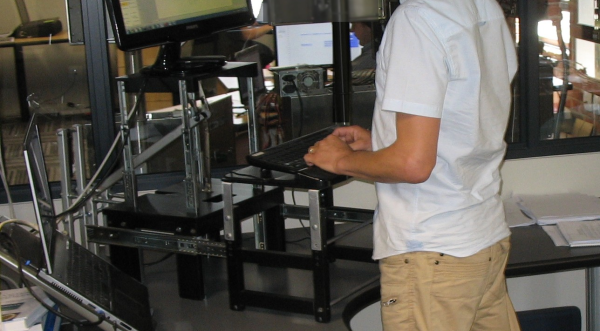
All the files to replicate this project are linked to on the [Roger]’s Hackaday.io project, and this would be an excellent basis for a community-based project to build an Open Hardware luggable PC enclosure. A few days ago, [Roger] brought this PC out to the Hackaday LA January meetup. He brought to the meetup on the train, providing more than enough evidence this is a truly portable PC. Check out the pics from the meetup below.

Beautiful DIY Ambilight Display

A proper battlestation — or more colloquially, computer desk — setup can sometimes use a bit of technical flair to show off your skills. [fightforlife2] has shared their DIY ambilight monitor backlighting that flows through different colours which mimic what is displayed on the screen.

[fightforlife2]’s setup uses fifty RGB LEDs with individual controllers that support the FastLED library, regulated by an Arduino Nano clone — although any will suffice. The power requirement for the display was a bit trickier, ultimately requiring 3 amperes at 5V; an external power brick can do the trick, but [fightforlife2] also suggests the cavalier solution of using your computer power supply’s 5V line — adding the convenience of shutting off the ambilight display when you shut down your PC!

Continue reading “Beautiful DIY Ambilight Display”

Adjustable Desk

An Adjustable Sit/Stand Desk For Under $100

[Cornel Masson] is a 46-year-old computer programmer. He’s been working on his computer for the last 30 years. Computer work can be good for the wallet but it can be bad for our health, particularly the neck and back. You can purchase adjustable desks to allow you to change positions from sitting to standing, but unfortunately these desks are often expensive. [Cornel] took matters into his own hands and build his own adjustable riser for under $100.

To start, [Cornel] used a typical computer desk. He didn’t want to build the entire thing from scratch. Instead he focused on building a riser that sits on top of the desk, allowing him to change the height of both the monitor and keyboard. His design used mostly wood, aluminum stock, threaded rods, and drawer slides.

The main component is the monitor stand and riser. The riser is able to slide up and down thanks to four drawer slides mounted vertically. [Cornel] wanted his monitor to move up and down with ease, which meant he needed some kind of counter weight. He ended up using a gas strut from the trunk of a Nissan, which acts as a sort of spring. The way in which it is mounted makes for a very close approximation of his monitor’s weight. The result is a monitor that can be raised or lowered very easily. The stand also includes a locking mechanism to keep it secured in the top position.

The keyboard stand is also mounted to drawer slides, only these are in the horizontal position. When the monitor is lowered for sitting, the keyboard tray is removed from the keyboard stand. The stand can then be pushed backwards, overlapping the monitor stand and taking up much less space. The keyboard stand has small rollers underneath to help with the sliding. The video below contains a slideshow of images that do a great job explaining how it all works.

Of course if replacing the entire desk is an option go nuts.

Continue reading “An Adjustable Sit/Stand Desk For Under $100”

Hanging Monitors Keeps Your Desk Slightly Less Messy

[Gertlex] – like just about everyone reading this, I’m sure – has a messy desk with monitors, keyboards, mice, several other input devices, tablets, and a laptop. He wanted a system that would reduce the wire clutter on his desk and after thinking a bit came up with a really cool solution for arranging his monitors. He’s hanging the monitors from a shelf above his desk using nothing but some aluminum and a few 3D printed brackets.

The main structure is a shelf of ‘bridge’ above his desk, made from 3/4″ ply. The inventive bit of this build is the two 1″ square aluminum tubes spanning the width of this shelf. From these, a few bits of aluminum angle pieces slide along the 1″ rails. a mount holds a 1″ round pipe to these supports, and a VESA mount is clamped to the pipe. There’s an imgur album that goes through the entire design. It’s certainly an improvement over the earlier battlestation, and the wiring loom cleans everything up nice and tidy.

[Gertlex]’s new system of hanging monitors is great, but this simple puts some even cooler builds on the table. The sliding system is great, but by putting one monitor on its own carriage, you could have an infinitely reconfigurable monitor setup. Some proper bearings, 3D printed VESA mounts, and maybe even a few stepper motors would make a build like this the coolest battlestation rig since the great ‘capacitor plague and I have a soldering iron so free monitors’ spectacular of 2005.


Stylish Cafe Battlestation Spoils Customers

Cafe Battlestation

[Tasos] sent us this tip about the custom battlestation he’s been working on for his Internet café. (Greek; Translated). The desk started from humble enough beginnings: a simple frame from what appears to be MDF with cabinets to secure the PCs. The goal with this build was to provide an aesthetically pleasing and user-friendly construction. [Tasos] was dissatisfied with the limitations posed by off-the-shelf monitor mounts, so he fabricated his own, more adjustable alternatives, through which he ran the necessary cords.

[Tasos] gave each monitor stand a thorough sanding, priming and painting for a finished result that exudes metallic perfection, then he attached a large pushbutton for booting the computer and some LEDs to provide soft backlight. Under the hood, [Tasos] fitted the PCs’ innards into a custom enclosure of sorts. Though he’s yet to provide full details on this part of the construction, we suspect more images are forthcoming. You can find more details in his forum post.

Scratch-built Desk Adjusts So You May Sit Or Stand

custom-height-adjustable-battlestation

Knowing that this desk was built from scratch is pretty impressive. But the motorized legs that raise and lower the desk to any height really puts the project over the top.

Surprisingly this started off as a computer case project. [Loren] upgraded his hardware and couldn’t find a case that would organize it the way he liked. His desk at the time had a glass top and he figured, why not build a new base for the glass which would double as a computer case? From there the project took off as his notebook sketches blossomed into computer renderings which matured into the wooden frame seen above.

Much like the machined computer desk from last December this uses motorized legs to adjust the height of the desk. These cost about $50 each, and he used four of them. If you consider the cost of purchasing a desk this size (which would not have been motorized) he’s still not breaking the bank. This battlestation is now fully functional, but he does plan to add automated control of the legs at some point. We think that means that each has an individual adjustment control which he wants to tie into one controller to rule them all.

Use An Old Laptop As A Second Desktop Display

DSC_0020s

When we’re trying to get a relatively complex project to work we often end up with twenty windows open. When this happens we’re usually referencing multiple data sheets, webpages, and trying to write code that the same time. We’ve seen people with two or three monitors to alleviate the situation (often called a battlestation), but the we’re cheap and can’t justify buying more displays just for these occasions. Well [Oscar] may have the solution for us. His old laptop had been sitting in a box unused so he flipped the screen and built a stand to position it as an additional display on his desk.

The hack simply removed the screen for the hinged cover so that it could be flipped around. This turns the laptop into a tablet minus the touchscreen ability but that could always be added in later (we’ve seen it done with netbooks). He tells us that the only issue he ran into during this process was the length of the inverter cable. He simply cut it and spliced in a little bit of extra length.

[Oscar] didn’t write a post about his project, but you can see the build gallery after the break.

Continue reading “Use An Old Laptop As A Second Desktop Display”